
You are using an out of date browser. It may not display this or other websites correctly.
You should upgrade or use an alternative browser.
You should upgrade or use an alternative browser.
Black System Panniers
- Thread starter POG
- Start date


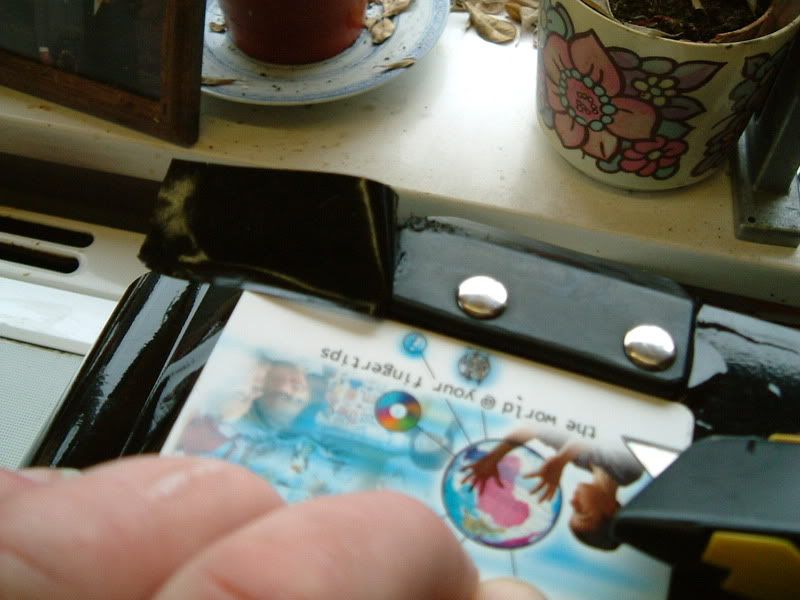
it is important to make this cut as straight and continuous as possible. Measure 275mm from the factory cut edge at several points along the length of vinyl and then join up the dots with a pen and ruler.
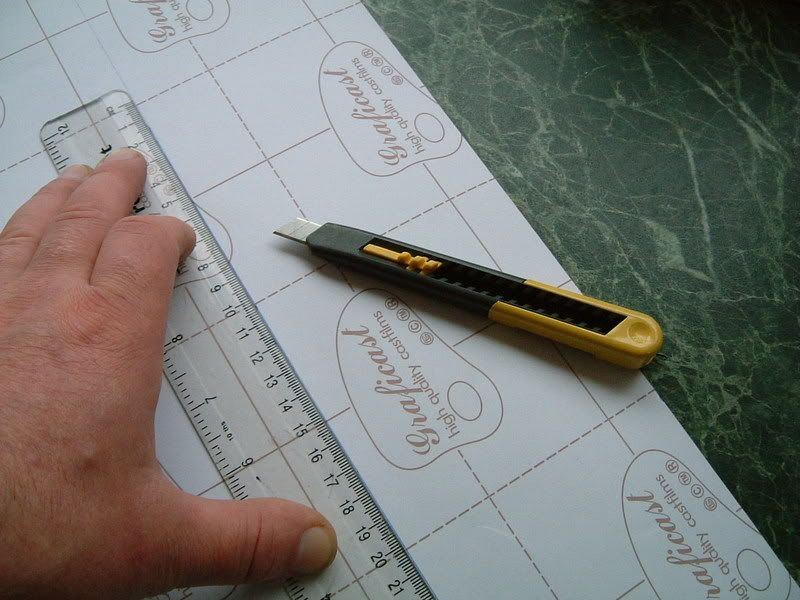
Carefully, using a very sharp knife, cut the excess off and keep the bit that you cut off - it will come in handy later
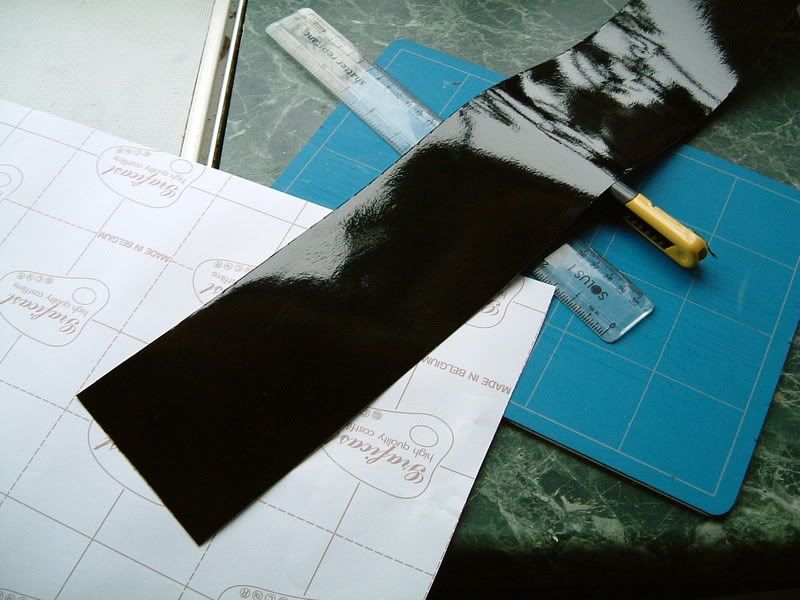
Carefully, using a very sharp knife, cut the excess off and keep the bit that you cut off - it will come in handy later
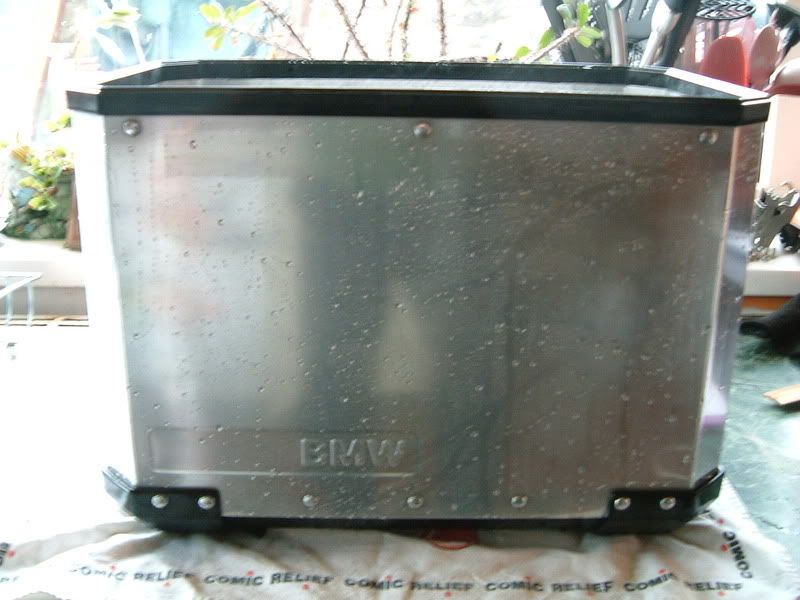
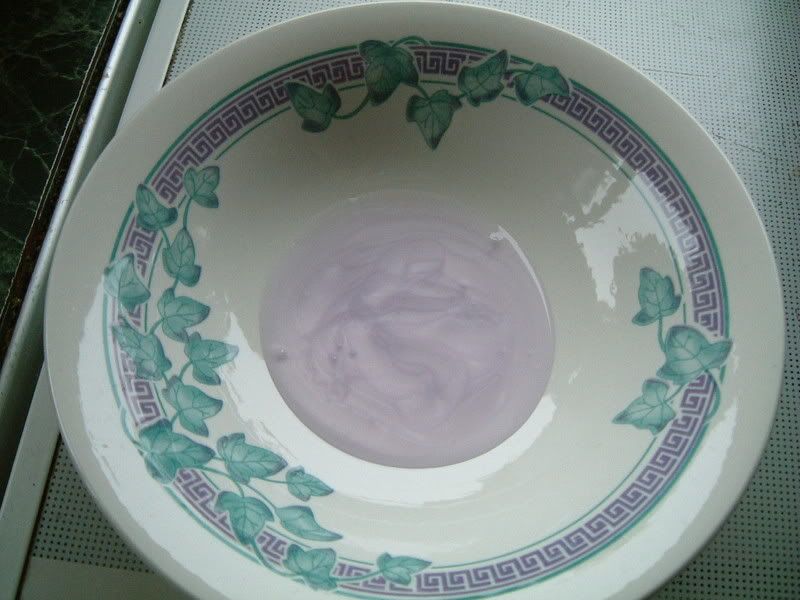
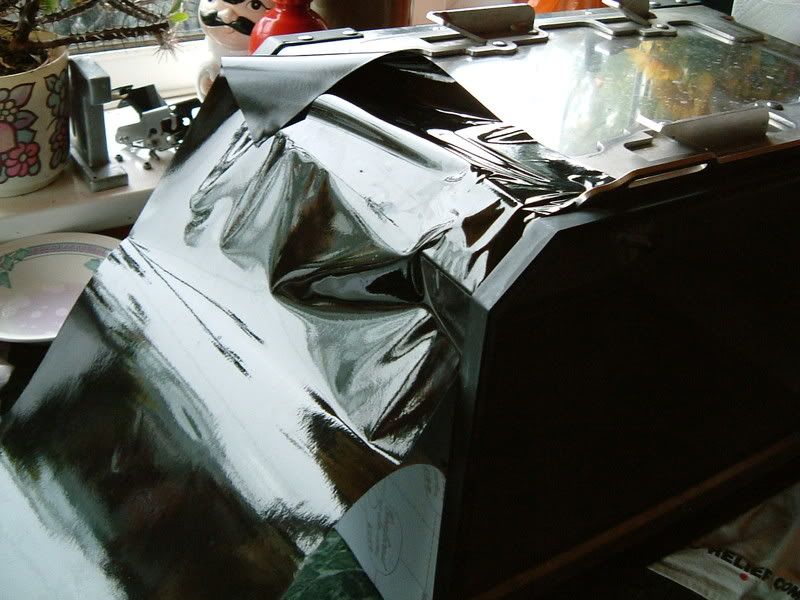
Prepare your washing up liquid with a wee drop of water mixed in
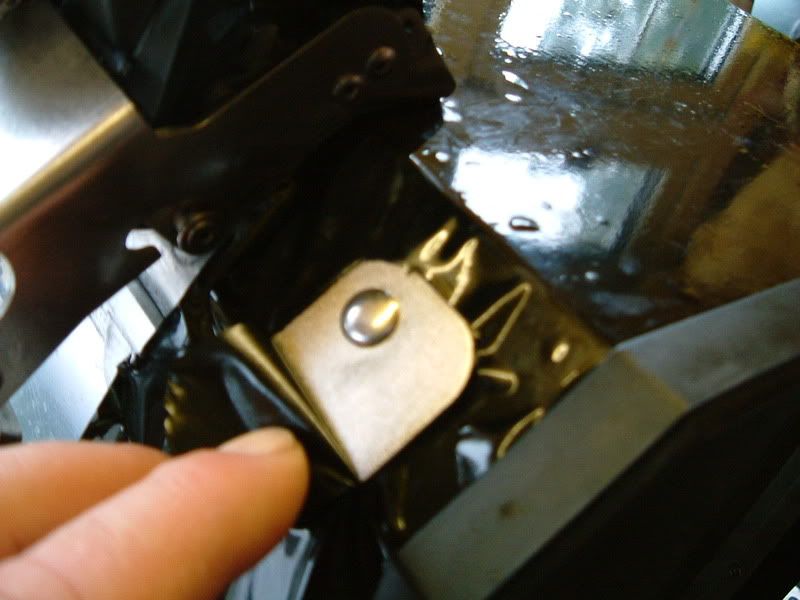
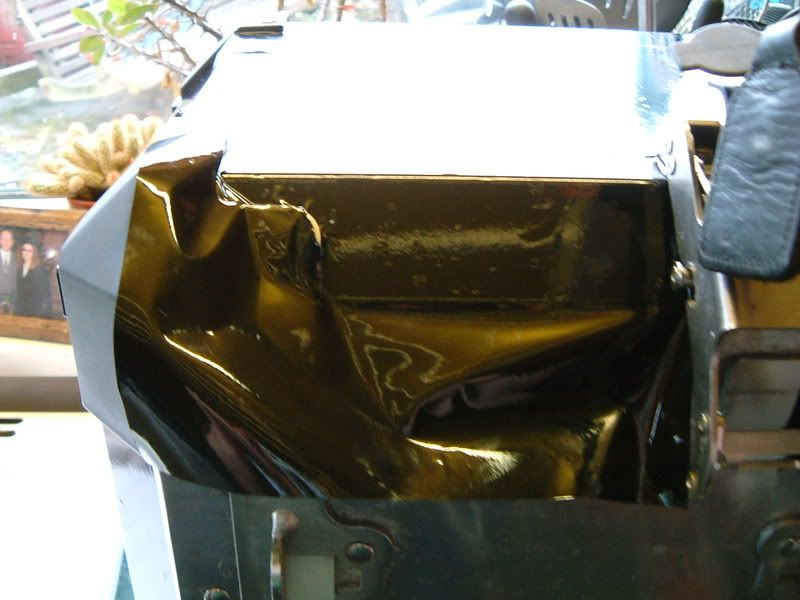
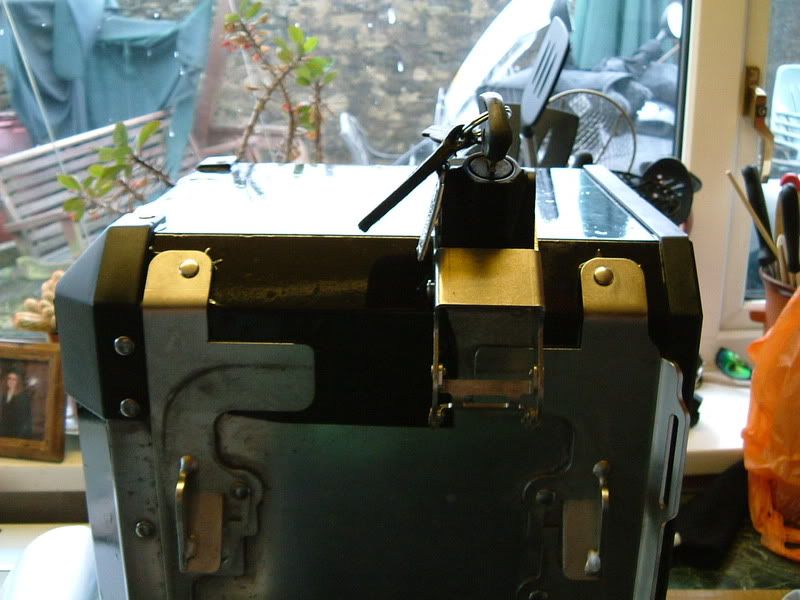
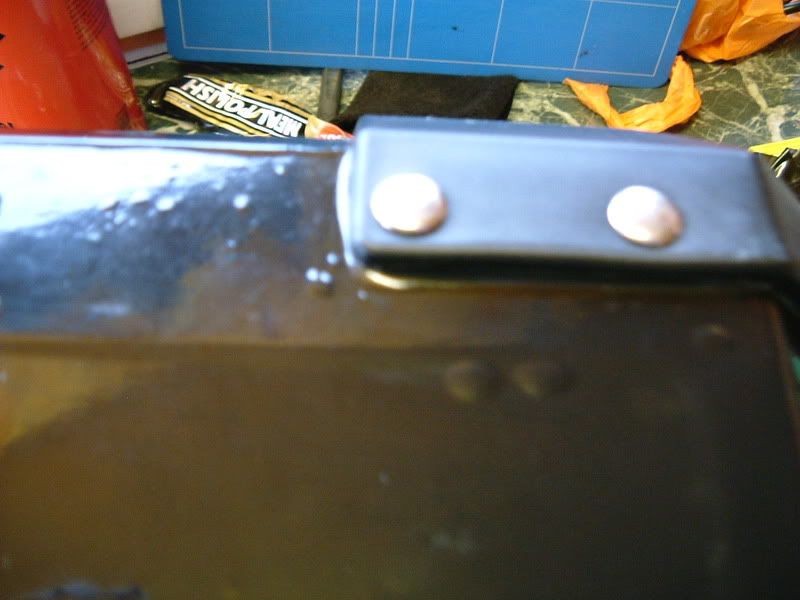
Then start coating the area you are going to cover. I started at the opposite end to the mounting lock on the side of the pannier. You can do one section at a time (so it doesn't dry out). Make sure you cover the steel brackets and plastic corner pieces with soloution because the vinyl will stick to them
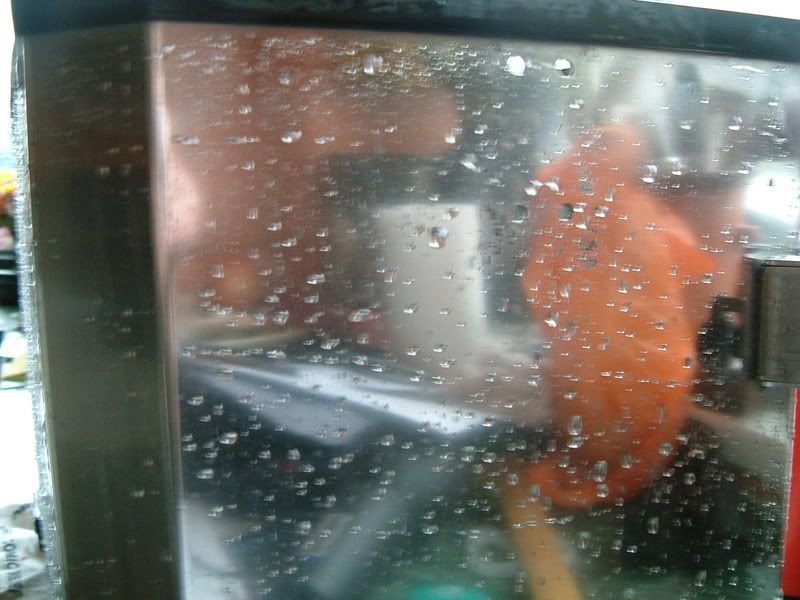
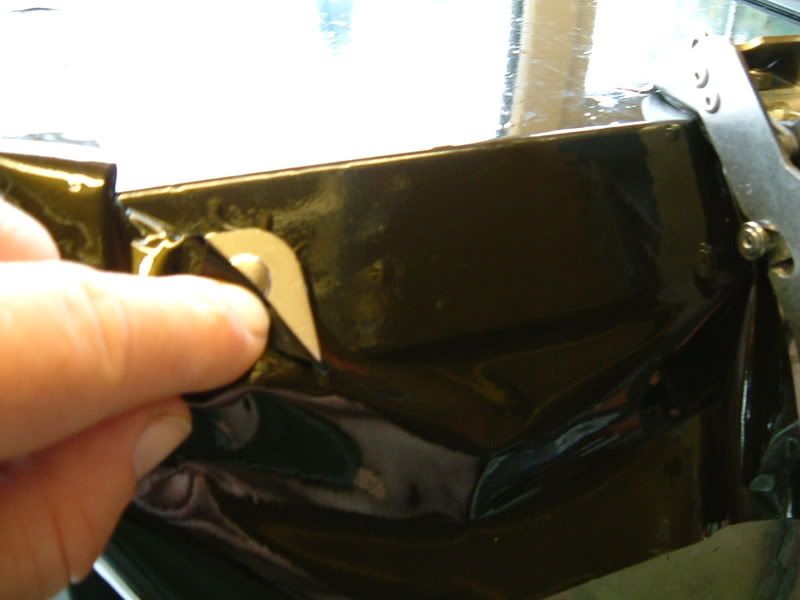
Then peel back about 6" of the backing paper and line the vinyl up with the top edge (the pannier lid seal) and plunge on in there
Then start coating the area you are going to cover. I started at the opposite end to the mounting lock on the side of the pannier. You can do one section at a time (so it doesn't dry out). Make sure you cover the steel brackets and plastic corner pieces with soloution because the vinyl will stick to them
Then peel back about 6" of the backing paper and line the vinyl up with the top edge (the pannier lid seal) and plunge on in there

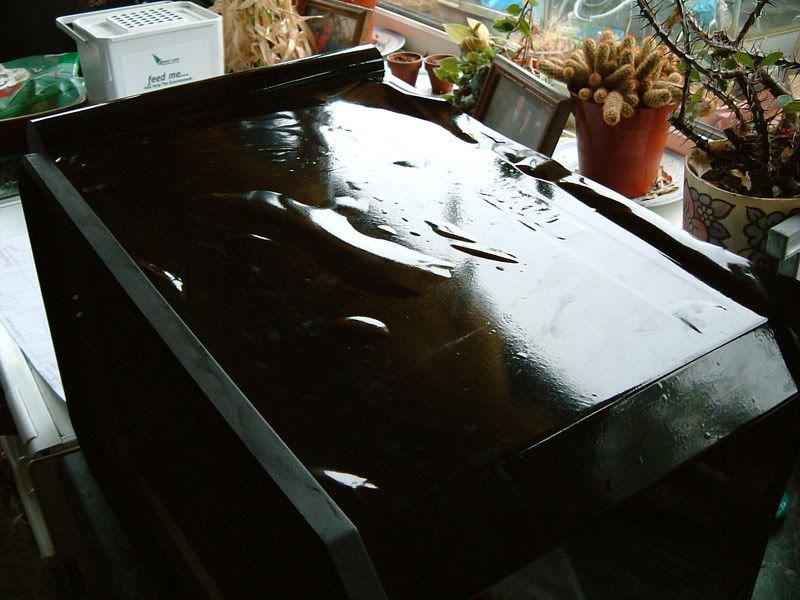
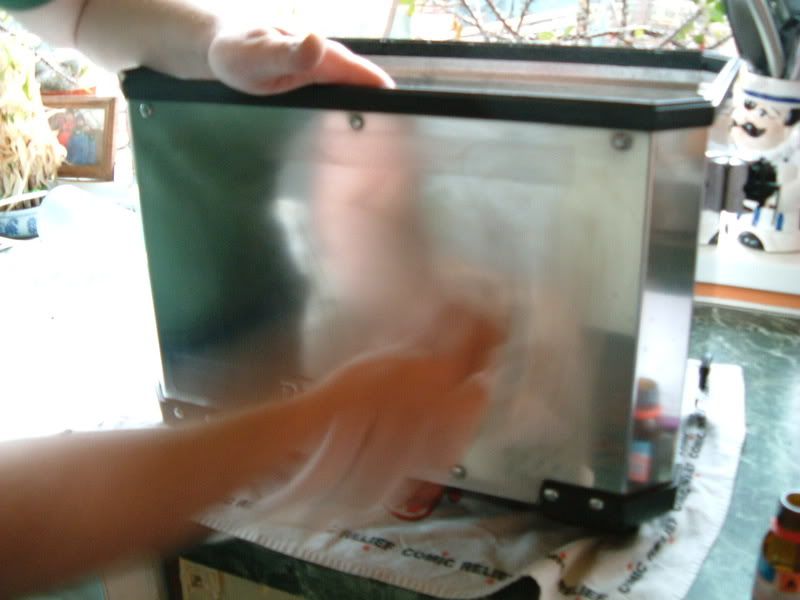
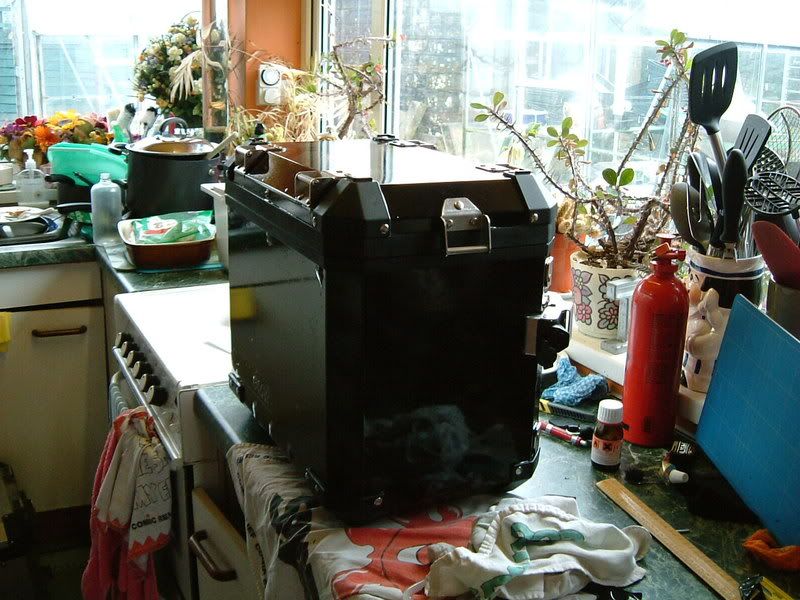
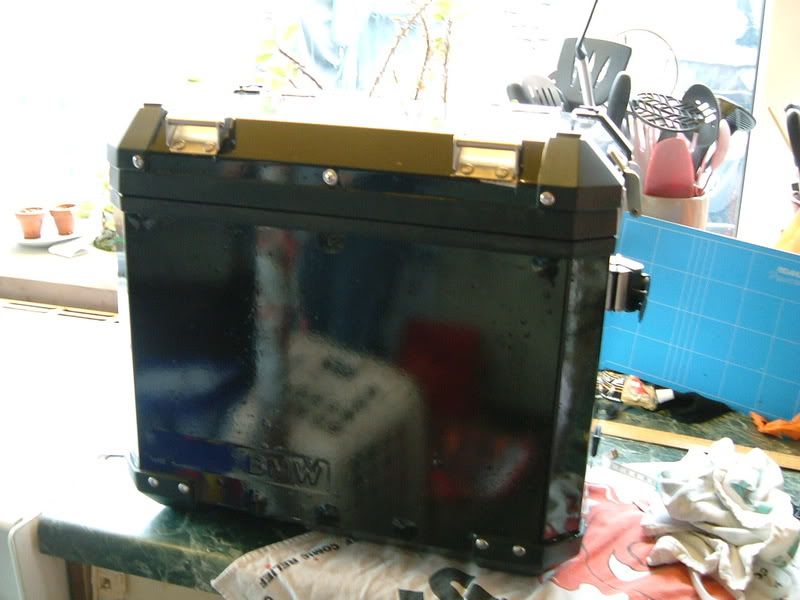
And voila you have your black (or whatever colour you choose) panniers.
You will need to leave them for a while to let the soloution dry out and the adhesive to adhere. Don't bother about the rivets and the holes for the lid locks the now.. you'll have to leave things to dry out a bit and adhere. To be continued...
You will need to leave them for a while to let the soloution dry out and the adhesive to adhere. Don't bother about the rivets and the holes for the lid locks the now.. you'll have to leave things to dry out a bit and adhere. To be continued...


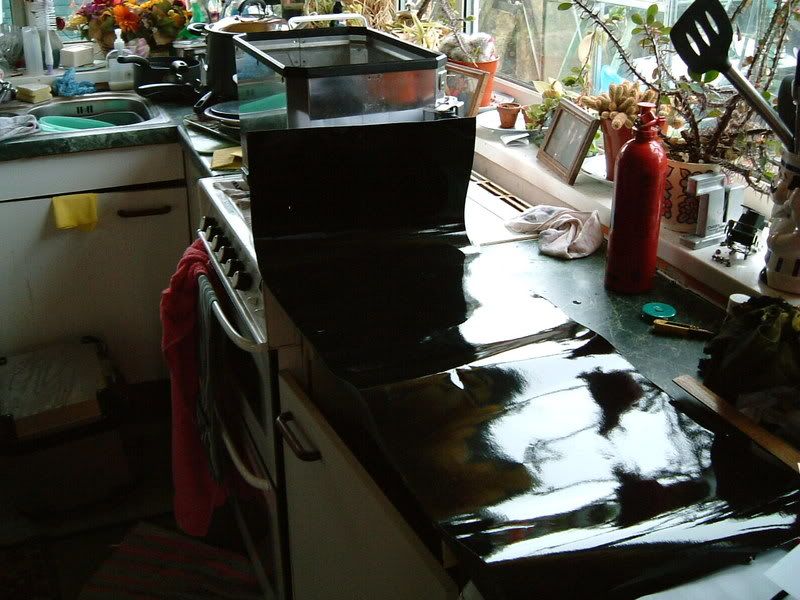
Nice Kitchen 'Pog'.
So you should have the second pannier and topbox done by...........September ?
Deleted account 220427002
Registered user
- Joined
- Dec 27, 2003
- Messages
- 20,428
- Reaction score
- 3
what about the wee bubbles i see on them?
Nice Kitchen 'Pog'.
That's ma workshop
(only when SWMBOs not around) 
So you should have the second pannier and topbox done by...........September ?
GOTC
It's half-term the now and I can't get any peace to do anything
A shopping trip provided me with the "space" to get on with this
what about the wee bubbles i see on them?
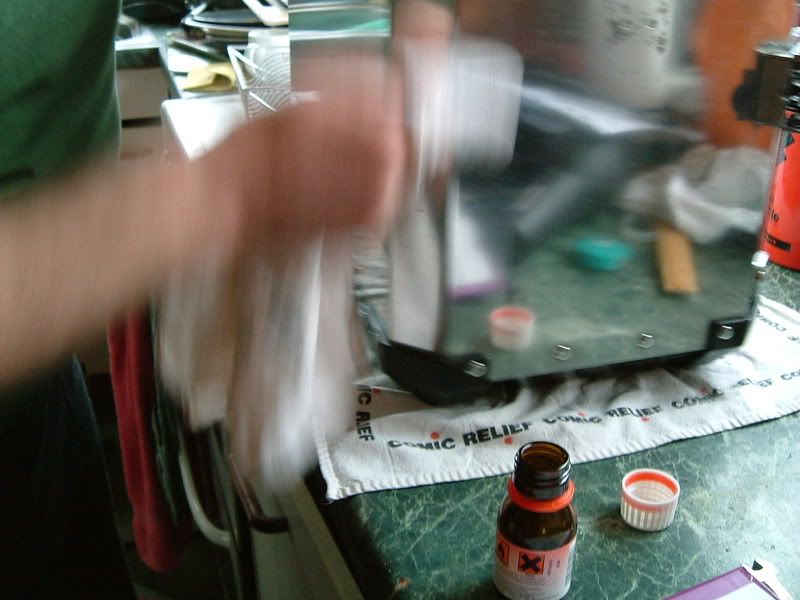
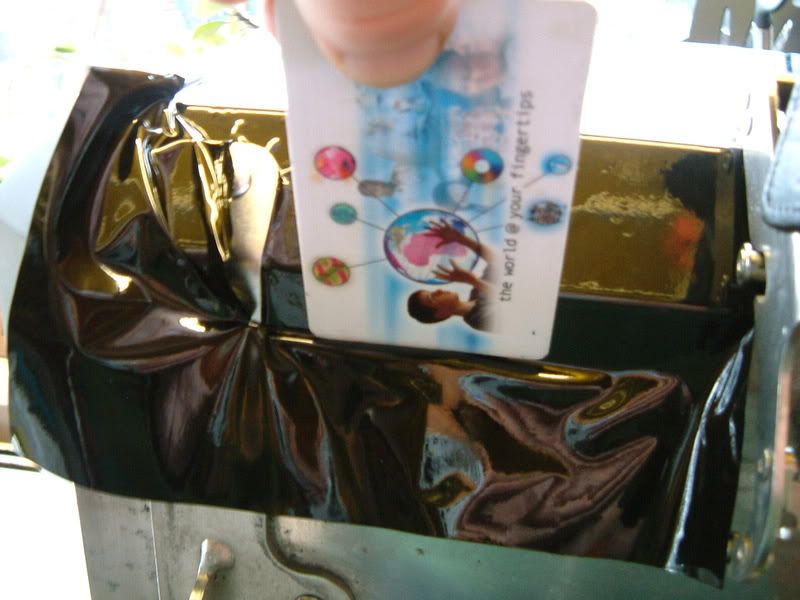
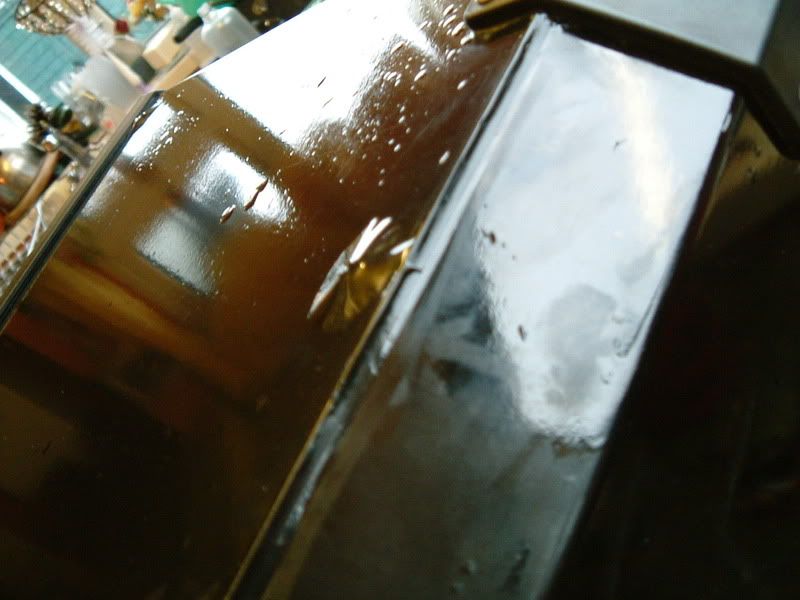
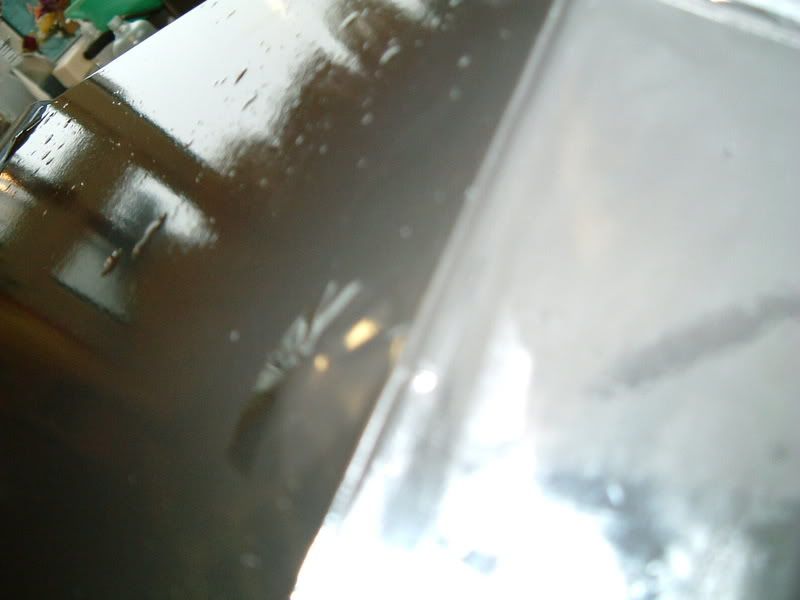
The bubbles die down after a few hours as the WUL dries out and the adhesive binds. The larger bubbles can be pricked with a fine needle and the air teased out. You have to wait for the glue to get a chance to bind as it wont when the surface is still wet.
I did say "to be continued"
D6
Registered user
a hairdryer will help puttin the vinyl on. ,less bubbles
just a small point though,
its a technical thread, you are in Yorkshire,
wheres the standard garage equipment??ie, dresses , wigs, whisky etc??
im confused, i thought every body wore a frock in the garage,??
ugg said they did
,less bubblesjust a small point though,
its a technical thread, you are in Yorkshire,
wheres the standard garage equipment??ie, dresses , wigs, whisky etc??
im confused, i thought every body wore a frock in the garage,??
ugg said they did
wheres the standard garage equipment??ie, dresses , wigs, whisky etc??
im confused, i thought every body wore a frock in the garage,??
That's all in the grand finale

Patience dear boy, I know you're a feisty youngster, full of beans, dying to see grown men in dresses... patience


Similar threads
- Replies
- 9
- Views
- 409
- Replies
- 6
- Views
- 579