Black System Panniers

omg, pog, after all that polishing, you need to get a wash, dont just wipe your face on a tea towel
123.jpg
kates gonna go spare ...........:D
 
Not finished, but here's the effect so far :cool:

Panniers001-1.jpg


Panniers002-2.jpg


Panniers003-2.jpg


:beerjug:
 
Looking good POG :thumb

Out of interest how long did you spend cleaning and fitting the vinyl to get to this stage?

Thanks, Thunder :thumb

To answer your very pertinent question :thumb2 :


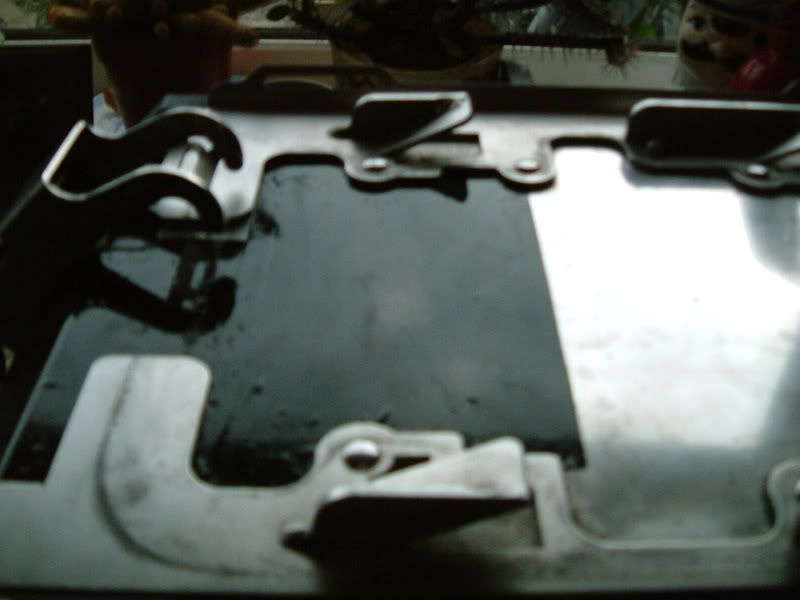
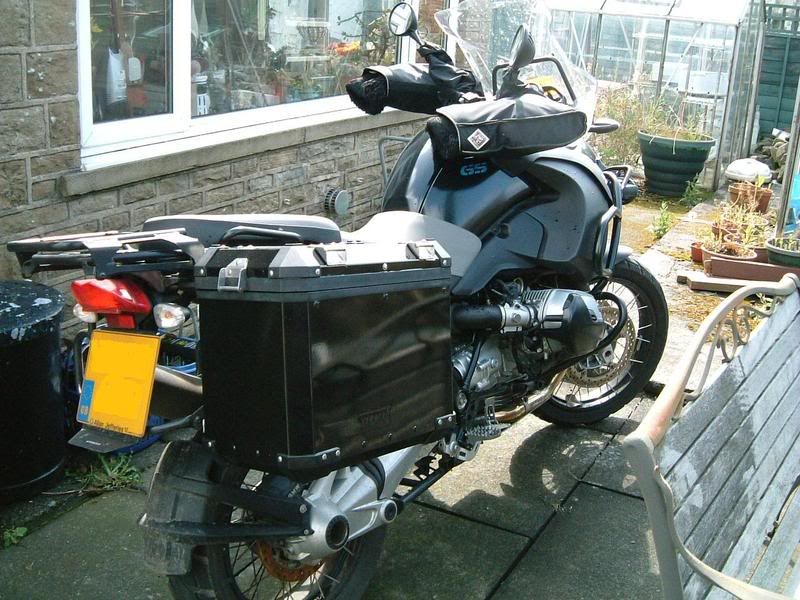
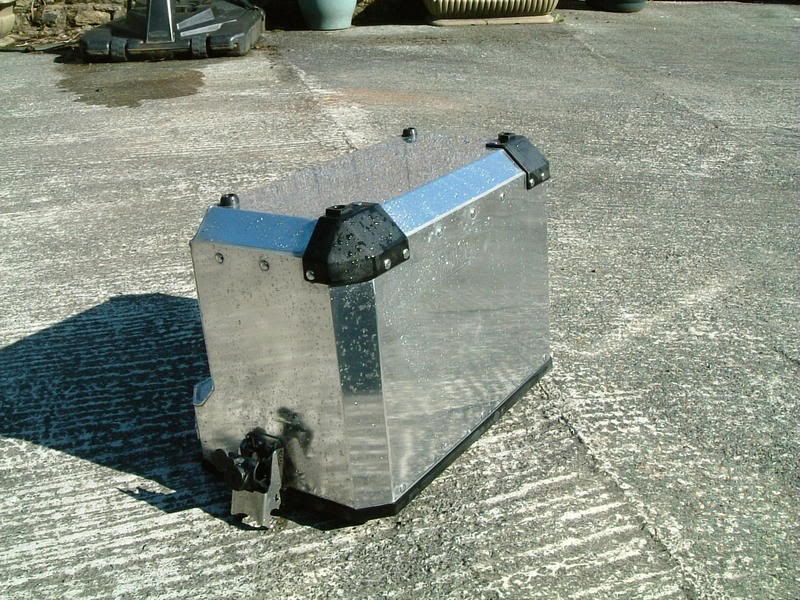
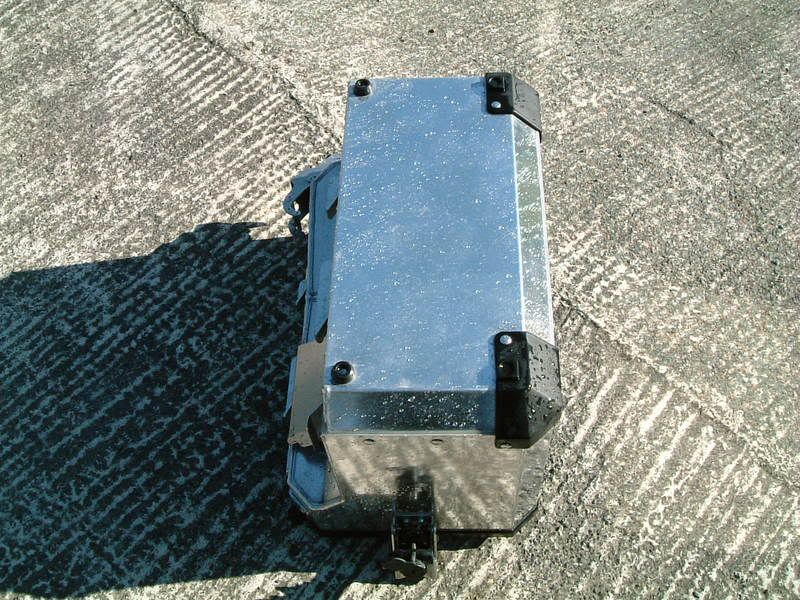
First, I decided to do the RHS pannier because a) it looked easier to do than the rest, and b) it was in the worst condition. It was really in a shite state (only used for 6 trips but 2 of them were Winter ones). The cleaning and preparation of that took a long time - I spent about a day and a half on the Autosol which gives you an idea of just how bad it was :eek:

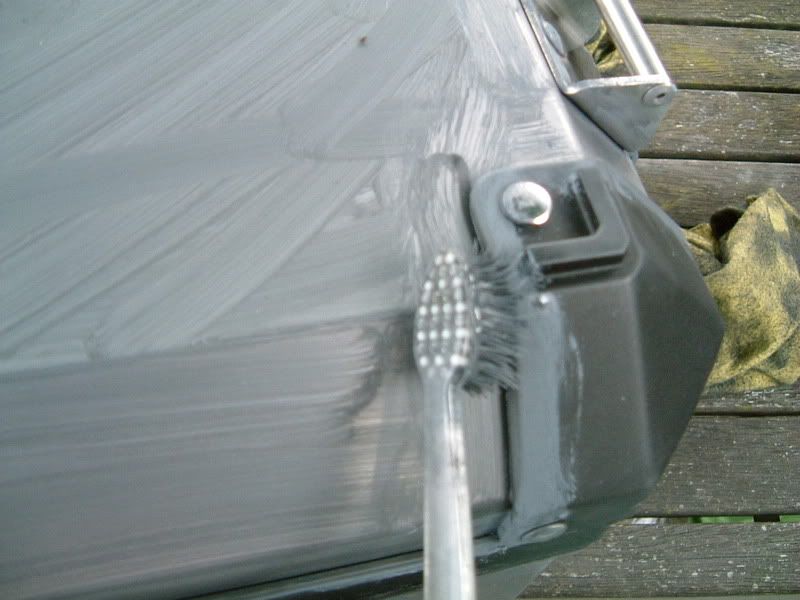
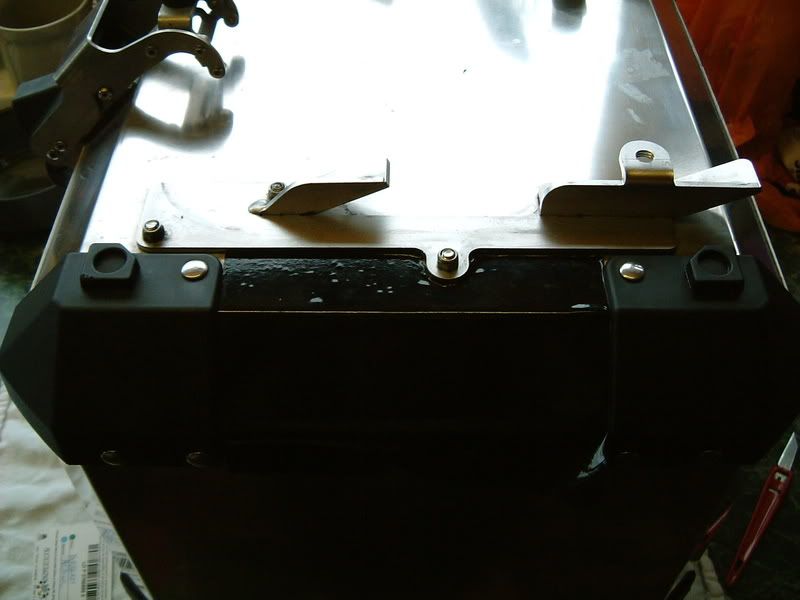
The vinyl is only 50 microns thick so it shows up any irregularities in the surface. This is both good and bad - bad, it shows up any pitting but good in that you can work it round the BMW logo and rivets.

Another point - corrosion (Aluminium Oxide, I believe) is white and powdery and this will stick to the adhesive surface rather than the vinyl sticking to the bare Aluminium. So, it is essential that the panniers are free of corrosion, oxidisation and grease. If your panniers have no corrosion, then it's a quick wash and a wipe with Acetone.

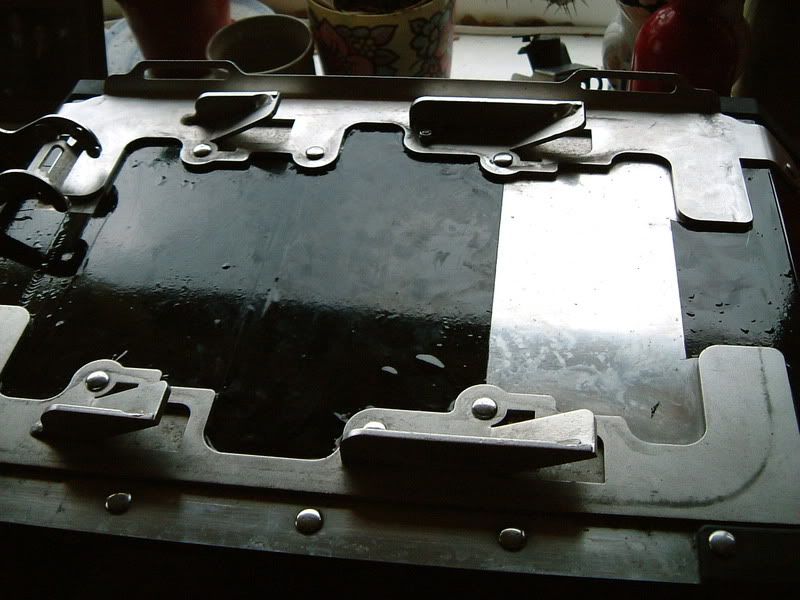
Cleaning with Acetone takes about 10-15 minutes maximum. You have to then let it evaporate (because it will attack the adhesive) approx 5 minutes.


Vinyl Application

Best idea is to start with the base of the pannier as it's the easiest. The whole vinyl application thing is a learning curve, the more you do, the easier it gets. At first, you'll be all fingers and thumbs, so best to start with the base.

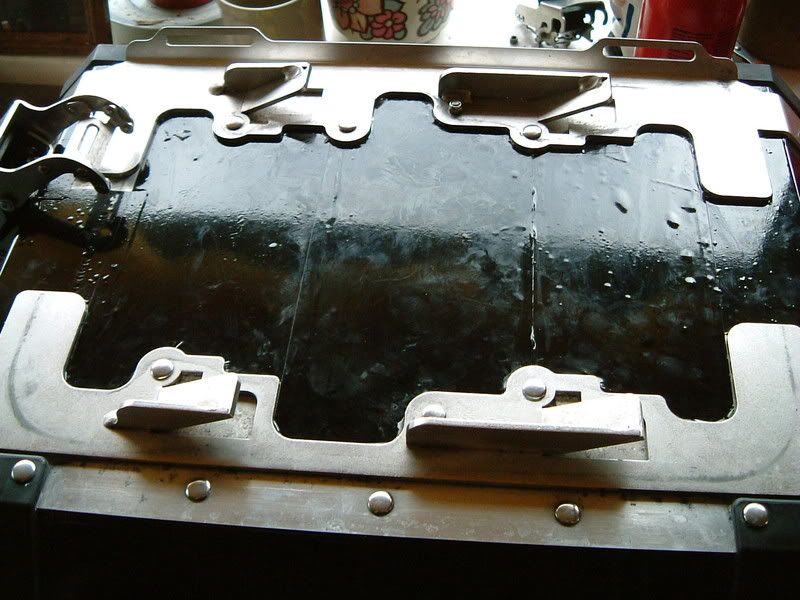
Base of Pannier - approx 1 hour

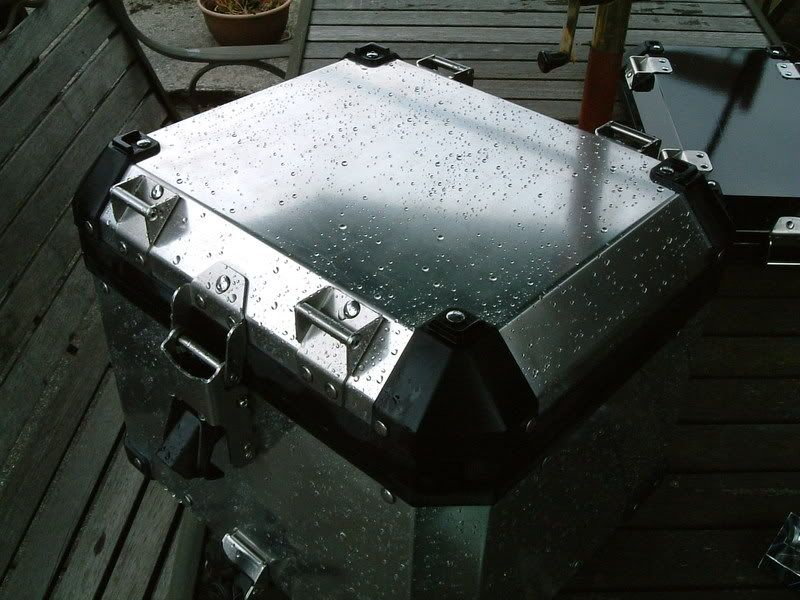
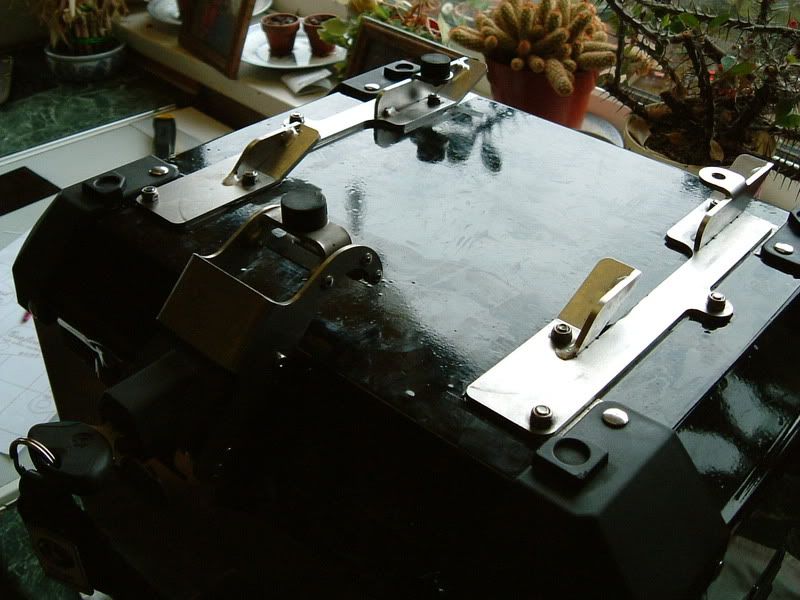
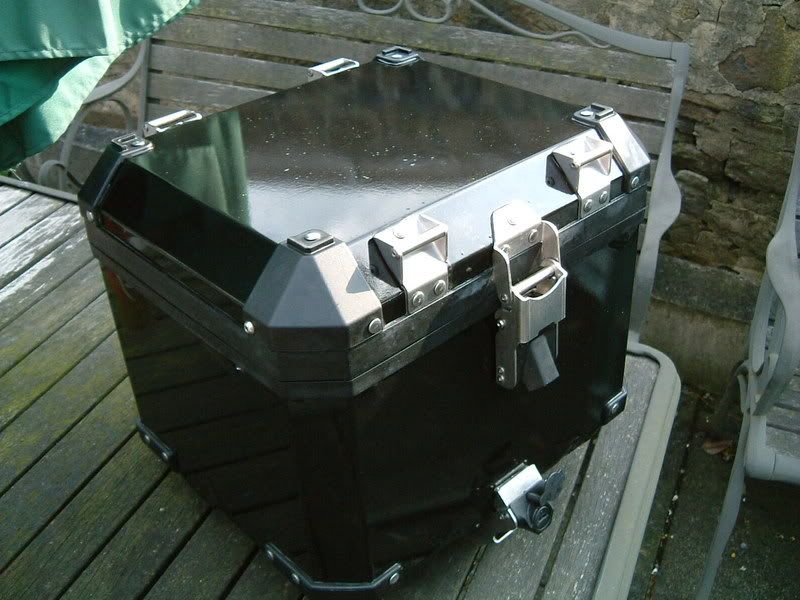
Pannier Lid - approx 3 hours (it was tricky)

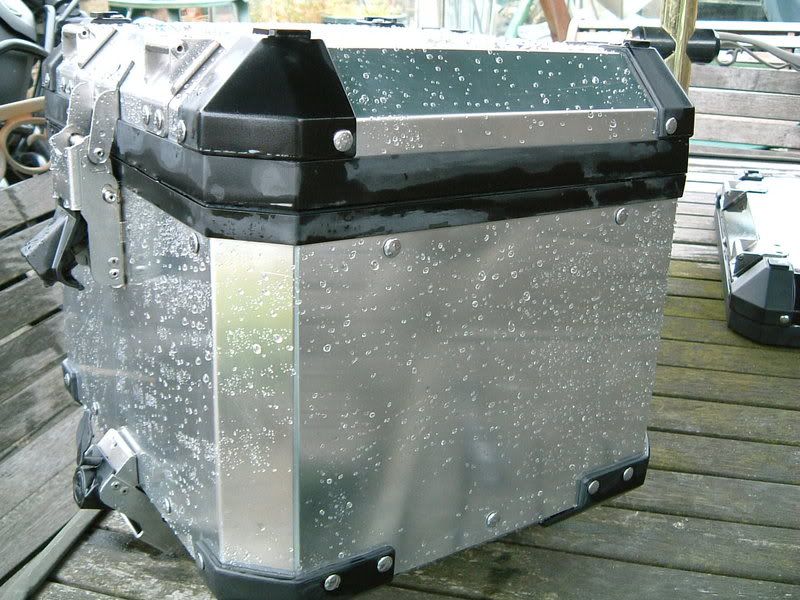
Body of Pannier - approx 1 1/2 hours


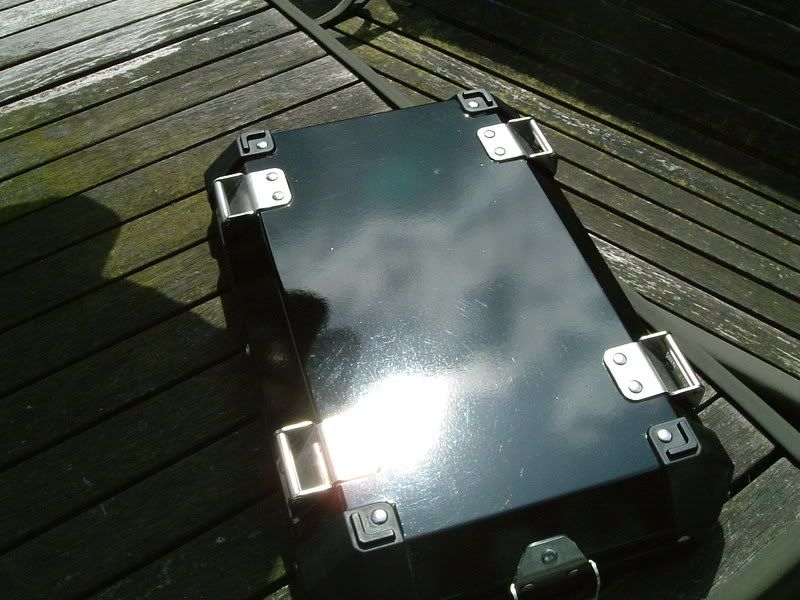
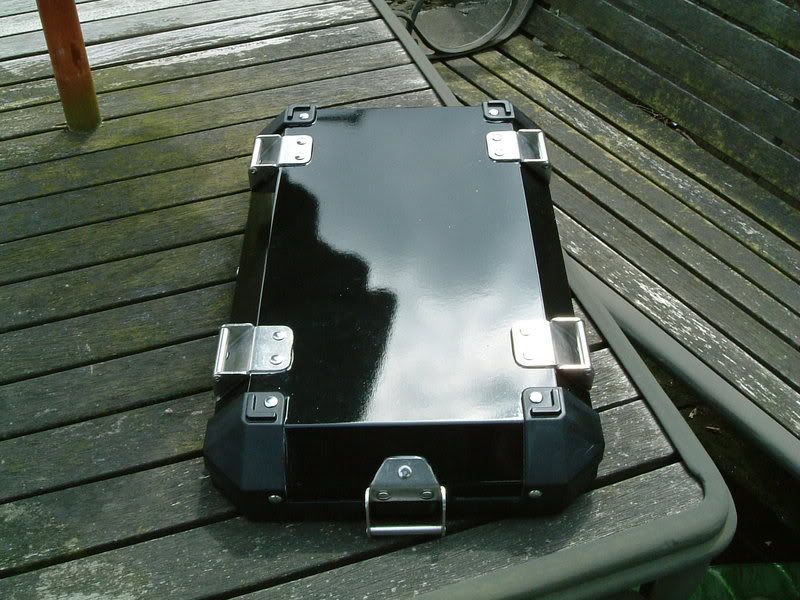
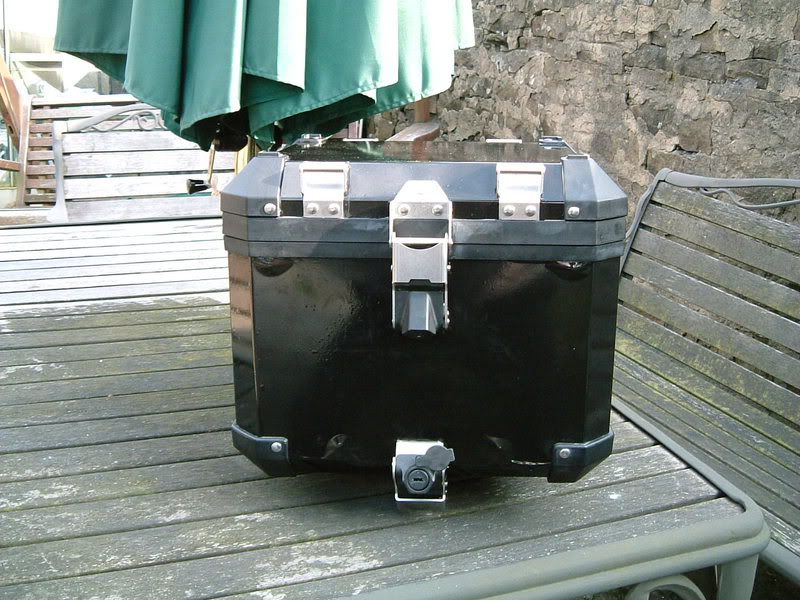
There will be a lot of air bubbles once you've applied the vinyl. You obviously get rid of as many of these during application by gently sweeping the vinyl with a card or suchlike. Any larger bubbles can be pricked with a fine needle and the air teased out of them. All the smaller bubbles will go down of their own accord over the next 2 days. The result is almost like a smooth powder coated finish. All of the above pictures have been taken during or immediately after the application of the vinyl, so there are still a lot of air bubbles present.

** Do not panic about the air bubbles **


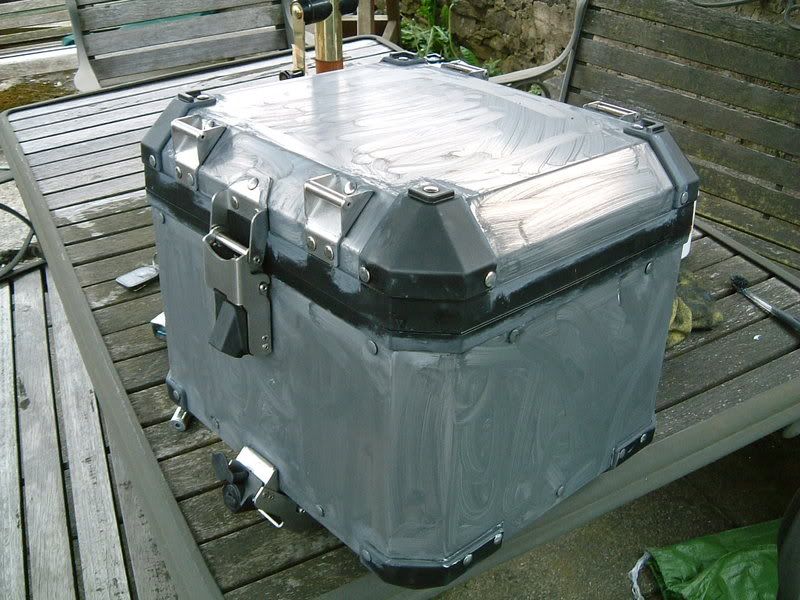
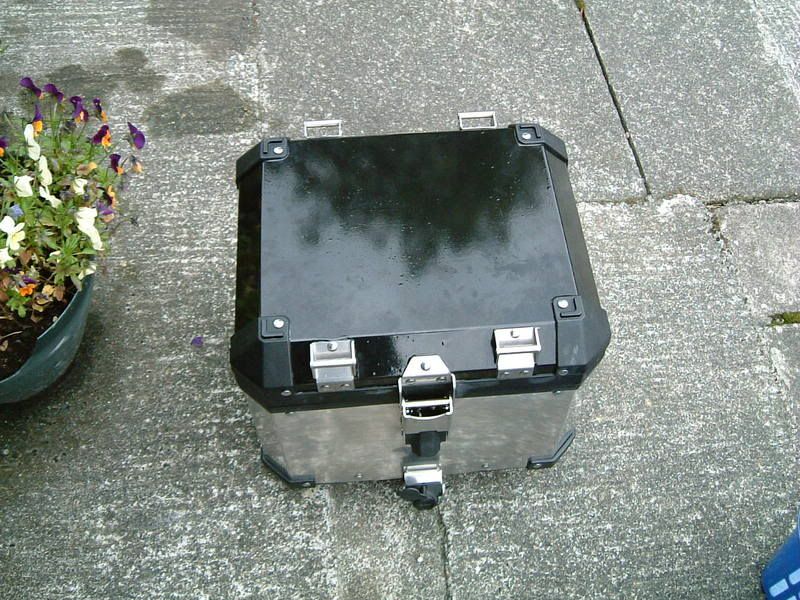
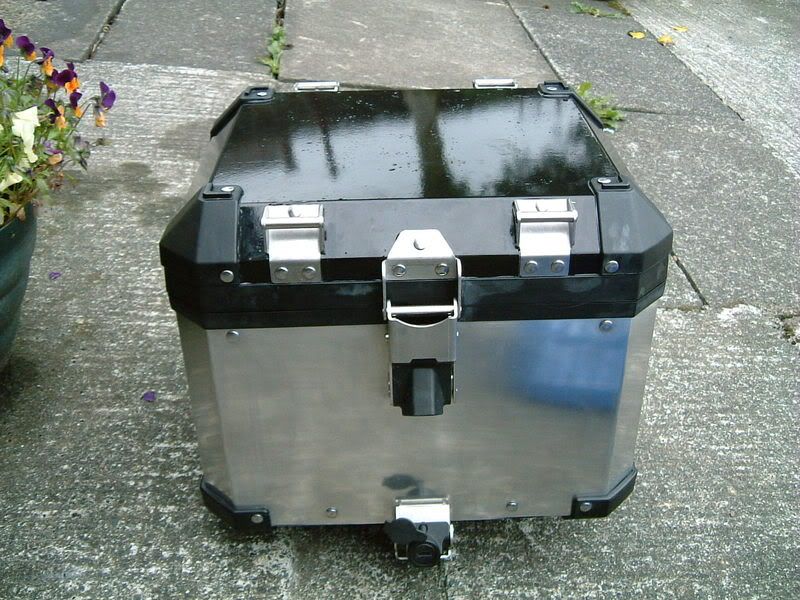
I have just washed the topbox. It has been on the bike continuously for 2 years, through all weathers, and shows no signs of corrosion at all. It has also never seen Autosol in it's life. Seems strange :blast

Giving it a good clean took 20 minutes. It's outside drying in the sun the now. Treating with Acetone will take 10 minutes and it'll be ready for application.


:beerjug:
 
The pannier lid after 2 days. You can see that all the air bubbles have gone and the finish is pretty good ;)

Panniers004-2.jpg


Panniers005-2.jpg


:clap
 
good job.BUT!!!!!!!!!!!
i can see many jobs that need doing in the garden / out back.:augie ;)
 
dunno bout the panniers but look at the rust on the back disc,,,,,,get out on it instead o polishin it , oh great one
 
good job.BUT!!!!!!!!!!!
i can see many jobs that need doing in the garden / out back.:augie ;)

I'll make a start then, the garden furniture needs a little TLC and tidy up that hose it's a trip hazard as is the paving, and then there's th.......

Oh why bother it'll be the end of summer before he's finished the panniers


They do look good though:D:thumb2

Shep
 
I'll make a start then, the garden furniture needs a little TLC and tidy up that hose it's a trip hazard as is the paving, and then there's th.......

Oh why bother it'll be the end of summer before he's finished the panniers


They do look good though:D:thumb2

Shep

  • Garden furniture needs stripping and varnishing/painting
  • Grass needs cutting
  • Tea needs cooking
  • Flower beds need weeding
  • Drive needs powerwashing
  • Garage roof needs fixing
  • SWMBOs carb needs fixing and re-installing in bike
  • Bike needs washing
  • Swing needs fixing
  • 1 computer needs fixing
  • Car and Van need washing
  • And there's more....

A man's work is never done :blast
 
Round 4 Ding Ding

That strip that you trimmed, remember ?? :confused: :rolleyes:

Well now you can use it to fill this bit in. Not seen most of the time, but it will stop corrosion.

First strip is 176mm long (hard size)

Panniers012-2.jpg


Second strip is 210mm long (hard size)

Panniers013-2.jpg


Third strip is 176mm long (hard size), you will need to trim the width as well

Panniers014-2.jpg


:mmmm

:mmmm.
indeed.
don't ferk it up at the end
we would hate to take the pish when we see you about and people say 'nice job'.
then they see the back.:augie;)
you have got plenty of vinyl, if a jobs worth doing etc etc :p
 
:rolleyes::rolleyes: :stupid

In case you make a mistake later on in your new found skill of vinyl application, you might be best saving the "leeway" that you have - just in case ;)


On second thoughts, I decided to give the topbox an Autosol treatment. As there was little or no corrosion, this was an easy task and the surfaces are now clean and smooth for the vinyl application.

Panniers006-2.jpg


Hint : Use a toothbrush for getting into the corners and edges when cleaning, this is where it is vital that the vinyl binds securely

Panniers007-2.jpg


Panniers008-2.jpg


:p
 
Almost like new ;)

Panniers009-3.jpg


Panniers011-2.jpg


By now you will have mastered the art of vinyl application and the principles described so far can be applied to the two remaining boxes. Good luck :thumb
 
Almost like new ;)

Panniers009-3.jpg


Panniers011-2.jpg


By now you will have mastered the art of vinyl application and the principles described so far can be applied to the two remaining boxes. Good luck :thumb

that will be rusty by morning.:augie:D:D
 
Topbox

The bottom done in three sections

Mod002.jpg


Mod001.jpg


Mod003.jpg
 
And the box itself

Panniers001-3.jpg


Panniers002-4.jpg


Panniers003-4.jpg


(Note: This is immediately after application and air bubbles are still present)
 
LHS Pannier (Exhaust Side)

As ever, it's out with the Autosol blah blah blah :eek:

Until you've a nice clean, smooth finish ;)

I didn't bother taking the locks off this time, but that shouldn't be a problem :augie

Panniers001-4.jpg


Panniers002-5.jpg


:sleep:sleep


Back
Top Bottom