
You are using an out of date browser. It may not display this or other websites correctly.
You should upgrade or use an alternative browser.
You should upgrade or use an alternative browser.
Two stroke winter project
- Thread starter (RIP) Tunneruk
- Start date

Now that's getting really exciting!
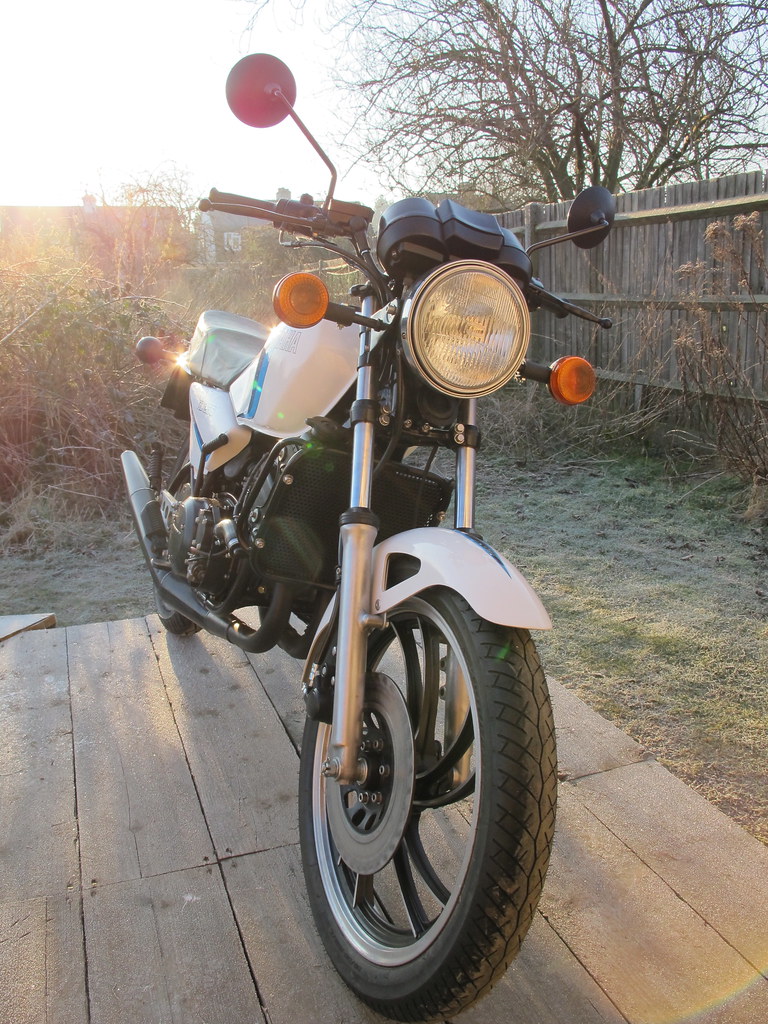
Those original indicators make a big difference, I reckon, they're a big part of the look.
It sounds really crisp, doesn't it?
PG
Those original indicators make a big difference, I reckon, they're a big part of the look.
It sounds really crisp, doesn't it?
PG
Now that's getting really exciting!
Those original indicators make a big difference, I reckon, they're a big part of the look.
It sounds really crisp, doesn't it?
PG
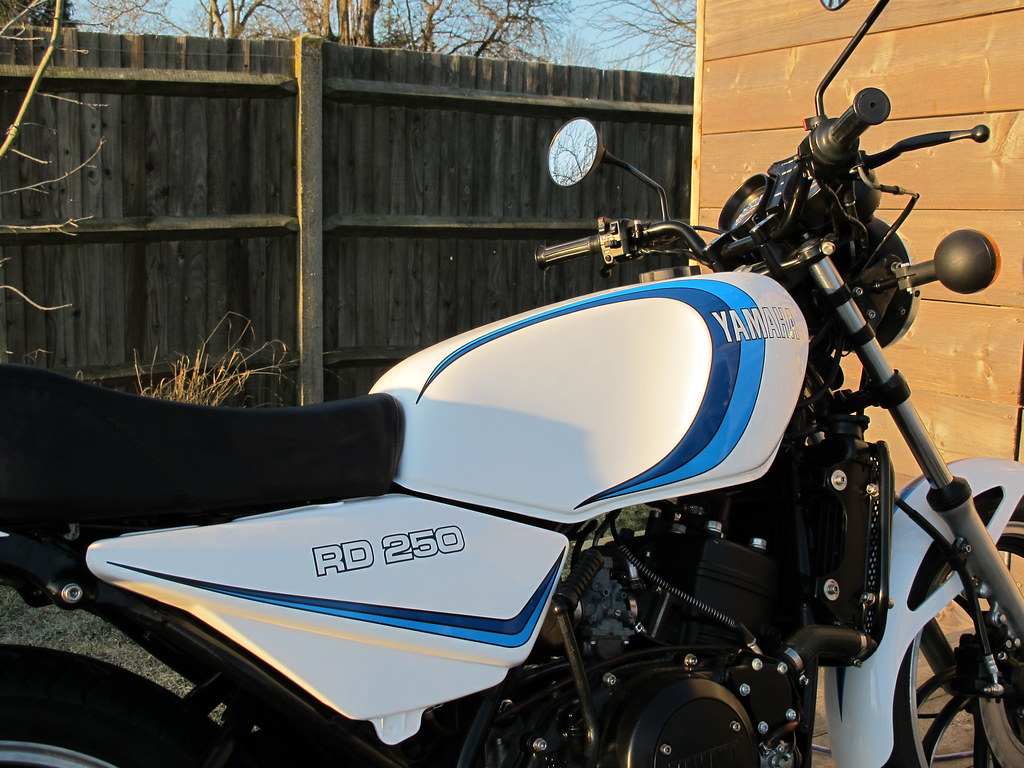
I make you right there, all the indicators were new replacements for the ugly square later versions which were fitted when I got the bike, it was an expensive excersize fitting them as I had to buy new mounting hardware for the front and a new subframe for the rear (They mount on a tubular arrangement welded to the rear subframe which had been cut on the original) but the end result so worth it.
I've subsequently got the clocks and headlight mounted so it looks altogether different again!
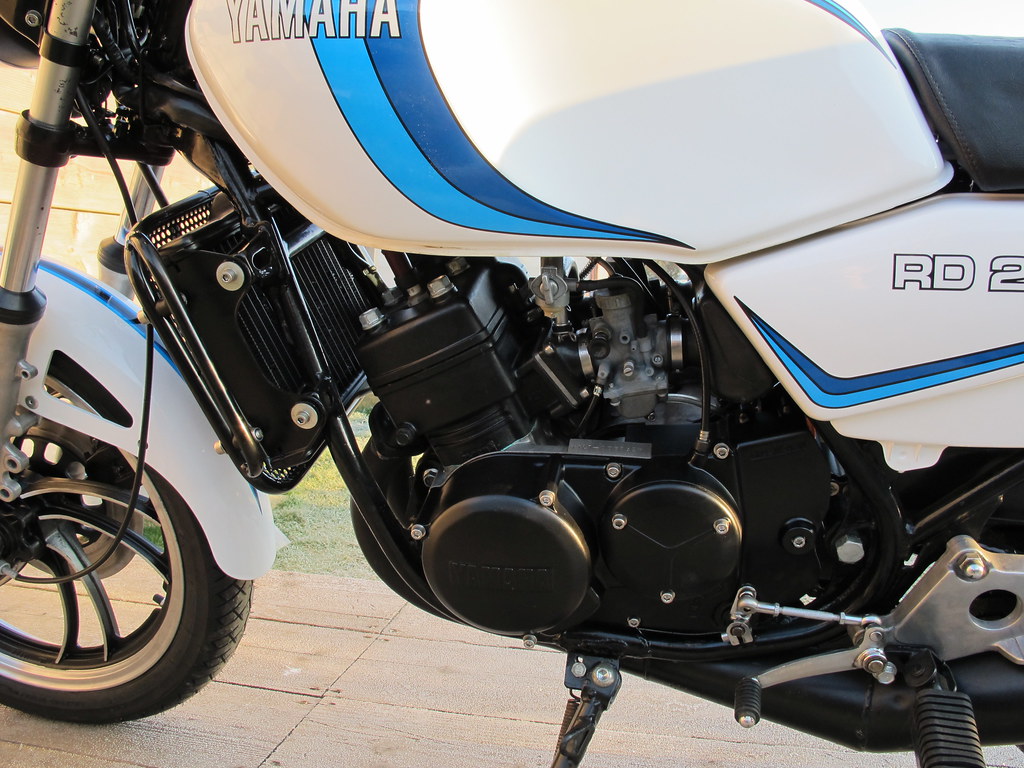
I can't tell you how chuffed I am with those pipes! I've deliberately not removed or cleaned the baffles yet as there's going to be an initial period of smokey oiliness while I get the bike up and running right, once it's all tip top I'll change the plugs and fully clean the baffles.
They do indeed sound very crisp, that was just the tone I was after and an indication that they'd not seen many miles before being removed from the original bike.
")
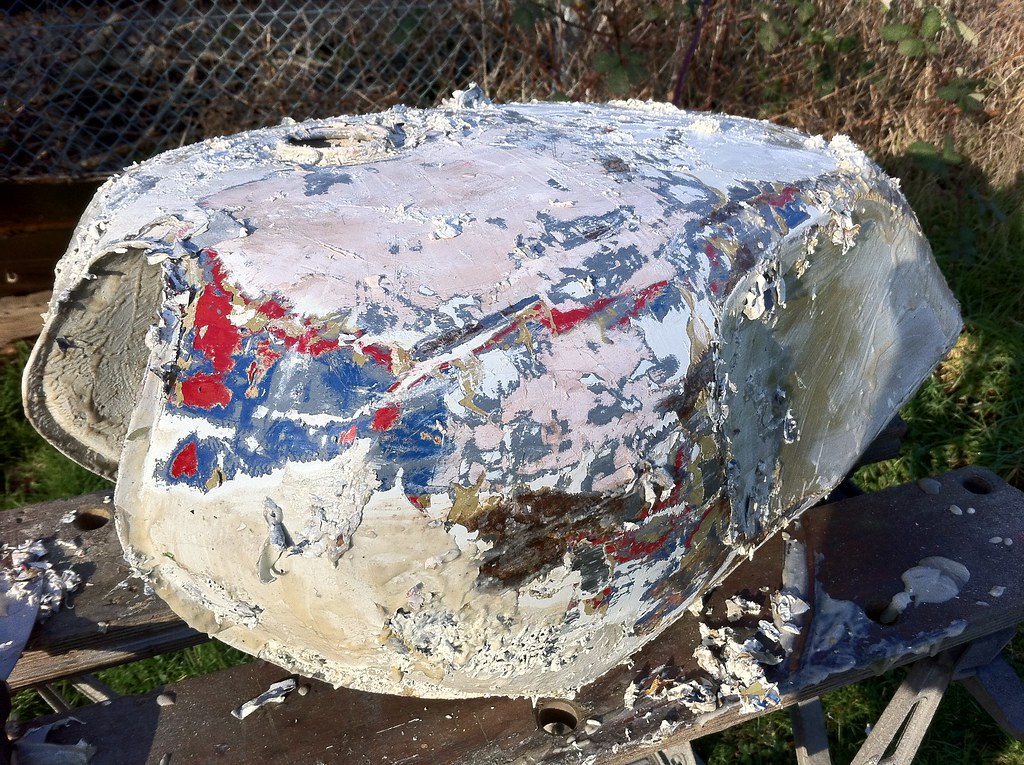
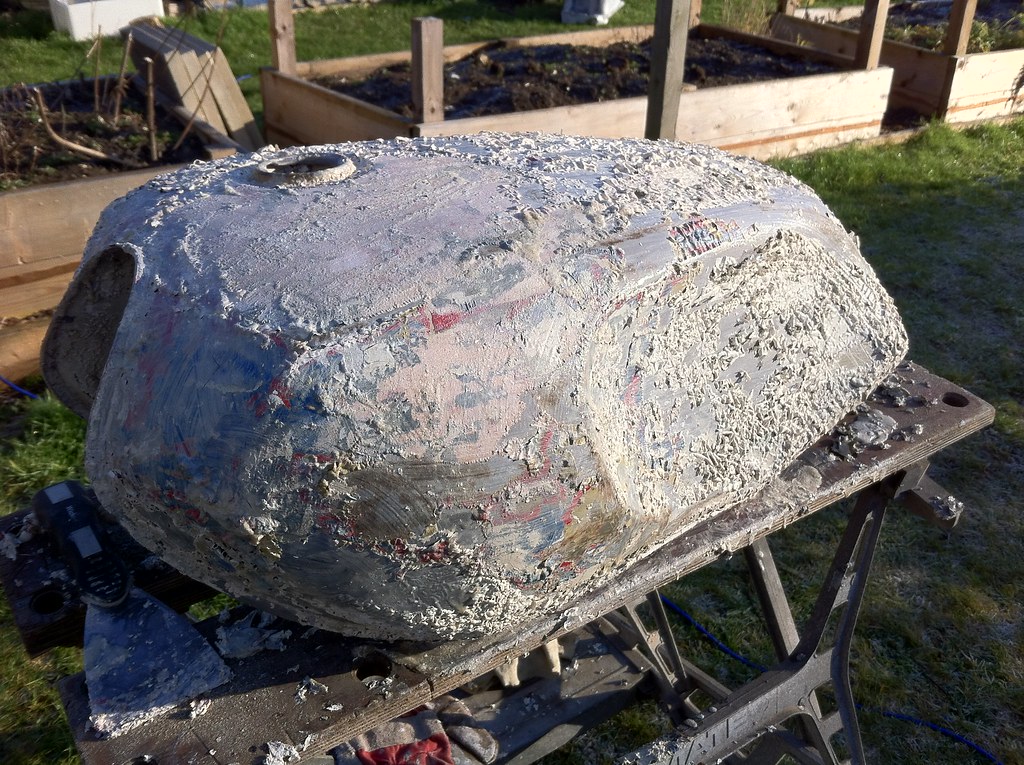
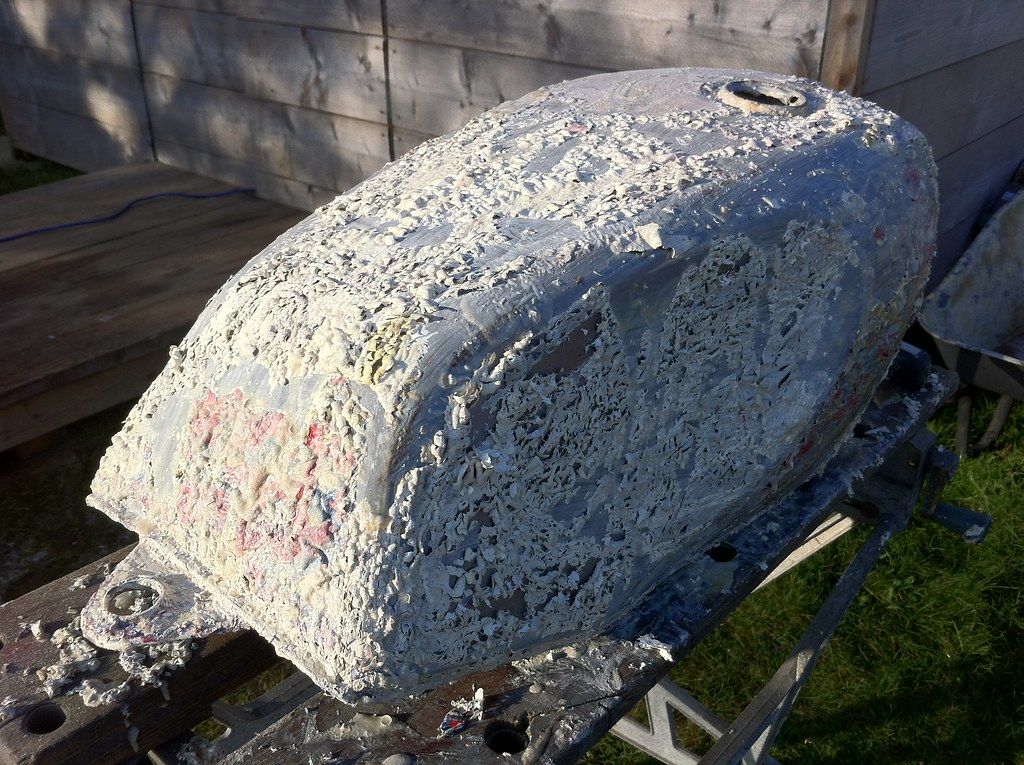
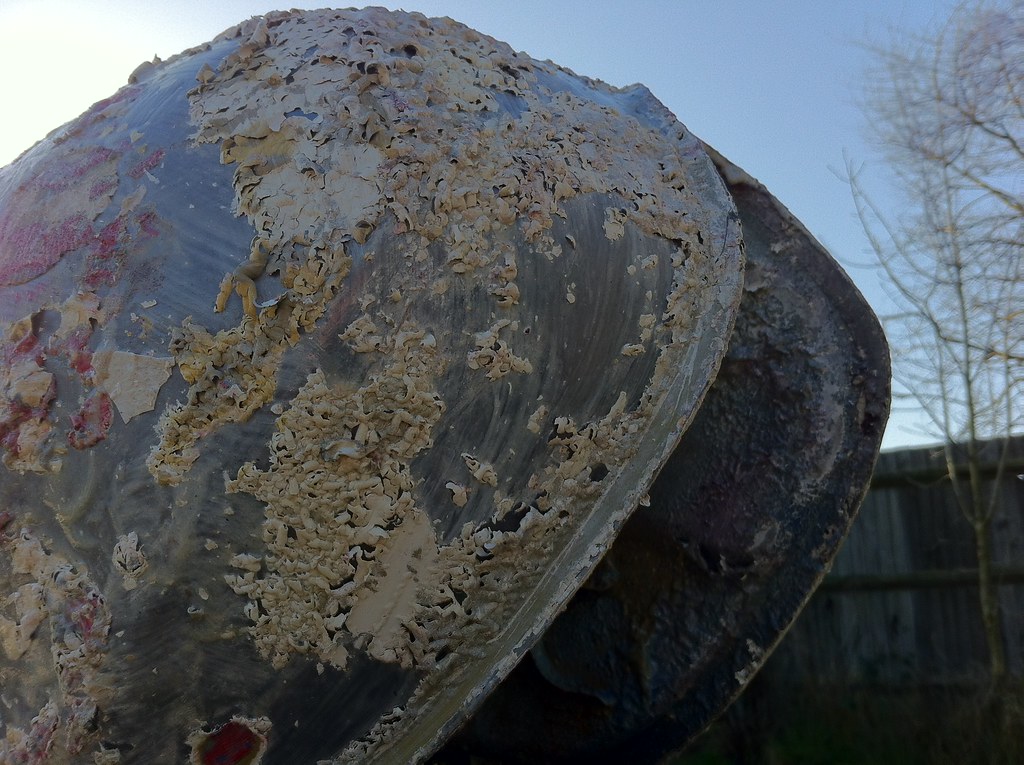
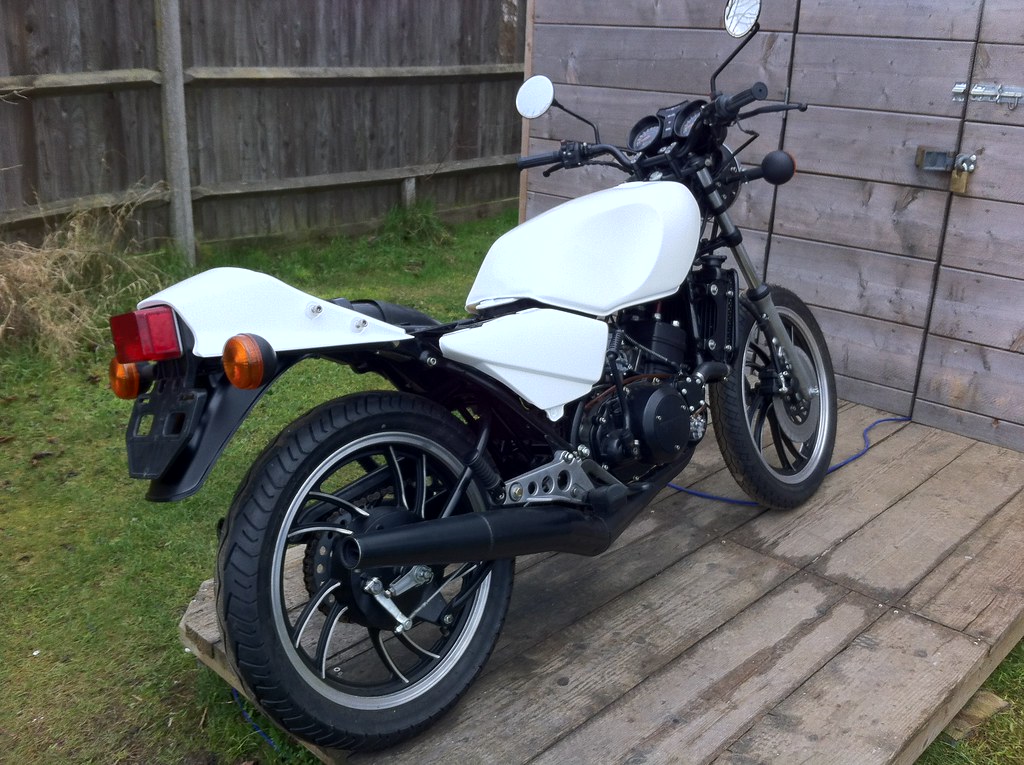
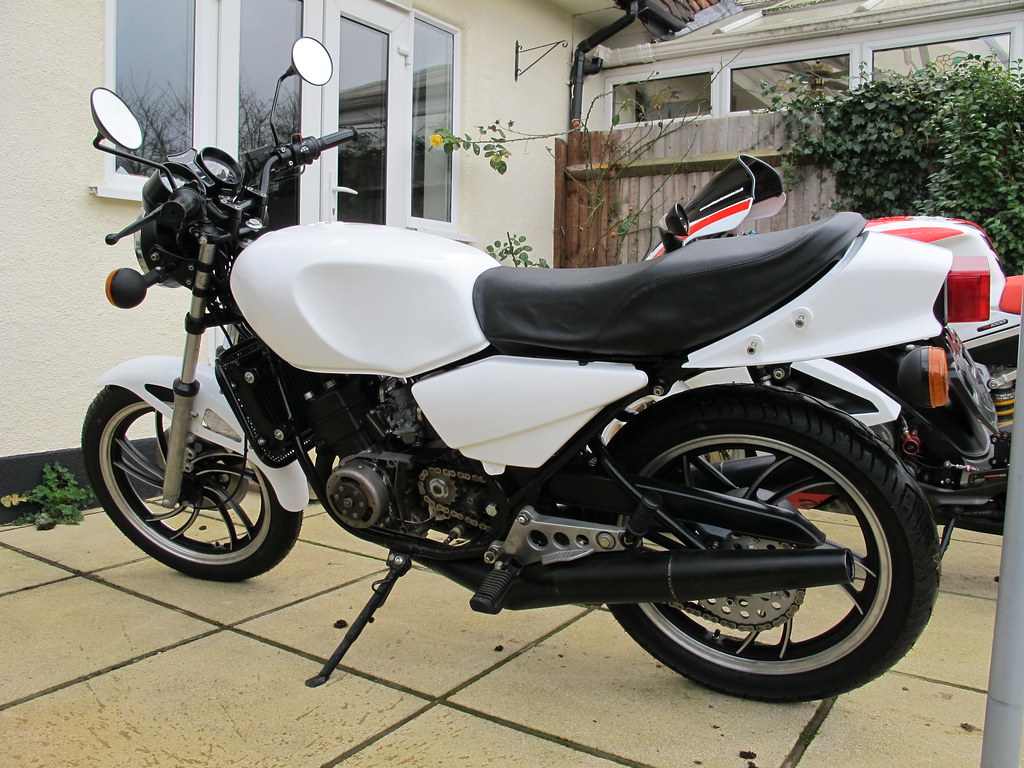
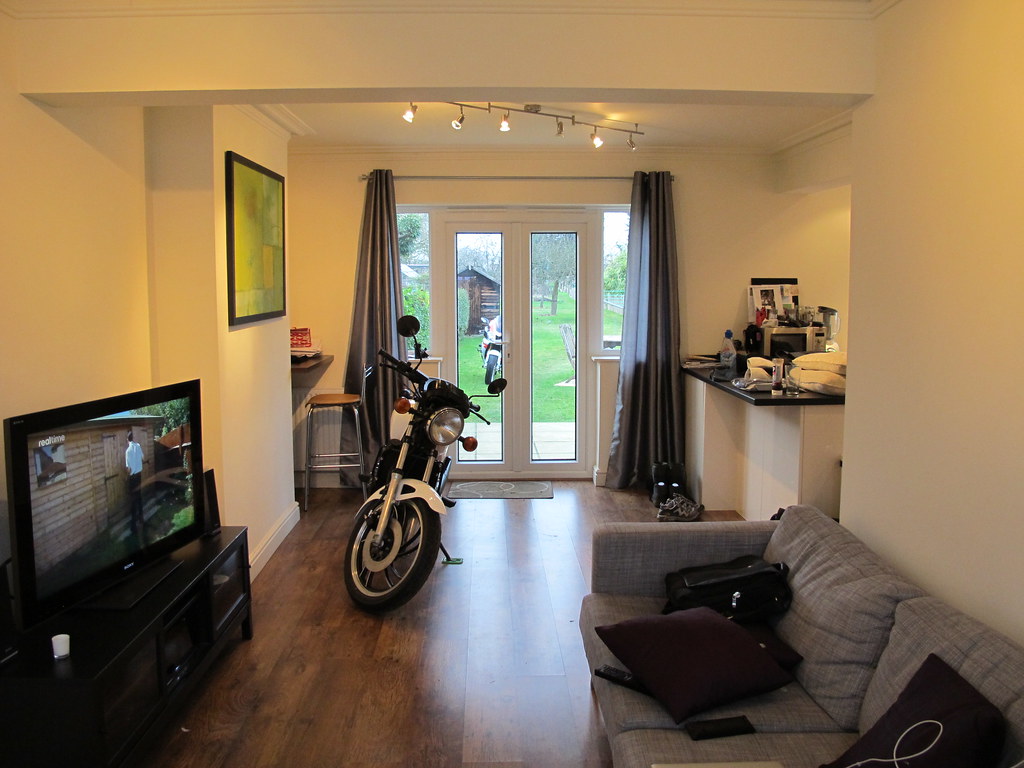
Warning - This post has many photographs
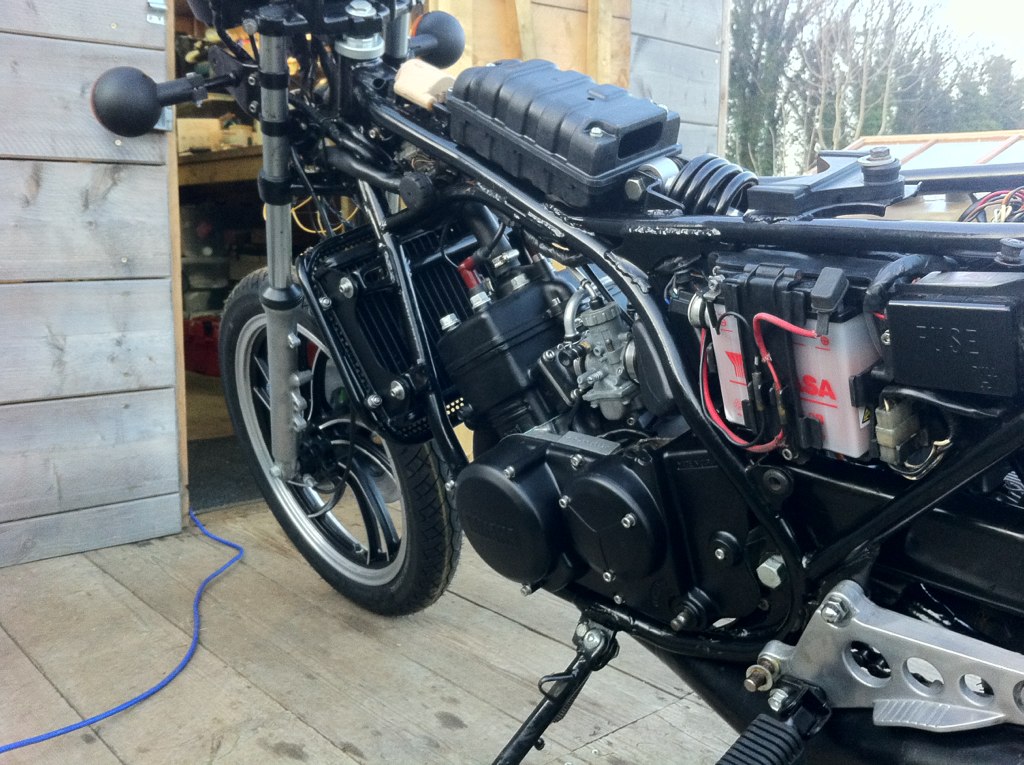
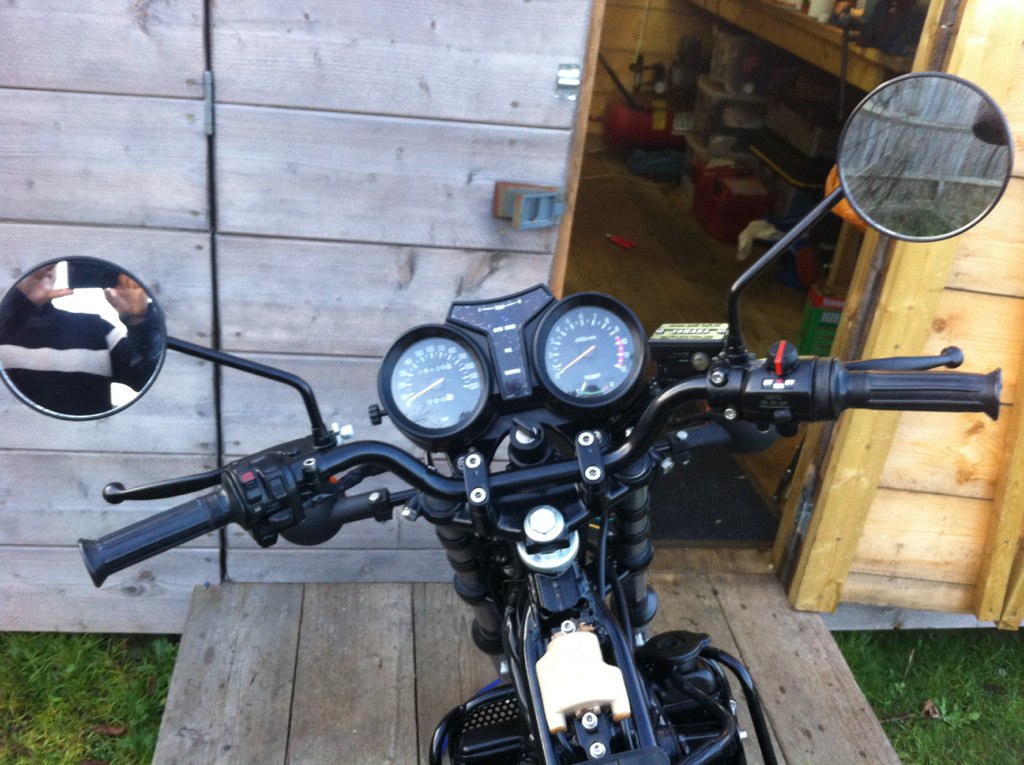
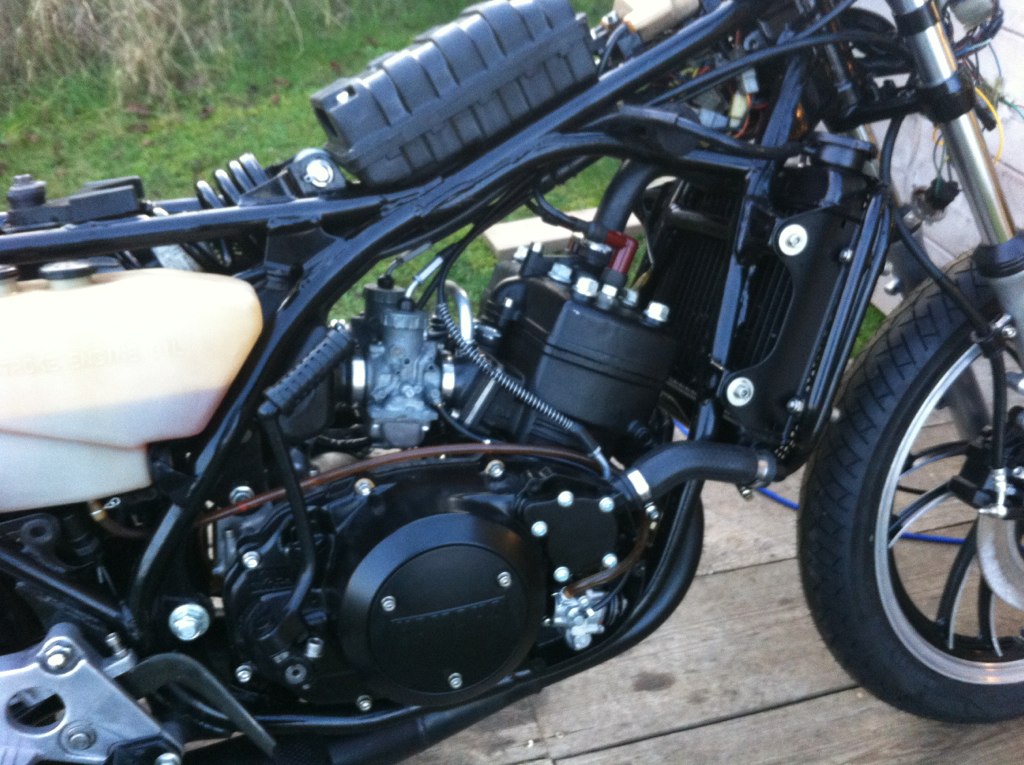
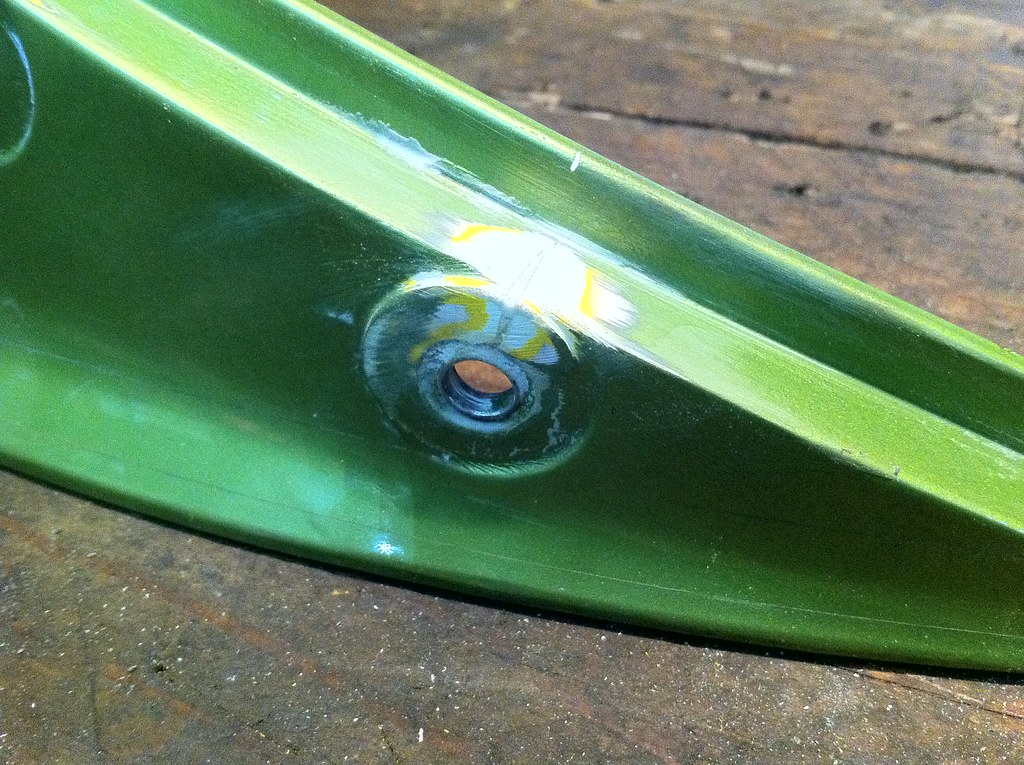
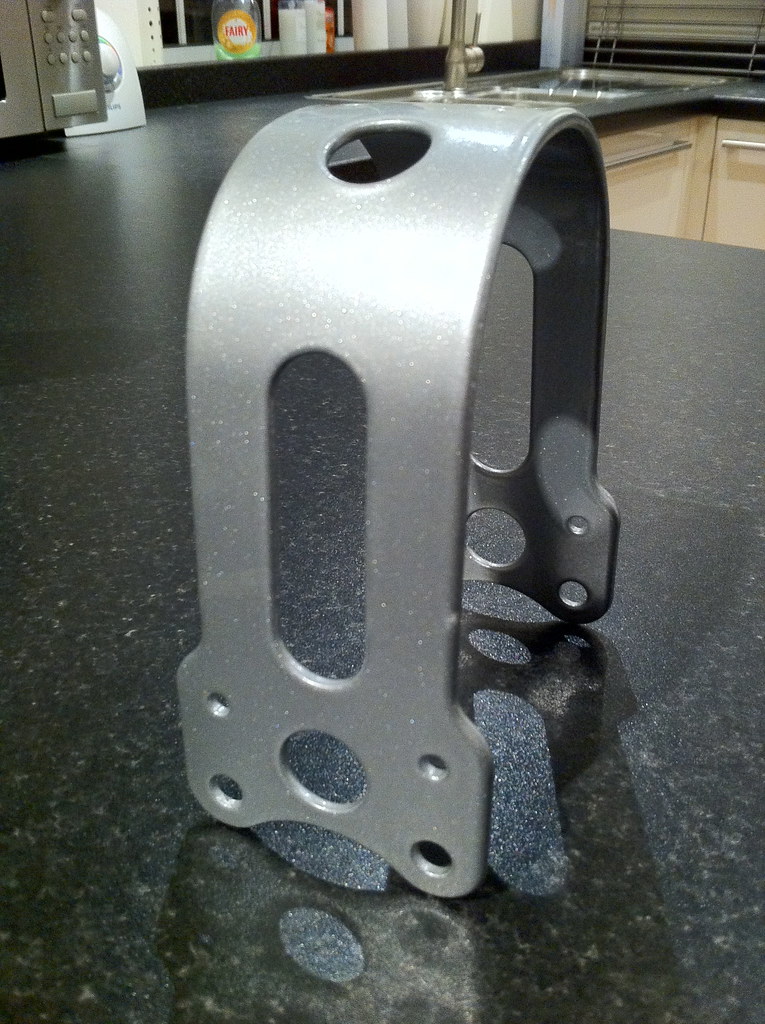
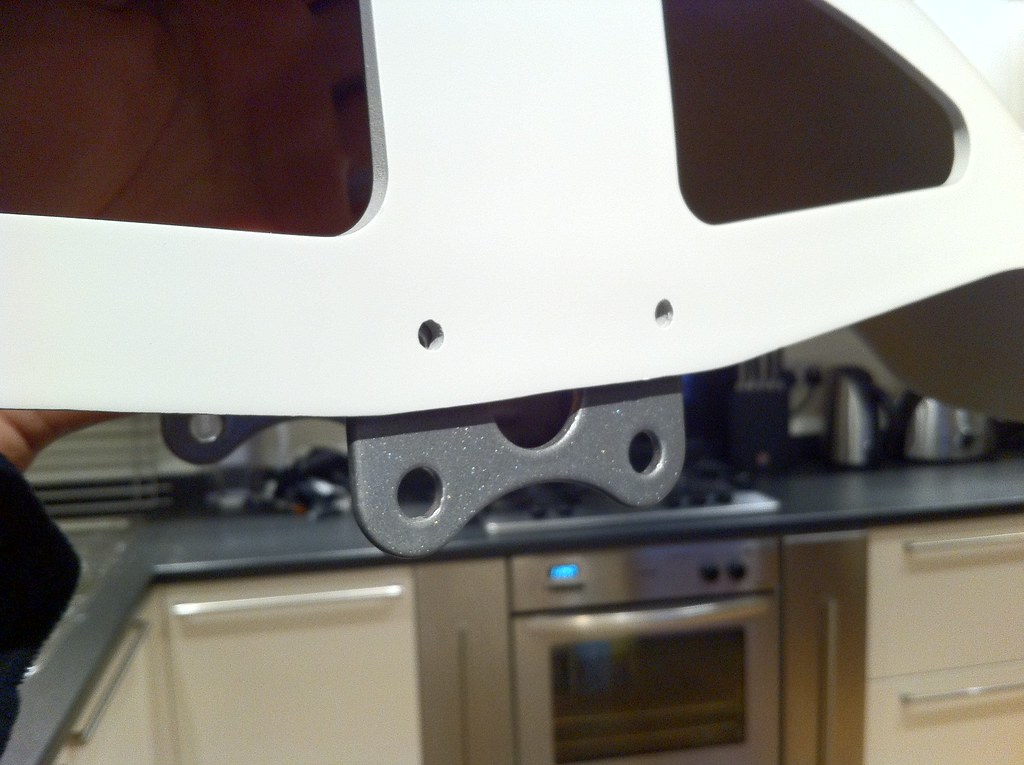
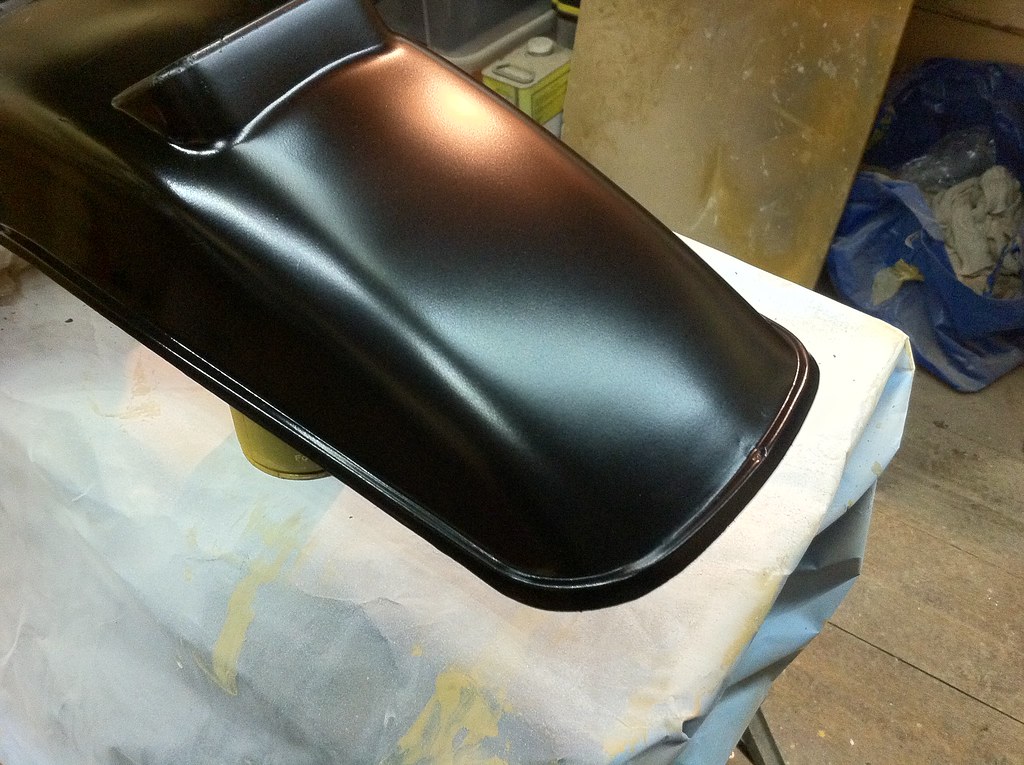
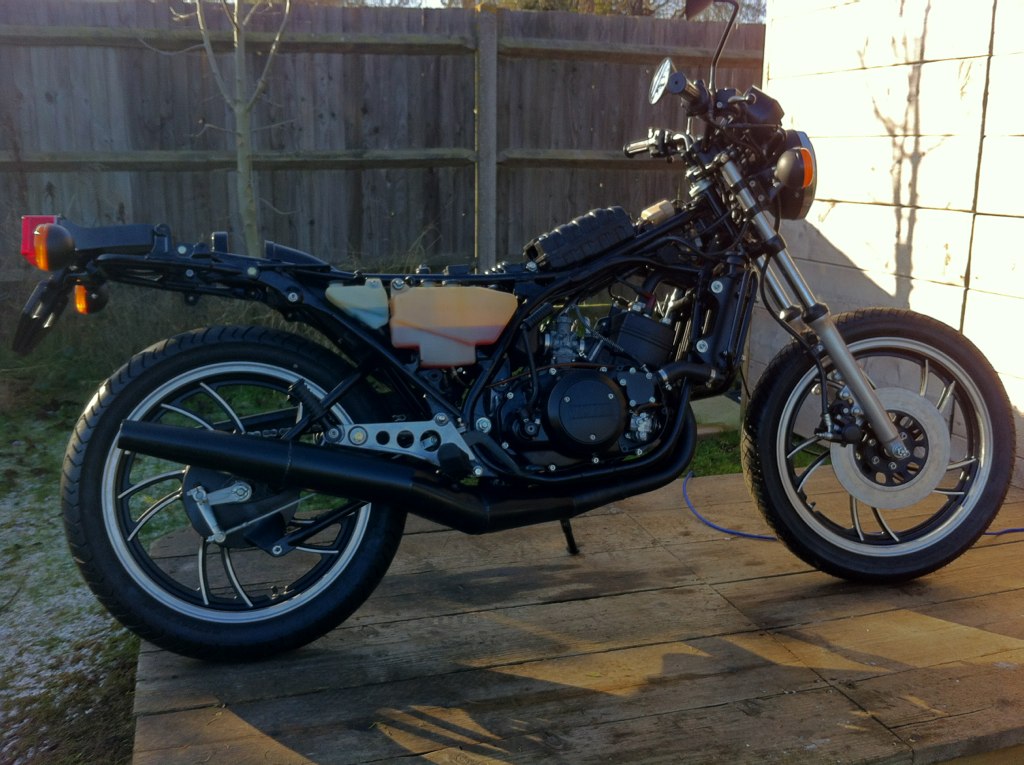
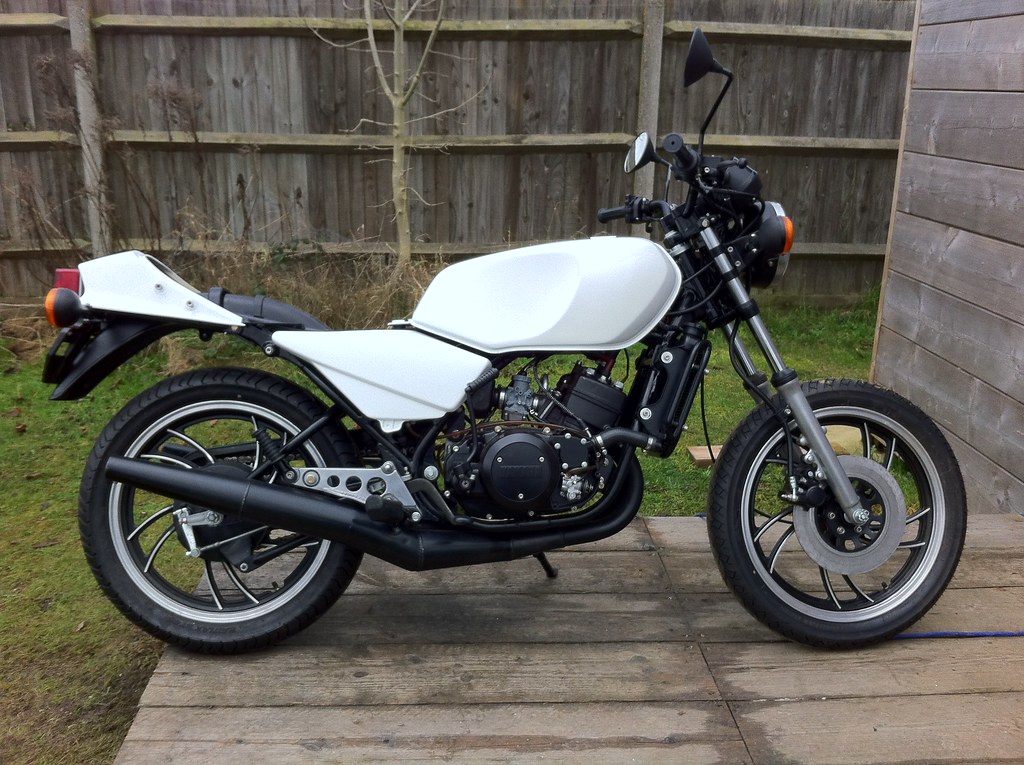
I've been a very busy boy!
I'm pretty much going to let the images do the talking ....
Untitled by tunneruk, on Flickr
Untitled by tunneruk, on Flickr
Untitled by tunneruk, on Flickr
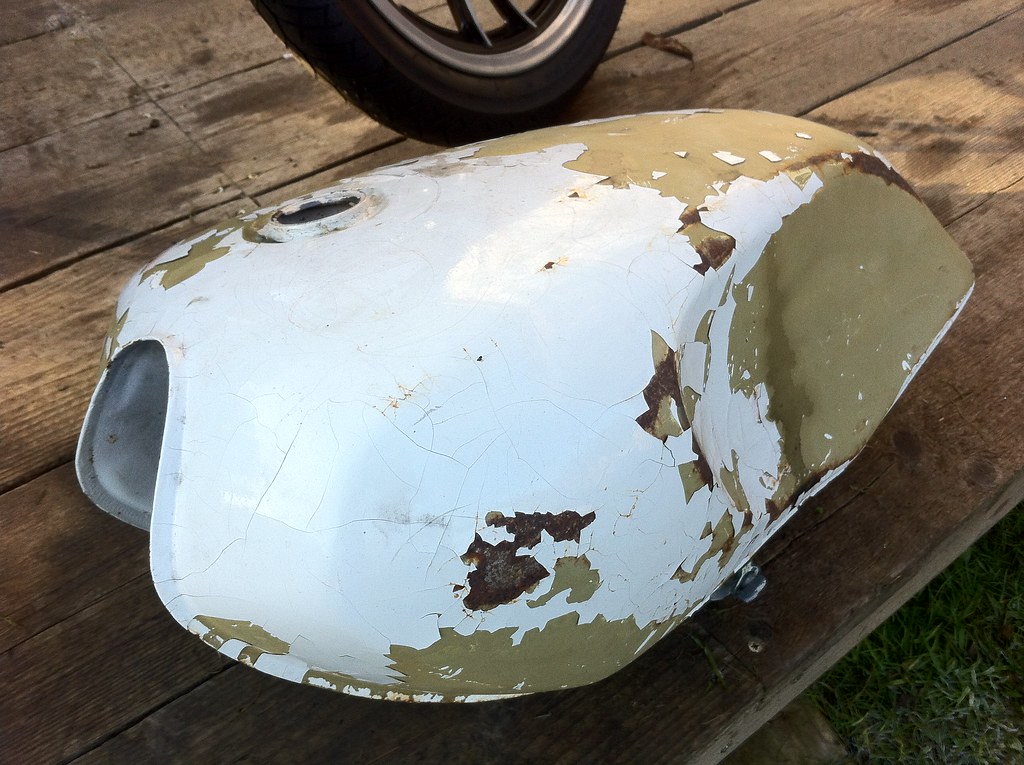
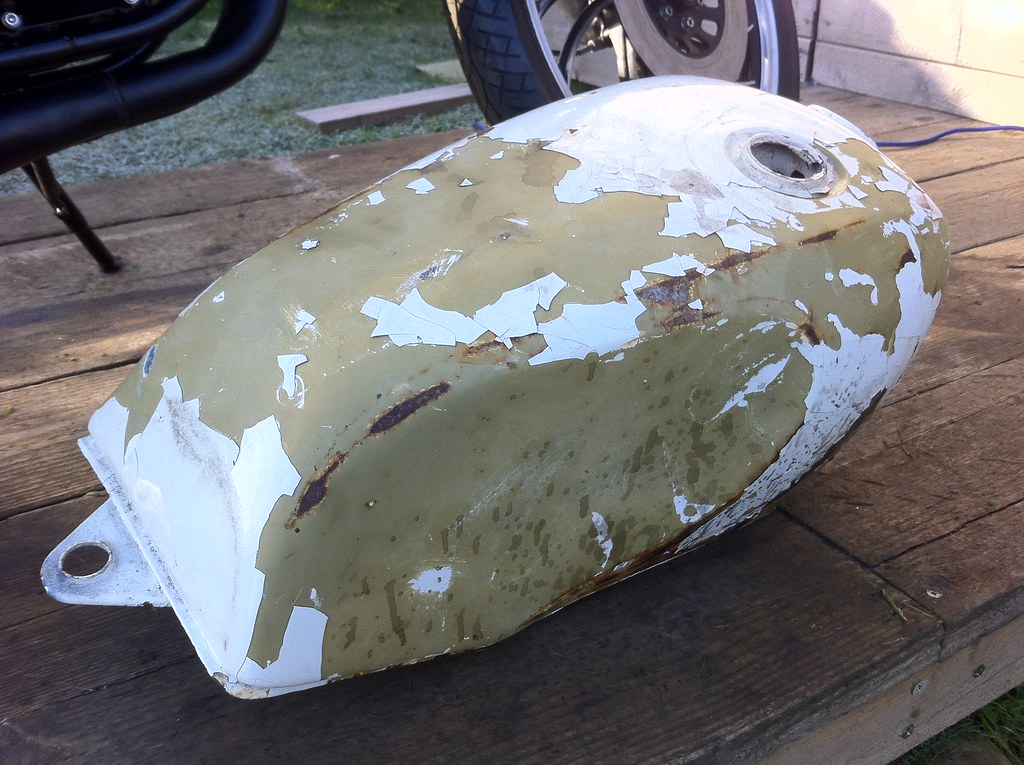
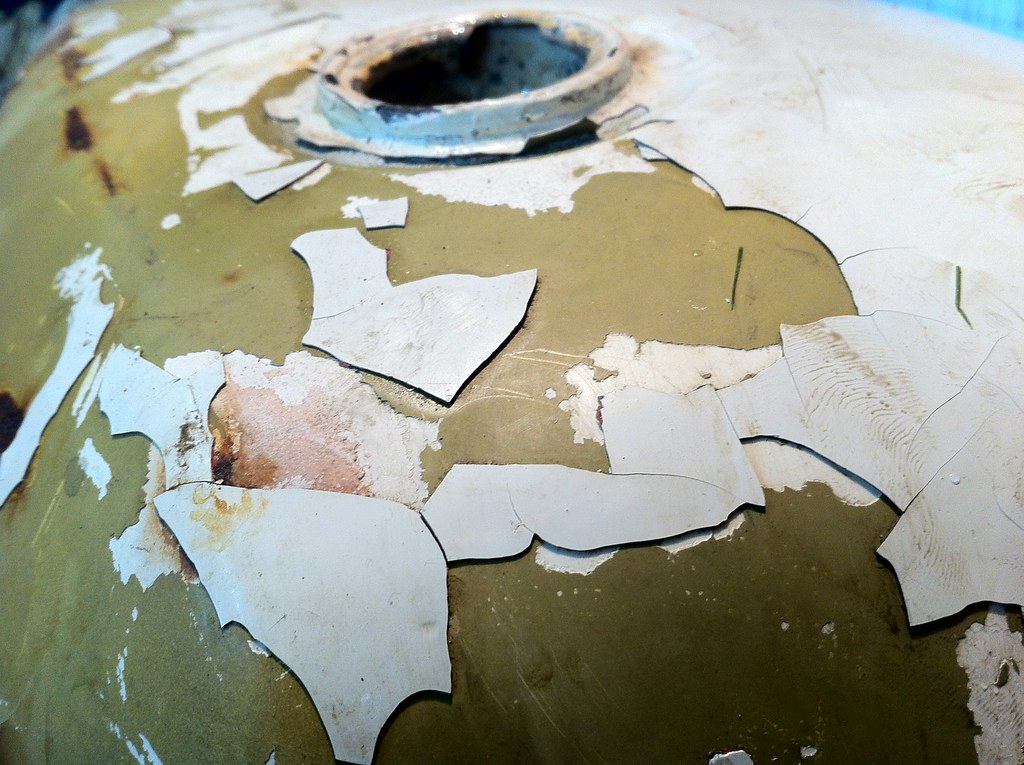
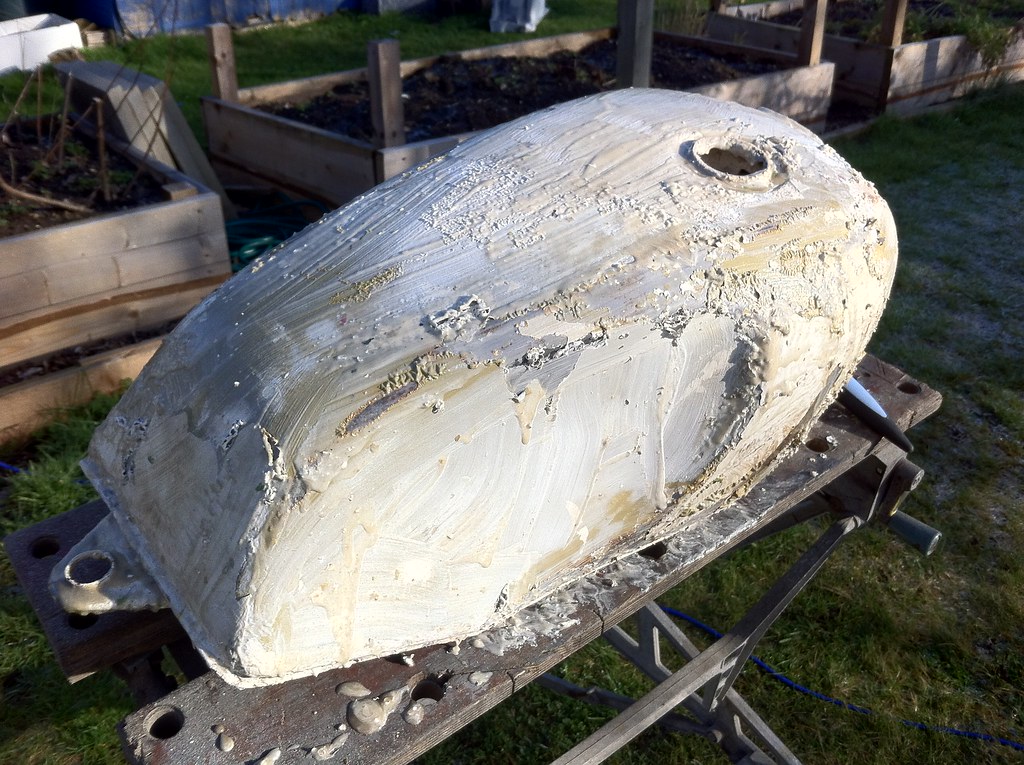
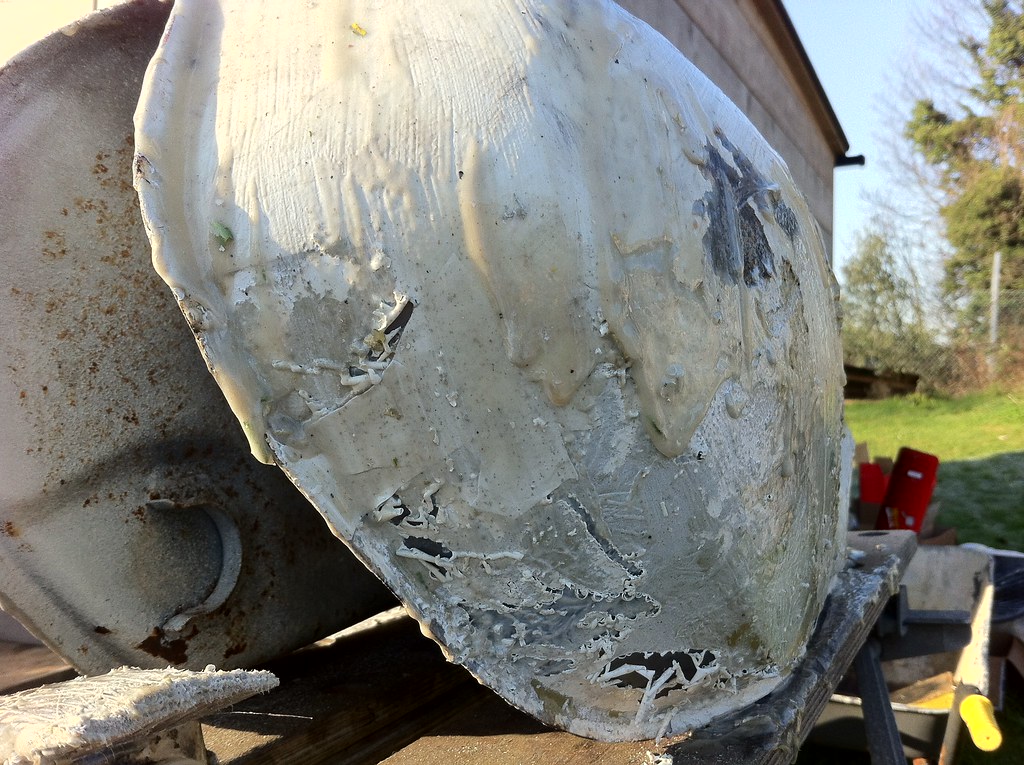
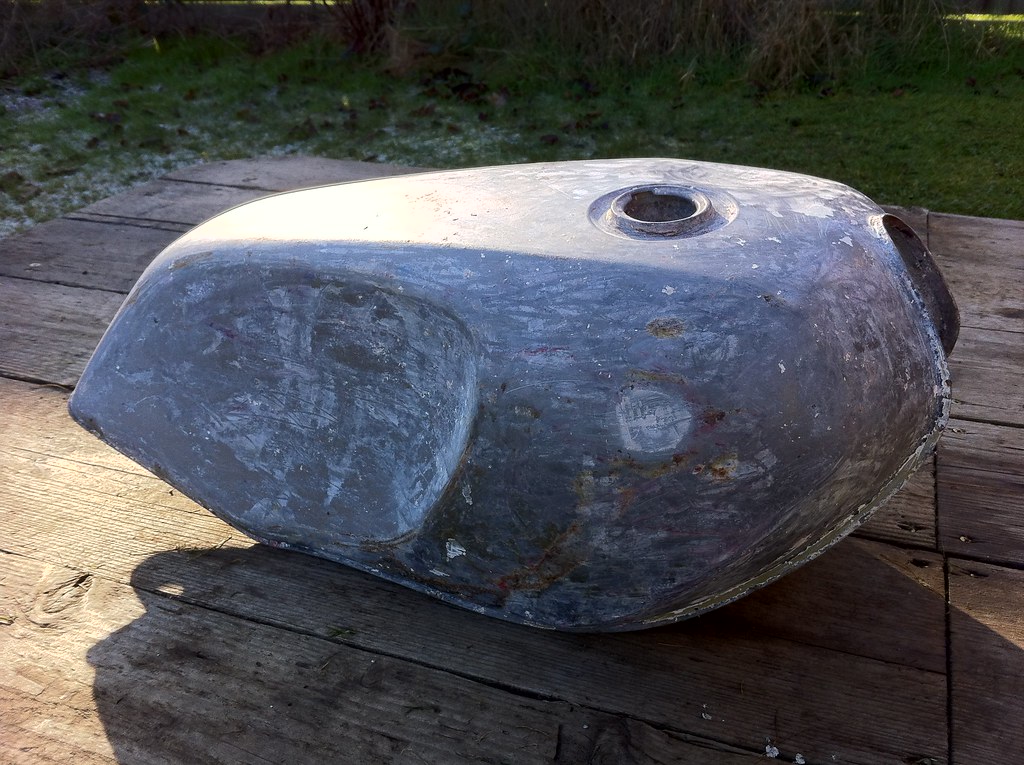
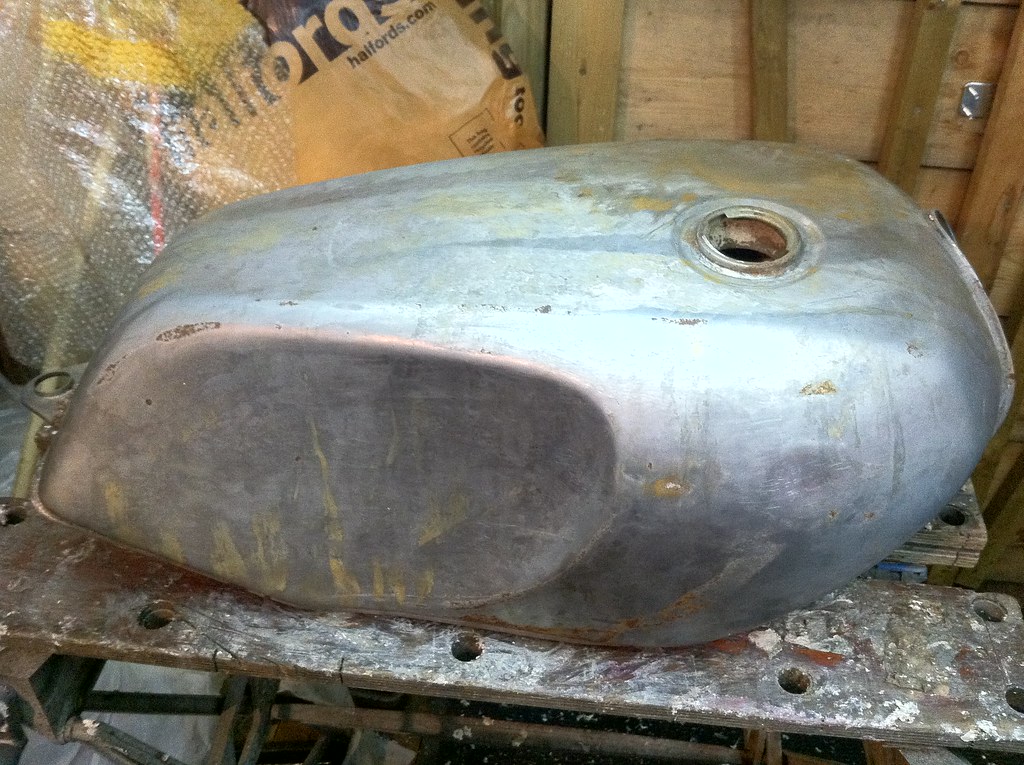
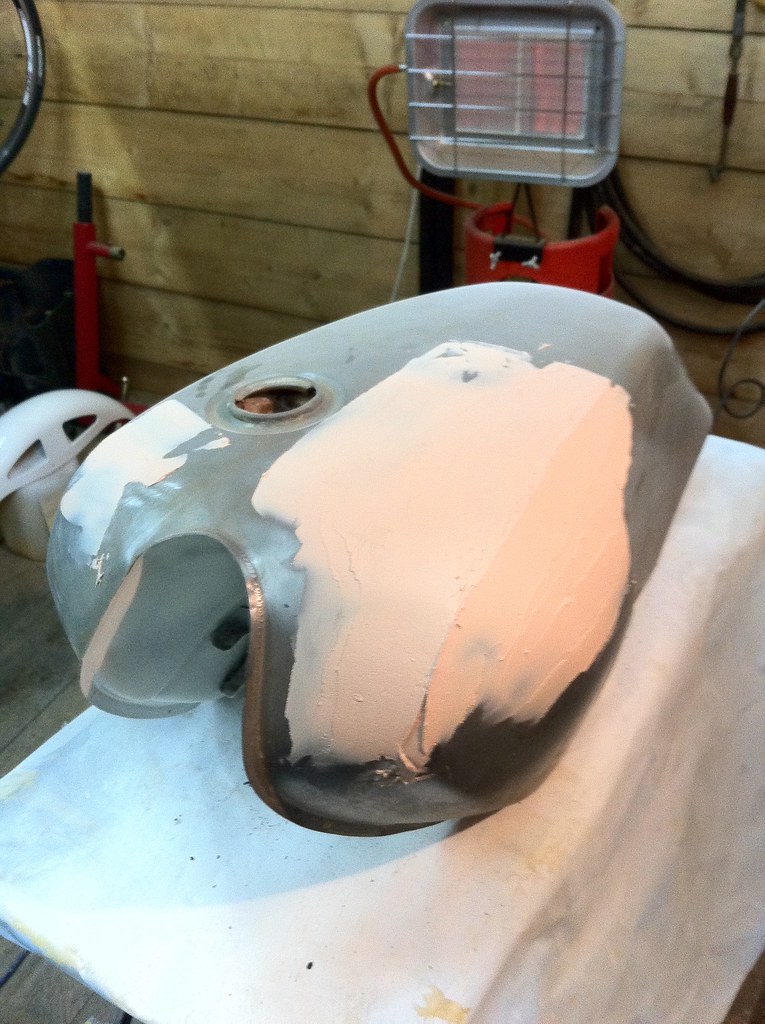
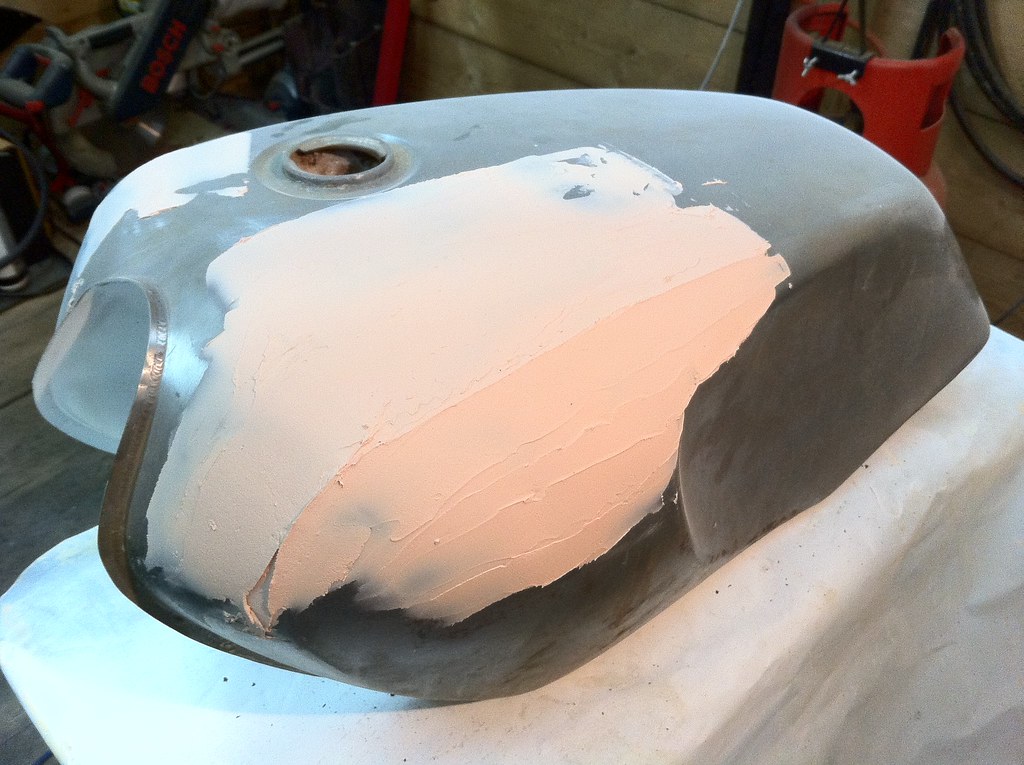
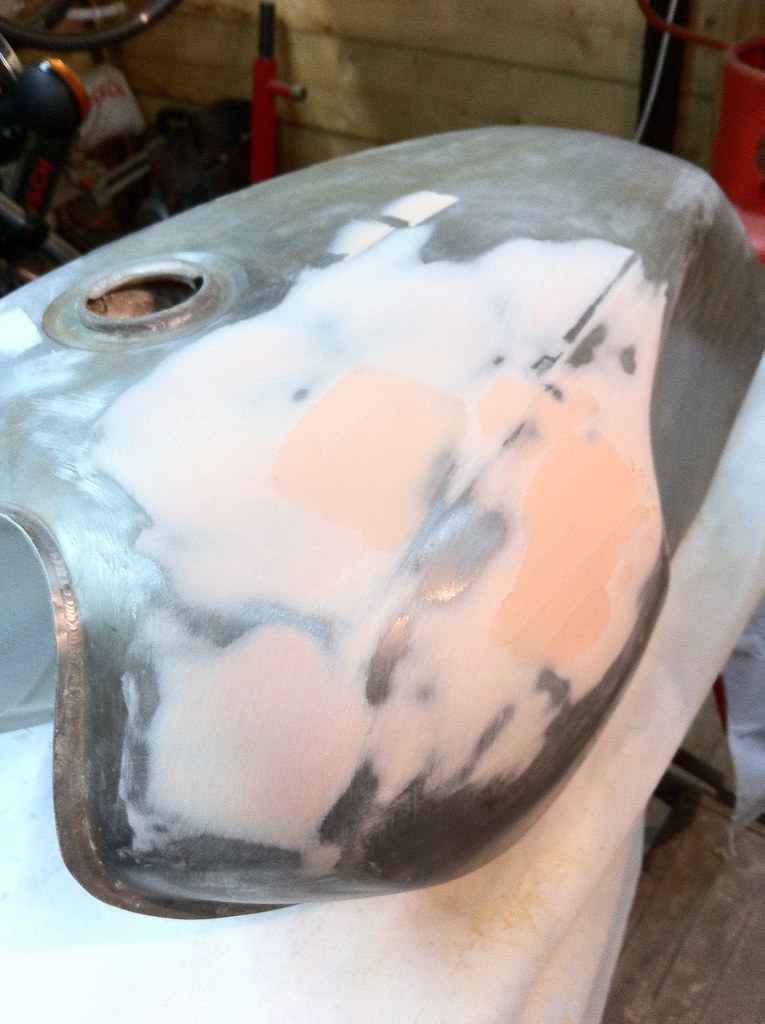
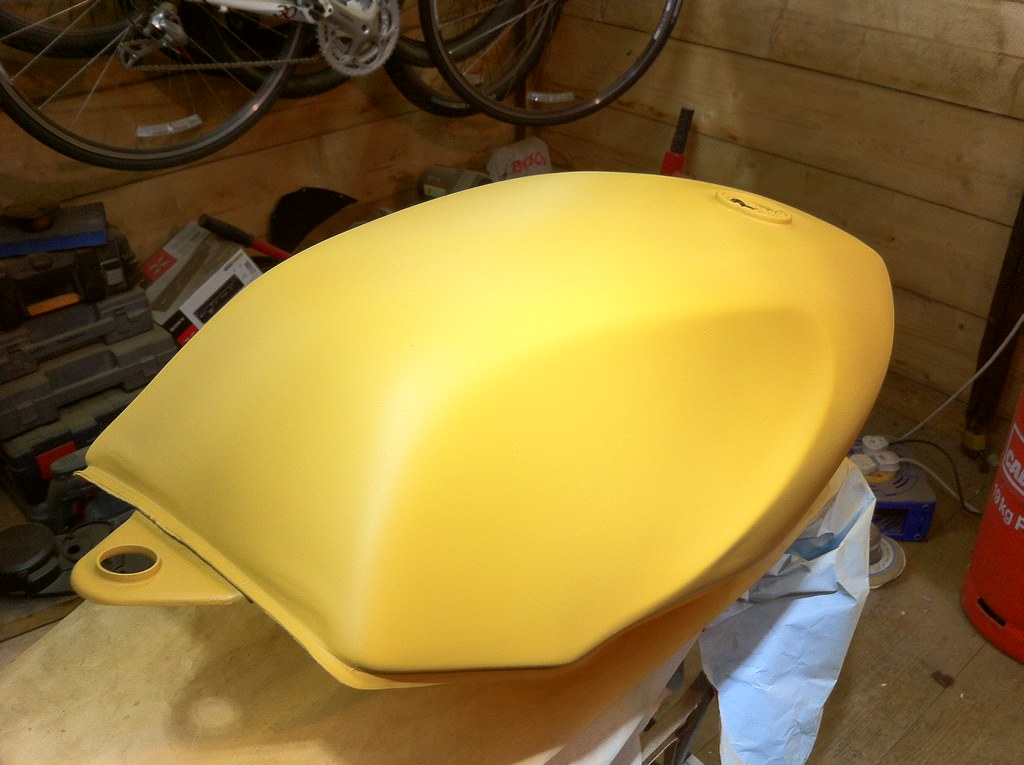
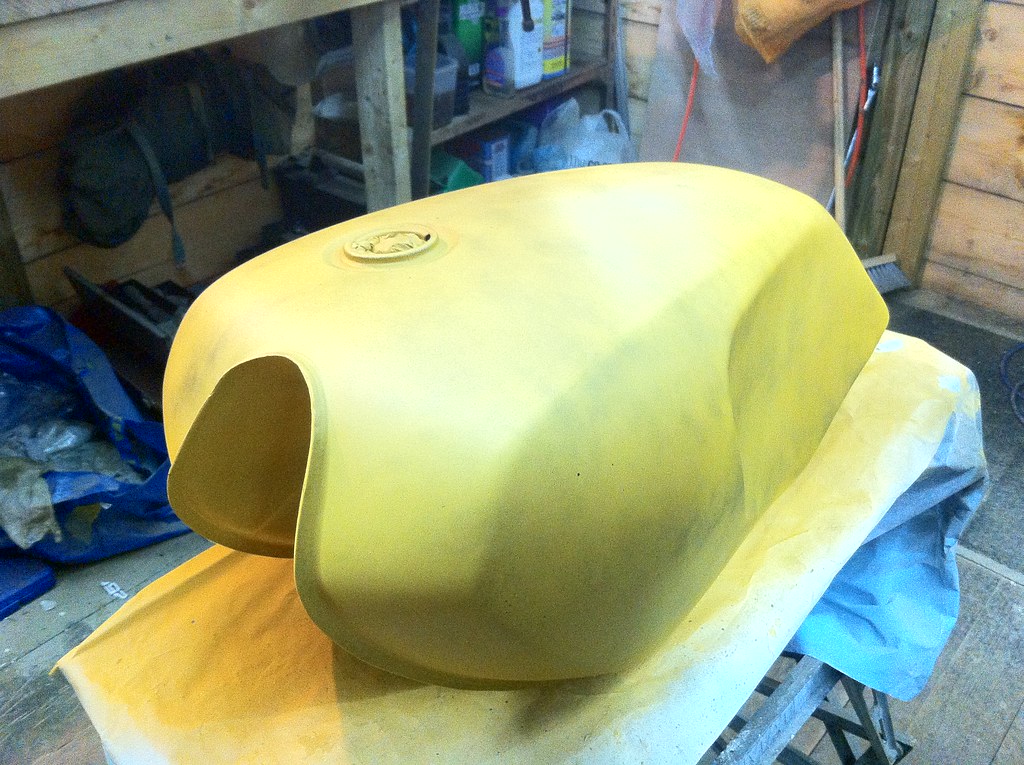
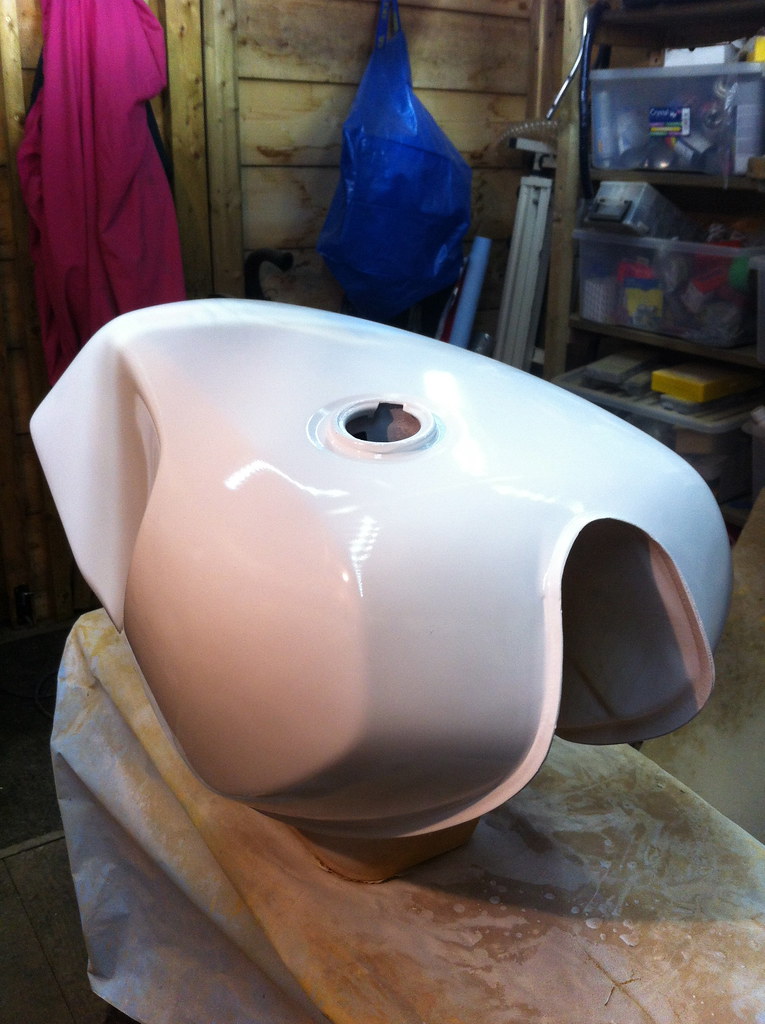
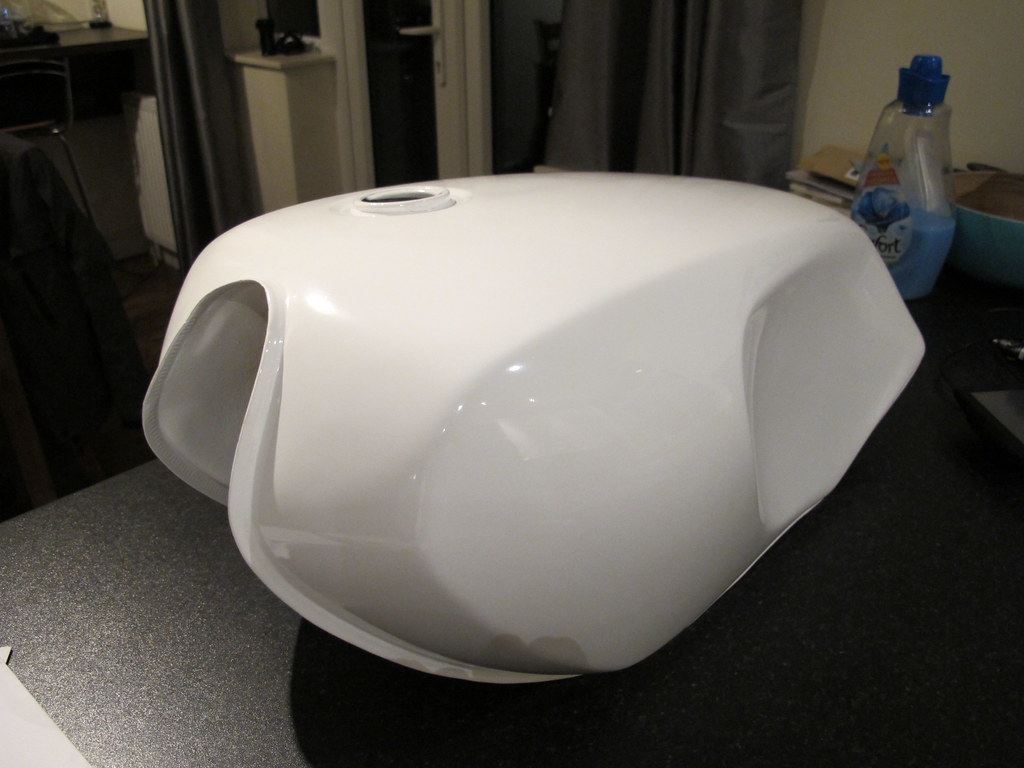
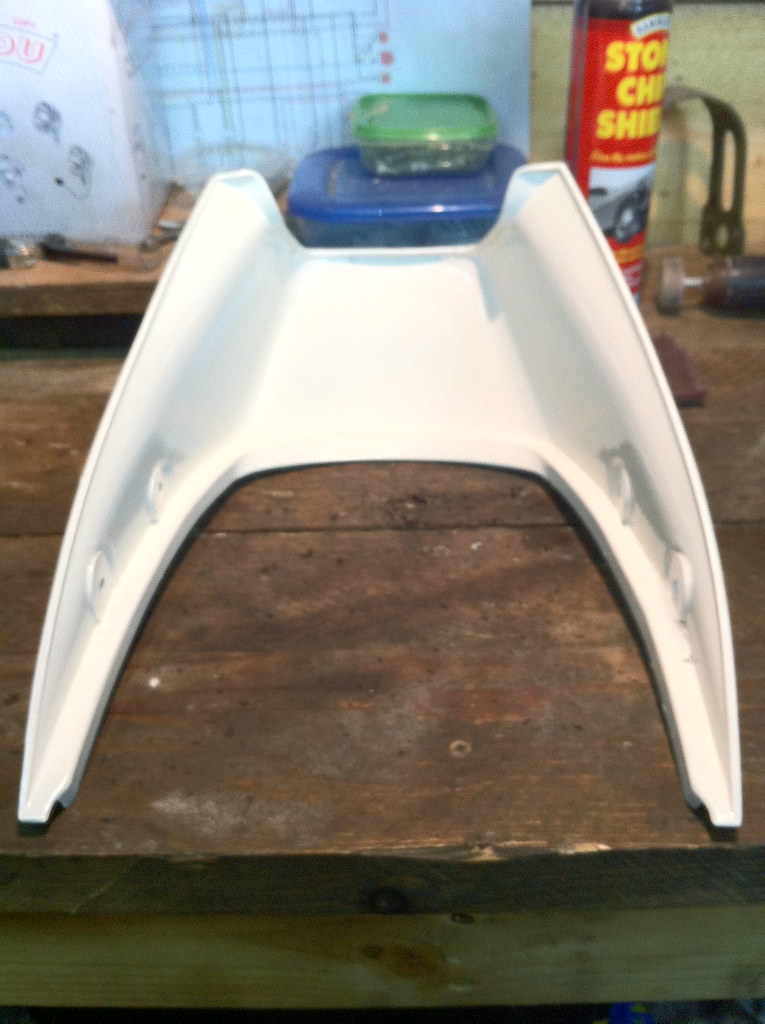
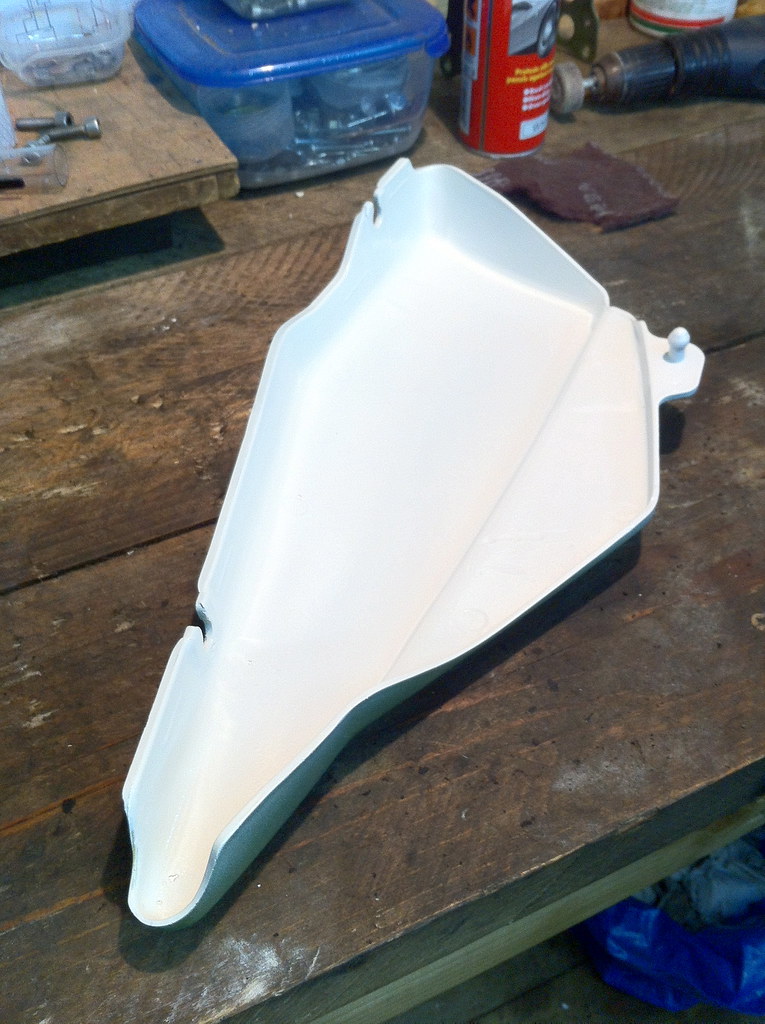
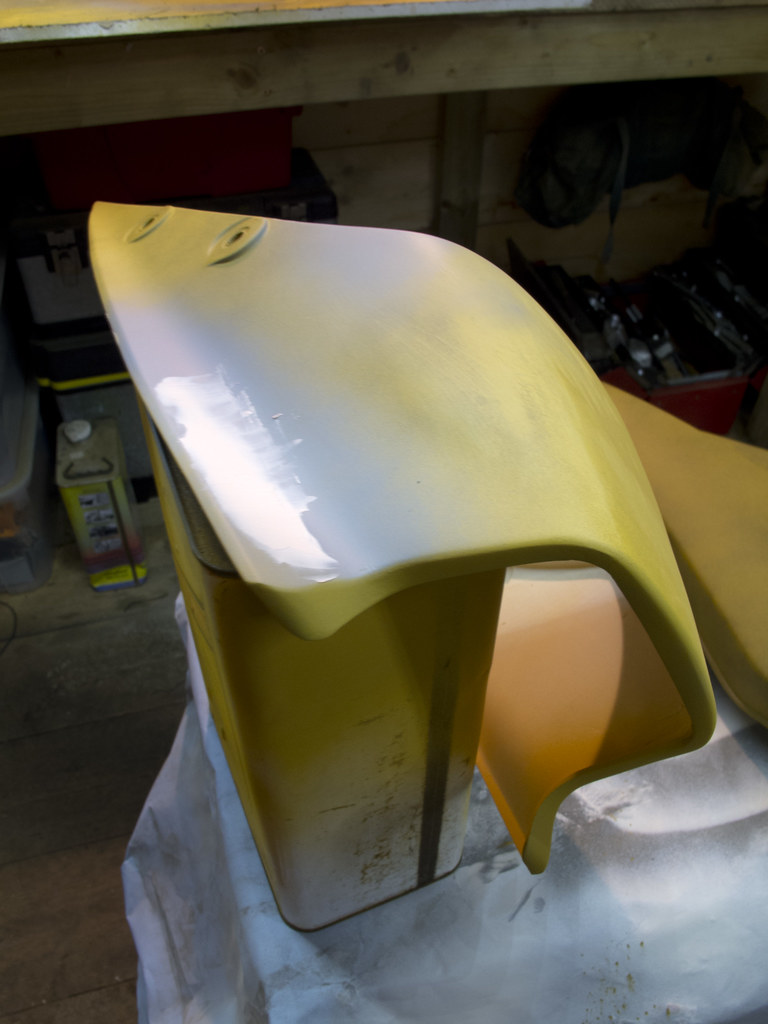
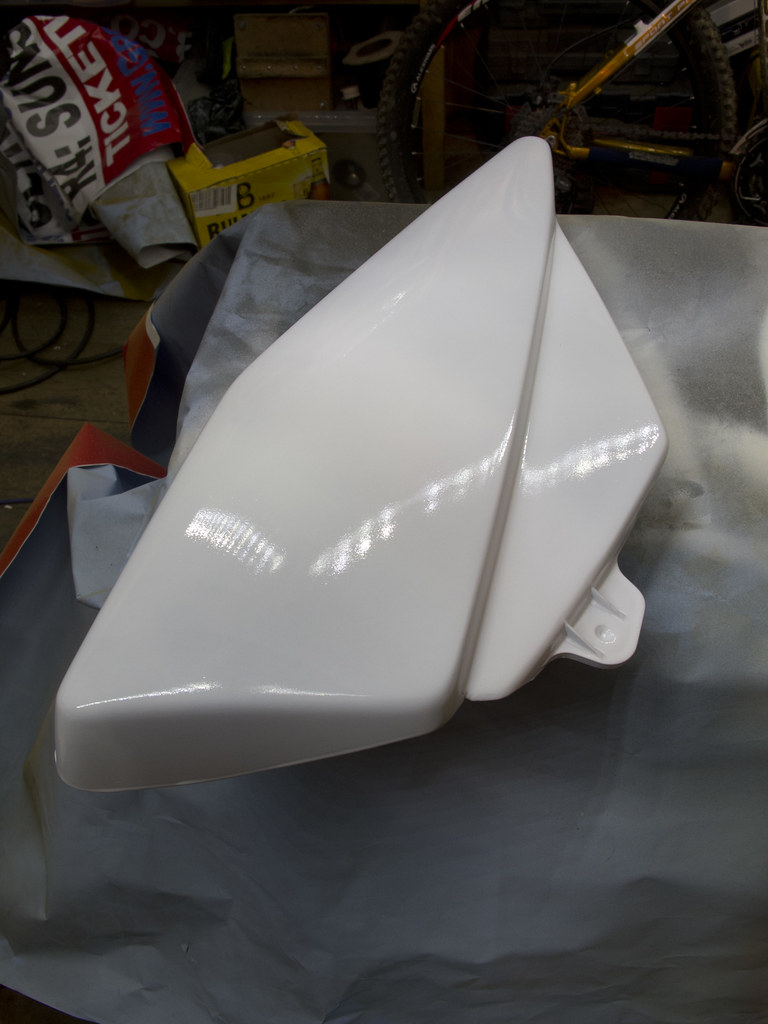
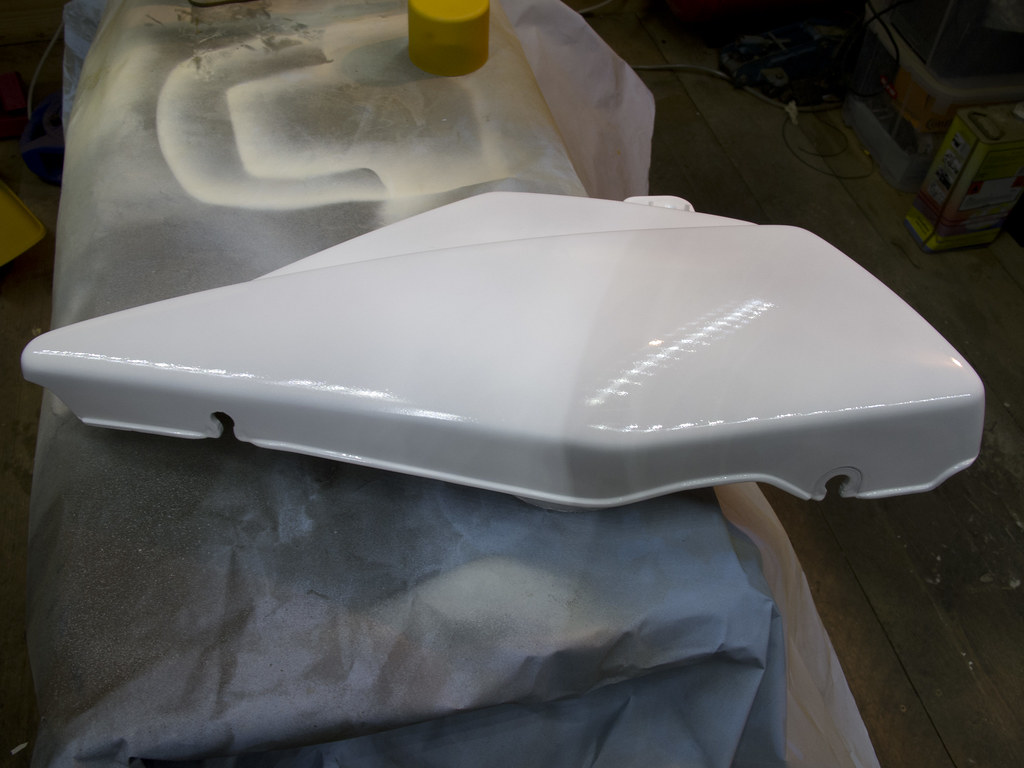
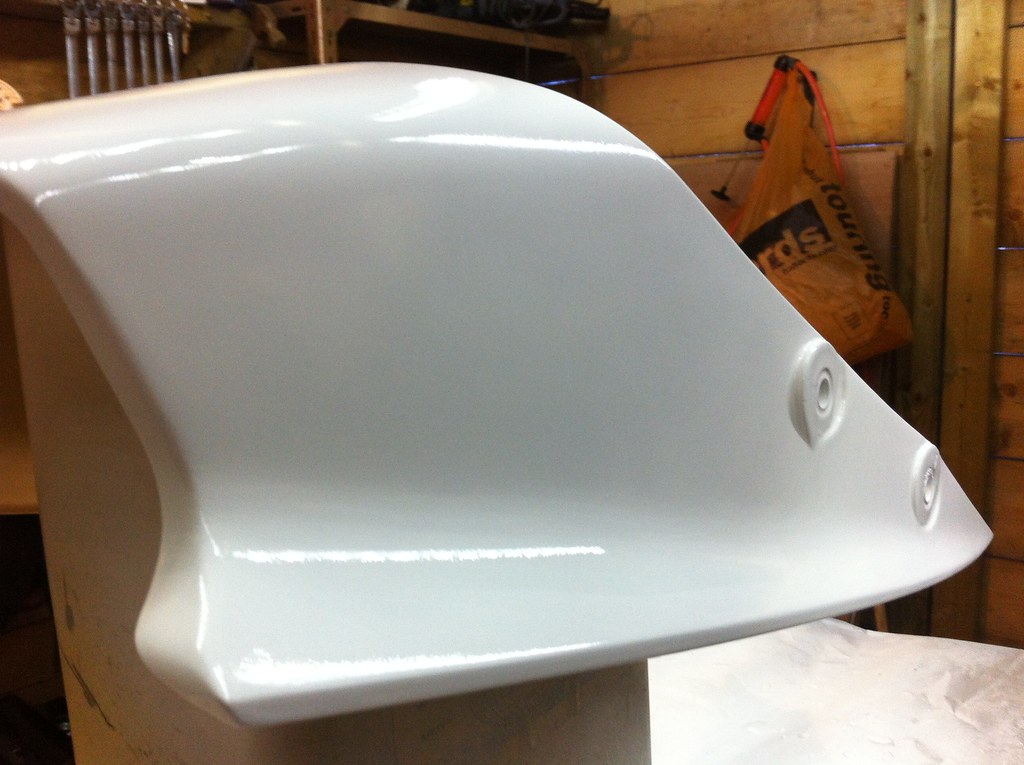
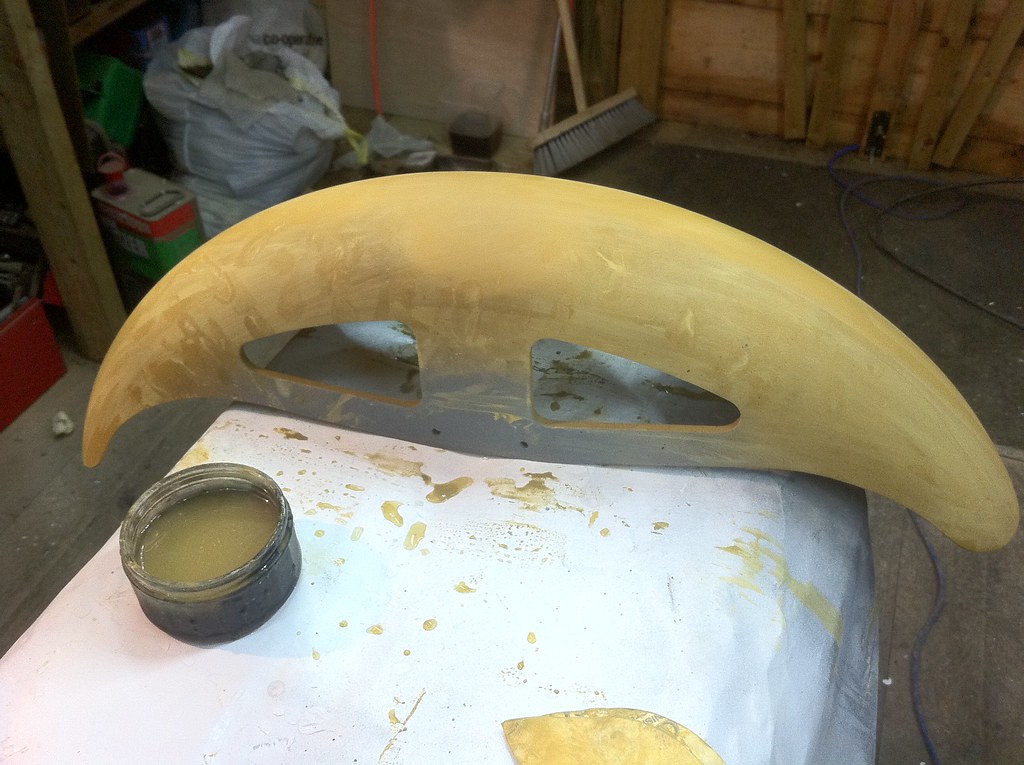
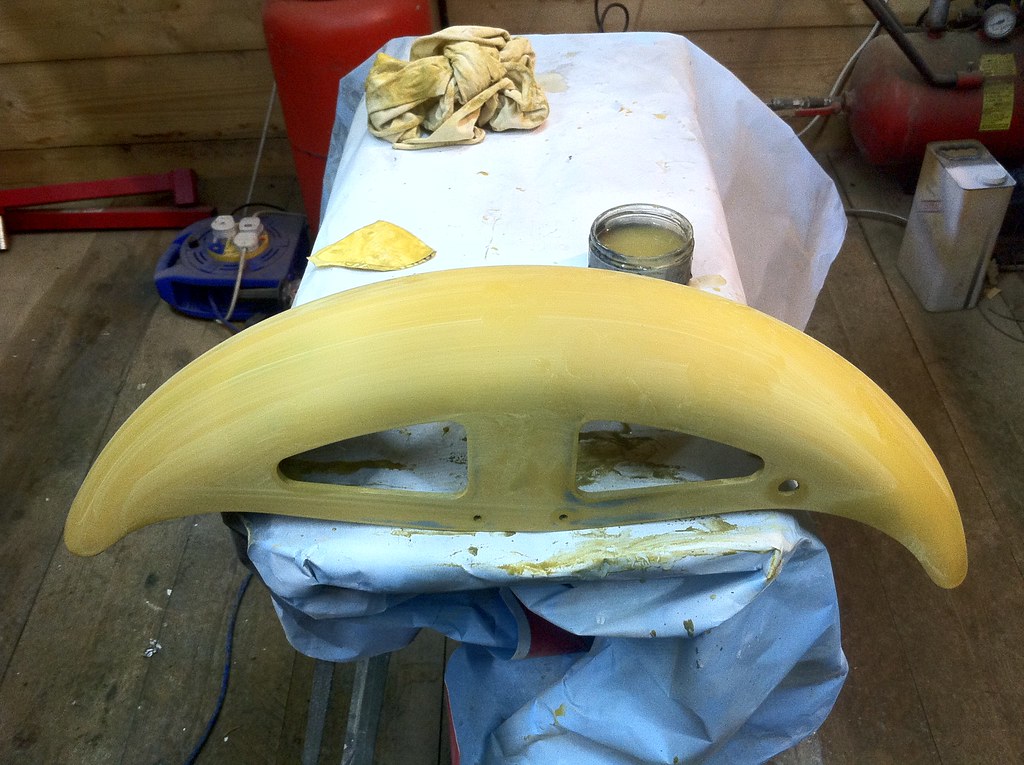
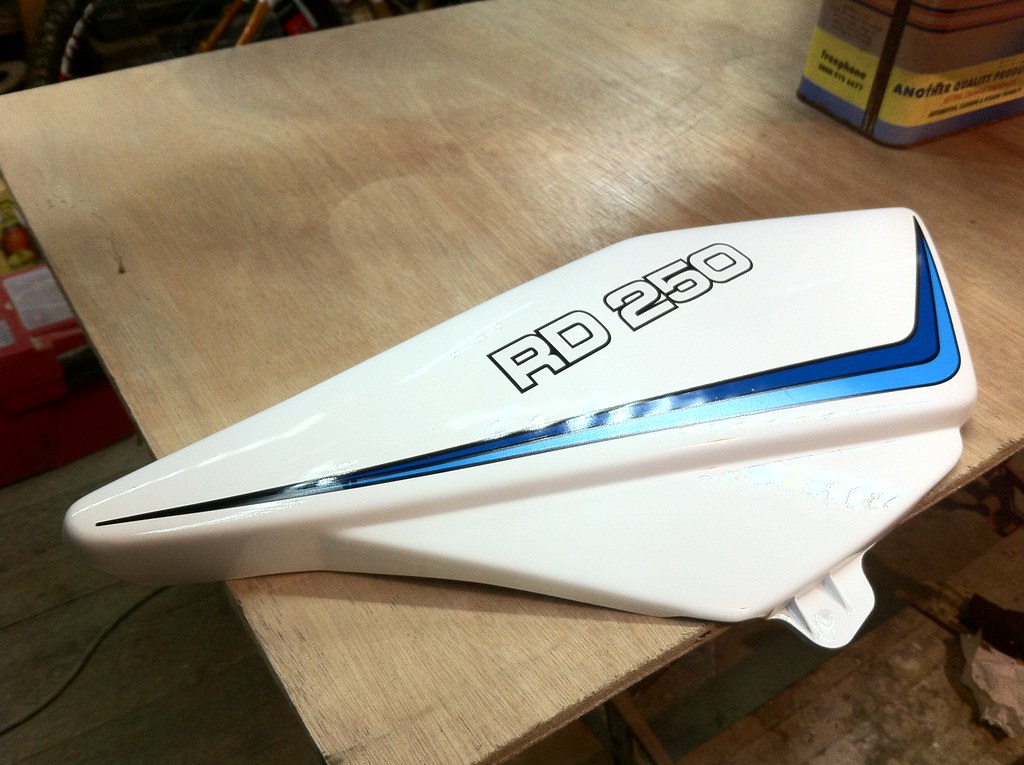
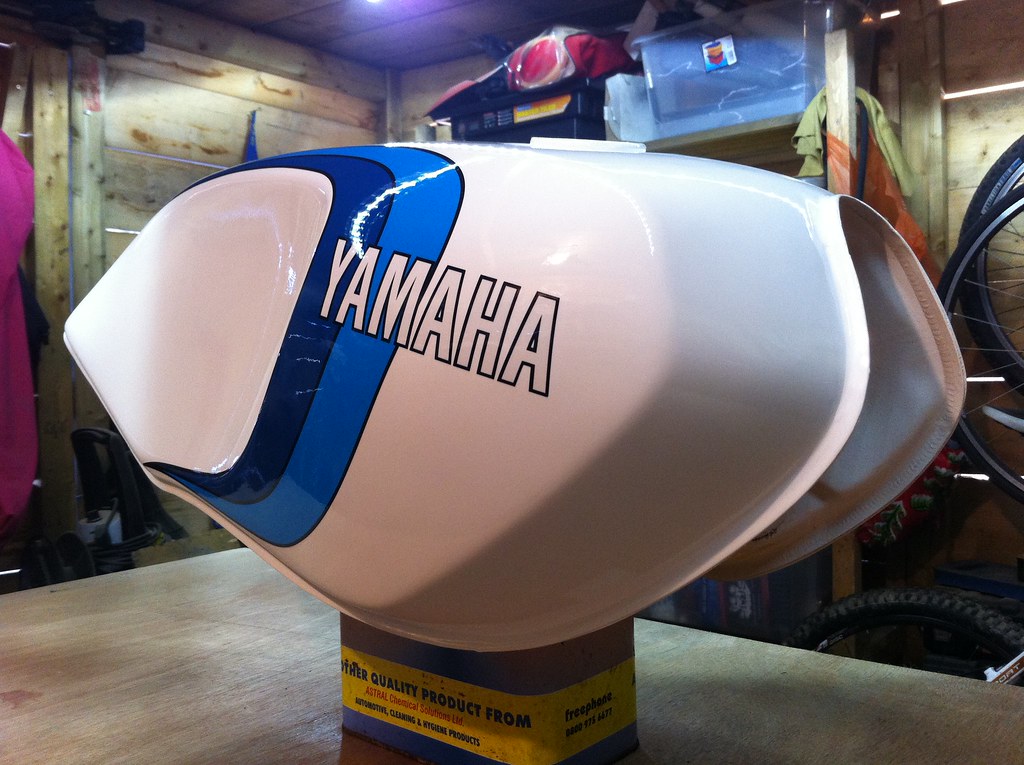
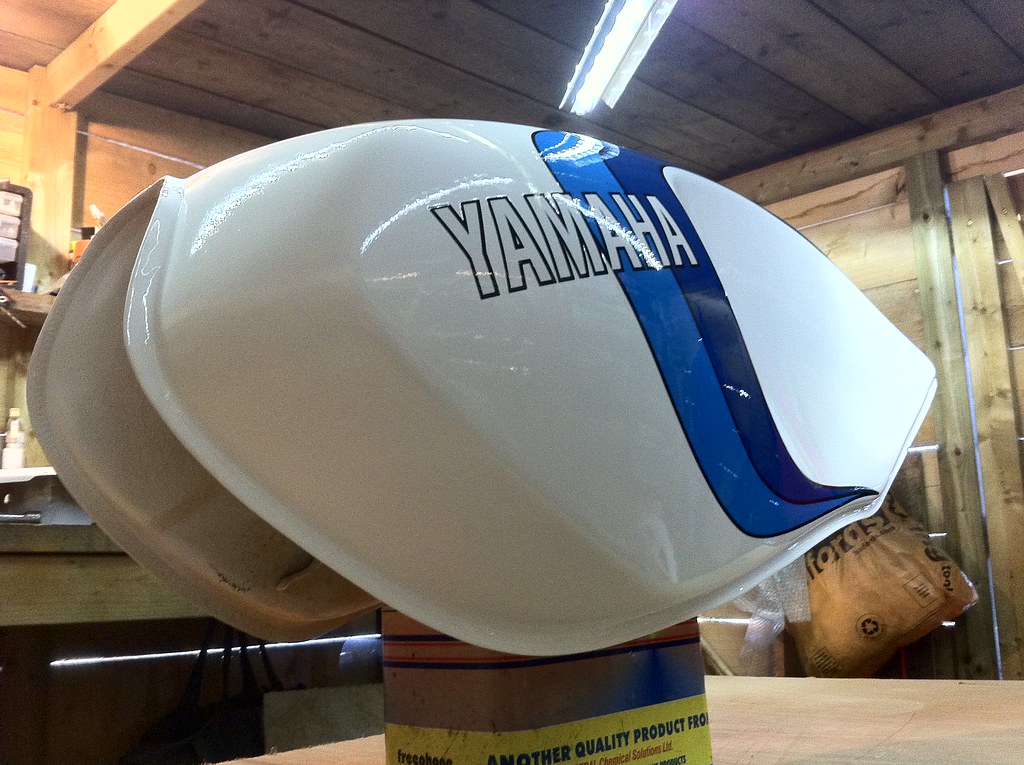
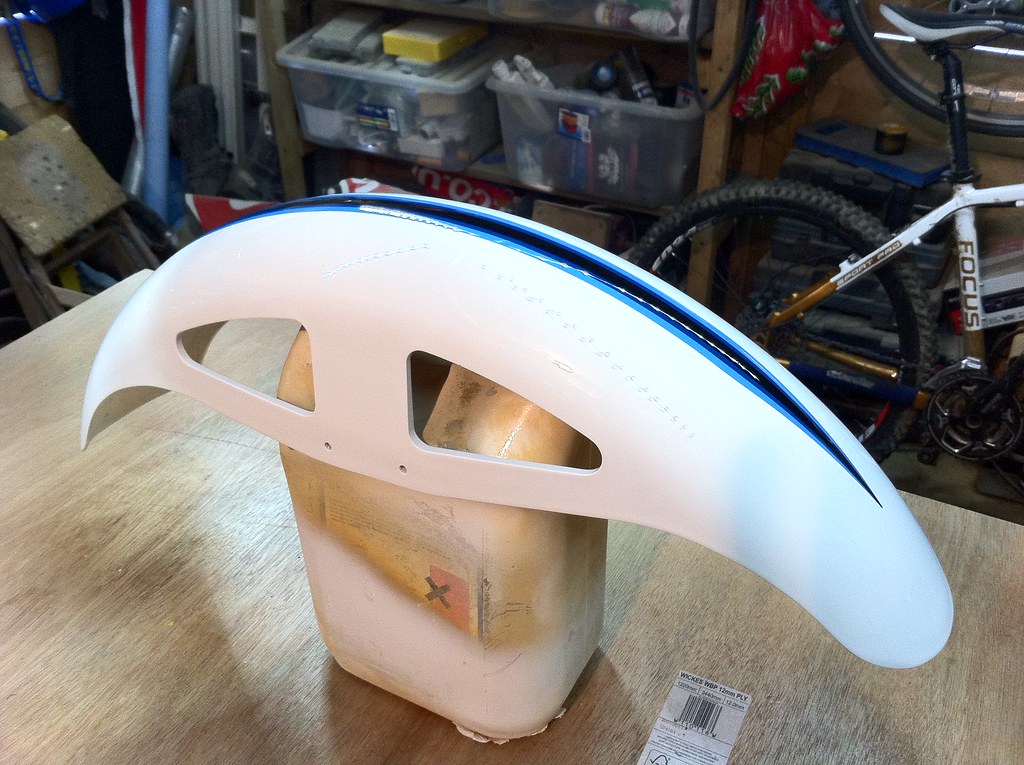
And so the bodywork begins!
IMG_1847 by tunneruk, on Flickr
IMG_1849 by tunneruk, on Flickr

IMG_1851 by tunneruk, on Flickr

IMG_1855 by tunneruk, on Flickr
IMG_1857 by tunneruk, on Flickr
IMG_1865 by tunneruk, on Flickr
IMG_1867 by tunneruk, on Flickr
IMG_1869 by tunneruk, on Flickr
IMG_1872 by tunneruk, on Flickr
IMG_1874 by tunneruk, on Flickr
IMG_1876 by tunneruk, on Flickr

IMG_1878 by tunneruk, on Flickr

IMG_1882 by tunneruk, on Flickr
IMG_1889 by tunneruk, on Flickr

IMG_1890 by tunneruk, on Flickr
IMG_1900 by tunneruk, on Flickr

IMG_1902 by tunneruk, on Flickr

IMG_1913 by tunneruk, on Flickr

IMG_1915 by tunneruk, on Flickr
Untitled by tunneruk, on Flickr
Untitled by tunneruk, on Flickr
Untitled by tunneruk, on Flickr
IMG_1970 by tunneruk, on Flickr

IMG_1972 by tunneruk, on Flickr
IMG_1982 by tunneruk, on Flickr
IMG_1985 by tunneruk, on Flickr
IMG_1987 by tunneruk, on Flickr
IMG_0023 by tunneruk, on Flickr
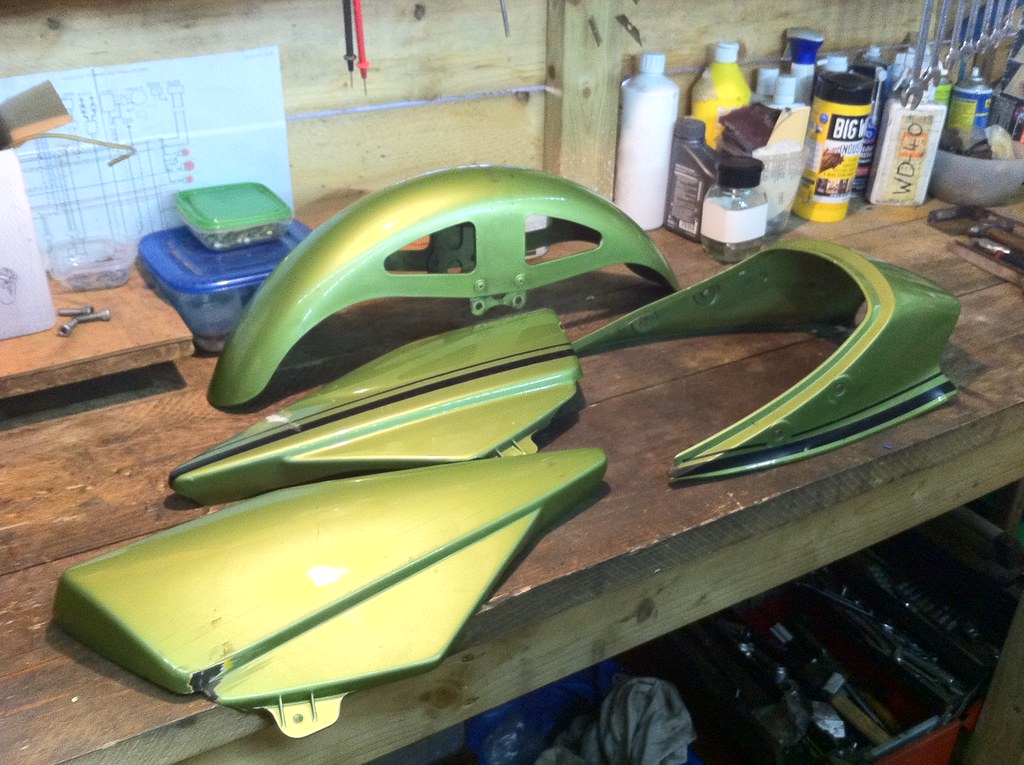
Amazingly I bought the mudguard and panels from different people at different times only to find that they've come from the same bike!!
IMG_1845 by tunneruk, on Flickr
IMG_1892 by tunneruk, on Flickr

IMG_1894 by tunneruk, on Flickr
IMG_1896 by tunneruk, on Flickr
IMG_1898 by tunneruk, on Flickr

IMG_1917 by tunneruk, on Flickr

IMG_1911 by tunneruk, on Flickr
IMG_1907 by tunneruk, on Flickr
IMG_1909 by tunneruk, on Flickr

IMG_1919 by tunneruk, on Flickr
IMG_1922 by tunneruk, on Flickr
IMG_0011 by tunneruk, on Flickr
IMG_0015 by tunneruk, on Flickr
IMG_0016 by tunneruk, on Flickr
Untitled by tunneruk, on Flickr
Untitled by tunneruk, on Flickr
Untitled by tunneruk, on Flickr

Untitled by tunneruk, on Flickr
IMG_1976 by tunneruk, on Flickr
IMG_1978 by tunneruk, on Flickr
Untitled by tunneruk, on Flickr
IMG_0013 by tunneruk, on Flickr
Untitled by tunneruk, on Flickr
Untitled by tunneruk, on Flickr
IMG_1998 by tunneruk, on Flickr
IMG_2001 by tunneruk, on Flickr

IMG_0025 by tunneruk, on Flickr
IMG_0026 by tunneruk, on Flickr

IMG_0028 by tunneruk, on Flickr
IMG_0029 by tunneruk, on Flickr
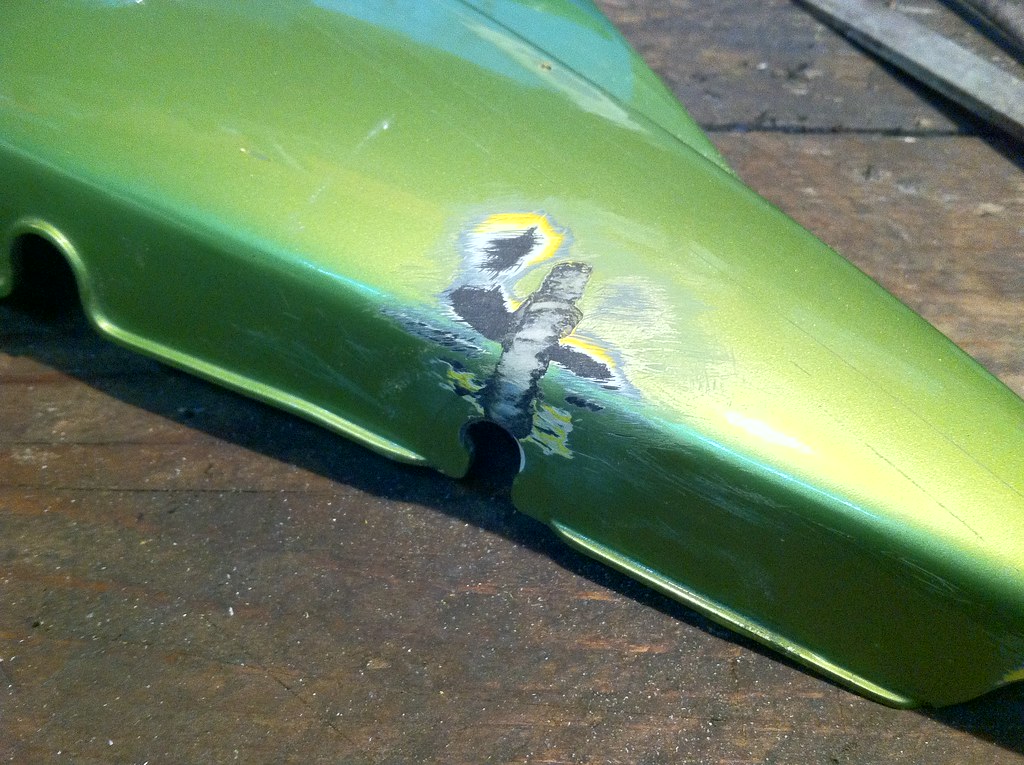
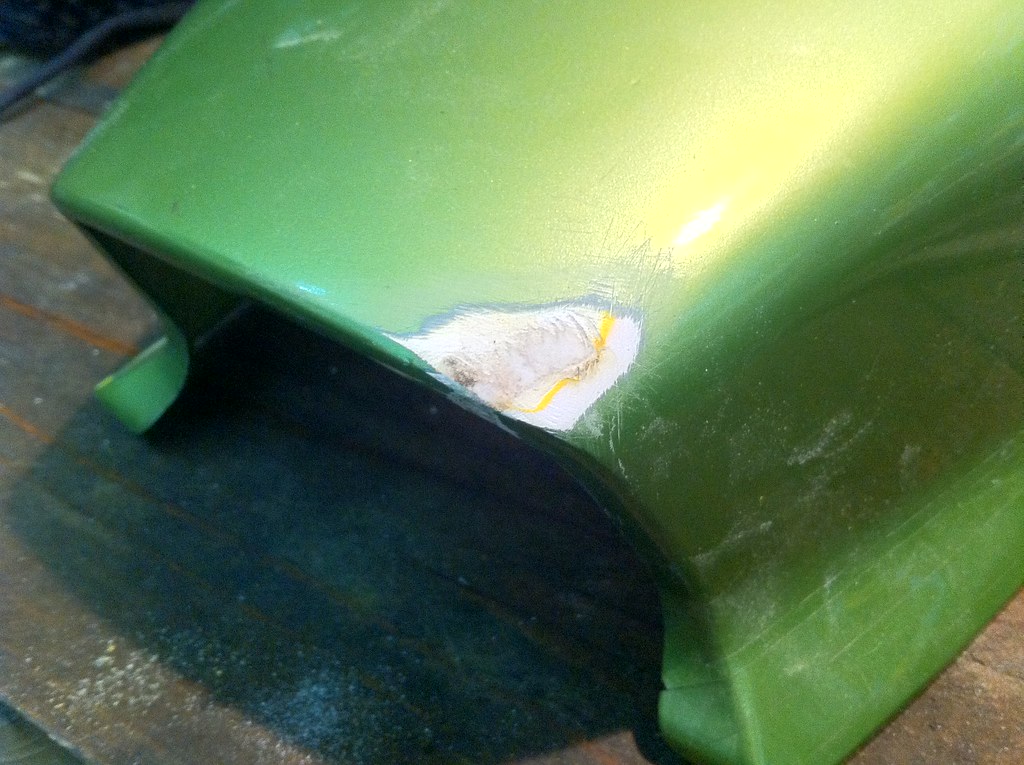
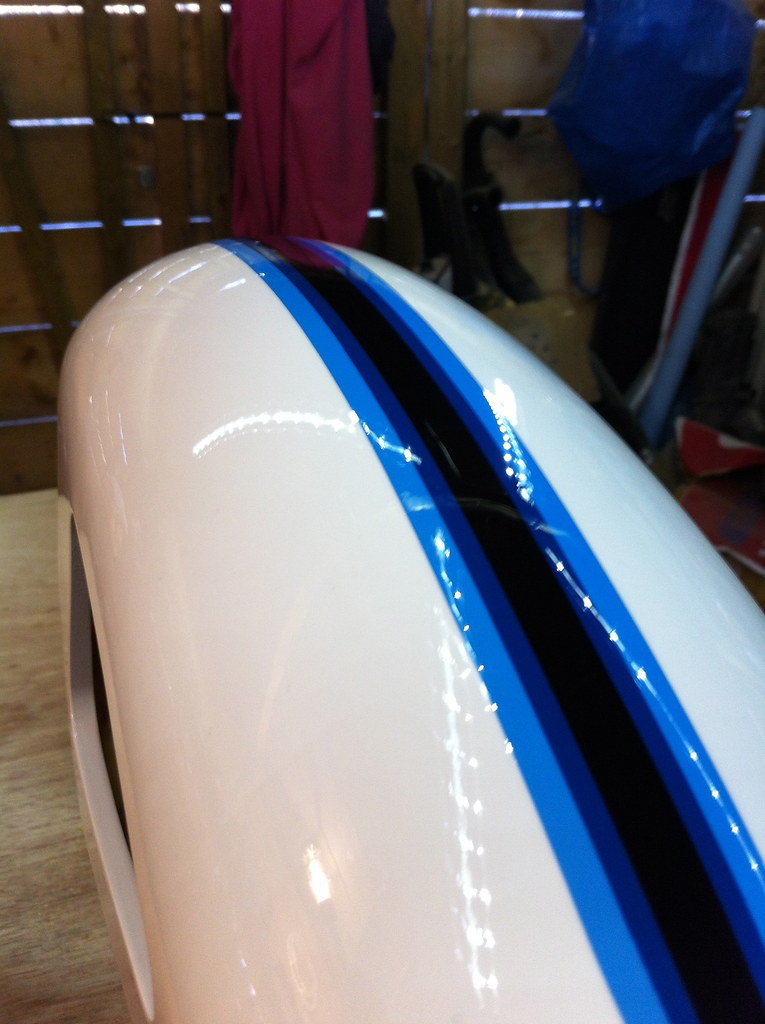
Another lesson learned ..... Never buy the cheapest Vinyl decals available. The kits for LC's cover both 250 / 350 inclusively. Before I applied the full set onto my painstakingly painted panels I prepped one of the old panels and fitted one of the spare 350 graphics. Below is what happened when I lacquered it ....... A very lucky escape for me!!
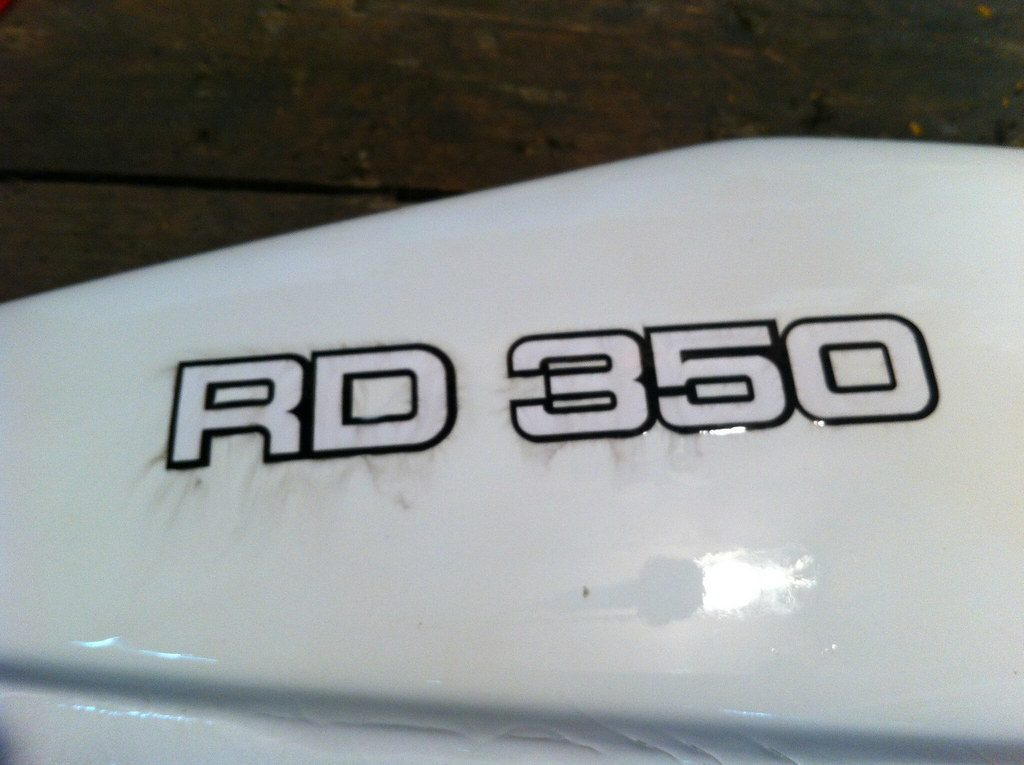
IMG_1951 by tunneruk, on Flickr
Fortunately a good friend of mine is a vinyl signs specialist so off I went, cap in hand and he sorted it out. Cheers Steve!

IMG_2027 by tunneruk, on Flickr
IMG_2029 by tunneruk, on Flickr

IMG_2031 by tunneruk, on Flickr
IMG_2034 by tunneruk, on Flickr
IMG_2039 by tunneruk, on Flickr
IMG_2041 by tunneruk, on Flickr
IMG_2042 by tunneruk, on Flickr
IMG_0034 by tunneruk, on Flickr

IMG_0035 by tunneruk, on Flickr
IMG_0038 by tunneruk, on Flickr

IMG_0039 by tunneruk, on Flickr

IMG_0036 by tunneruk, on Flickr
IMG_2046 by tunneruk, on Flickr
IMG_0042 by tunneruk, on Flickr
IMG_0044 by tunneruk, on Flickr

IMG_0045 by tunneruk, on Flickr

IMG_0048 by tunneruk, on Flickr

IMG_0055 by tunneruk, on Flickr
IMG_0057 by tunneruk, on Flickr
IMG_0061 by tunneruk, on Flickr

IMG_0058 by tunneruk, on Flickr
Jobs still to do ....
Paint and fit the seat catches
Paint and fit the oil / water pump cover
Fit the grab rail (Which I've decided to get powder coated black)
Wait two weeks then hit the paintwork with some 1500 wet / dry and buff back.
Then the last job will be paint the lower section of the side panels satin black
I took it for a quick spin up the road yesterday, it's running like a pig so some carb adjustment is in order I think. There are also a couple of small water leaks that I need to address.
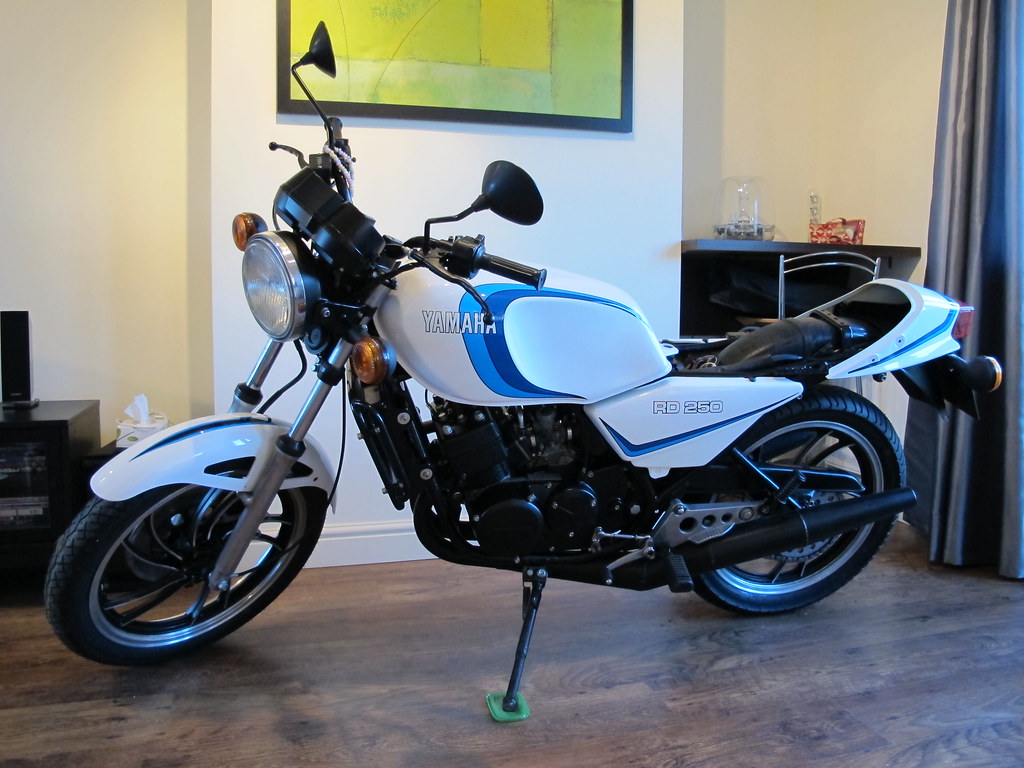
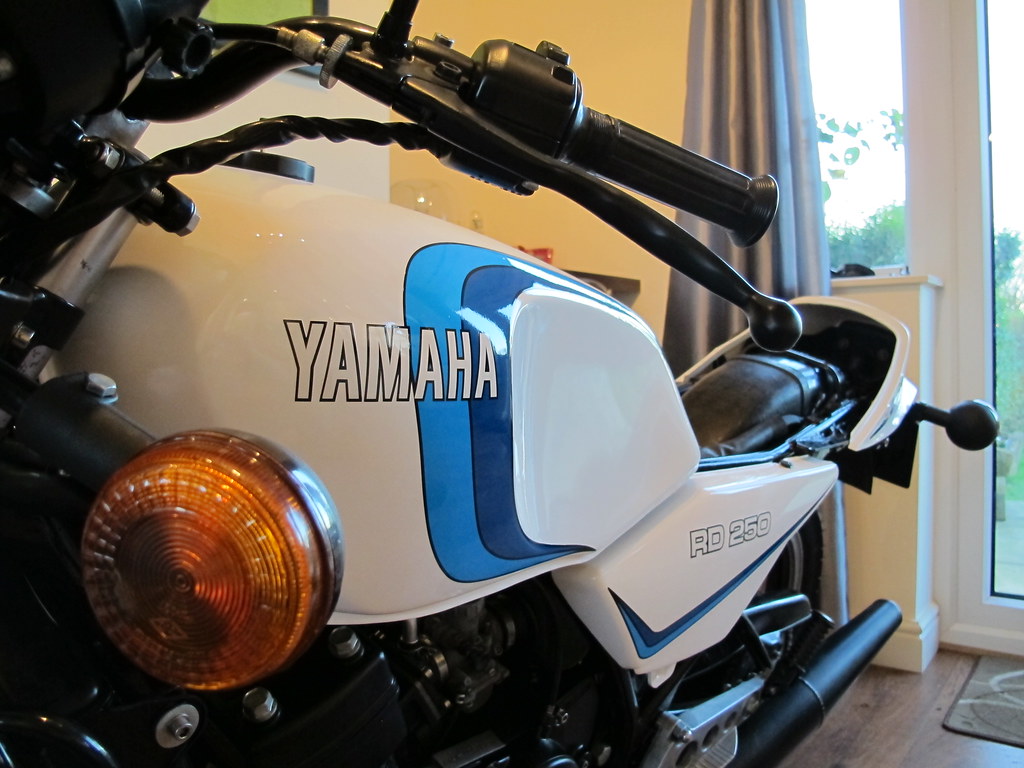
My RD250LC. 27th November 2011 to 4th February 2012

I've been a very busy boy!
I'm pretty much going to let the images do the talking ....
Untitled by tunneruk, on Flickr
Untitled by tunneruk, on Flickr
Untitled by tunneruk, on Flickr
And so the bodywork begins!
IMG_1847 by tunneruk, on Flickr
IMG_1849 by tunneruk, on Flickr
IMG_1851 by tunneruk, on Flickr
IMG_1855 by tunneruk, on Flickr
IMG_1857 by tunneruk, on Flickr
IMG_1865 by tunneruk, on Flickr
IMG_1867 by tunneruk, on Flickr
IMG_1869 by tunneruk, on Flickr
IMG_1872 by tunneruk, on Flickr
IMG_1874 by tunneruk, on Flickr
IMG_1876 by tunneruk, on Flickr
IMG_1878 by tunneruk, on Flickr
IMG_1882 by tunneruk, on Flickr
IMG_1889 by tunneruk, on Flickr
IMG_1890 by tunneruk, on Flickr
IMG_1900 by tunneruk, on Flickr
IMG_1902 by tunneruk, on Flickr
IMG_1913 by tunneruk, on Flickr
IMG_1915 by tunneruk, on Flickr
Untitled by tunneruk, on Flickr
Untitled by tunneruk, on Flickr
Untitled by tunneruk, on Flickr
IMG_1970 by tunneruk, on Flickr
IMG_1972 by tunneruk, on Flickr
IMG_1982 by tunneruk, on Flickr
IMG_1985 by tunneruk, on Flickr
IMG_1987 by tunneruk, on Flickr
IMG_0023 by tunneruk, on Flickr
Amazingly I bought the mudguard and panels from different people at different times only to find that they've come from the same bike!!
IMG_1845 by tunneruk, on Flickr
IMG_1892 by tunneruk, on Flickr
IMG_1894 by tunneruk, on Flickr
IMG_1896 by tunneruk, on Flickr
IMG_1898 by tunneruk, on Flickr
IMG_1917 by tunneruk, on Flickr
IMG_1911 by tunneruk, on Flickr
IMG_1907 by tunneruk, on Flickr
IMG_1909 by tunneruk, on Flickr
IMG_1919 by tunneruk, on Flickr
IMG_1922 by tunneruk, on Flickr
IMG_0011 by tunneruk, on Flickr
IMG_0015 by tunneruk, on Flickr
IMG_0016 by tunneruk, on Flickr
Untitled by tunneruk, on Flickr
Untitled by tunneruk, on Flickr
Untitled by tunneruk, on Flickr
Untitled by tunneruk, on Flickr
IMG_1976 by tunneruk, on Flickr
IMG_1978 by tunneruk, on Flickr
Untitled by tunneruk, on Flickr
IMG_0013 by tunneruk, on Flickr
Untitled by tunneruk, on Flickr
Untitled by tunneruk, on Flickr
IMG_1998 by tunneruk, on Flickr
IMG_2001 by tunneruk, on Flickr
IMG_0025 by tunneruk, on Flickr
IMG_0026 by tunneruk, on Flickr
IMG_0028 by tunneruk, on Flickr
IMG_0029 by tunneruk, on Flickr
Another lesson learned ..... Never buy the cheapest Vinyl decals available. The kits for LC's cover both 250 / 350 inclusively. Before I applied the full set onto my painstakingly painted panels I prepped one of the old panels and fitted one of the spare 350 graphics. Below is what happened when I lacquered it ....... A very lucky escape for me!!
IMG_1951 by tunneruk, on Flickr
Fortunately a good friend of mine is a vinyl signs specialist so off I went, cap in hand and he sorted it out. Cheers Steve!
IMG_2027 by tunneruk, on Flickr
IMG_2029 by tunneruk, on Flickr
IMG_2031 by tunneruk, on Flickr
IMG_2034 by tunneruk, on Flickr
IMG_2039 by tunneruk, on Flickr
IMG_2041 by tunneruk, on Flickr
IMG_2042 by tunneruk, on Flickr
IMG_0034 by tunneruk, on Flickr
IMG_0035 by tunneruk, on Flickr
IMG_0038 by tunneruk, on Flickr
IMG_0039 by tunneruk, on Flickr
IMG_0036 by tunneruk, on Flickr
IMG_2046 by tunneruk, on Flickr
IMG_0042 by tunneruk, on Flickr
IMG_0044 by tunneruk, on Flickr
IMG_0045 by tunneruk, on Flickr
IMG_0048 by tunneruk, on Flickr
IMG_0055 by tunneruk, on Flickr
IMG_0057 by tunneruk, on Flickr
IMG_0061 by tunneruk, on Flickr
IMG_0058 by tunneruk, on Flickr
Jobs still to do ....
Paint and fit the seat catches
Paint and fit the oil / water pump cover
Fit the grab rail (Which I've decided to get powder coated black)
Wait two weeks then hit the paintwork with some 1500 wet / dry and buff back.
Then the last job will be paint the lower section of the side panels satin black
I took it for a quick spin up the road yesterday, it's running like a pig so some carb adjustment is in order I think. There are also a couple of small water leaks that I need to address.
My RD250LC. 27th November 2011 to 4th February 2012
flatdog
Registered user
You sir, are a genius.
That is a stunning restoration.
| am extremely jealous of your skills.
That is a stunning restoration.
| am extremely jealous of your skills.
I've just totalled it up ......... From the start of the project .......
68 days
68 days
total cost ?
total cost ?
Before I answer, how much do you think it's cost me all in?
Here you go, 1990, I'd blown up my ZXR750 and entered the final meeting of the year on my road bike
I'm the one still on his arse!
<a href="http://s428.photobucket.com/albums/qq5/mort017/?action=view¤t=imginst016.jpg" target="_blank"><img src="http://i428.photobucket.com/albums/qq5/mort017/imginst016.jpg" border="0" alt="Photobucket"></a>
Hmm... (puts brain back into club racing around 1990 mode)
Is that an Auto 66 meeting at langbaurgh?
And... therefore... (just going by the Dainese Leathers and ZXR reference) are you Rob Morton?
rockchunk
Registered user
truly inspiring stuff 
Greggers
Registered user
- Joined
- Dec 22, 2008
- Messages
- 1,285
- Reaction score
- 0
Stunning result ... you must be chuffed as nuts!
Cheers for the comments guys.
Currently it's sitting up in the workshop in bits again as I chase a water leak, I've found the problem (Human error ) but now require a few parts.
I've had several PM's regarding it's running issues (Thank you to all concerned)
so will hopefully make some progress over the next couple of weeks.
It's a real pain stripping something down after you've painstakingly built it but that's restoration for ya!
Currently it's sitting up in the workshop in bits again as I chase a water leak, I've found the problem (Human error
) but now require a few parts.I've had several PM's regarding it's running issues (Thank you to all concerned)
so will hopefully make some progress over the next couple of weeks.
It's a real pain stripping something down after you've painstakingly built it but that's restoration for ya!
fatnfast
Registered user
Stunning job, that looks ace  . I've recently finished 250lc (well, I dont think they are ever truly finished!). I have quite a few odds and ends left over (spare carbs, original seat etc) so if you need anything I might be able to help.
Here's mine on the cover of Practical Sportsbike a few months back

. I've recently finished 250lc (well, I dont think they are ever truly finished!). I have quite a few odds and ends left over (spare carbs, original seat etc) so if you need anything I might be able to help.Here's mine on the cover of Practical Sportsbike a few months back
Very well done, she's looking absolutely brilliant.
The finish you've achieved on the paintwork is incredible, what kind of uber=expensive professional spray set-up did you use?

The finish you've achieved on the paintwork is incredible, what kind of uber=expensive professional spray set-up did you use?
Before I answer, how much do you think it's cost me all in?
hmmmmm, knowing what a cheapskate you are ......excluding buying the bike £750 ?
hmmmmm, knowing what a cheapskate you are ......excluding buying the bike £750 ?
That's exactly what my original estimate was. True to form with these things the old saying 'take what you think you're going to spend and double it was oh so true!
I've spent about £1500 on it!
Davy F
Registered user
It's going to look lovely when you have it completed. Well done.
It's going to look lovely when you have it completed. Well done.
It's 99% there, just a couple of little niggly bits to finish then off for the M.O.T


Similar threads
- Replies
- 75
- Views
- 3,339