1989 BMW R100GS-Paris Dakar Restoration

Pete
If you have a close look at the cable as it clips onto the end of the brake pedal, as the brake goes on, the cable is pulled upwards instead of straight out horizontally. I've not tried it but Simon McCarthy (who wrote the motorcycle travel book 'Sorebums') highly recommends it. When I briefly rode the PD six years ago, the rear brake was pretty poor so I feel this is worth doing. If it doesn't improve things, the next step is softer brake linings.
 
Well I got the 40mm Bing carburetors back yesterday after they'd been ultra-sonically cleaned. Absolutely immaculate. I'd looked at various film clips on YouTube which show an entire carb being lowered into the cleaner. I mentioned this to Dave Cunningham (TSR Vapour Blast Services of Otford, Sevenoaks) and he prefers to dismantle the carbs as he cannot see how carbs can be properly cleaned that way. Anyway they are mint and now back on the bike.

The throttle is a bit stiff so perhaps I have routed the throttle cables wrongly. I must look into it tomorrow. Should have taken (even) more pics.

The chap painting the mudguards in BMW Marrakesh Red had an accident and has spent a few days on traction in the local hospital so the mudguards won't get done until next week.

I was buying some odds and ends from Motorworks this afternoon and discovered those thin rubber seals in the rear indicators are no longer available from BMW so I am looking for an alternative. Perhaps a large rubber O-ring can be used?

I've spent some time stripping, cleaning and re-taping the wiring harness as the old cloth tape had had it. I used up what amalgamation tape I had. I called in at Maplins to find a large tape sells for £9.99. Good grief. I have seperated each joint and cleaned up every terminal before a protective coat of spray grease was applied. Once that instrument binnacle goes back on there's no way to work in it again so it must be right.

The new owner came and collected my lovely old Pan European last night and I was sorry to see her go. I'd owned her for twelve years or so and ridden her on two big US trips plus many European countries. Sadly she's now too heavy for me these days and I was riding her less and less.
 

Attachments

  • IMG_3783.jpg
    IMG_3783.jpg
    110.2 KB · Views: 2,674
Paul,

You can use the front indicator mounts in the rear. They are an identical shape and cost a fraction of the rubber ones. The down side is they aren't flexible.
 
Rob
Nothing wrong with the indicator mounts, it's the 2mm thick rubber seals which goes between lens and indicator body. I've seen some stuff on eBay which would do.

I'm not happy about the routing of the brake cables and clutch cables and should have a pic or two somewhere. Mind you I could always look at my R100/7. I have the brake cables passing through the wire 'cable tidy' then through the gap in the headstock yet the carbs won't slam shut when the throttle is closed. I've currently got little paper funnels of oil attached to the ends but I think they aren't routed correctly.

A set of secondhand exhausts arrived yesterday, tarnished but much better than the existing ones. After seeing a demonstration of 'Blue Job' on YouTube when the paste was applied to a cloth on an orbital sander and the tarnished disappeared, I shall be trying that out.
 
Ah right, I've found this image. It shows the carburetor and clutch cables passes under the cable tidy then ALONGSIDE the headstock and not THROUGH it. Solved it!
 

Attachments

  • IMG_3554.jpg
    IMG_3554.jpg
    72.1 KB · Views: 3,477
Well she's coming along. Yesterday I installed the American-made Dynatek twin plug coils although I have my doubts as to the way I've fitted the HT leads. The instructions are a bit vague. Two of the four socket headed cap screws holding the two silencer brackets were utterly seized and even a friend's attempt with his oxy failed to shift them. I ground them off then drilled and tapped new threaded holes. Because of the shape of the silencer I had to drill them with a cordless drill 'almost' getting in the centre of the broken bolts. I must treat myself to some cobalt or titanium coated drills as it took ages to drill those two holes. I discovered a Rawlplug drill sharpener I had but hadn't used for years and this made a better job than me at restoring the tips.

I am being held up at the moment by the paintshop with a number of excuses (reasons) but his price is good. He says the mudguards and side panels (in BMW Marakesh Red) 'may' be ready by Wednesday. Fingers crossed.
 

Attachments

  • IMG_3794.jpg
    IMG_3794.jpg
    76.9 KB · Views: 3,060
  • IMG_3793.jpg
    IMG_3793.jpg
    52.5 KB · Views: 2,862
  • IMG_3798.jpg
    IMG_3798.jpg
    68.4 KB · Views: 2,872
  • IMG_3797.jpg
    IMG_3797.jpg
    111 KB · Views: 2,835
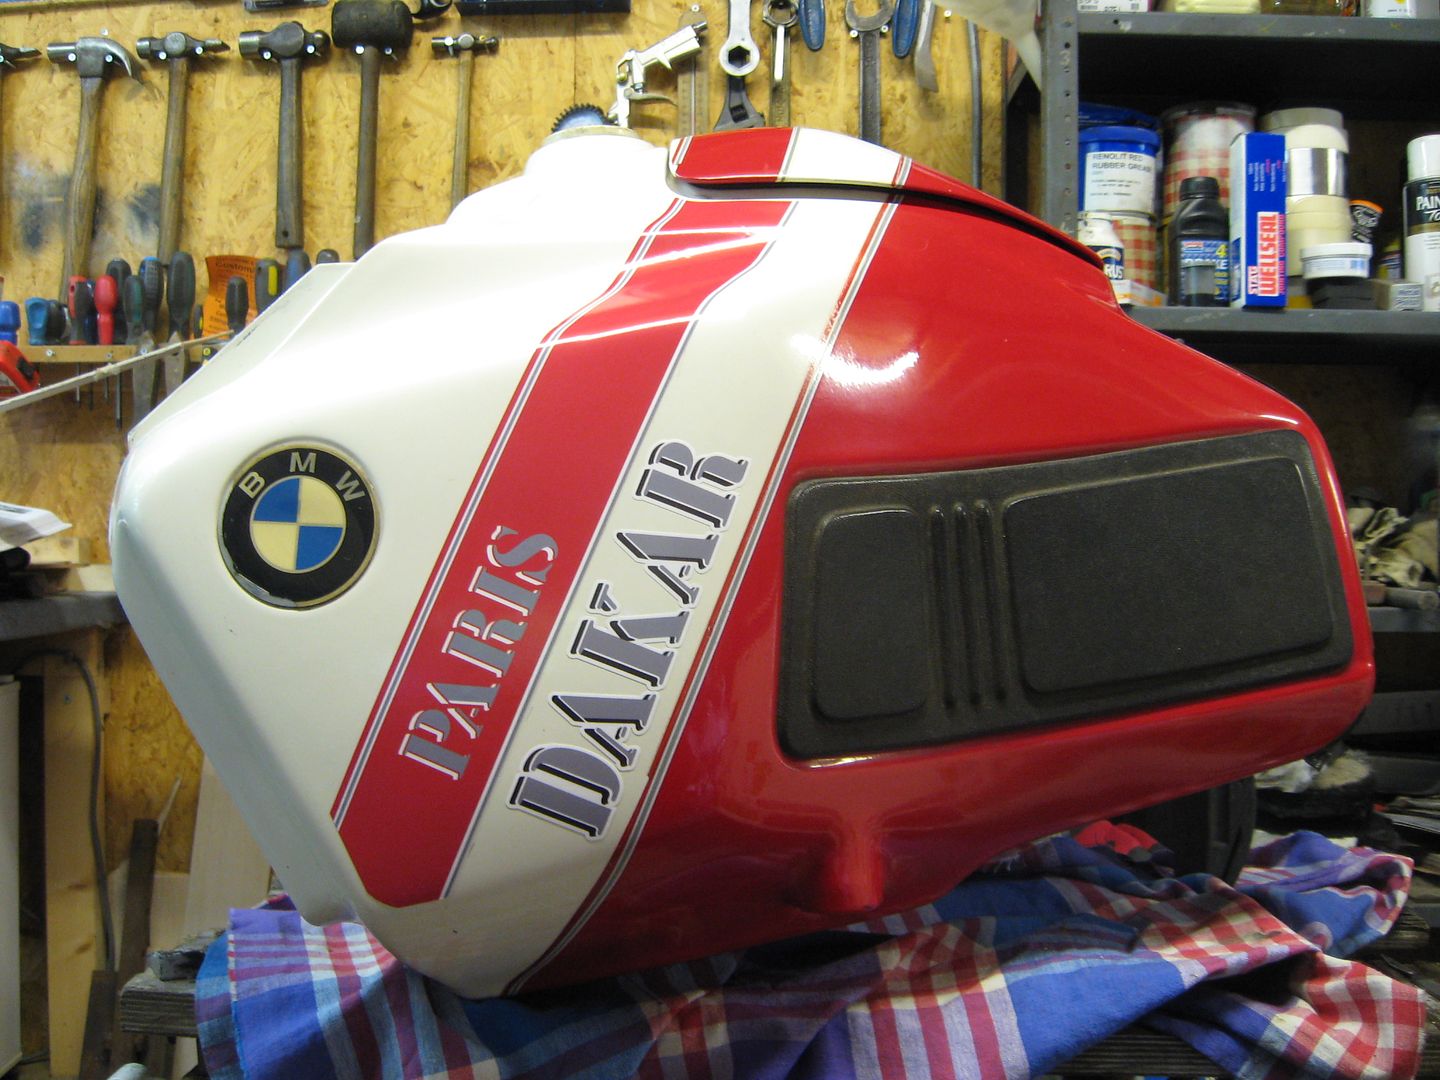
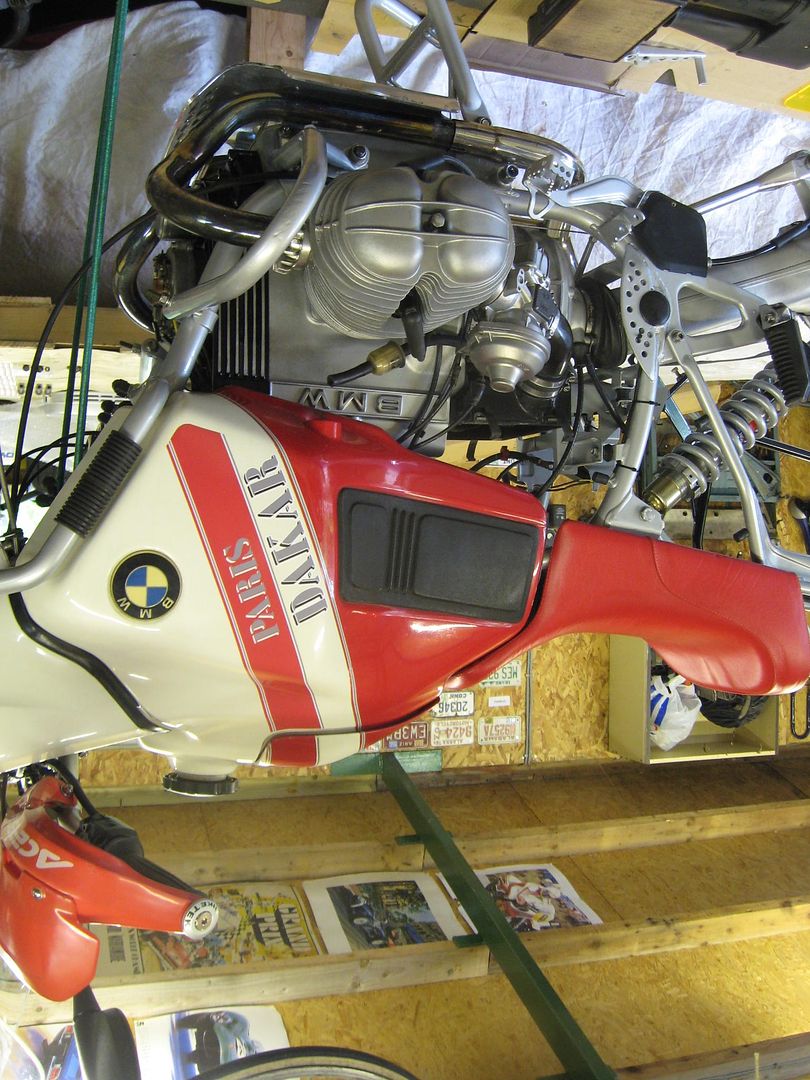
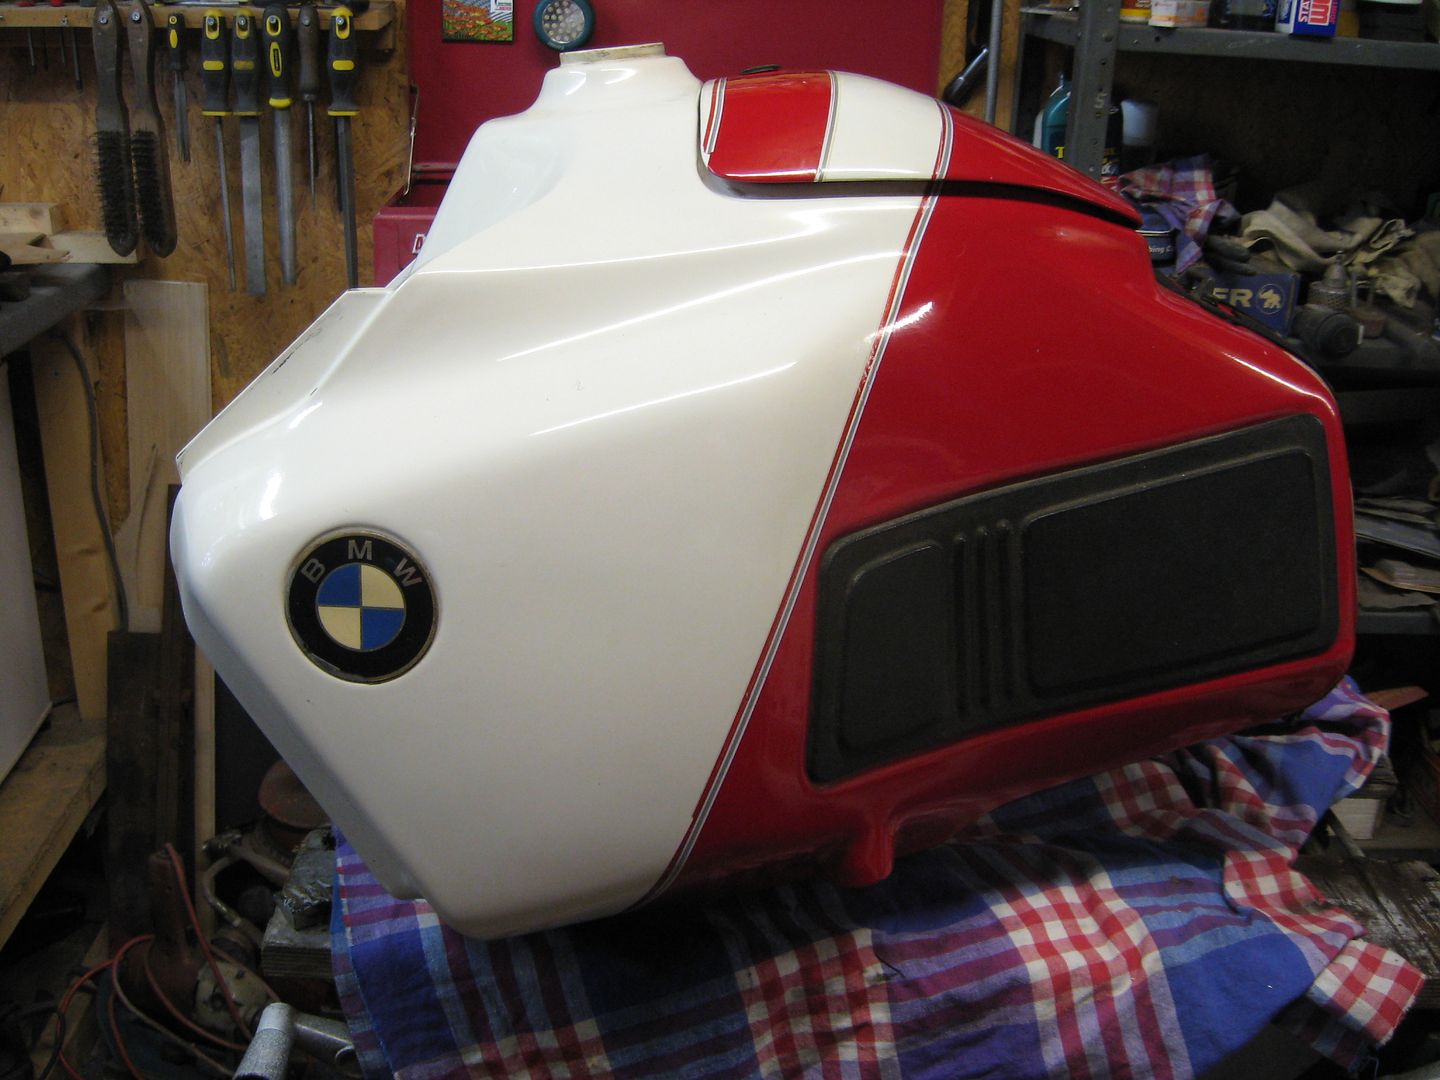
When I bought the bike, the tank decals were missing. Unable to locate any here I found a chap in Canada who could get copies made. Not cheap but the tank looks much better for it. His advice was to wipe a damp sponge on the tank then apply the sticky decals. They could then be moved before finally positioning them, when the water would evaporate. The red stripe took on a mind of it's own towards the top where it had to cross some indentations in the tank. The gentle use of a hot air gun worked well on the left side but on a hot setting, caused the decal to soften suddenly and nearly damaged it, on the right.

The tank and red single seat is now in place. The long delay in getting the mudguards and side panels, as well as some parts from Motorworks, is holding me up.


IMG_3806_zps78988b78.jpg


Thats coming along nicely Paul :thumb
 
Six weeks or so ago I asked a local chap if he'd spray the front and back mudguards and the side panels for me, and he agreed for £100. Then began a series of excuses. A trike he was working on caught fire, he pulled it out of the shed and did his back in. Three days in traction. "Ten days to a fortnight". Then the spray shop he intended to use needed new fans. "Ten days to a fortnight". Then there was the numerous text messages and phone calls left but never answered. I began to wonder if I'd ever see my plastic again. Last week I was promised my stuff plus the paint. Today I collected them minus the can of BMW Marrakesh Red and minus my £10 deposit, but at least I have them.

Yesterday I hurriedly assembled the exhaust using exhaust paste but lying in bed last night I remembered that I had bought special gaskets to seal the joints and failed to use them. Doh! Today I dismantled the exhaust again.

Assembling the gear linkage with new foam bushes I discovered one of the tiny G-shaped springs is missing. I like the place really really tidy and must have swept it up. Damn! I shall pinch one from the R100/7.:confused:


About four coats of BMW Marrakesh Red followed by a couple of coats of clear lacquer.


The rear mudguard needed a second coat of lacquer to really make it shine. The lacquer is apparently needed not only to bring out the shine but to provide a harder surface for the paint.
 
I have given a great deal of thought about rebuilding the wheels myself especially after getting a couple of quotes of between £400 and £900 :)eek:). I'd read how difficult these Airhead wheels are to rebuild but thought about bolting them firmly to a piece of kichen worktop before chopping out the spokes. Then the hub could be aqua blasted and the rims polished before replacing them on the board, bolting them up in their original positions. It seemed simple until I had a closer look and found that I would not be able to insert the stainless steel spokes through the underside of the rim when placed against a flat board.

I've since spoken to Richard, Hagon's wheel builder, who pointed out yet more pitfalls. Corrosion usually means the nipples and spokes are difficult to extract so he always re-drills the holes. The nipples have tiny M2 grub screws (which I wasn't aware of and Motorworks never provided when I ordered the ss spokes and nipples) which Hagons have in stock. I shall also fit right angled tyre valves as this makes inflating on a garage forecourt a doddle (£2.50 each on eBay).

To save a bit of money I thought I'd have a go at removing the tyres especially after seeing the demonstration at the recent HUBB meeting. Using a length of 4x2 and a bottle jack against the workshop door the reluctant tyres eventually slipped off their beads, but not before raising the heavy door a few inches. Then using special lunbricant which I bought from the Continental man and long tyre levers, I quickly found just how soft the alloy BMW wheels are. Richard tells me that there are no rim protectors for the 'fat' edges of the rims and he uses a machine.

So about a 2 1/2 week wait and £400 later the wheels should be rebuilt and with the existing Metzeler Tourance tyres replaced.:thumby:


I used four of these 16mm tube clamps to attach the 'Alpos' alloy topbox. (sales@fephydraulics.co.uk £4.95 each).


The inside surfaces of the Touratech panniers were given coats of etch primer and white aerosol paint. The tops of the lids were covered with panels of pretend Carbon Fibre 'Fablon'.


Back
Top Bottom