Triple ...........

By the look of that lot my bits are defiantly going to the right sprayer :beerjug::thumb2
 
Progress .......

Well there has been some progress but the owner of the bike is now popping in to look at this thread so I'm not going to upload any more progress until he's seen it in the flesh (Maybe tomorrow)

More to follow .................
 
Paul came over today to have a sneaky peak at his bike ............. time for an update!

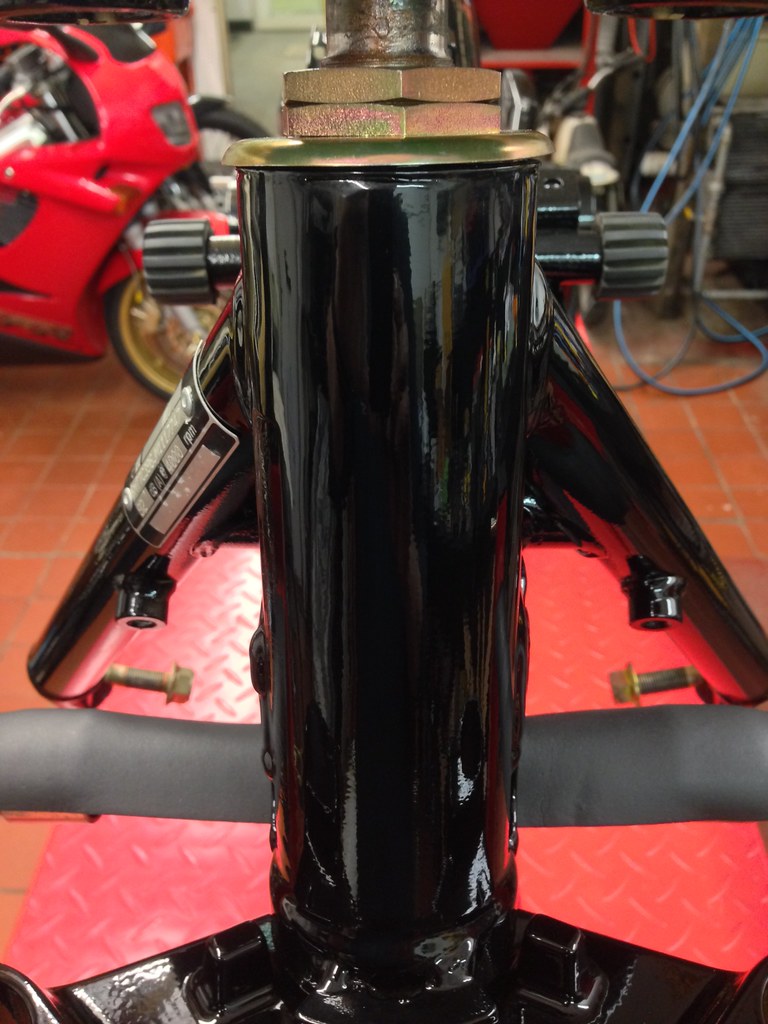
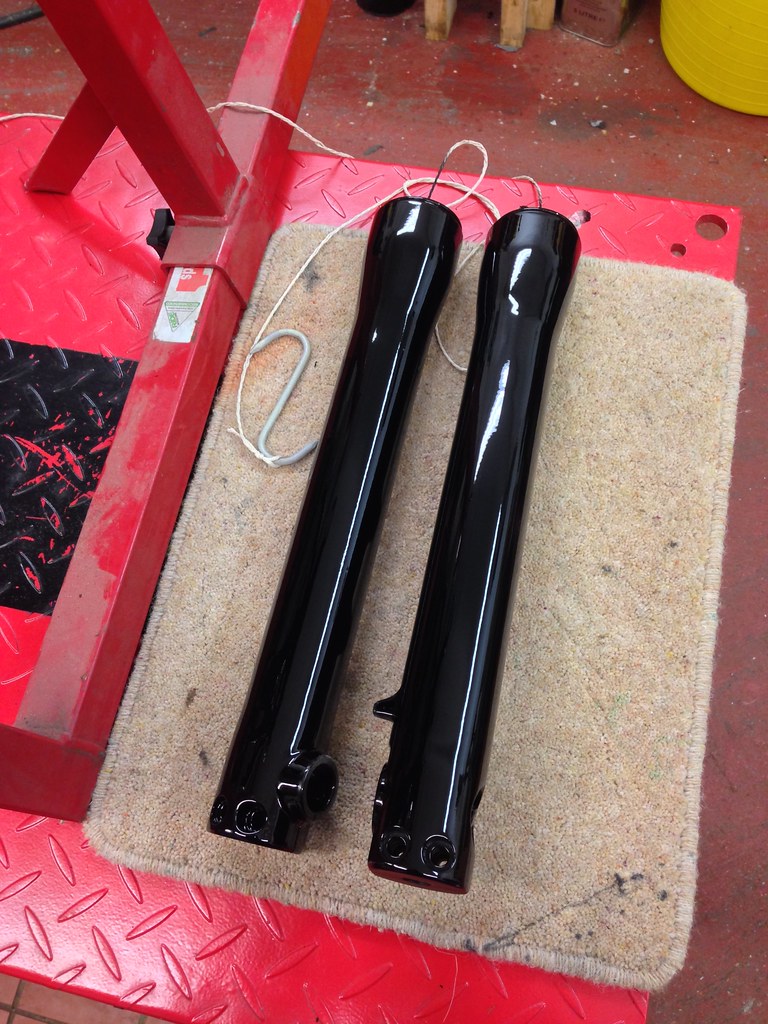
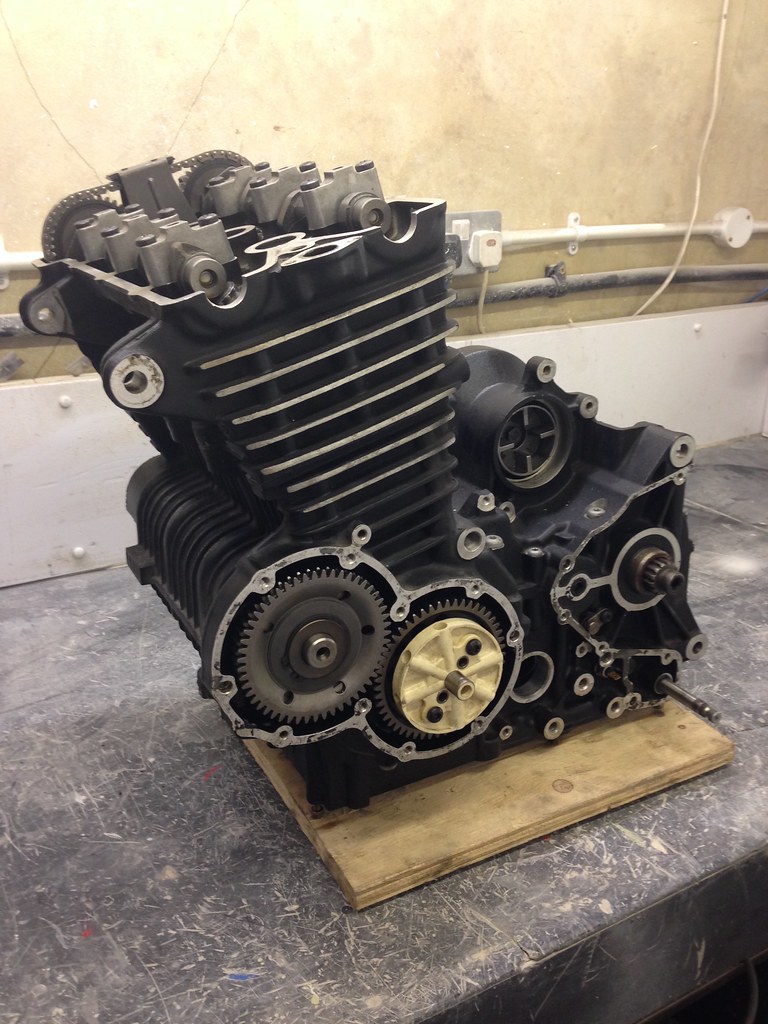
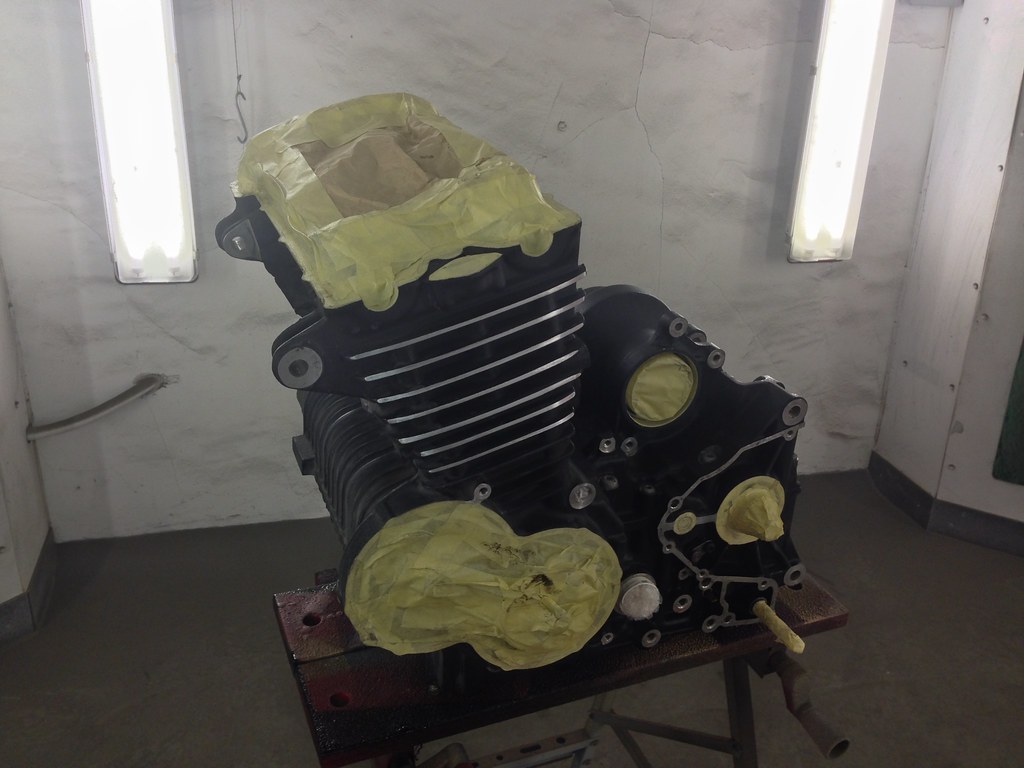
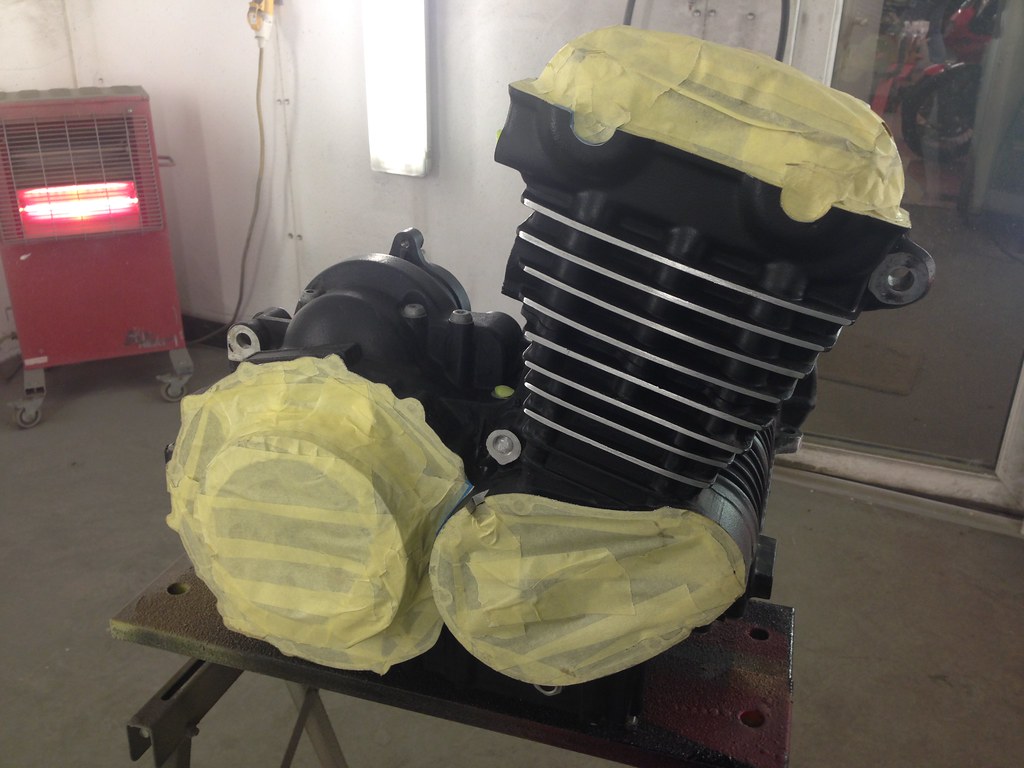
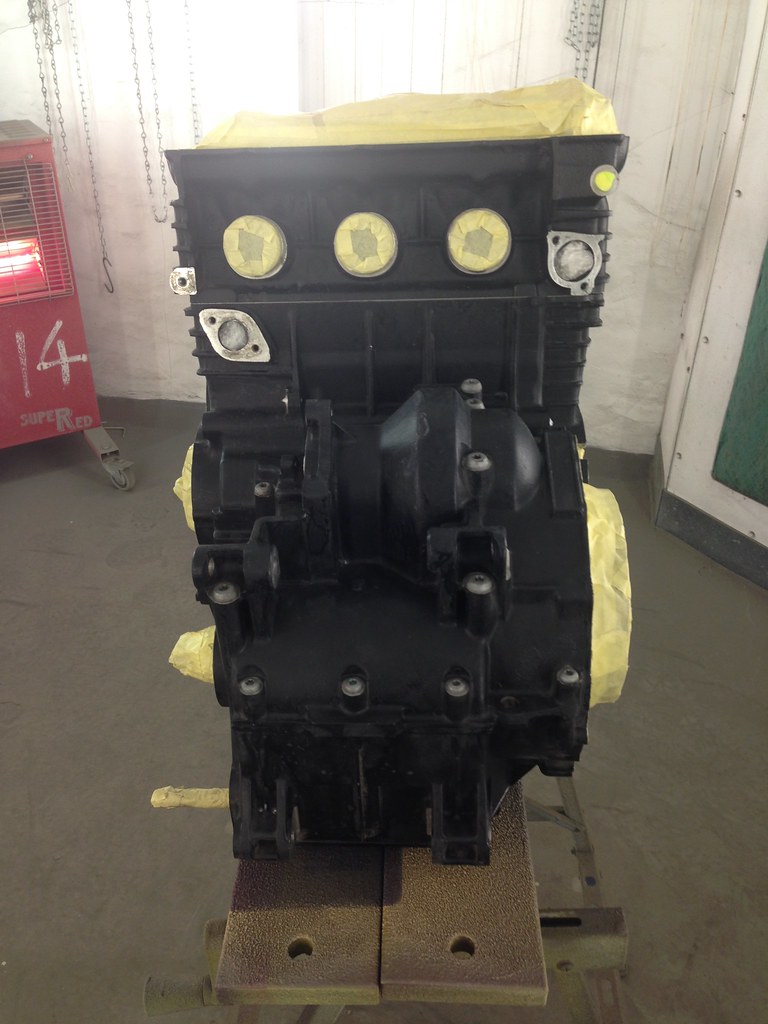
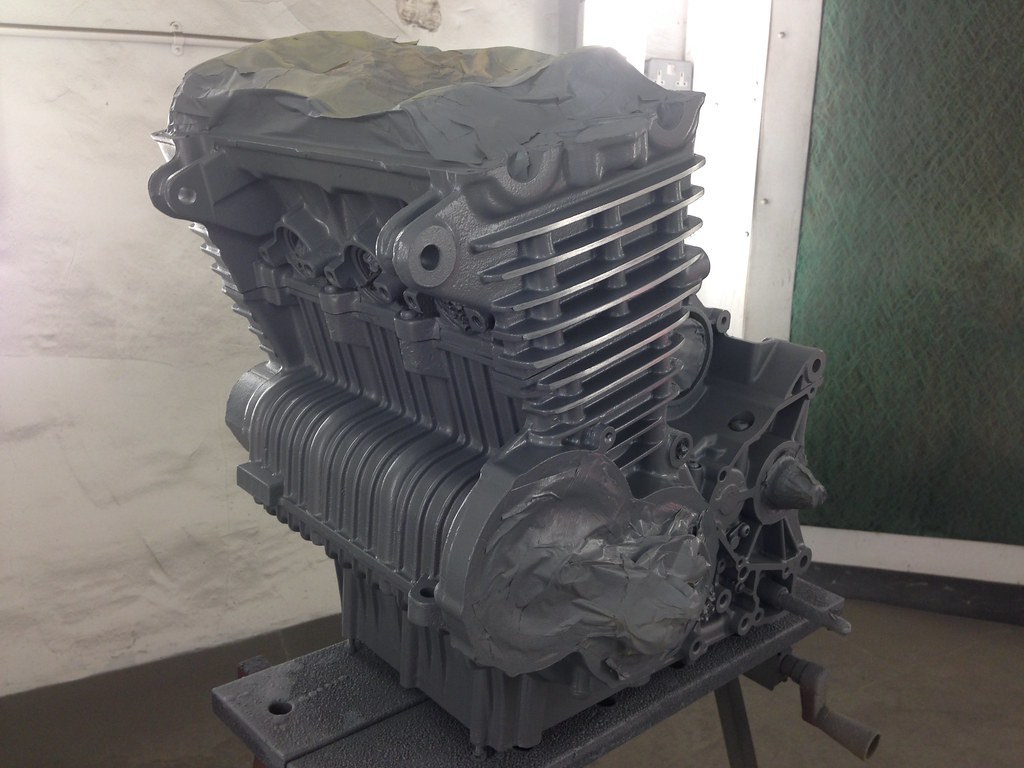
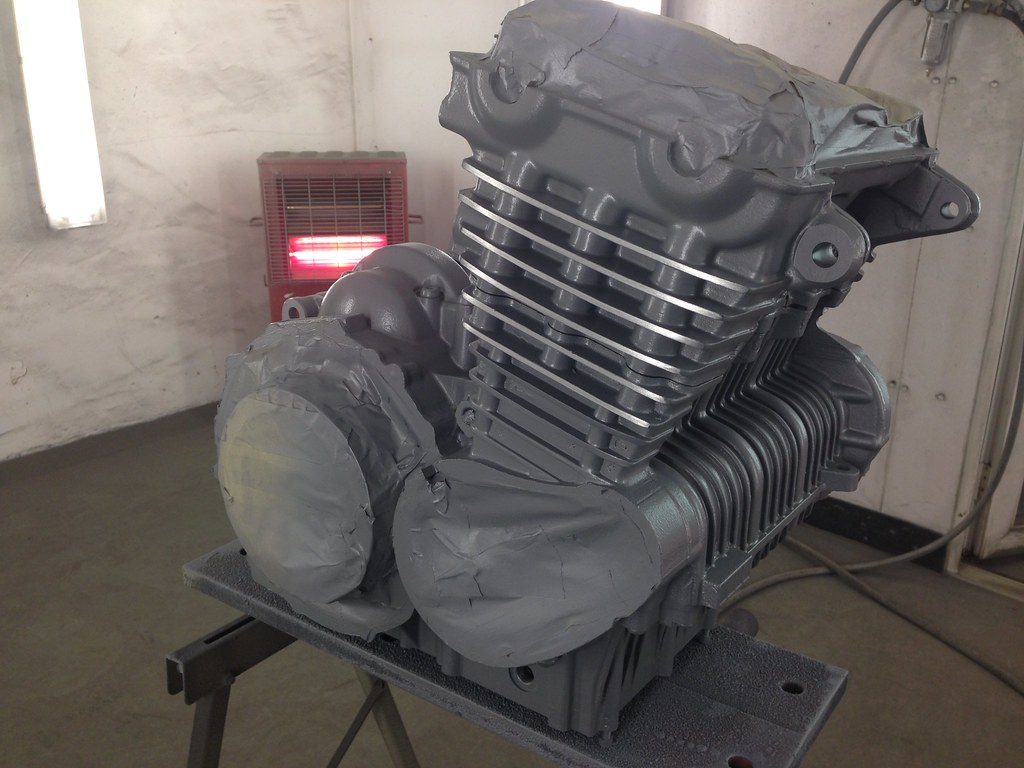
Having finally baked off all the parts that make up the suspended chassis it was time for some assembly.
Anyone thats done a project like this will know that initially there a huge surge of activity and excitement with stripping down, making plans, ordering parts, it's a real buzz and quite exciting. Then comes the reality that you've got to put the work in to turn your plans into the bike you're trying to create. There is a seemingly endless period of cleaning, sorting, organising, prepping, priming, plating, fixing, grinding, welding, filling and modifying. I would wager that 90% of the 'Unfinshed Projects' you see advertised are somewhere in the midst of this no mans land stage. It's seemingly endless to the uninitiated. If you're made of stronger stuff you know that it's just the drudge that you have to get through before the good stuff starts to happen.
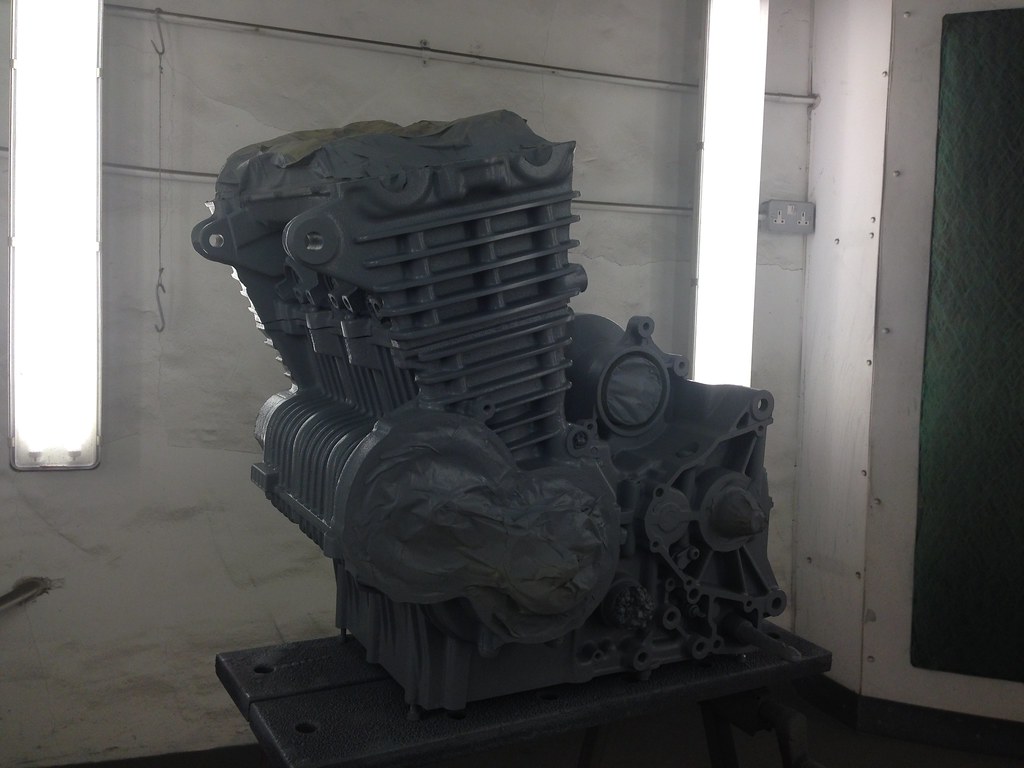
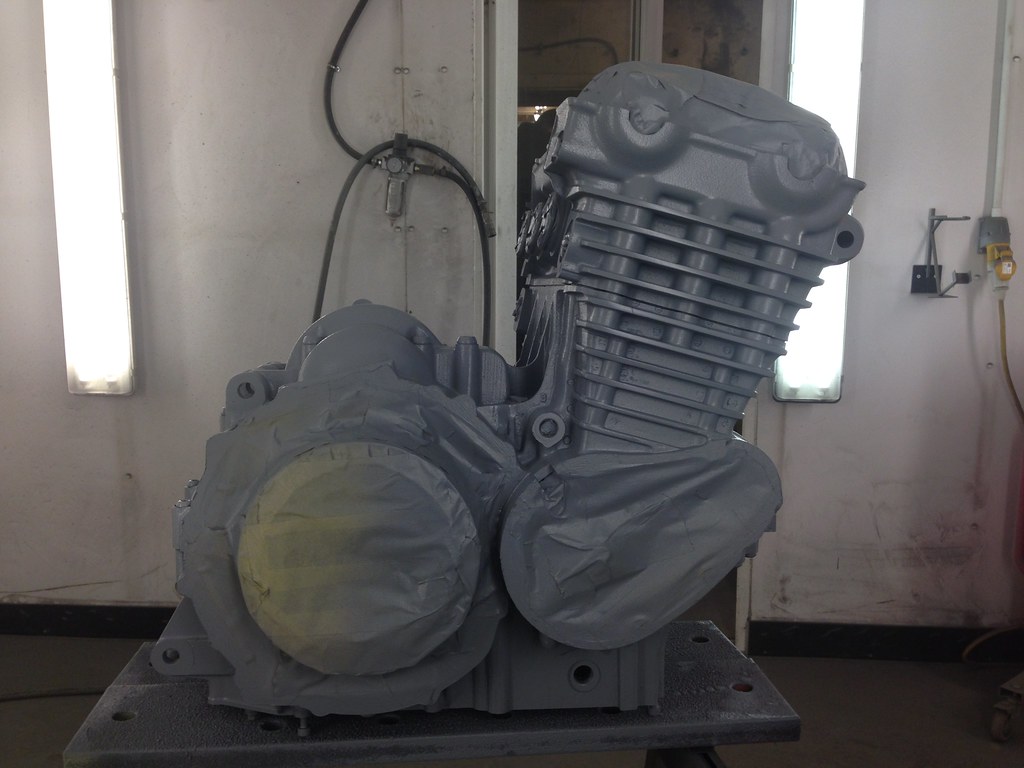
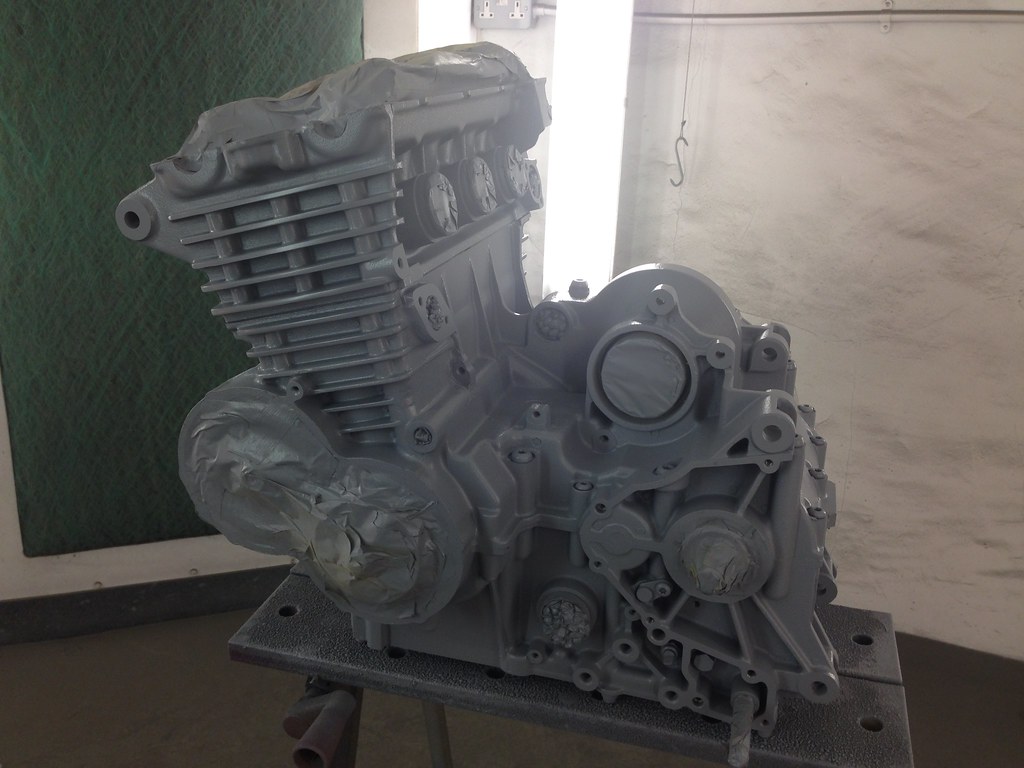
Paul popped over last week to be greeted with what can only be described as a sea of primed parts, nothing shiny or lovely looking and me telling him that we're on the cusp of shiny goodness. He looked a little deflated. I soldiered on undaunted!
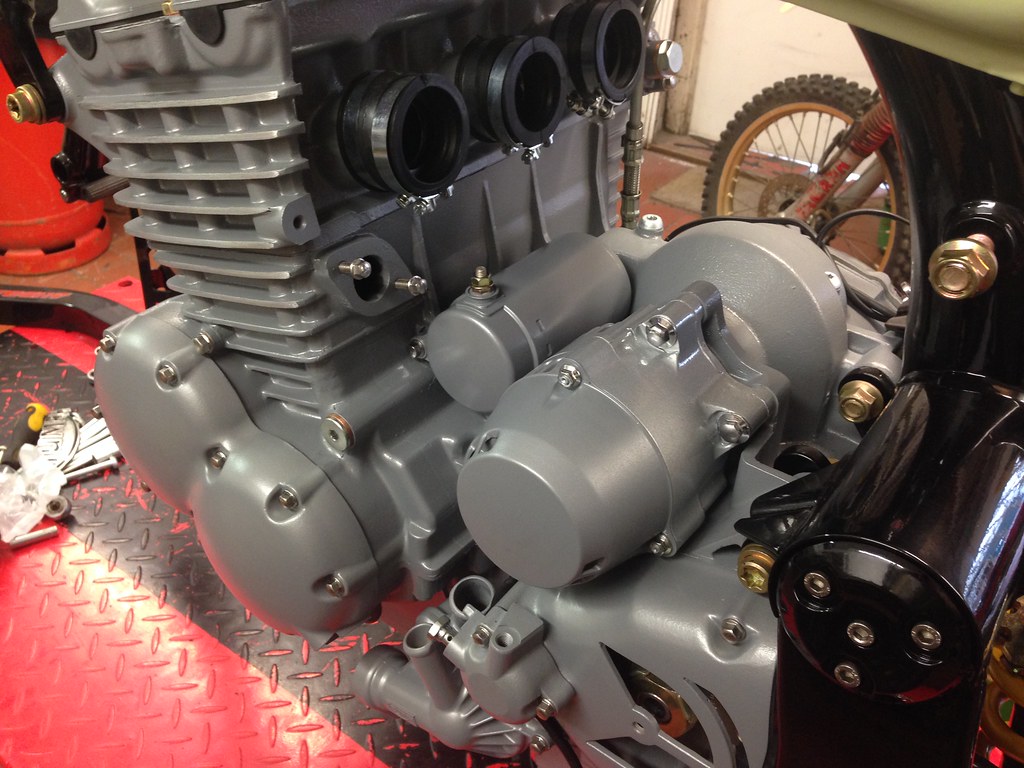
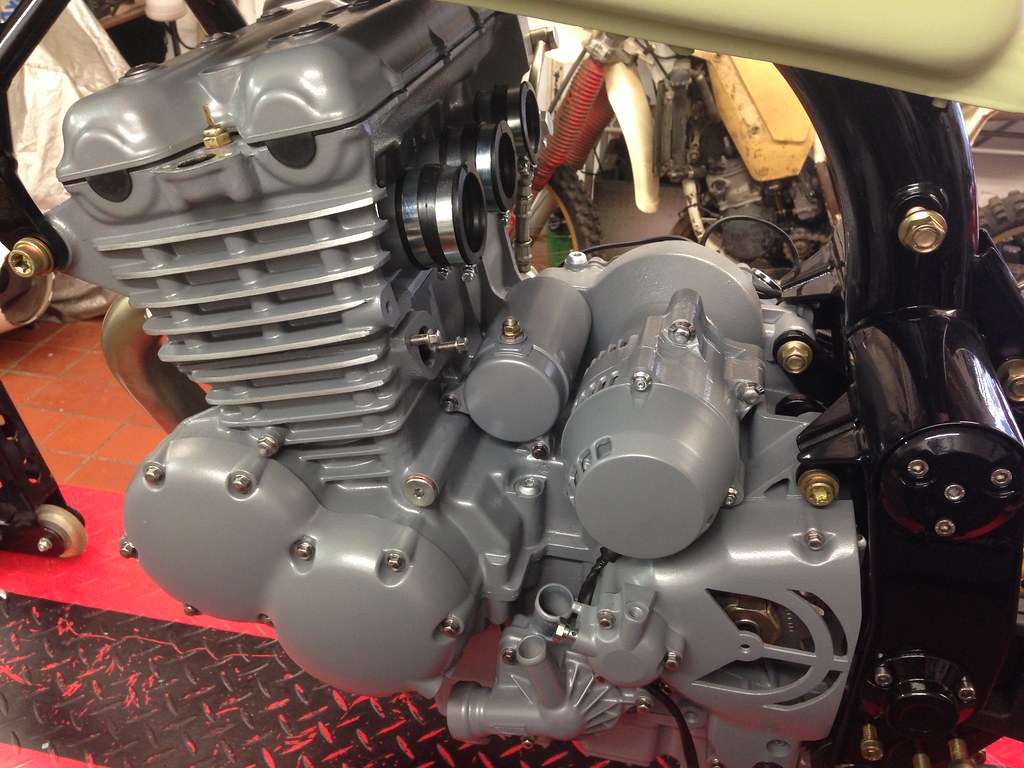
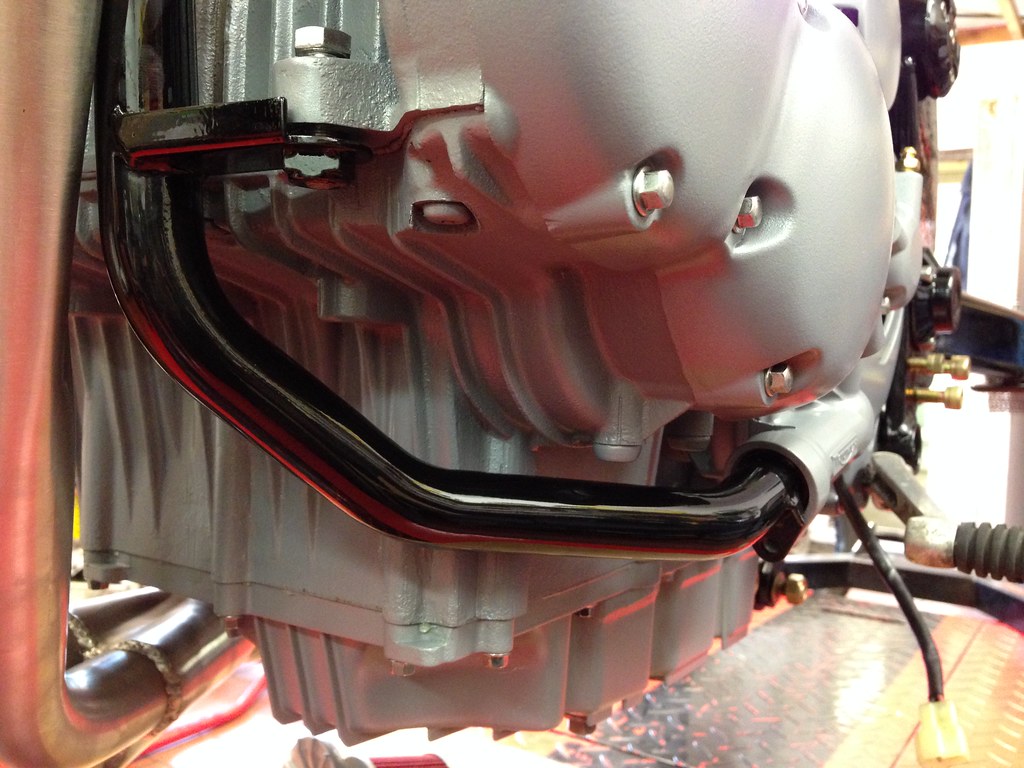
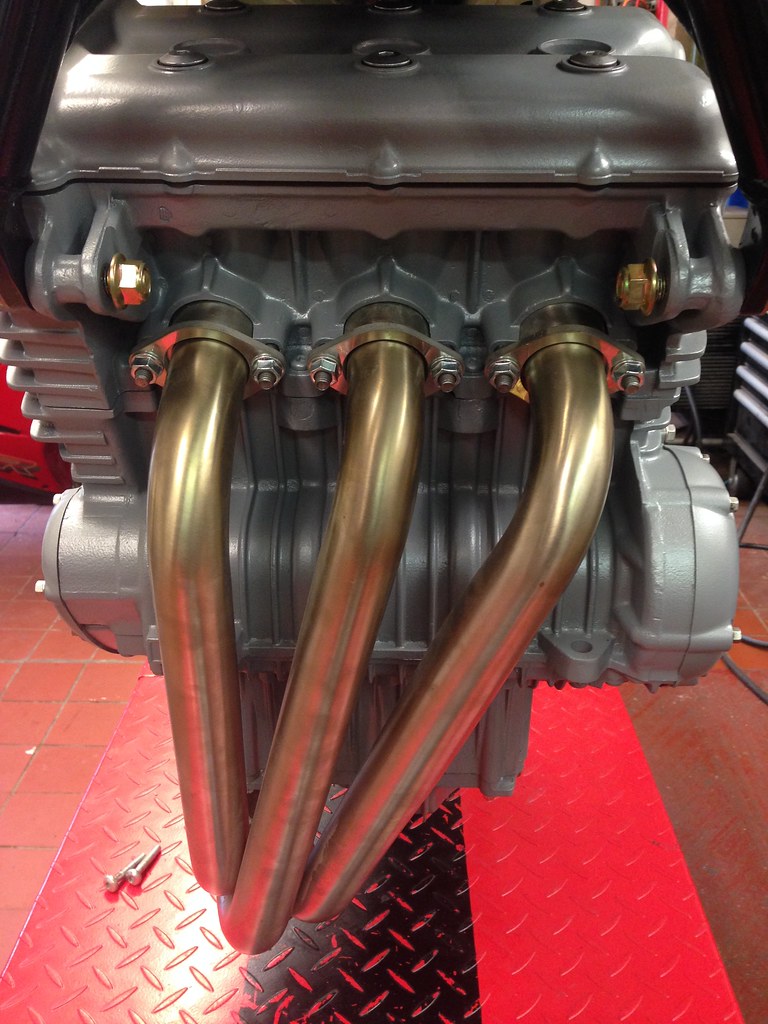
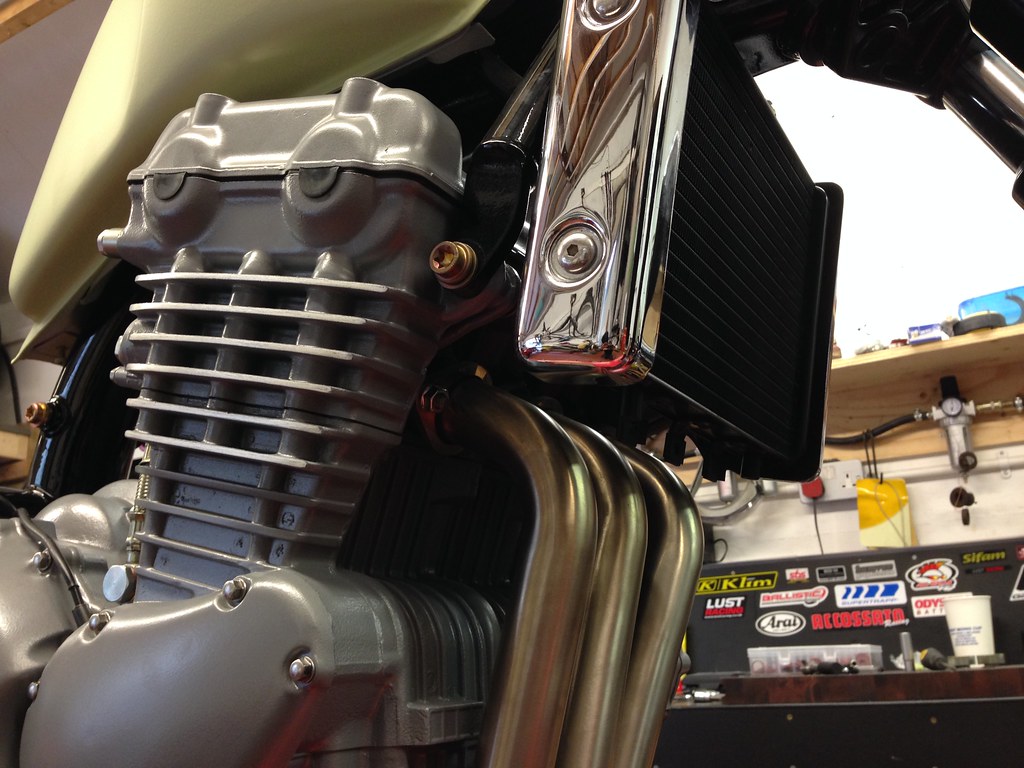
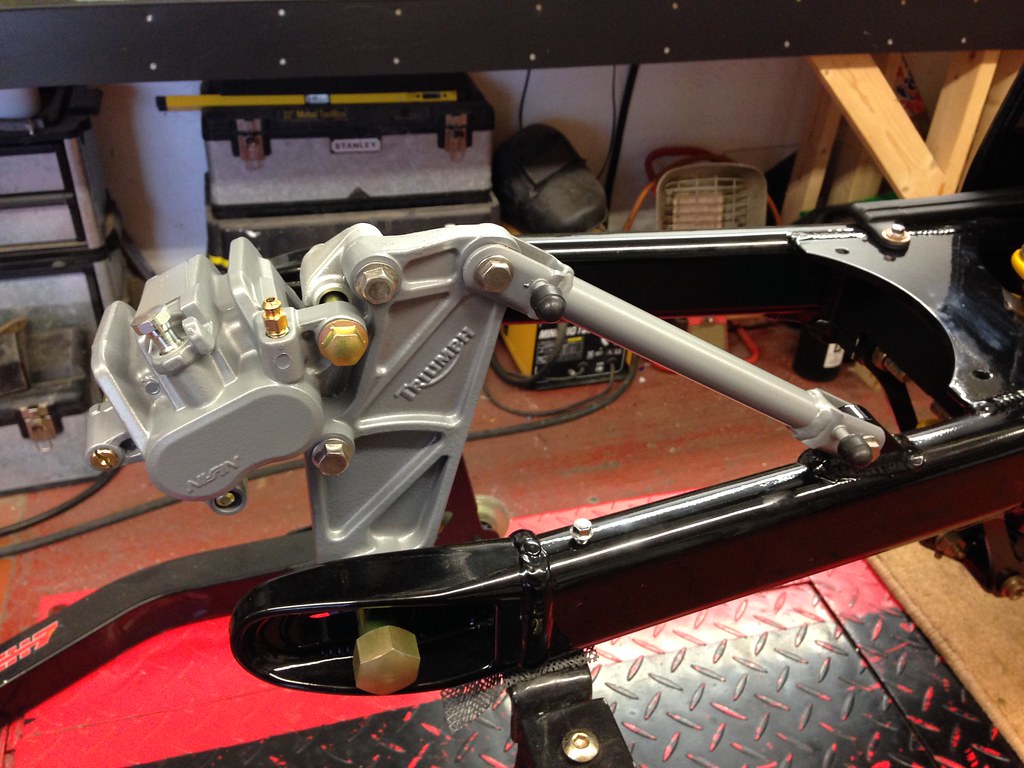
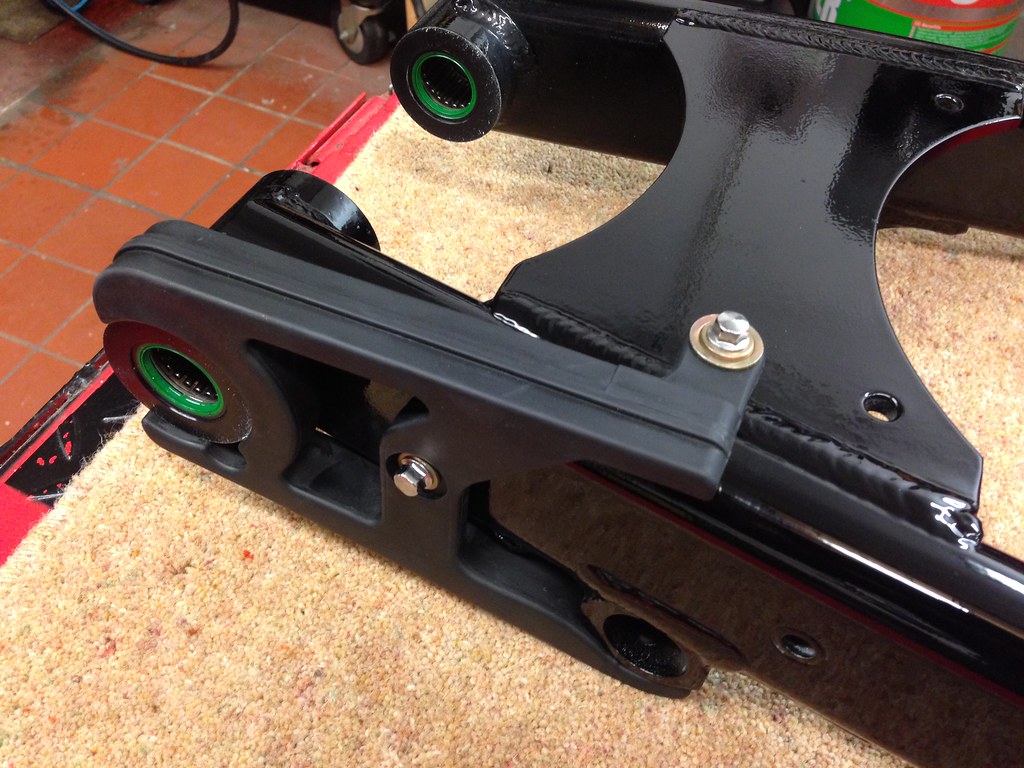
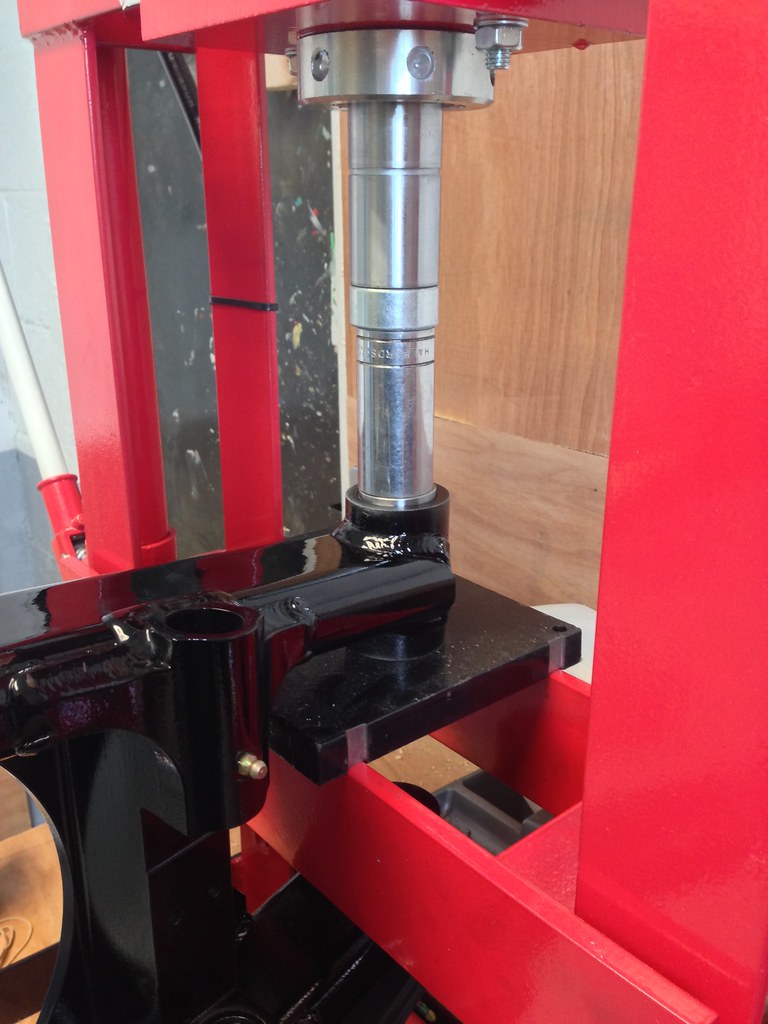
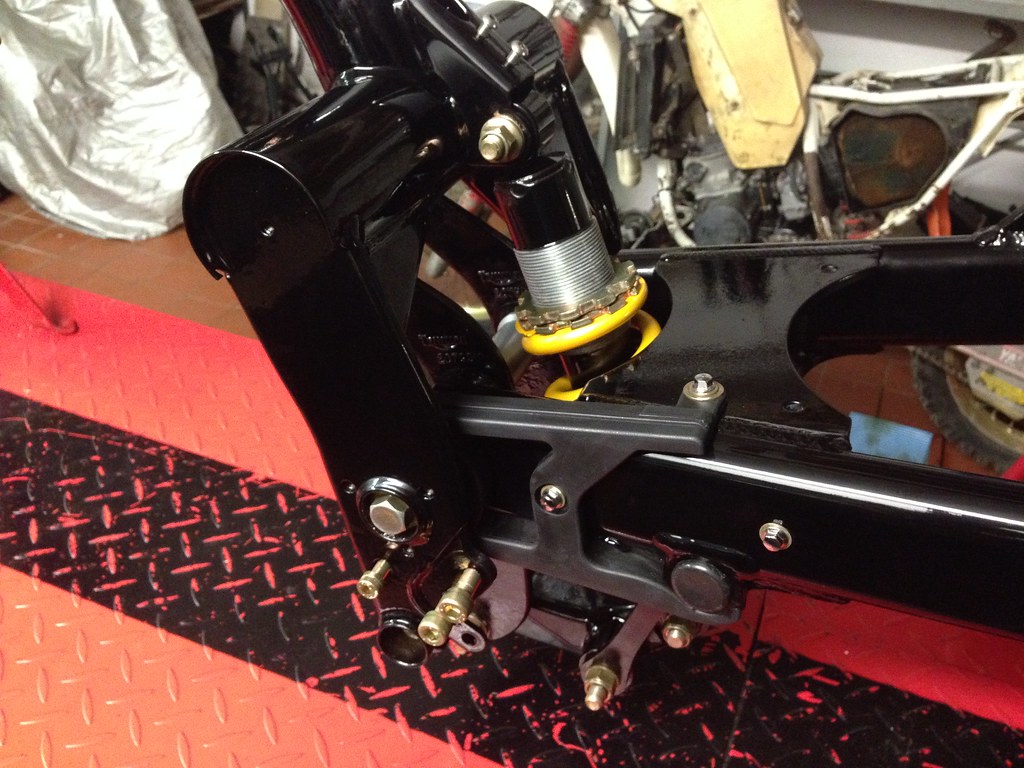
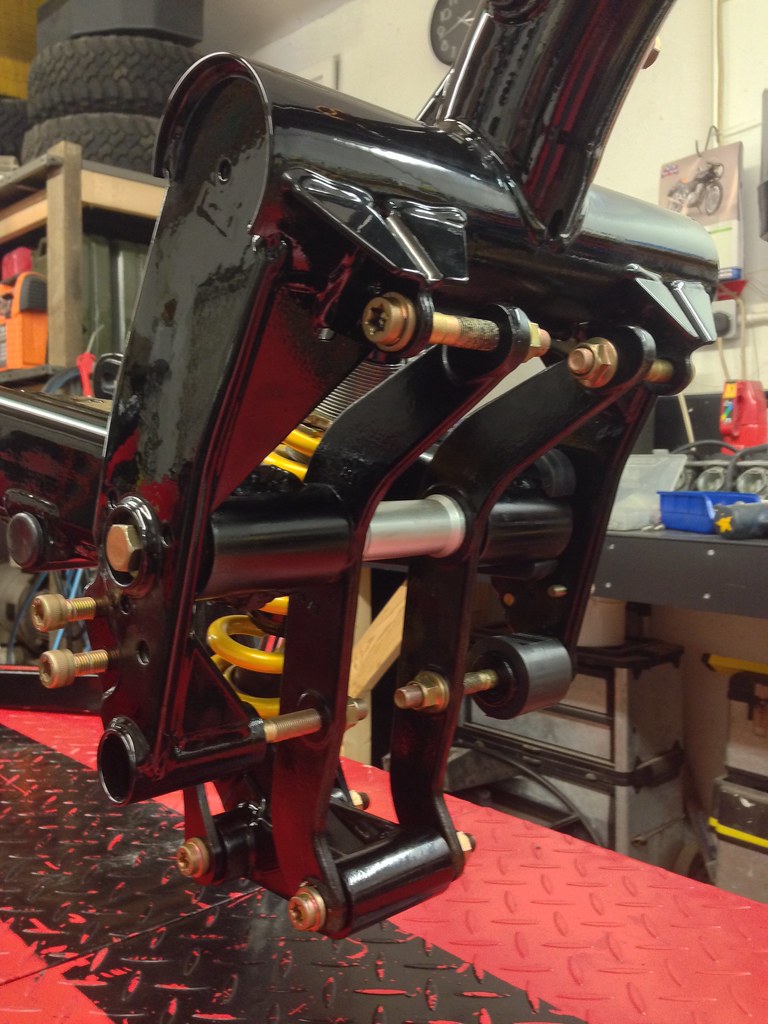
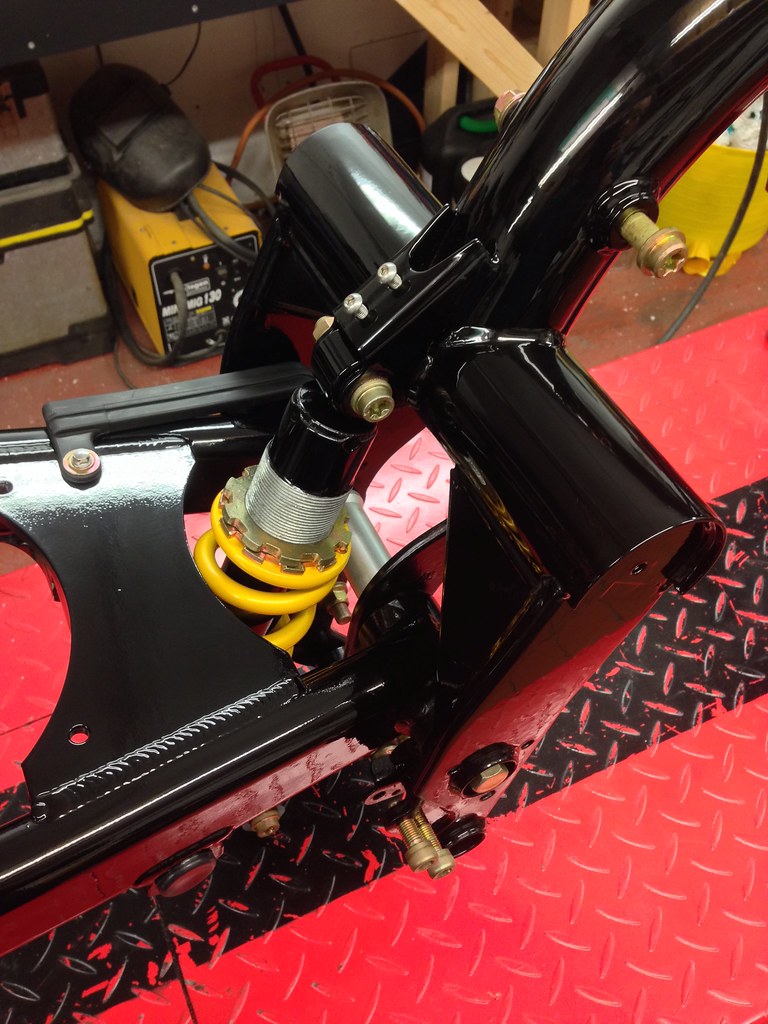
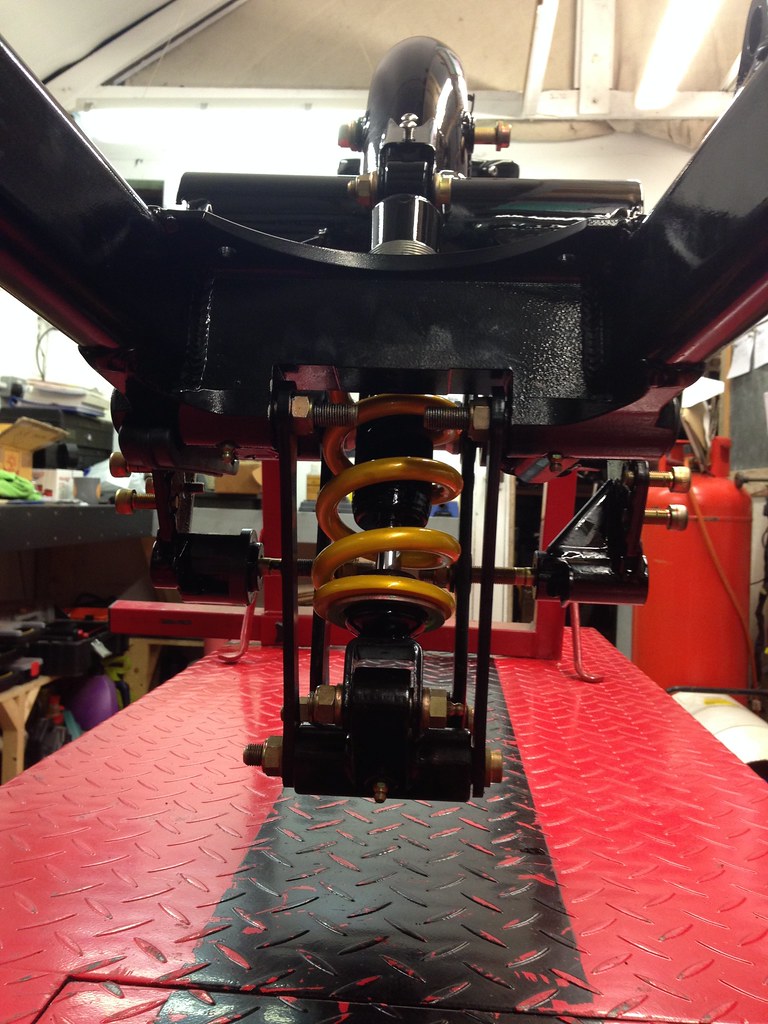
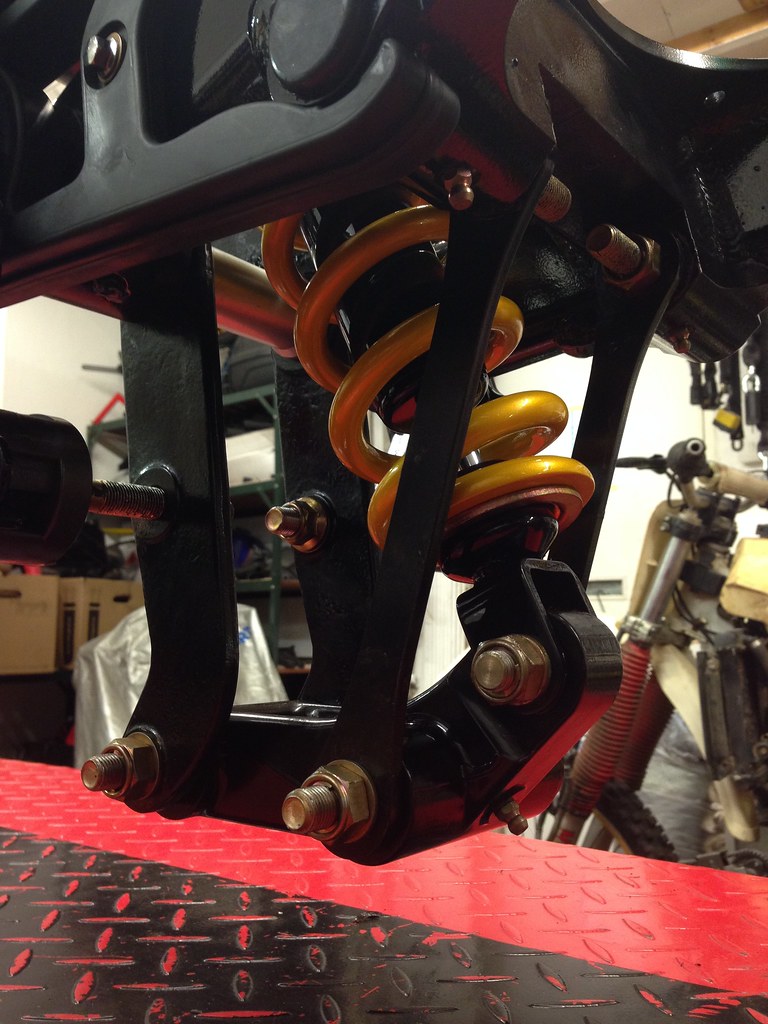
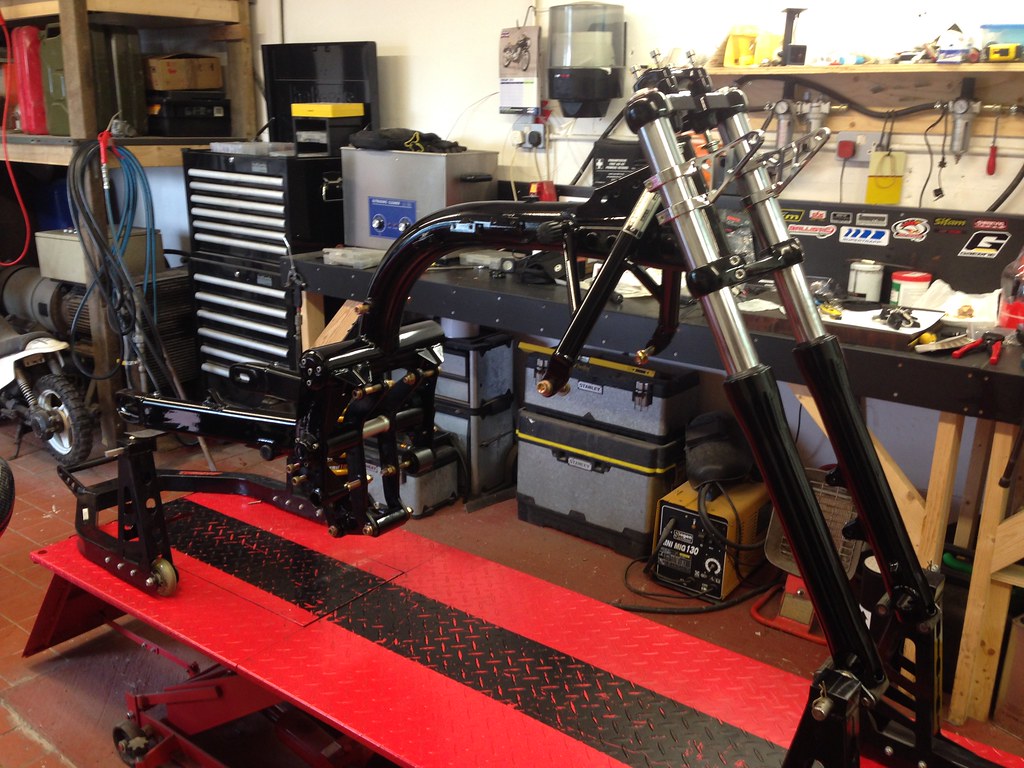
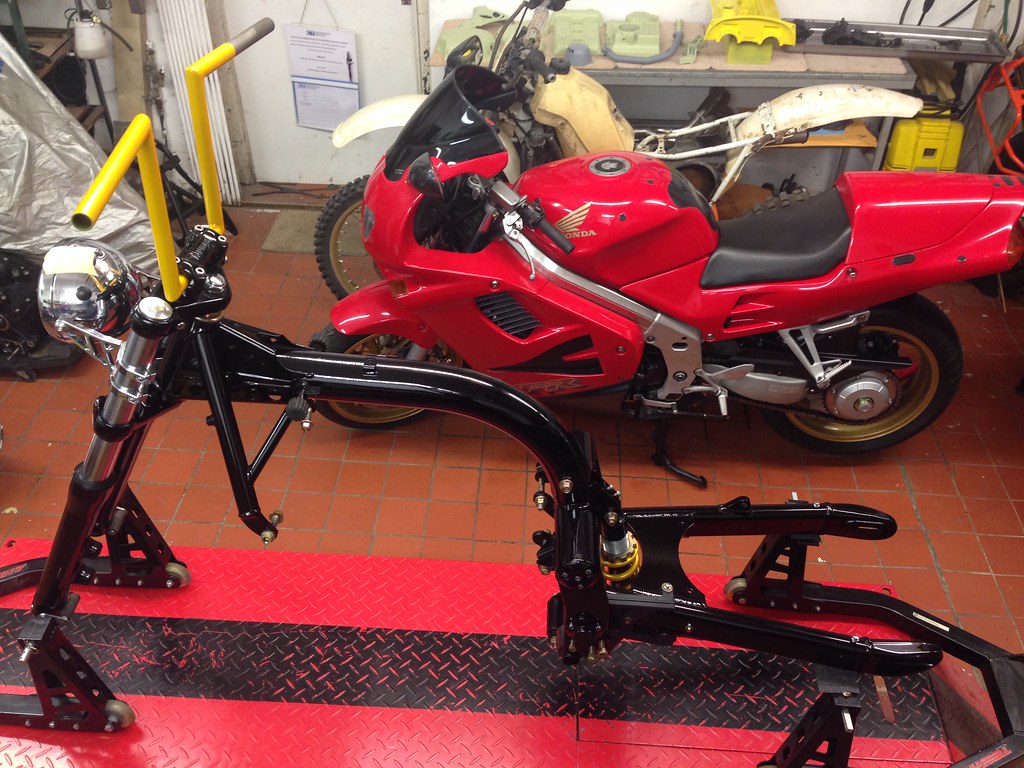
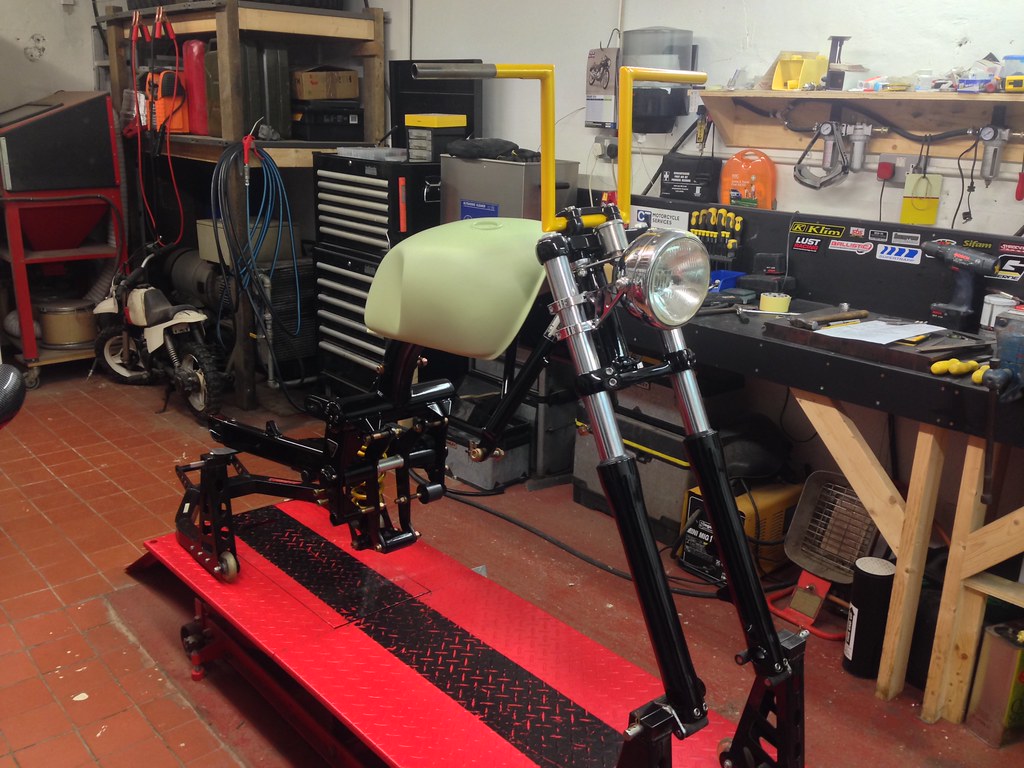
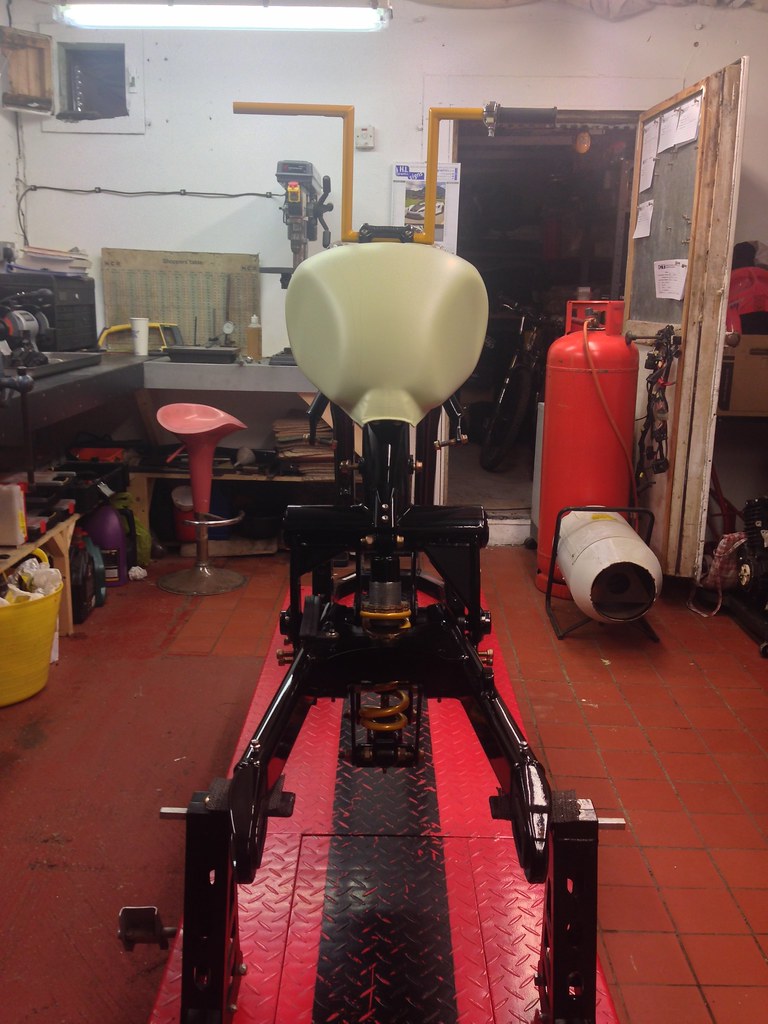
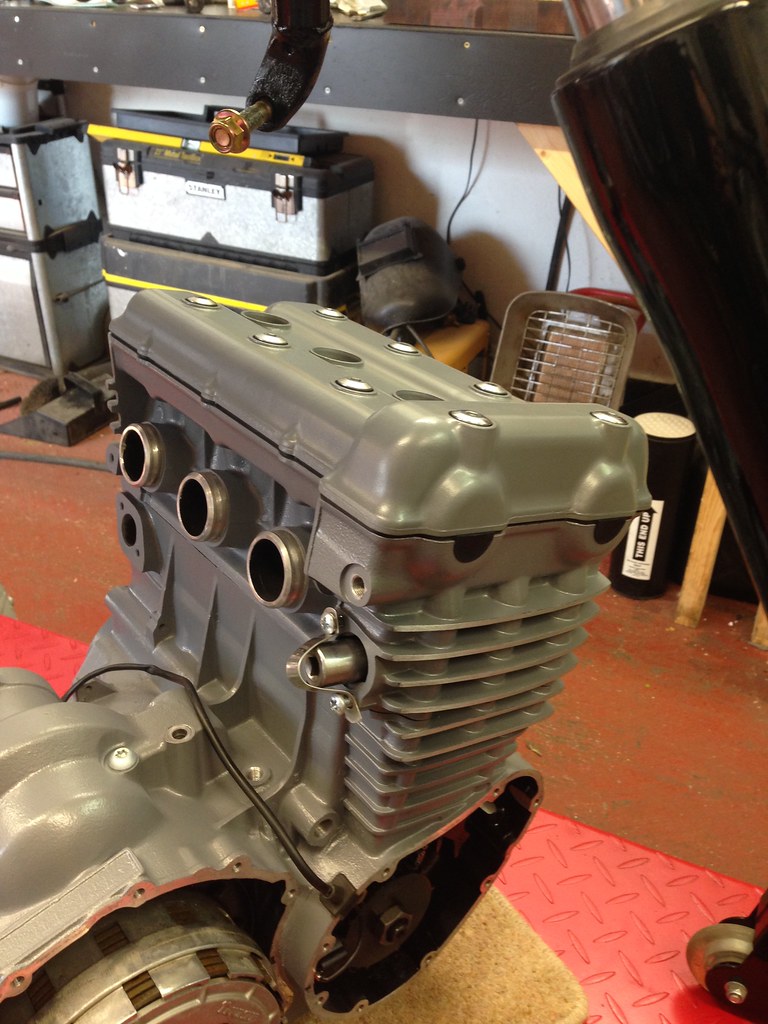
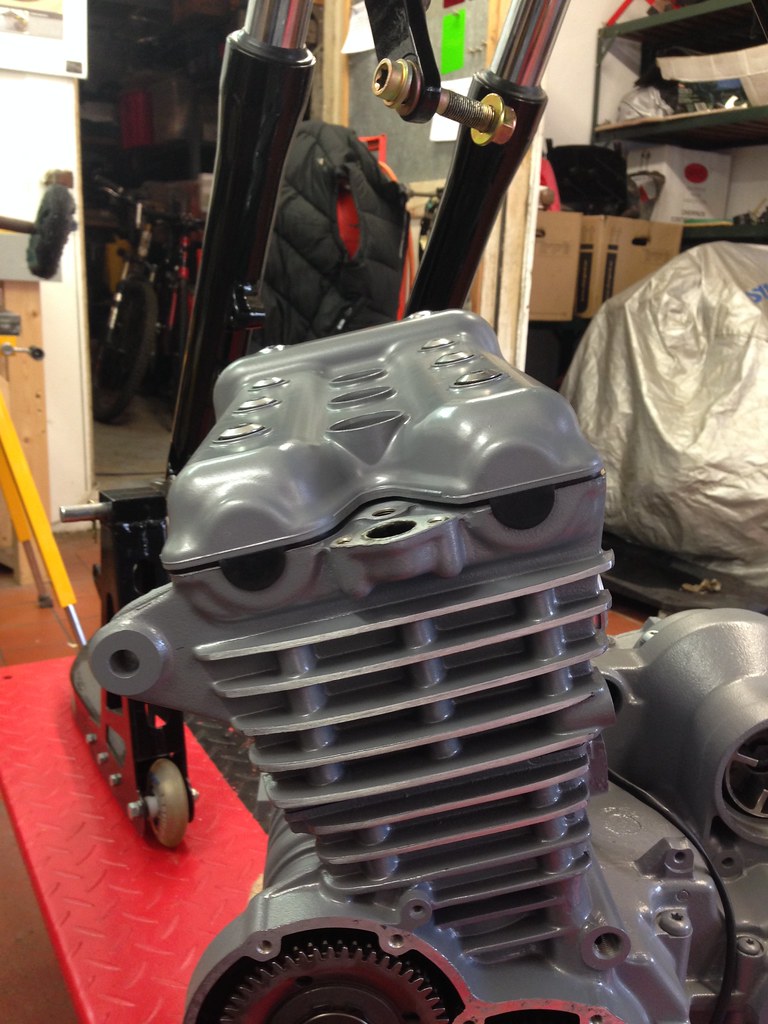
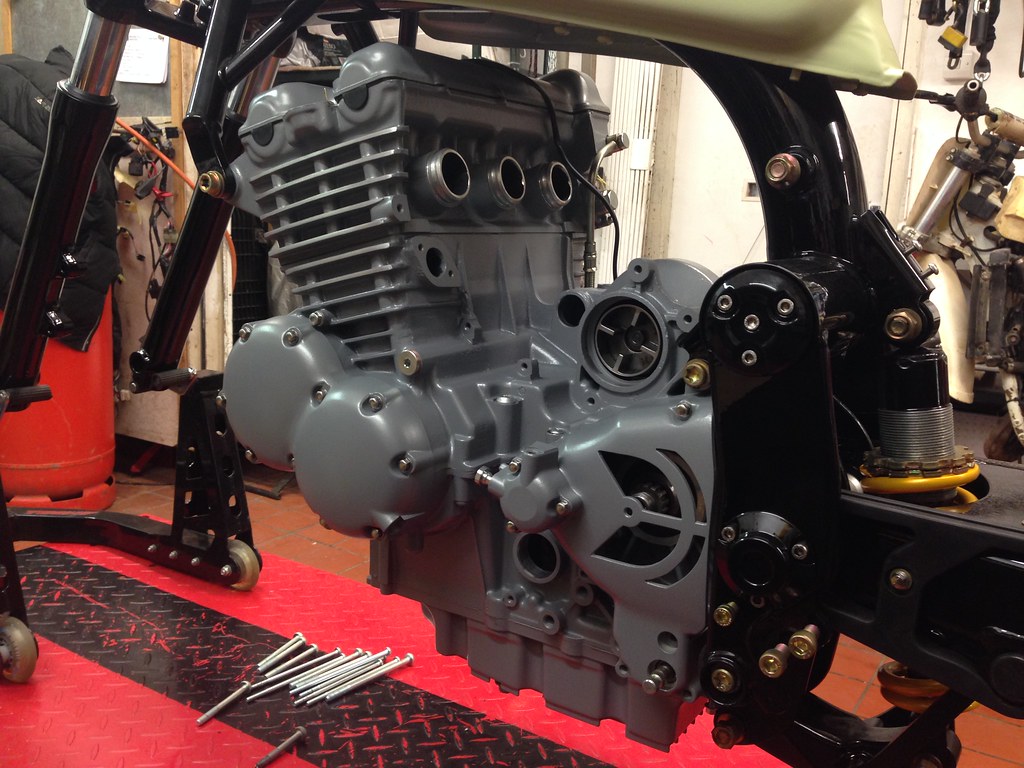
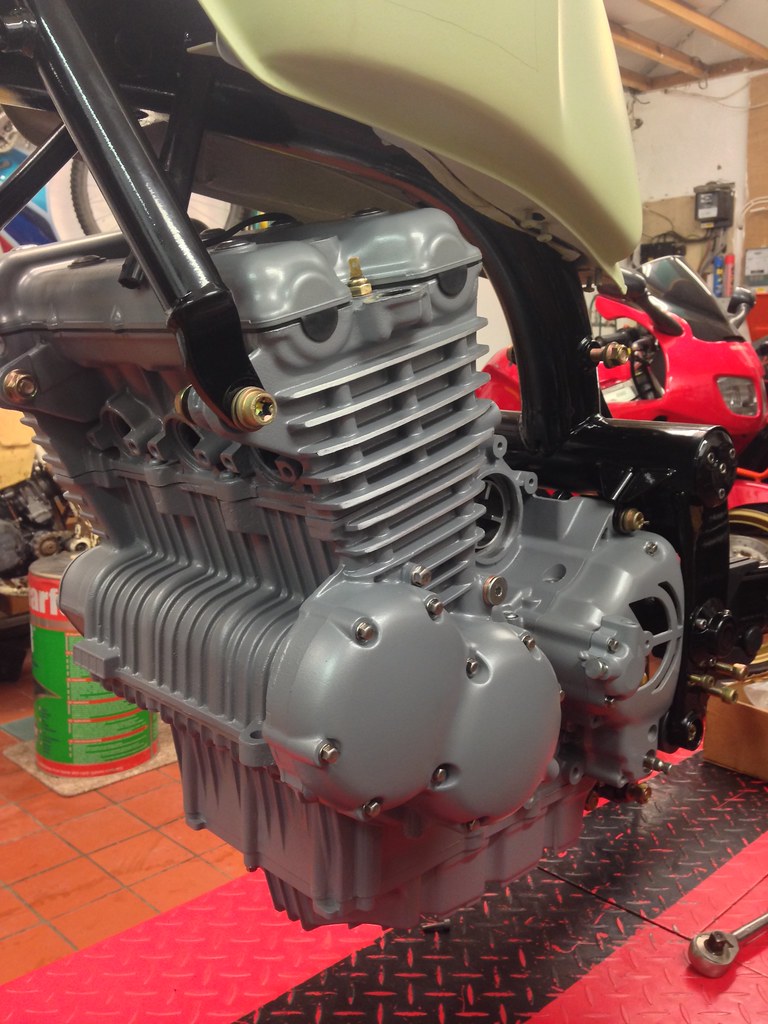
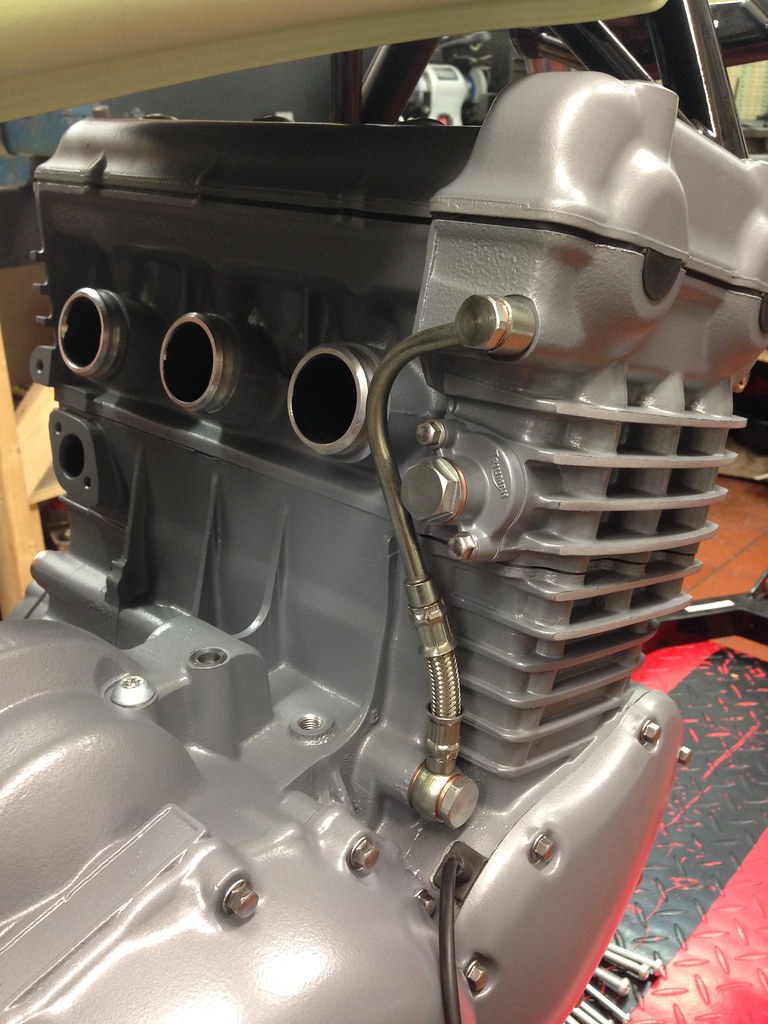
That's just about where we are now, finished components going back together, the box full of new parts in bags being opened and the assembly process beginning.
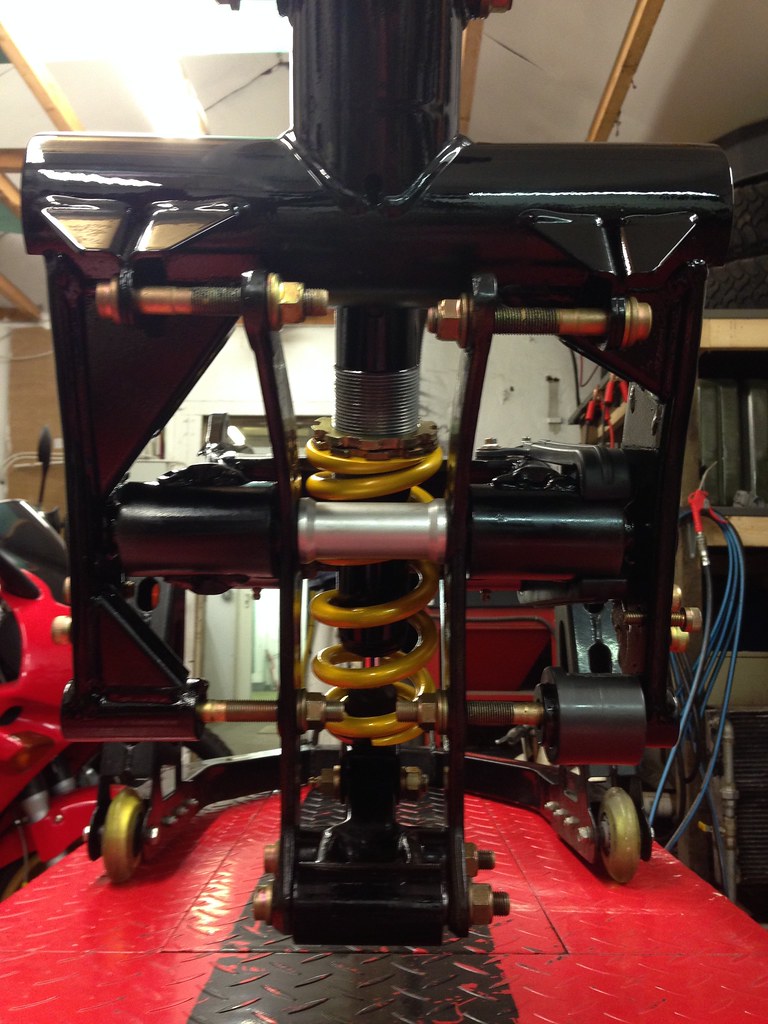
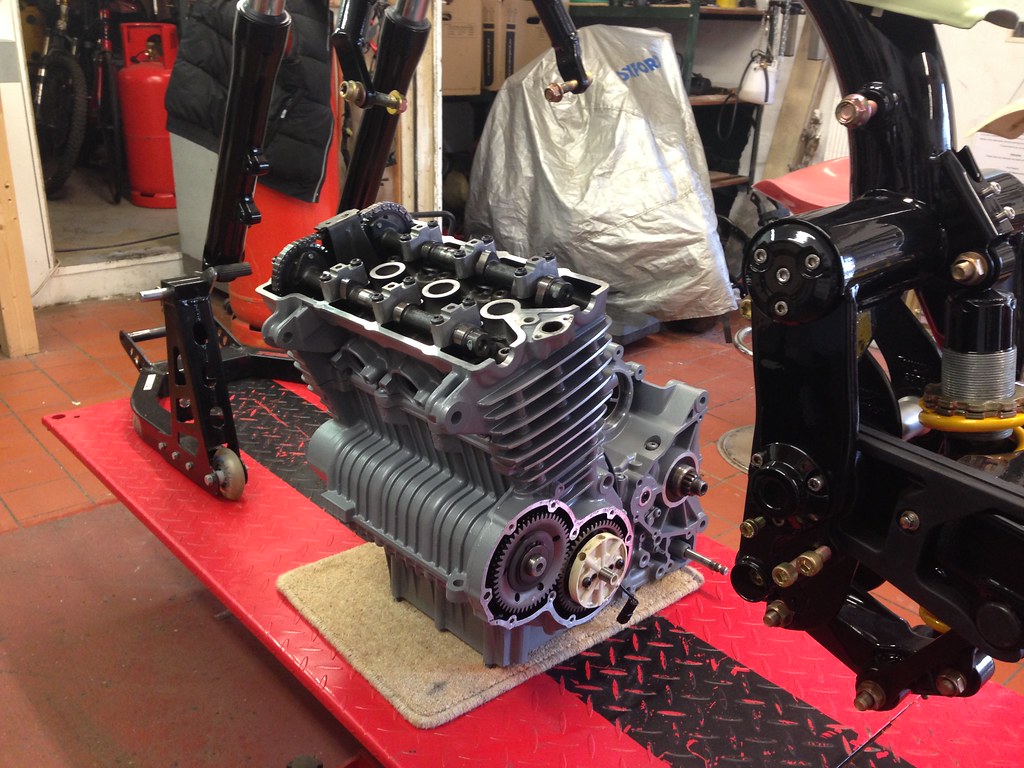
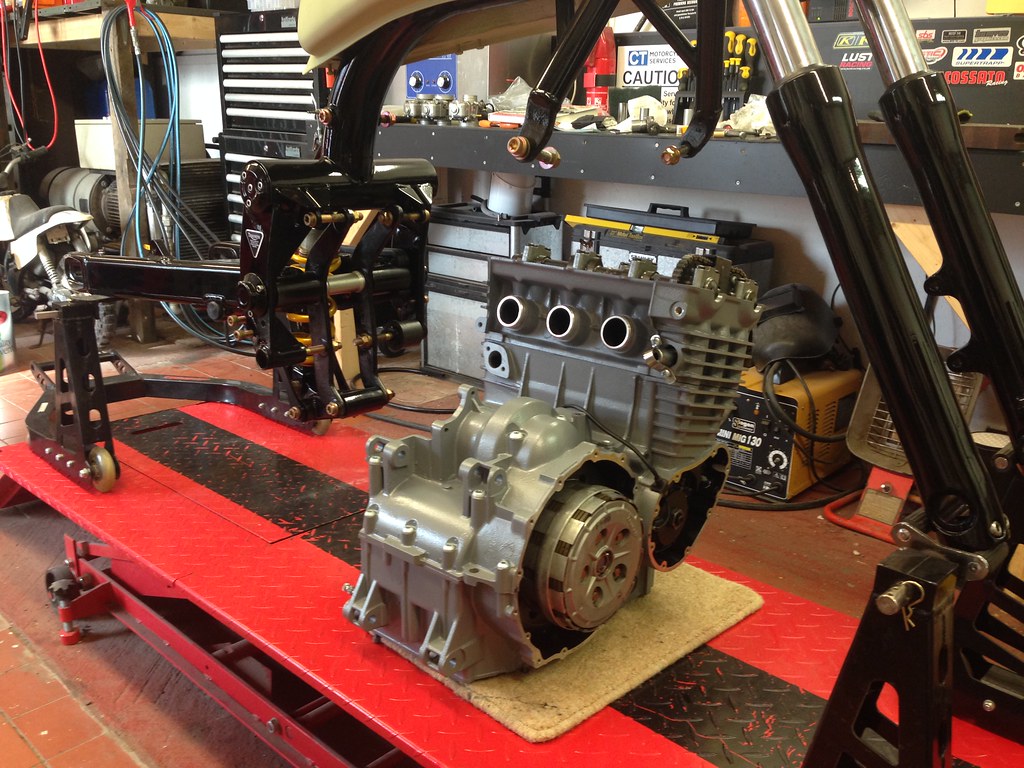
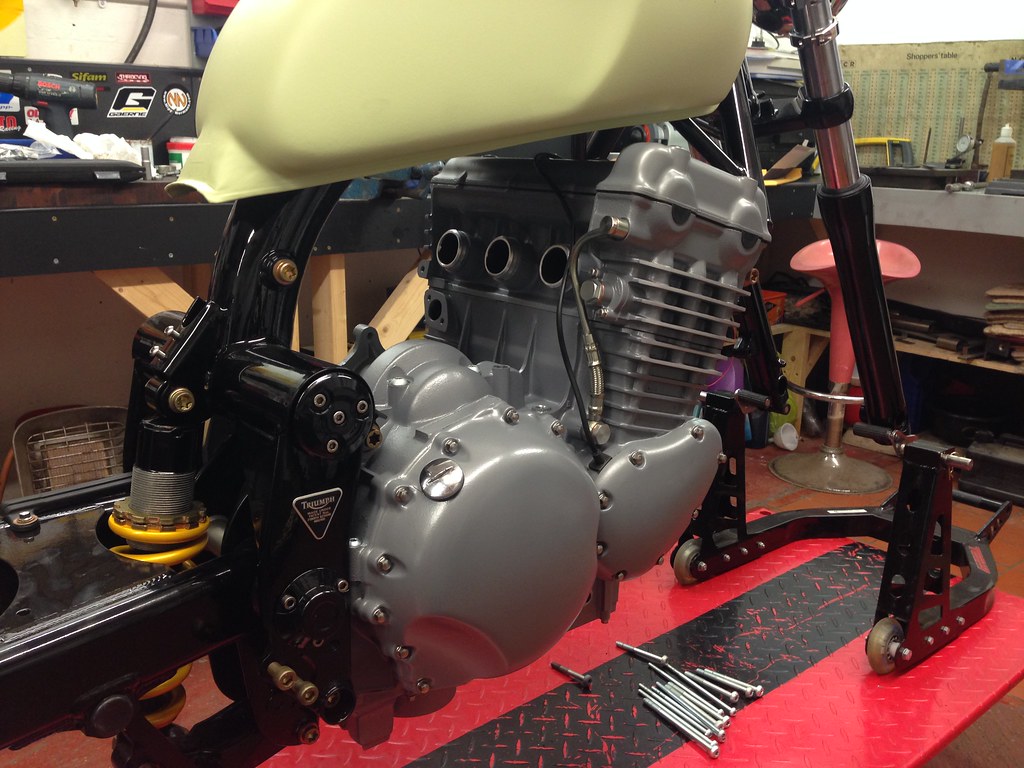
This is where is starts to look like a bike again! ........... This is where we see a smile on Paul's face again ......

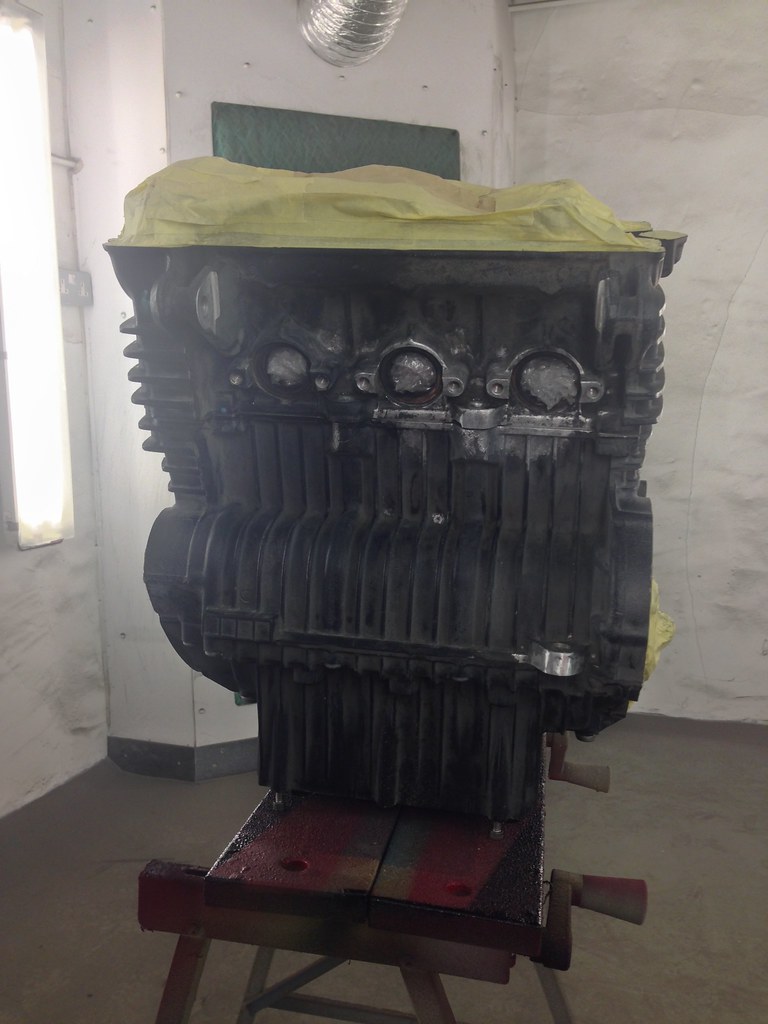
I'll let the photos do the talking ...


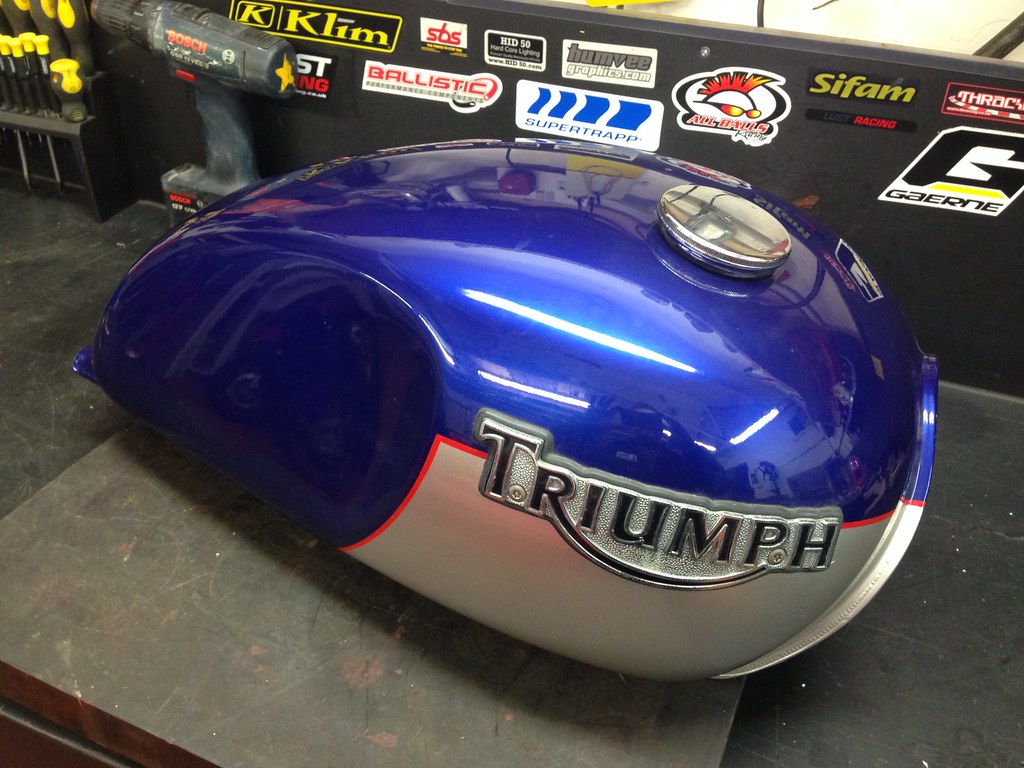
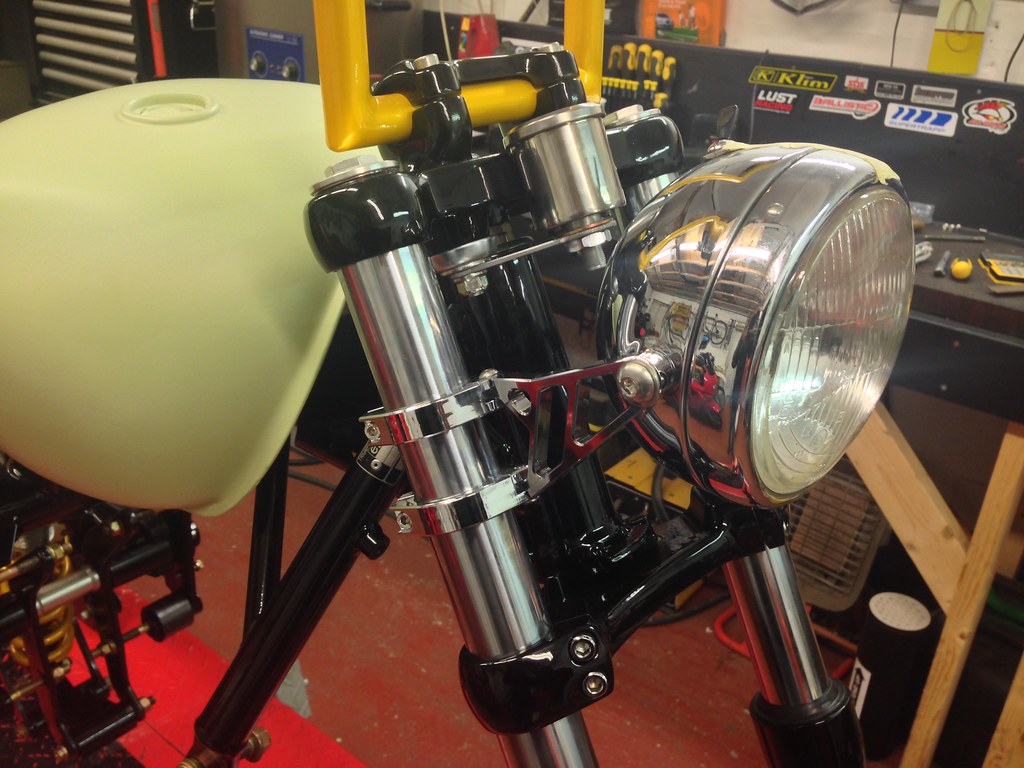
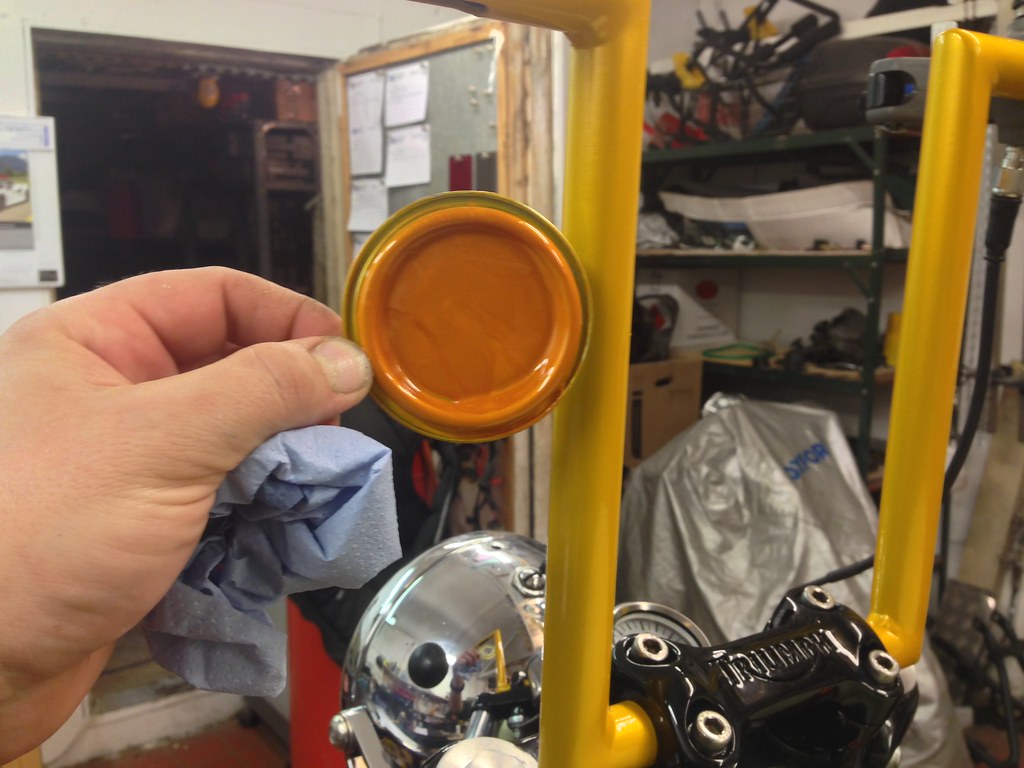
The original tank is being retained although it's not going to have the large chrome badges which come as standard. I'll cover the colour scheme later in the thread, for now it's just a case of prepping for paint.


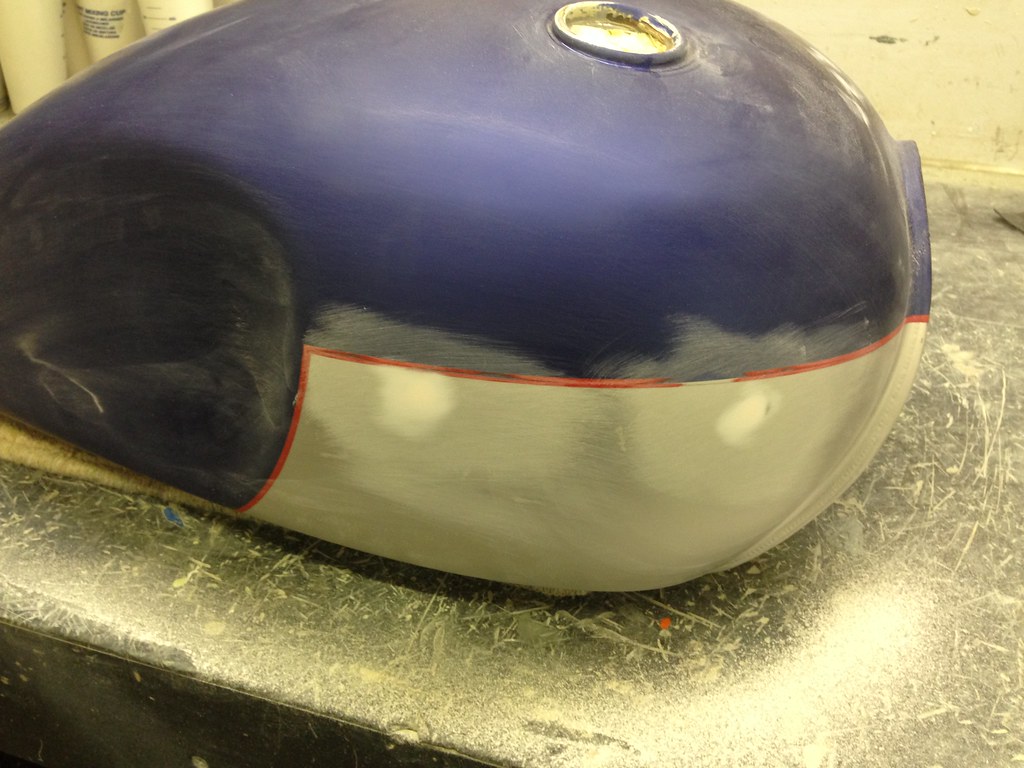
First off, fill the badge fixing holes ...


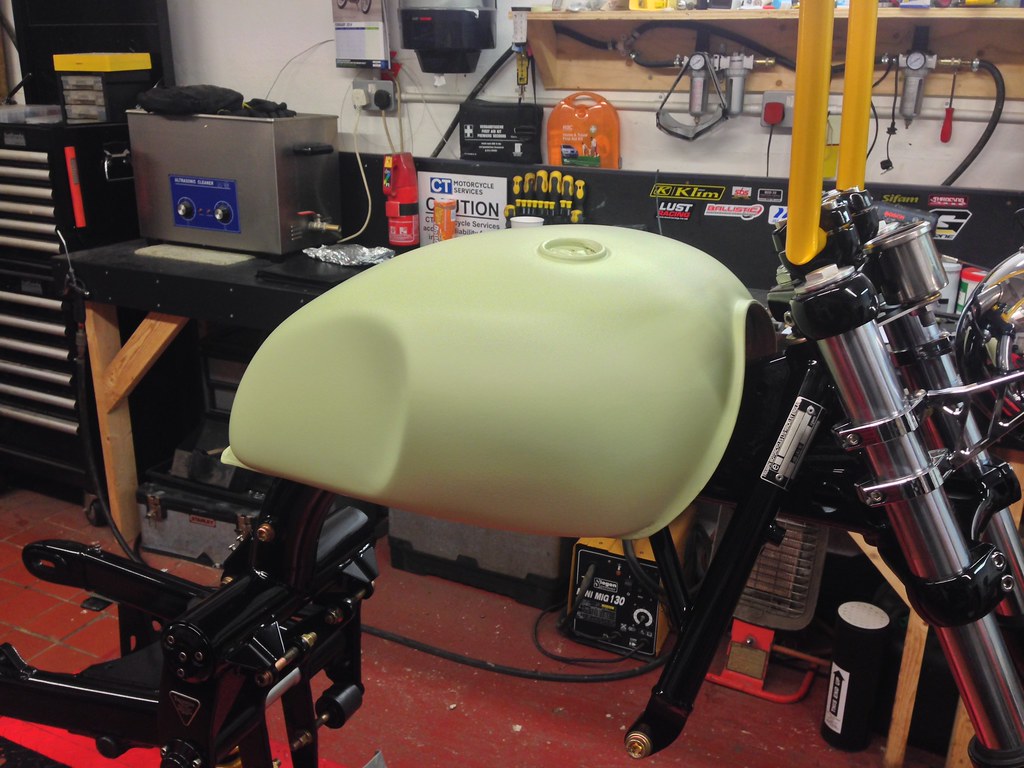
Then, after 1x coat of 2k primer and 2x coats of high build primer ...


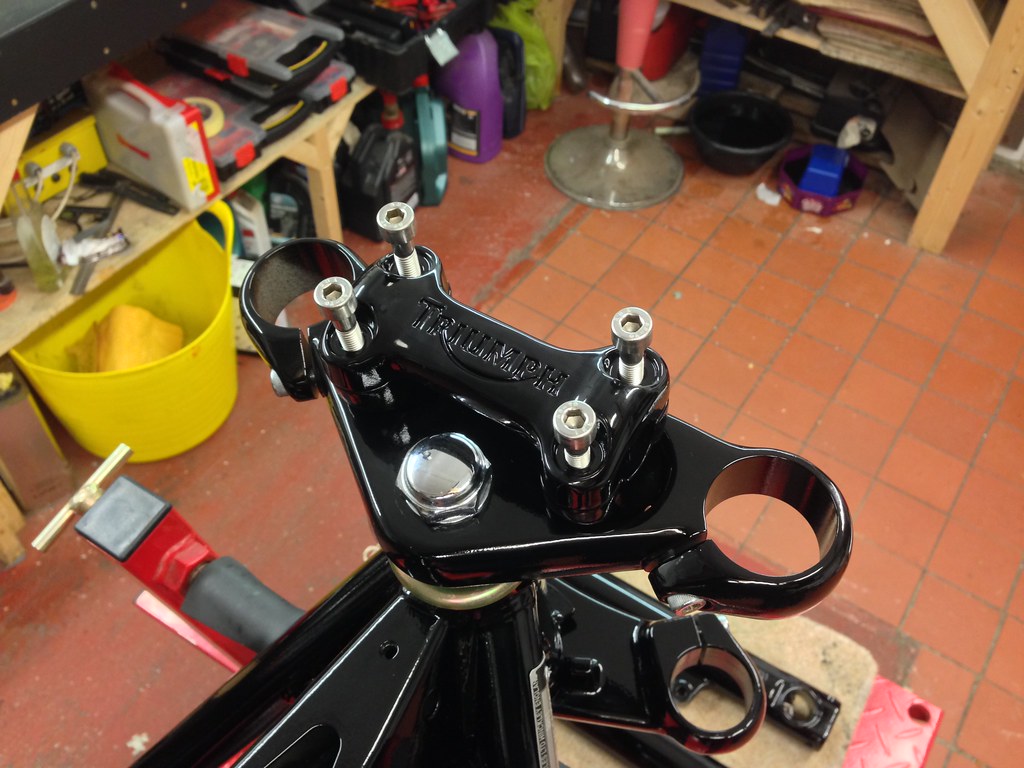
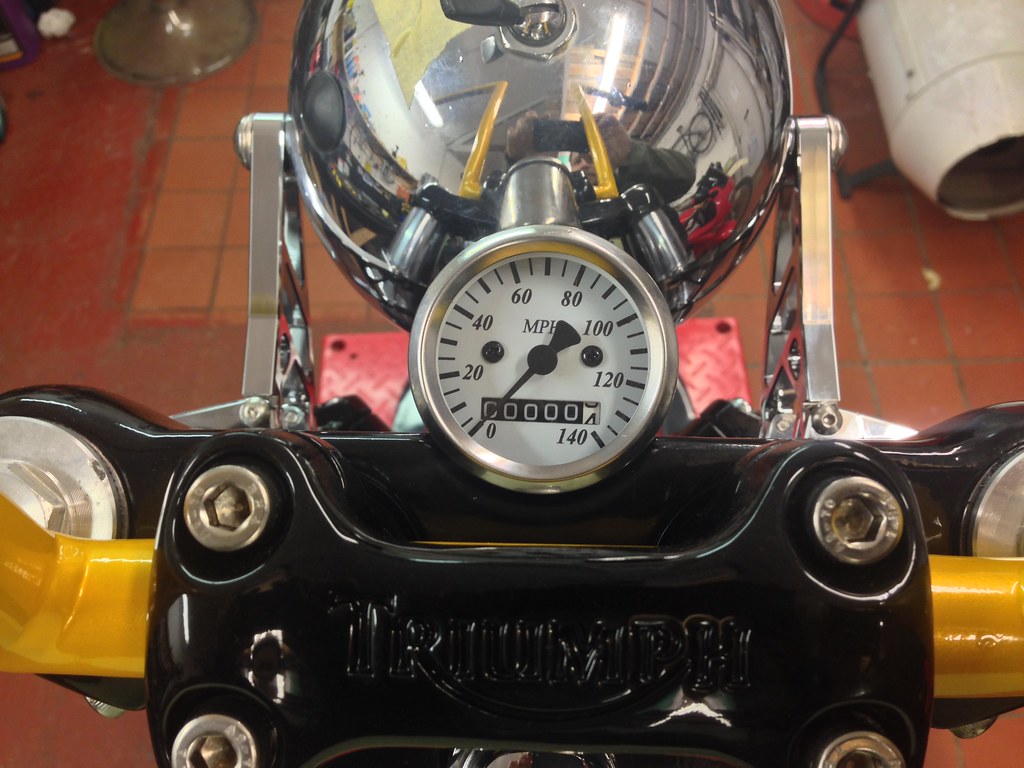
The top yoke originally had a cast flange on the front to which the original clock binnacle bracket and ignition barrel were fixed to. These have been removed to give a clean simple look. The rest of the recess left where the ignition barrel was has been slightly modified and is now home to the very simple speedo.


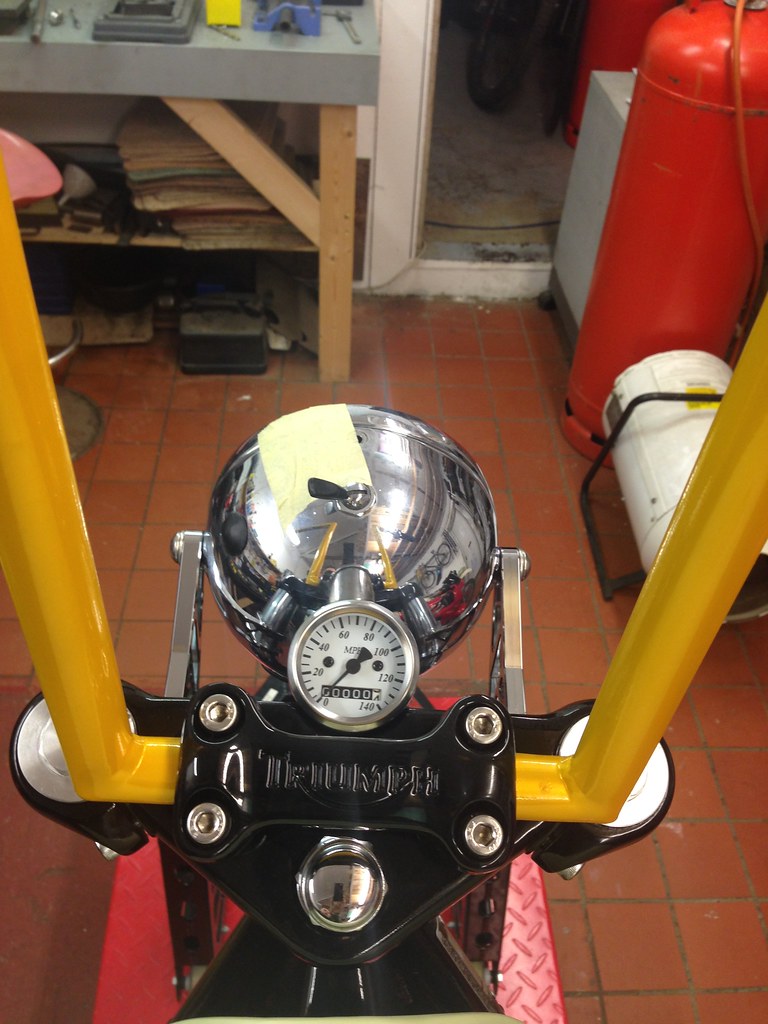
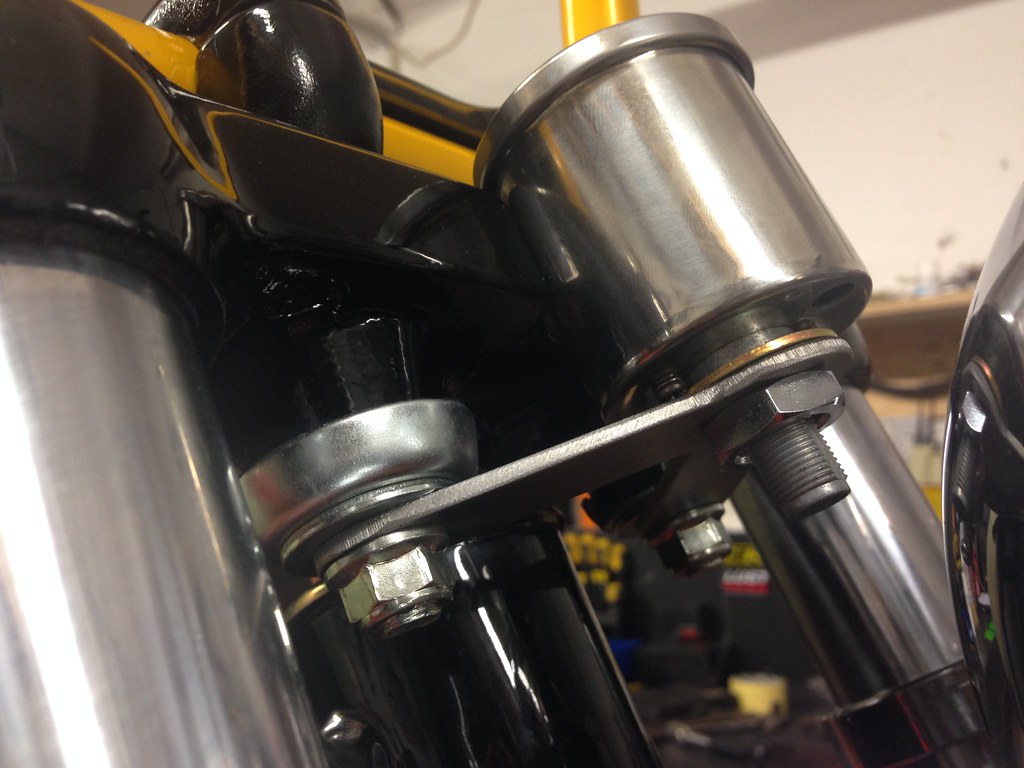
I fabricated a speedo mount, once I've finished fettling it I'll paint it black.


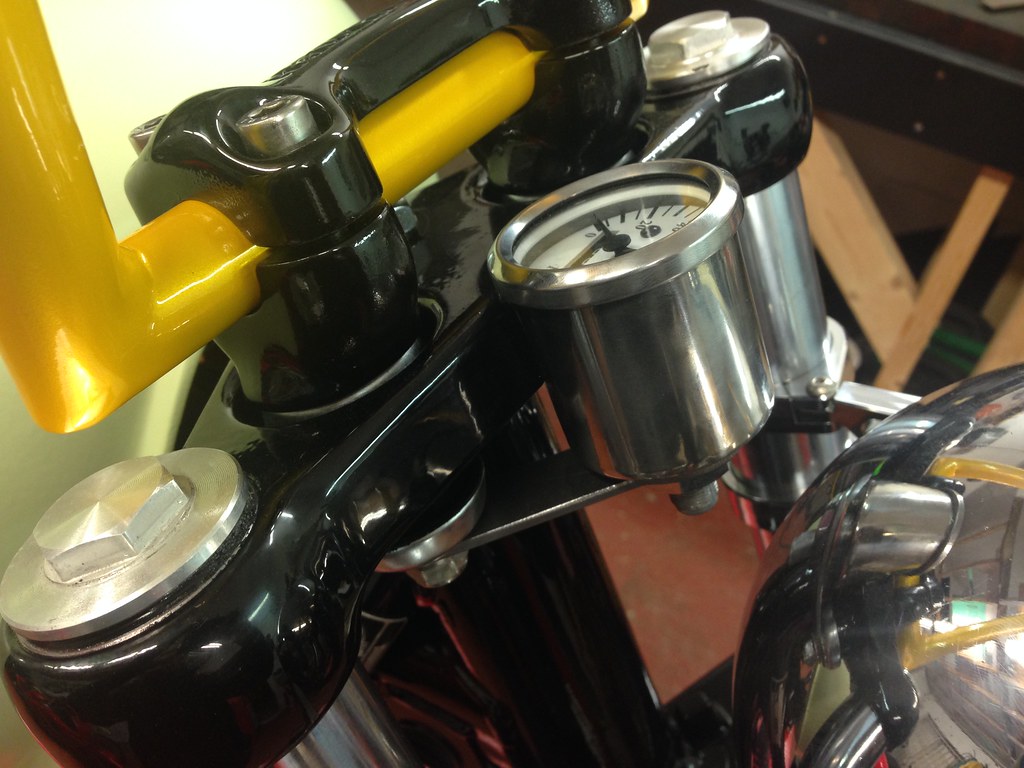
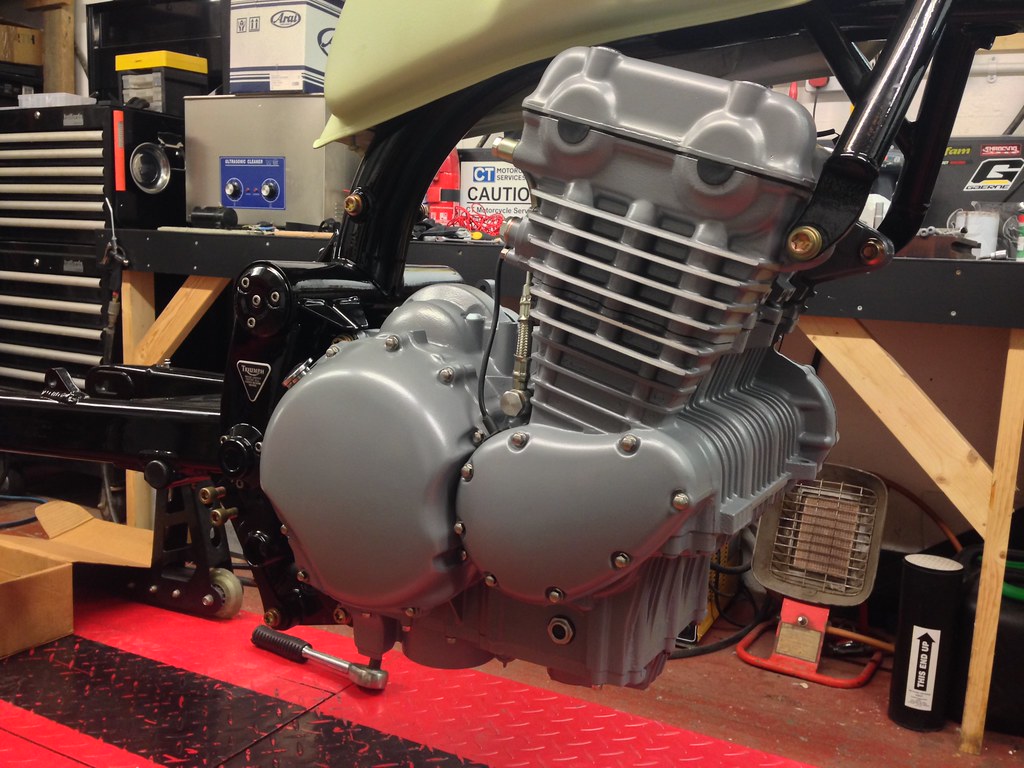
One last look before I turn the lights out ........

 
Looking very nice.

The sharp right angle on the top of the handlebars does look out of place compared with all the other curved and round surfaces.

Is that the final shape?
 
Superb ! pretty minimalist frame . Had a Thunderbird in 1996 nice bike , good to see how it all comes apart , not seen this before . Great work :thumby:
 
I was thinking what a classy project, then I saw the bars...........................................................:barf:barf:barf
 
Is the first photo you posted the actual bike you started with or just a generic one grabbed off the internet?

I'm assuming it's the latter as it has an old e-bay symbol in the bottom right hand corner
 
Is the first photo you posted the actual bike you started with or just a generic one grabbed off the internet?

I'm assuming it's the latter as it has an old e-bay symbol in the bottom right hand corner

It is indeed a photo I 'borrowed' from google. The bike was identical to this in every way though!
 
One of the best parts of UKGSER is watching a clever guy in action
Stripping a heap and slowly but surely turning it back into a thing of beauty
Chris you are doing another blinder - well done - :bow

P.s don't forget my bits :D:D
 
What's yer man doing with all the redundant bits?

There will be quite a few original bits which I guess he'll want to sell.

  • Handlebars
  • Brake master cylinder + Lever
  • Clutch master cylinder + Lever
  • Full clock set (16,000 miles from memory)
  • Headlight
  • Horn
  • Indicators
  • Fork shrouds
  • + A bunch of other bits that he's removed himself.

Is there something specific you're after?


One of the best parts of UKGSER is watching a clever guy in action
Stripping a heap and slowly but surely turning it back into a thing of beauty
Chris you are doing another blinder - well done - :bow

P.s don't forget my bits :D:D

Don't worry fella, you're bits are in progress! :thumb
 
So ............

I've had a bit of a back up of other work at CT Motorcycle Services so the Triple build had a week off!

First news .... following a great deal of time, thought and trial and error we have a new colour for the bike. The original orange was too yellow so I've made up a new darker version which is much more 'orangey'


In other news ... the latest work has revolved entirely around the engine!
The original textured black finish on the engine was in the main very sound. Triumph obviously have the rough castings coated before all of the gasket faces are machined. It's fair to say that the quality of the casting isn't a match for a Honda and with an endless time frame and budget it would be great to dismantle the engine and re-finish the crank cases. However this isn't the case so the textured finish will stay with remedial repairs where required.The finish is very durable and as such had only suffered minimal damage / corrosion.


I refinished the brushed finish on the cylinder fins before the paint processes start.

Masking up was EVER so lovely to do! :blast


And so the etch primer begins .....


Now ... believe it or not, these next photos are not primer but the actual finished colour of the engine. It's a metallic grey.........

I removed the paint from the fins before applying the matt clear coat


Et Voila!


Excuse the crude makeshift cam chain tensioner, I wanted to reset the valve timing before I put the engine back in the frame but hadn't painted the tensioner before the engine went in .....


Naturally I fitted it as soon as it was painted!

I had bought a spare set of crank case bolts from fleabay which I had plated in preparation for the engine to be painted. The reason being that I'd paint over the original set then replace them one by one with the new plated ones in order to not break the crank case seal. It's worked like a charm!


Next up is the remainder of the engine ancillaries, starter motor, water pump + housing. The steel water pipes are going to be black.
The alternator is in a bit of a mess which I'm hoping to clean up to a standard commensurate with the rest of the build!
 
Update -

One of the hardest items to refurbish was the alternator, (which I'd had to cut off with a grinder :eek:)


I gave it a clean with a rotary wire brush which really didn't cut the mustard, it looked like a sore thumb amongst all the newly finished bits.


I ended up painstakingly masking up the vents in order to protect the copper windings and painted it silver. It's worked a treat and looks really well!


Then .... on with the assembly of the rest of the engine


The steel coolant pipes had seen better days, one of which had a lug welded to it which the original horn attached to, naturally it had to go ......


Once they were all cleaned and prepped ..... time for the paint....


On with the new stainless 3-1 headers ...


And then the newly painted rad and polished side cases ....


Next up was the brake callipers, full strip, blast, prep and paint. All the original mechanical hardware was plated. I'm just waiting for the new pin rubbers and pads to arrive so I can button them up ..........


The wheels have yet to come back from the builders which is frustrating. It'll be nice to get it back into a rolling state and really get a feel as to how the bike will sit.


Back
Top Bottom