If you ever wanted an advert to show your skills, you couldn't do better than this thread! Well done can't wait to see the finished bike!

You are using an out of date browser. It may not display this or other websites correctly.
You should upgrade or use an alternative browser.
You should upgrade or use an alternative browser.
Triple ...........
- Thread starter (RIP) Tunneruk
- Start date
What paint do you use on the calipers? 
What paint do you use on the callipers?
It's the same metallic grey base and 2k matt lacquer that I used on the engine. (over 2k etch primer)
It's a hard as Vinnie Jones!
It's the same metallic grey base and 2k matt lacquer that I used on the engine. (over 2k etch primer)
It's a hard as Vinnie Jones!
It'll put up with the temperature?

It'll put up with the temperature?
God yeah, it's absolutely indestructible!
I never realised masking could be an art form... 
Watching this thread makes me realise why 99% of us should never embark on these projects ourselves - to achieve that quality and detail requires skills, equipment and patience that are way beyond us.
Keep going, I can't wait to see it take shape.
Watching this thread makes me realise why 99% of us should never embark on these projects ourselves - to achieve that quality and detail requires skills, equipment and patience that are way beyond us.
Keep going, I can't wait to see it take shape.
I never realised masking could be an art form...
Watching this thread makes me realise why 99% of us should never embark on these projects ourselves - to achieve that quality and detail requires skills, equipment and patience that are way beyond us.
Keep going, I can't wait to see it take shape.
You're absolutely right about the patience bit ....... I'm currently 8 hours into painting the tank ........ It's still not finished!
Nice Work
But those handlebars !!!!!
But those handlebars !!!!!
You're absolutely right about the patience bit ....... I'm currently 8 hours into painting the tank ........ It's still not finished!
We like pics of it all so prep, pre spray, spray, let's see.
Your work is great so get it shown off.
We like pics of it all so prep, pre spray, spray, let's see.
Your work is great so get it shown off.
I actually ran into a slight snag with one last detail on the tank. I've decided to let it bake off until tomorrow as there's a fair bit of base coat applied which will be more robust in the morning. I'll button up the final steps ....... All will be revealed!
I think ive just done a little man pee!
That work is stunning, the details chainguard, finish, clean fins and vision of what will look great, is brilliant. Paul will Rightfully be delighted.
Steve
That work is stunning, the details chainguard, finish, clean fins and vision of what will look great, is brilliant. Paul will Rightfully be delighted.
Steve
I think ive just done a little man pee!
That work is stunning, the details chainguard, finish, clean fins and vision of what will look great, is brilliant. Paul will Rightfully be delighted.
Steve
Cheers fella, you wait until you see the tank!
Paint 101 - A tutorial
Time for the tank .......
I will use this post as a kind of step by step 'How to' on painting a tank ....
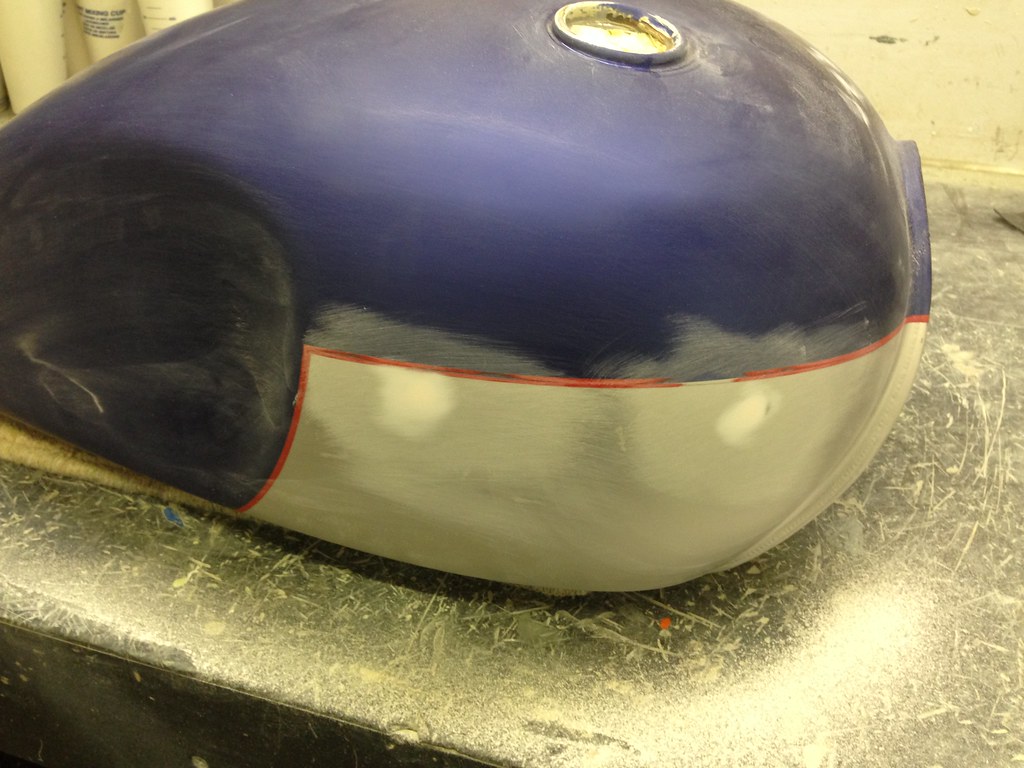
The tank on the bike was already in very nice condition
The chrome badges are secured by two M4 countersunk bolts but as they'll not be refitted the fixing holes needed filling.
I flatted the tank down with 400 abrasive and applied 1x thin coat of 2k primer. I do this in order to seal any old paint in thus eliminating any paint reaction further on, especially on a surface of two colours and a painted pinstripe.
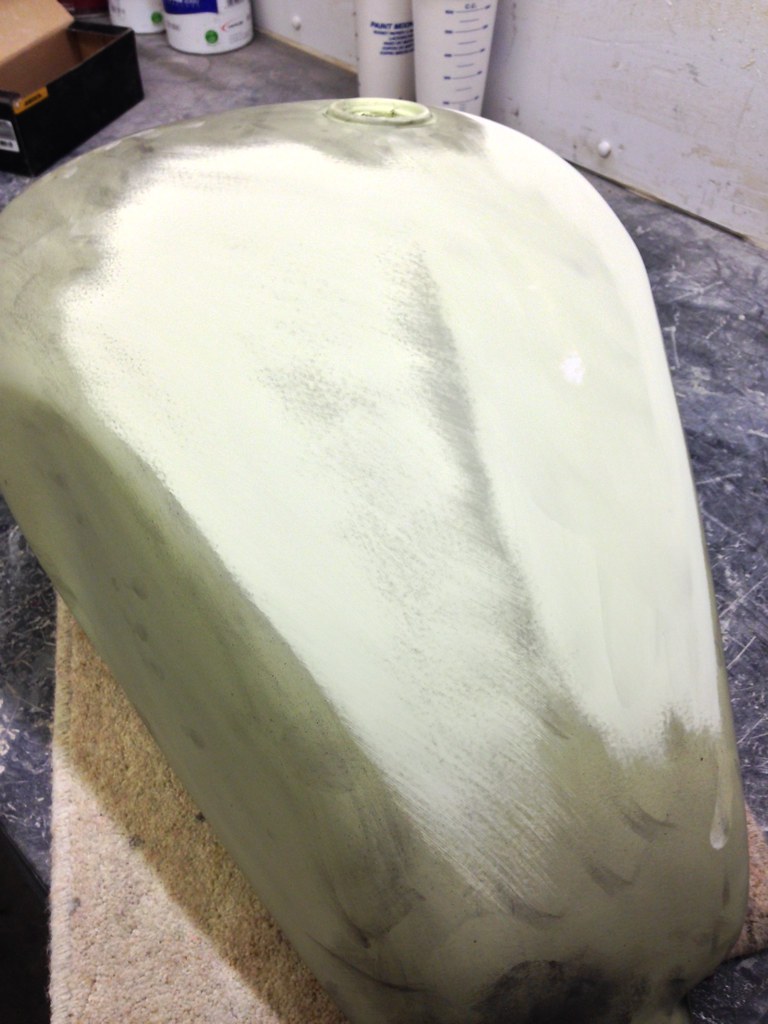
After this, I applied a liberal coat of high build primer
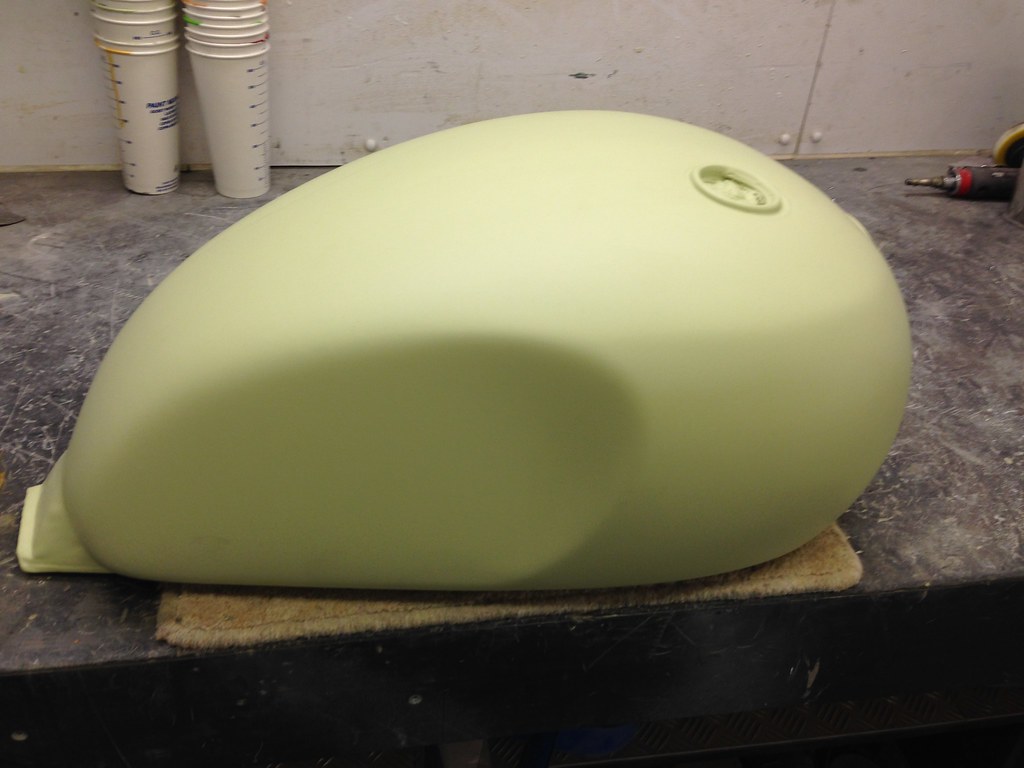
Looks smooth huh? Oh no, as smooth and creamy as it looks the surface is actually as rough as a dogs arse!
A lot of people at this point will dust the surface with a bit of matt black paint otherwise known as a 'guide coat', I use a specific 3M product which does the same as the paint

It's essentially a black powder which is applied lightly over the surface to be prepared. Essentially it makes the surface 'dirty'
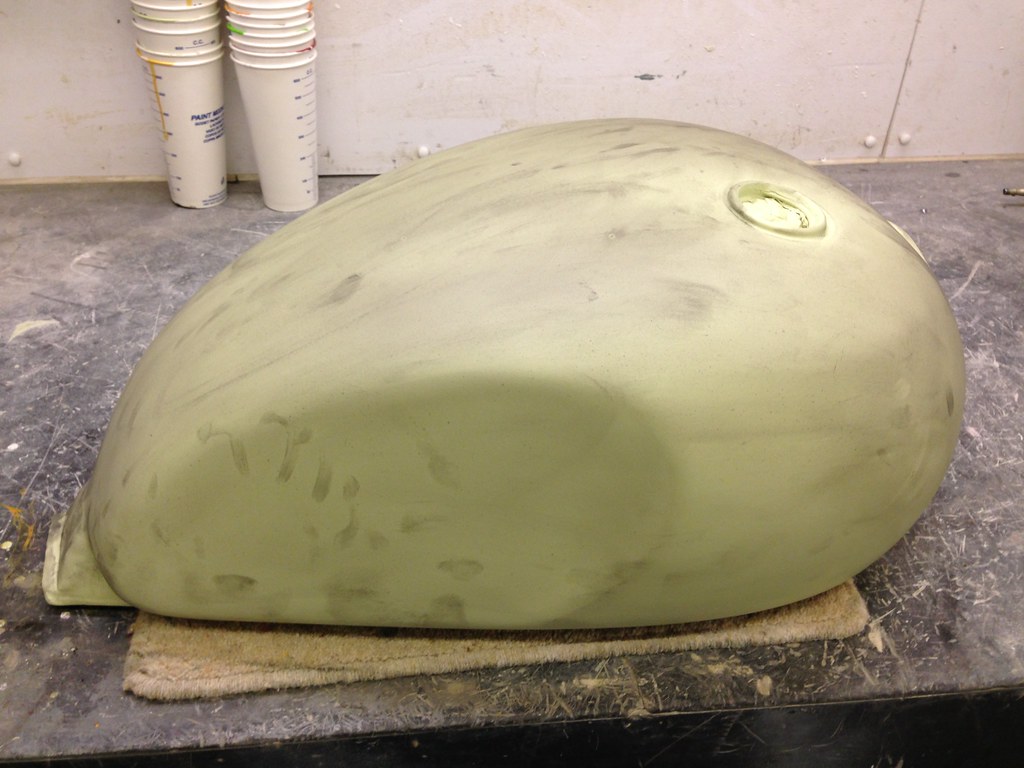
The purpose of the guide coat is to give you an indication of where you've prepped and where you haven't, it also allows you the opportunity to pick out imperfections that you'd struggle to see with the naked eye.
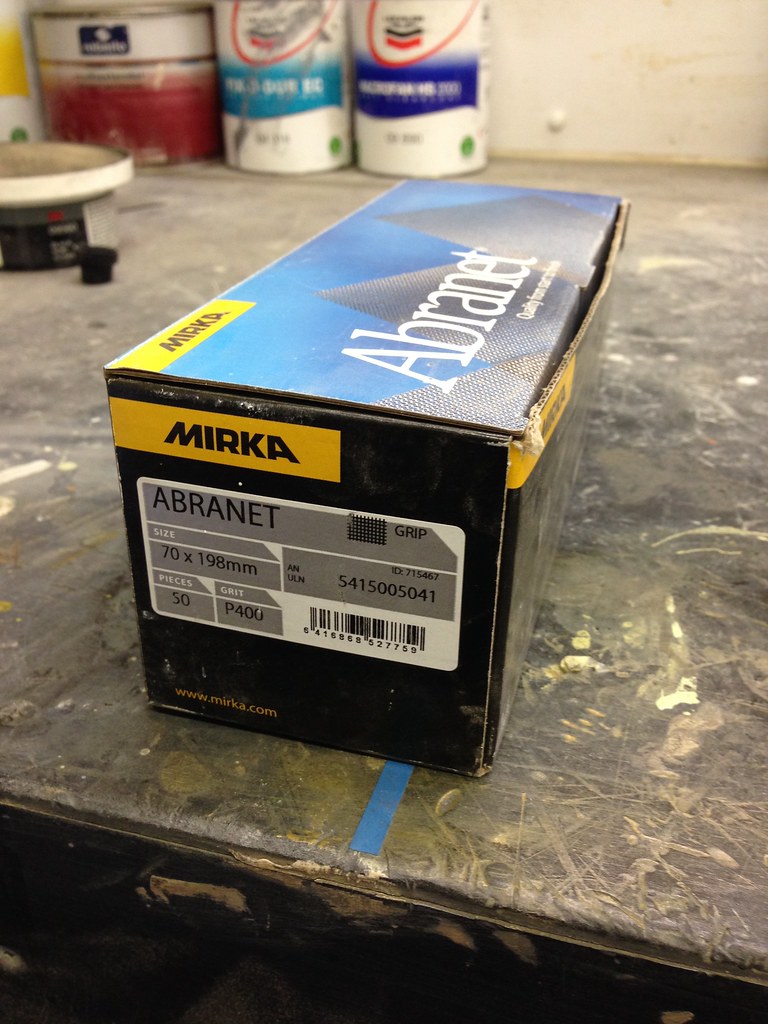
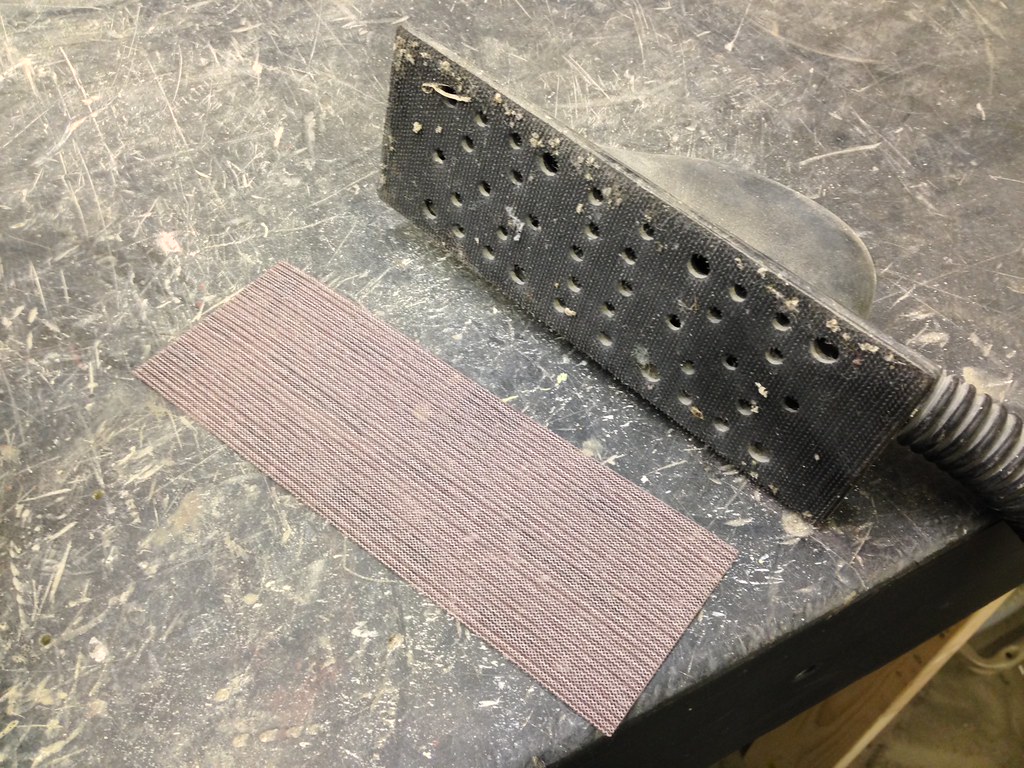
I don't use conventional sand paper or sanding discs. I use an Abranet system, essentially it's an abrasive net which secures by hook and loop (velcro) to the sanding block which is connected to an extraction device. It's more expensive than convention organic abrasives but the benefits are two fold. 1. Well there's no dust, and believe me with the amount of surface to be prepped you'd be swamped in dust! 2. Because the sanded material is instantly evacuated through the net and away the abrasive surface never clogs up. The beauty of this is the sanding pads last 2-3 times longer than conventional abrasives.
So, on to the sanding ....
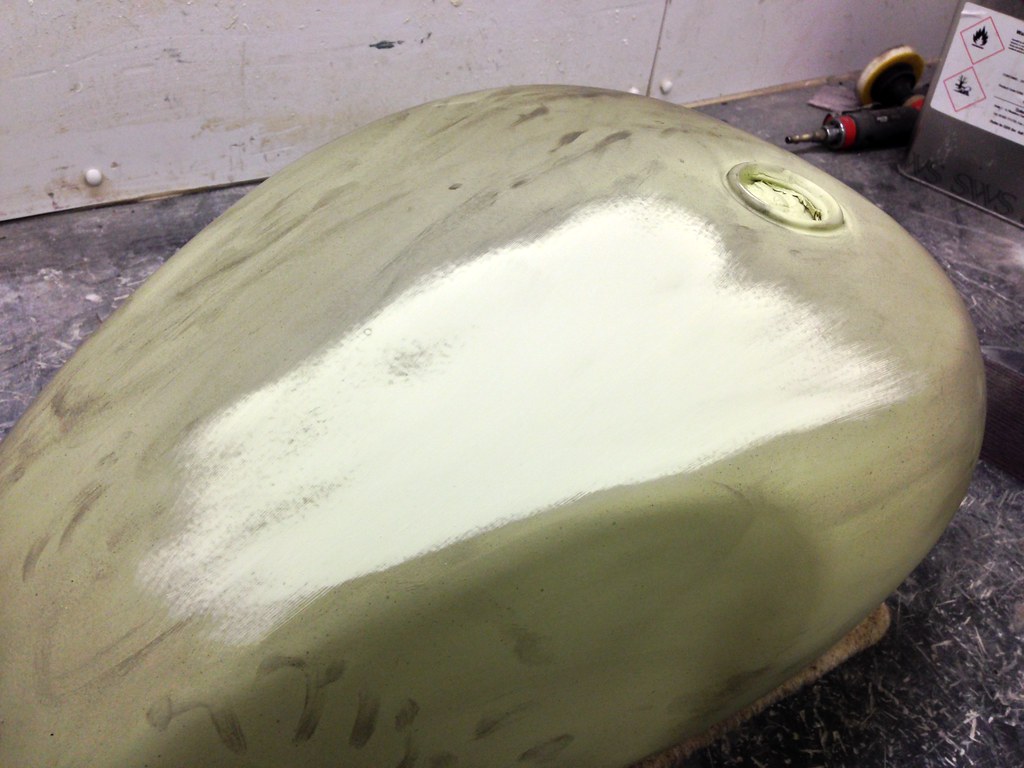
As you can see, the guide coat shows up the imperfections in the primed surface, these of course need to be removed (note the couple of low spots that need additional sanding ...
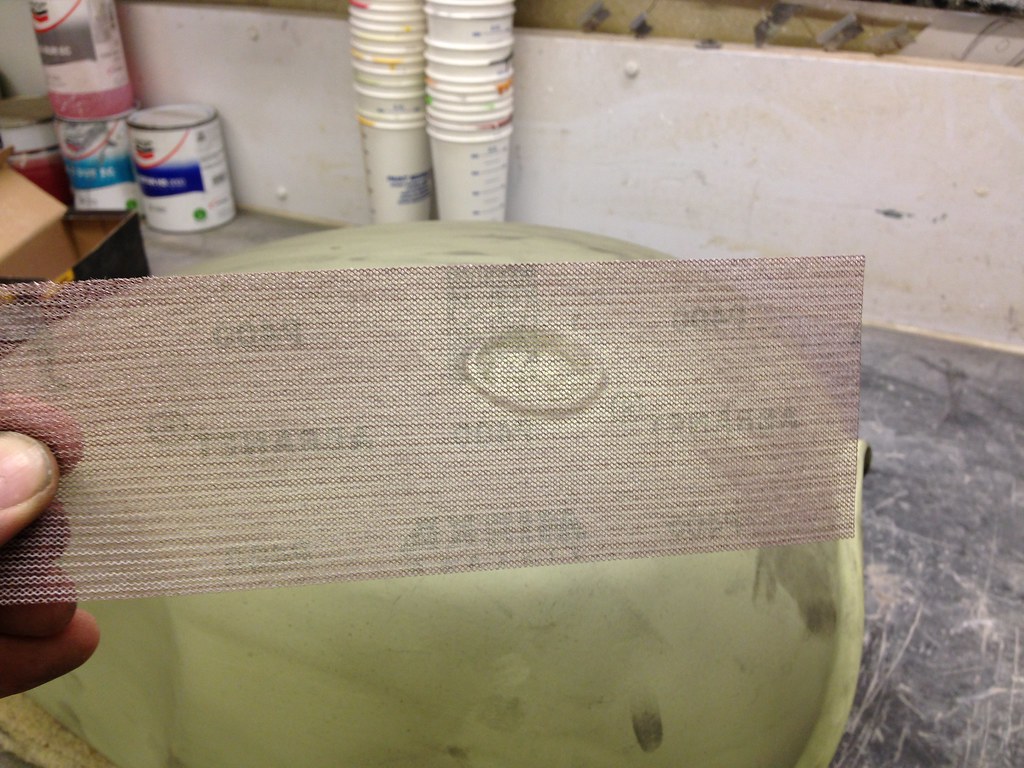
This is what the abrasive looks like after doing most of the tank!
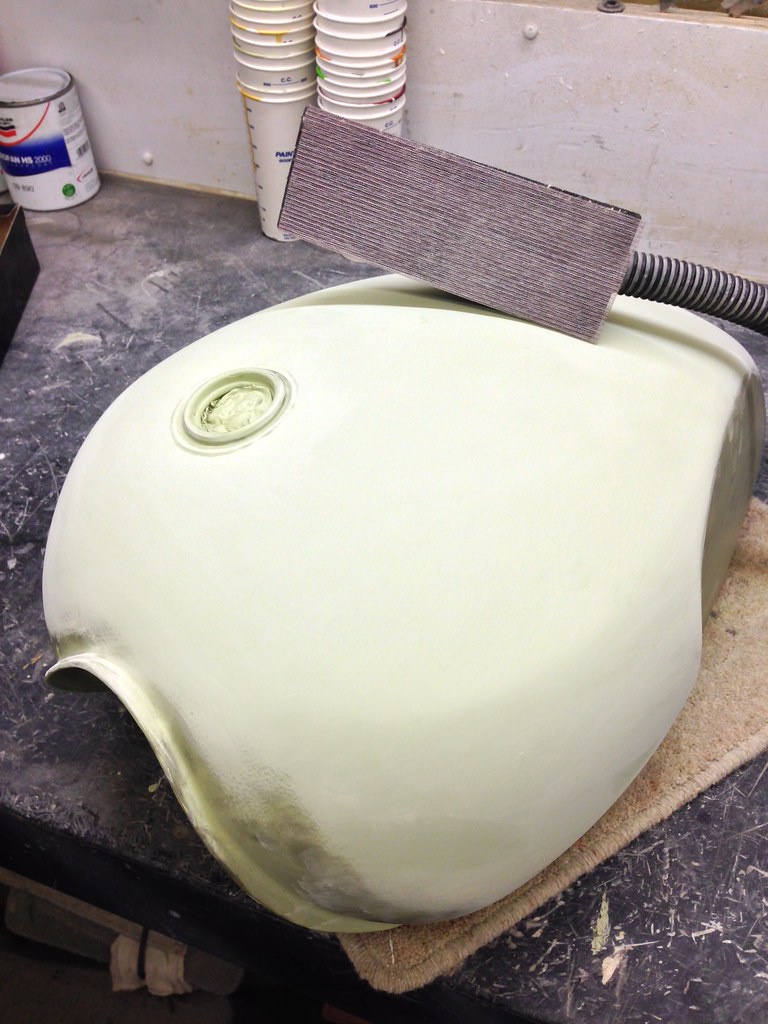
And here's the tank nearly ready to for it's first colour coats.
I always panel wipe the surface twice. The first is to remove the bulk of the dust. There is little point using an airline blowing the dust off only for it to then be floating around in the atmosphere. Wipe it off and throw it in the bin!
After the first clean it's into the booth for a second wipe with panel wipe, then one last wipe over with a tack rag to pick up any last grains of dust
With metallic paints, the process of building colour is as important as the paint in the tin. Each ground and base coat affects the tone and hue of the coat applied above it.
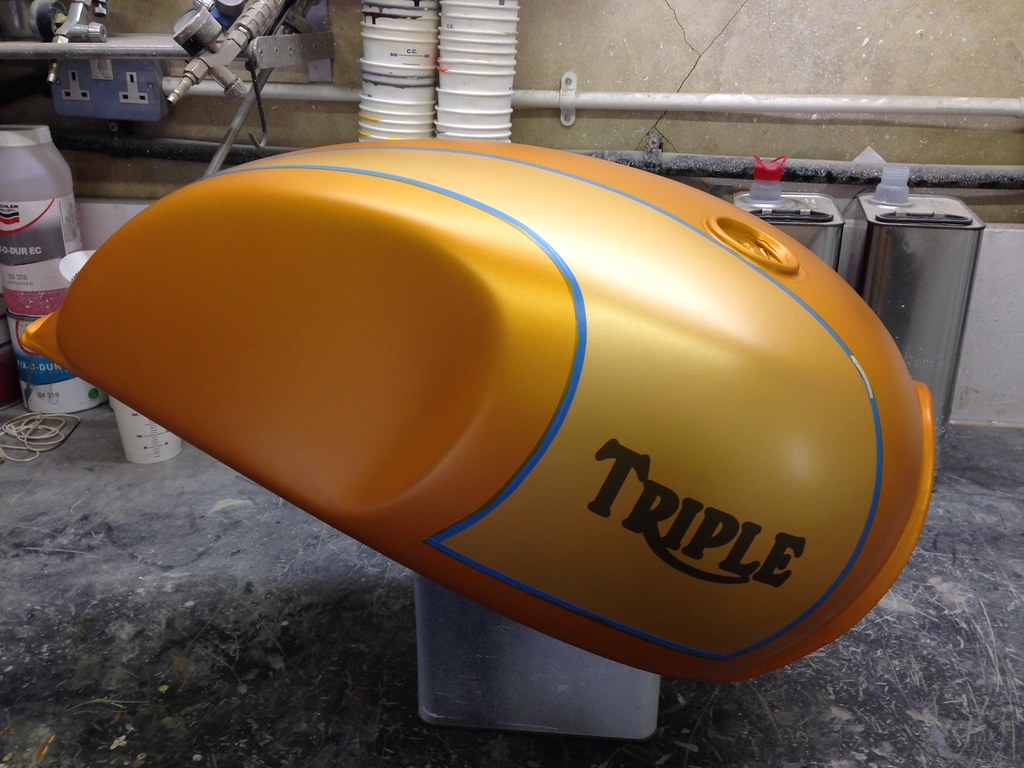
First up for this tank ..... Ochre Yellow ...
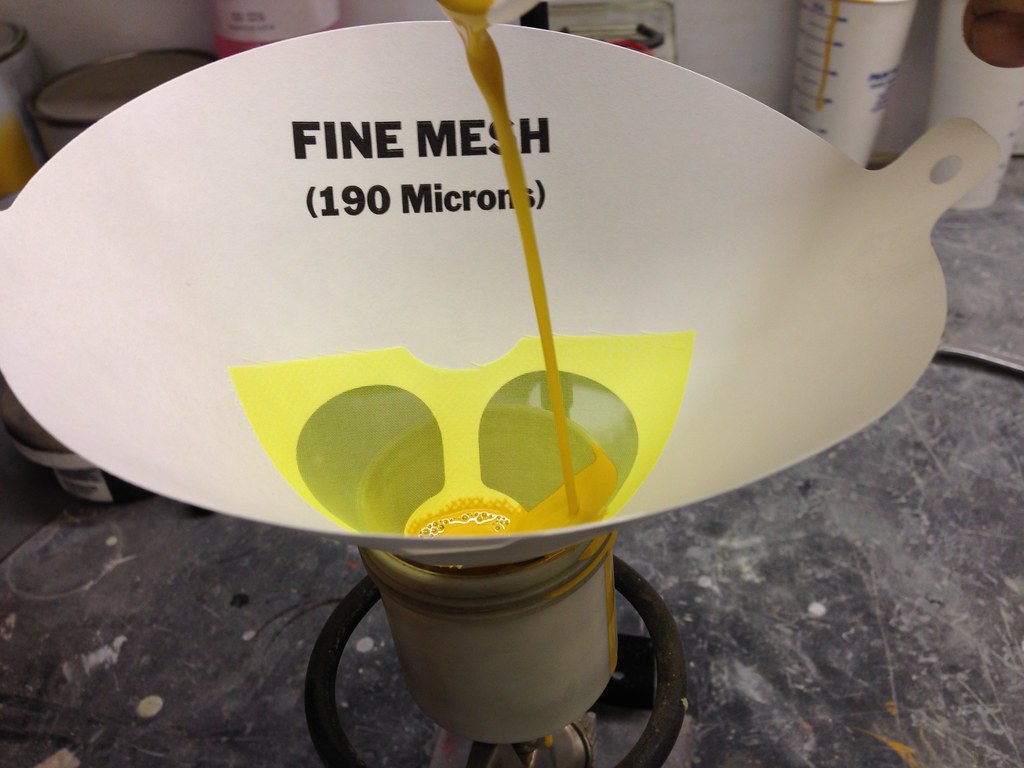
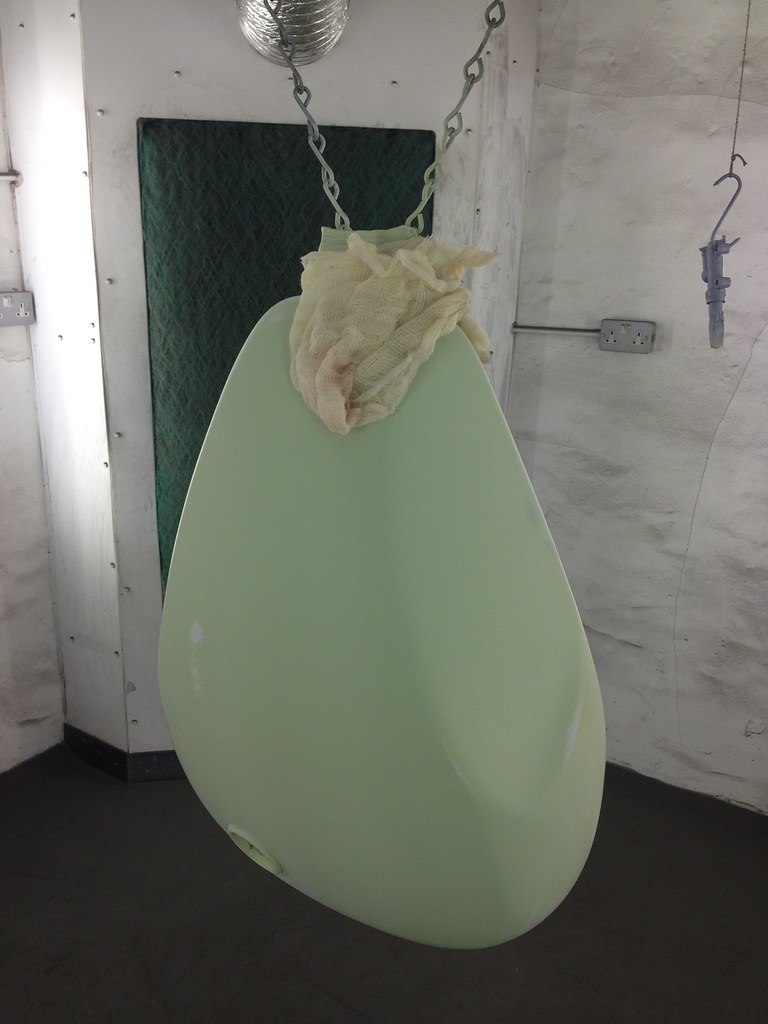
Once this was applied (I forgot to take a photo) it was time for the first of the paint coats which will actually be visible on the finished product ..... Metalic gold ...
And here it is ...
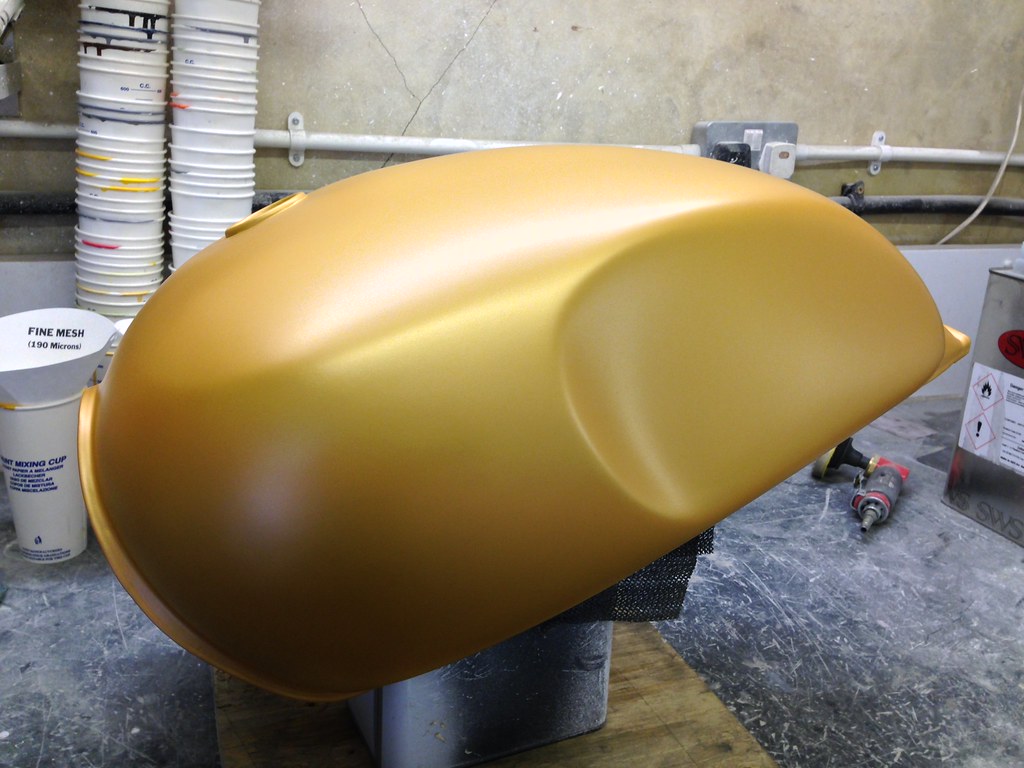
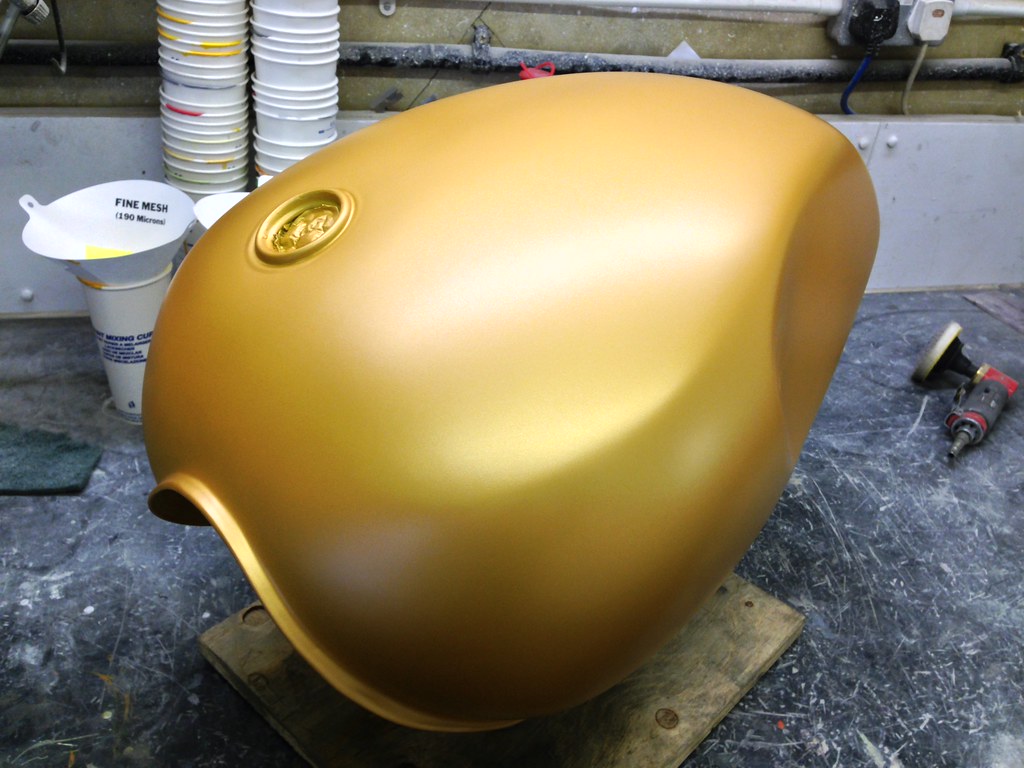
The gold acts not only as the base coat for the main colour but it's the finished colour of the pin striping and the side badges.
Time to get masking.

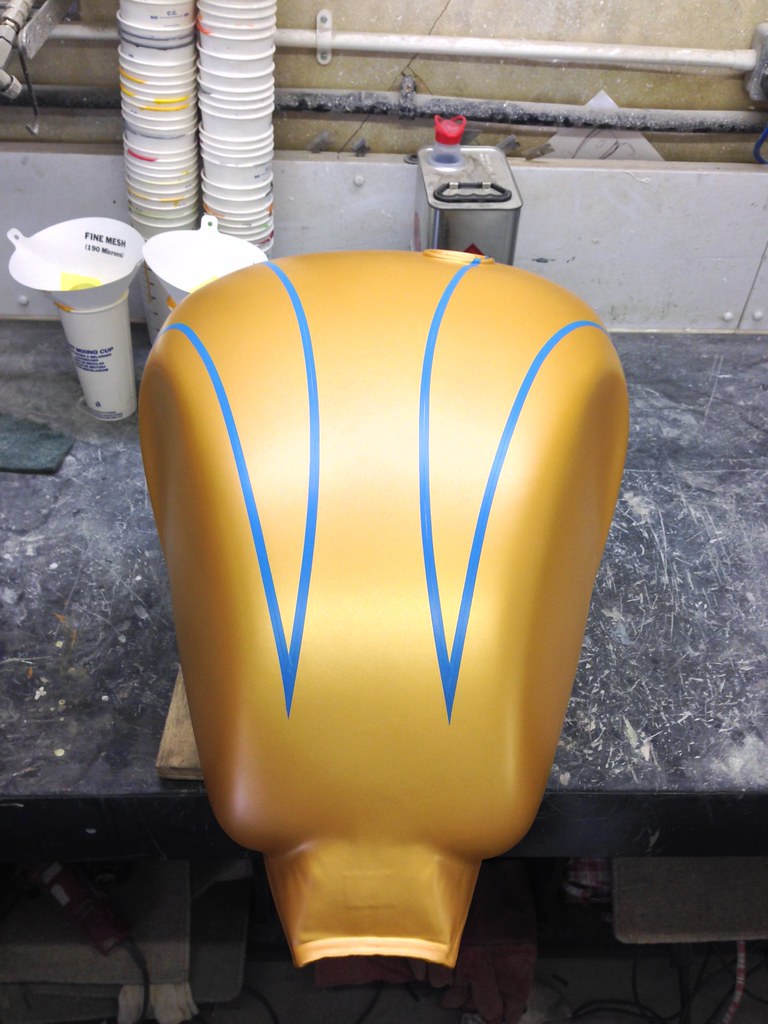
Now for those of you reading this thinking that this process is the easy bit, think again! The tank is two separate halves welded together through the centre, however, triumph didn't seem too concerned with symmetry and the consequence of this a tank with swage lines which differ by about TEN millimetres. Getting the striping to look right from both sides AND above took nearly 4 hours and me to the brink of my sanity, but you know, god loves a tryer so on I pressed! Finally I found a compromise between the dimensions which works. Sheesh!
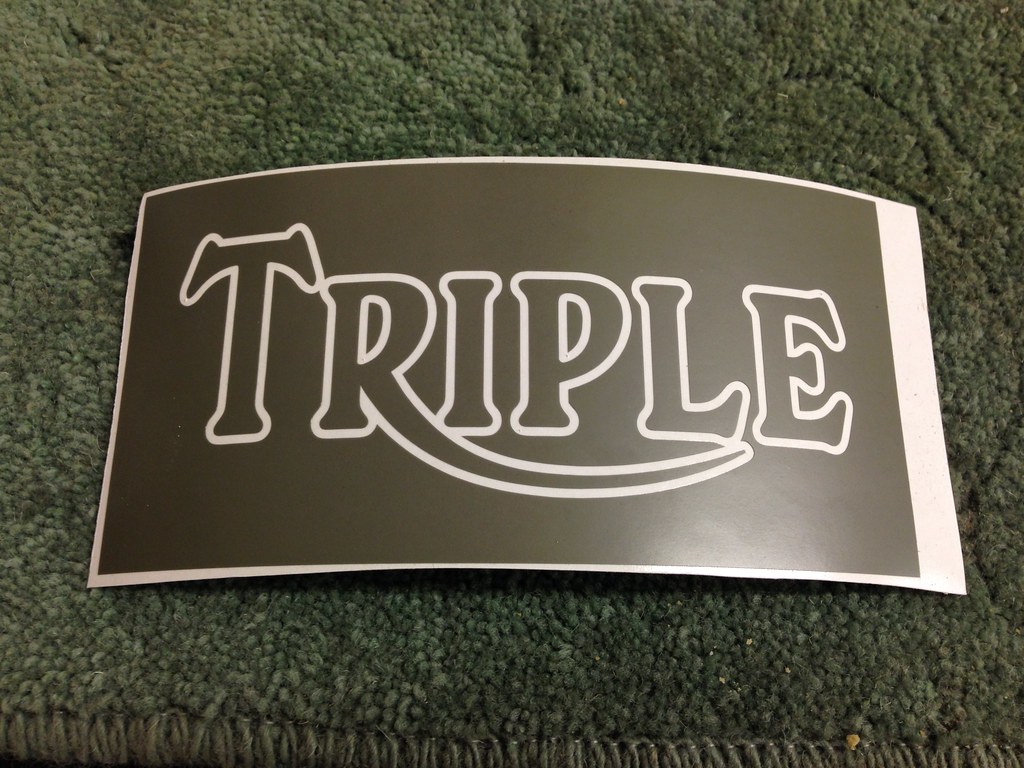
As this is a custom bike it seemed fitting to steer slightly away from the norm when it came to the badge design. The badge will be in paint rather than a vinyl transfer.
The design was a labour of love in itself. This final design was the fourth attempt at getting it right. I have a friend with a sign business who's a brilliant designer (and fortunately very patient) who worked through this process with me. Do a little google of Triumph motorcycle logos, there must be 10 different styles!
Cheers Steve, you're a diamond (H+L Graphics. Argent Rd, Queenborough ME11. 01795 664608)
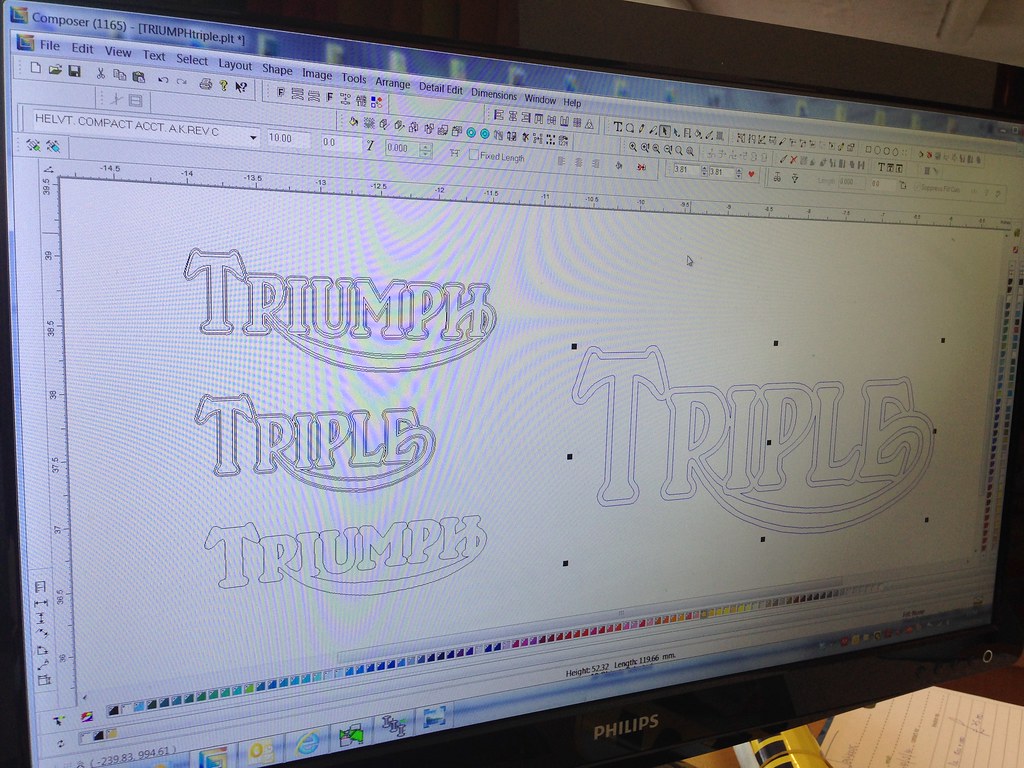

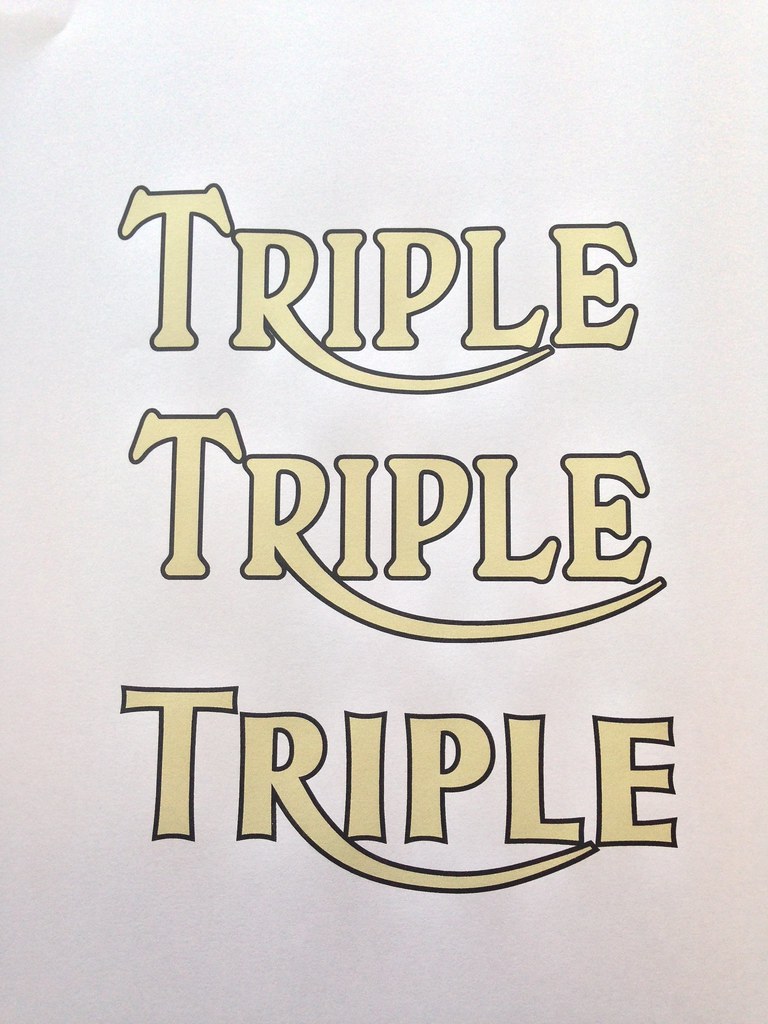
Once finalised, Steve cut me some masks using low tack masking vinyl.
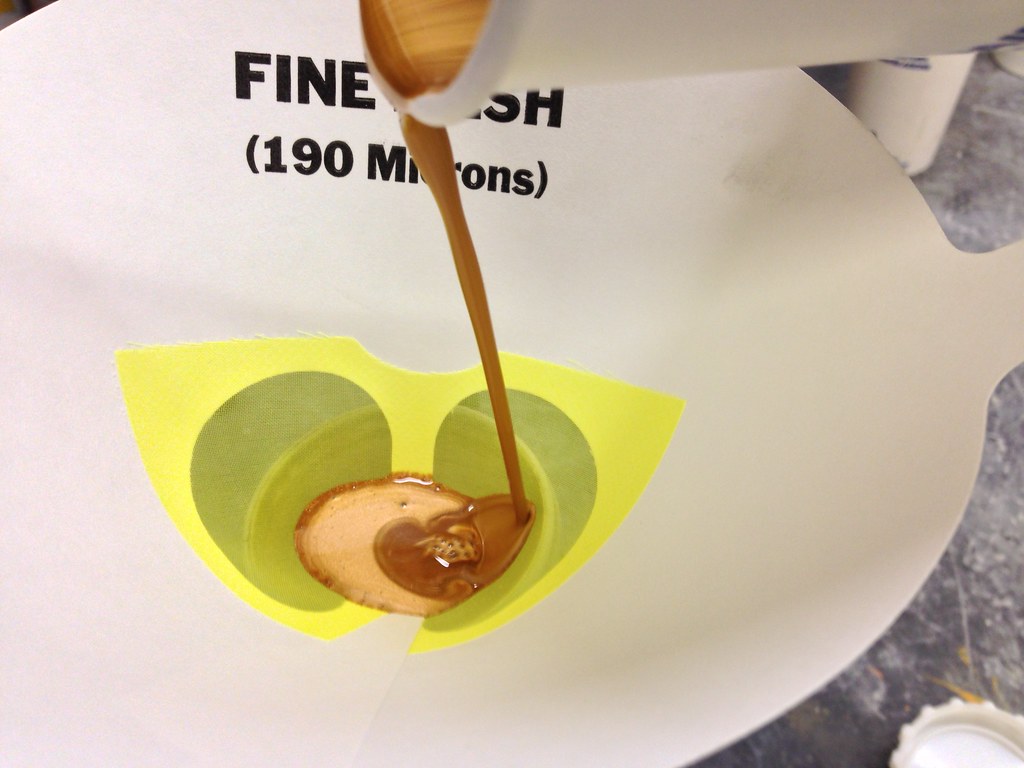
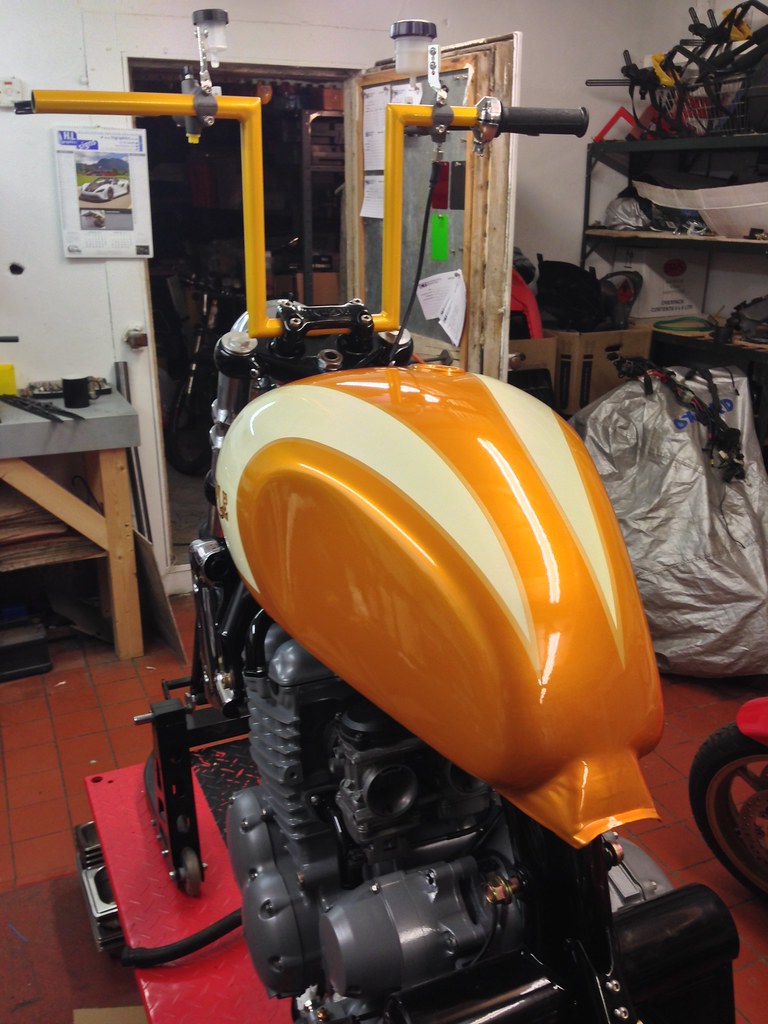
So, now time for the next colour coat ...
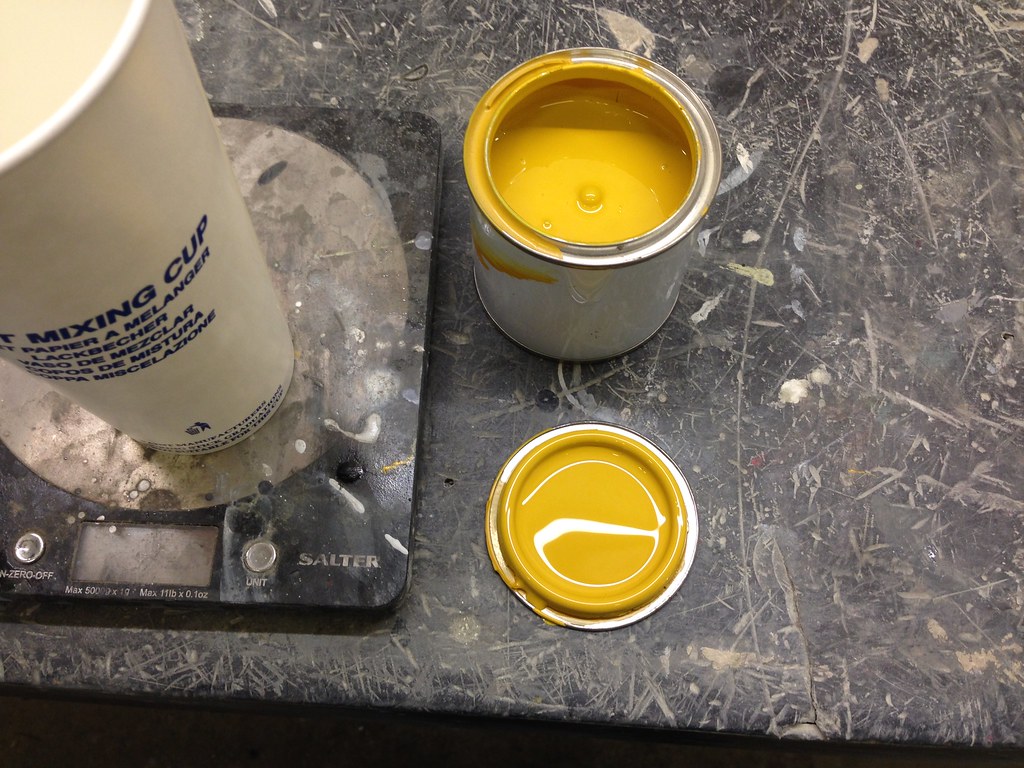
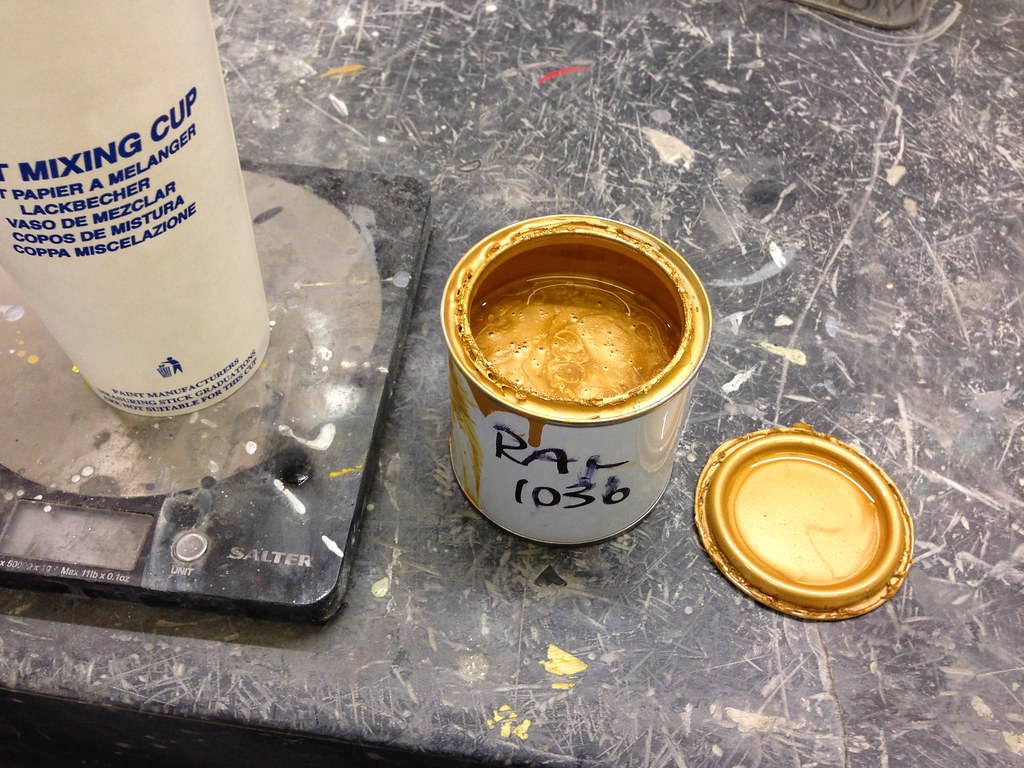
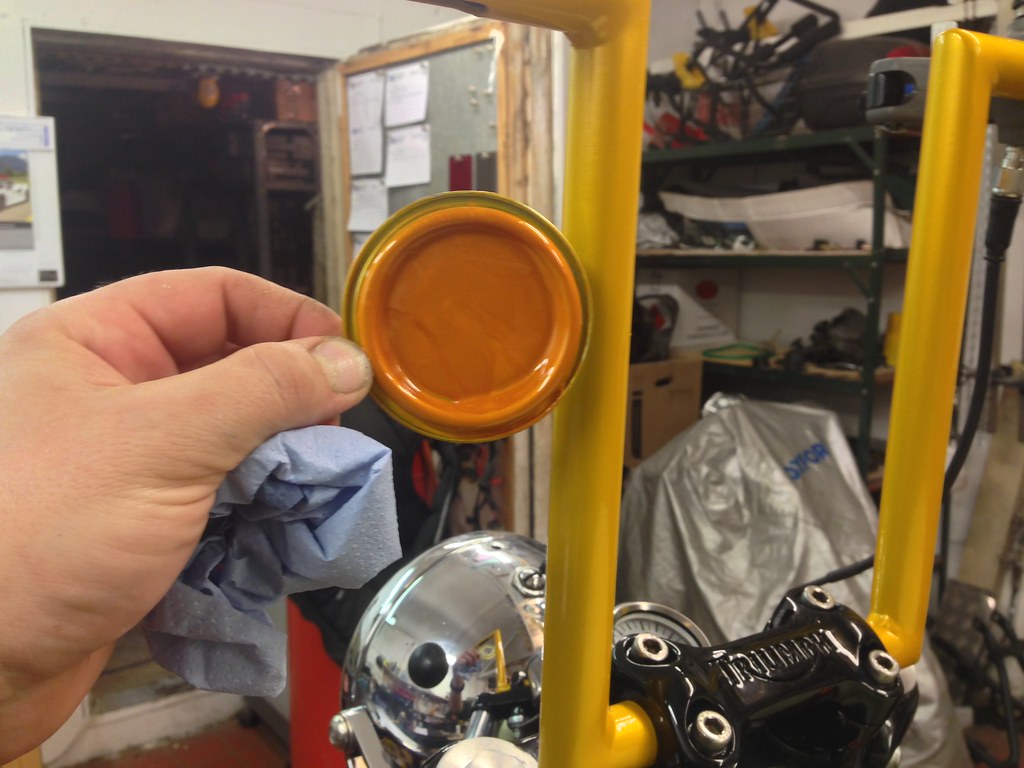
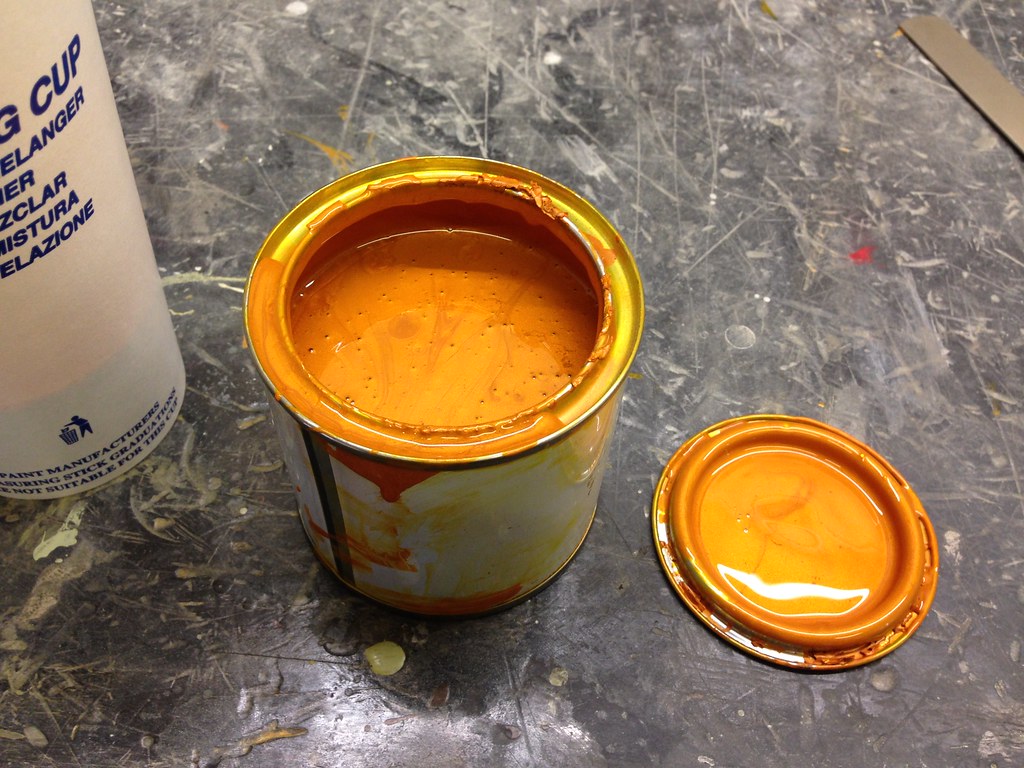
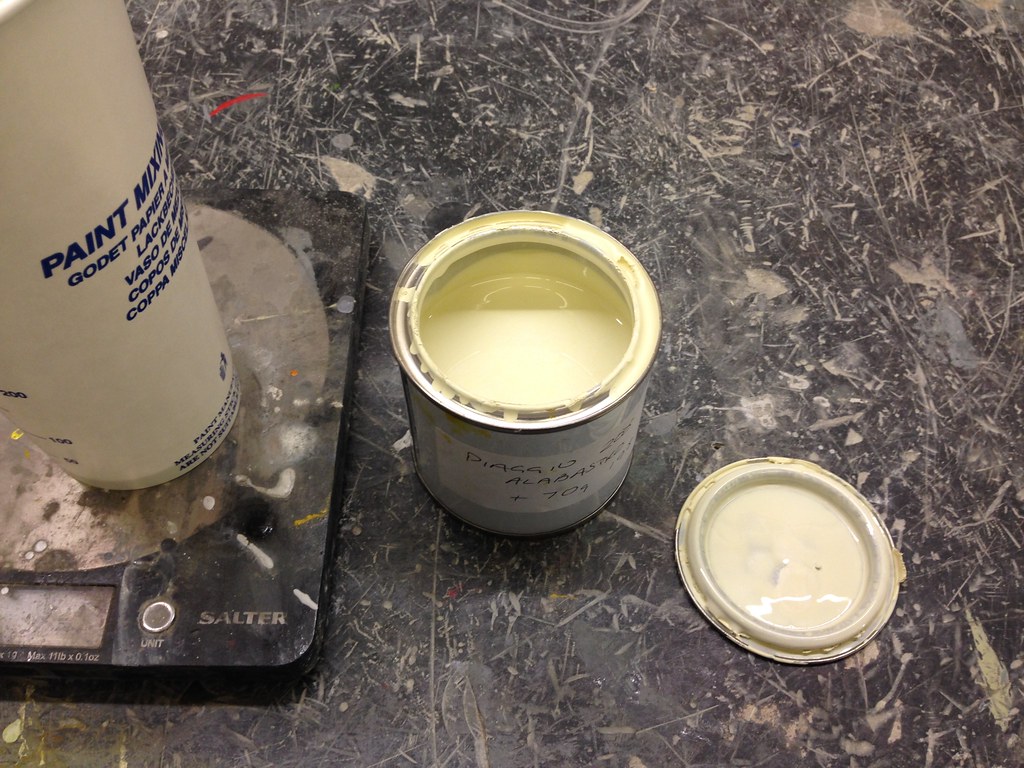
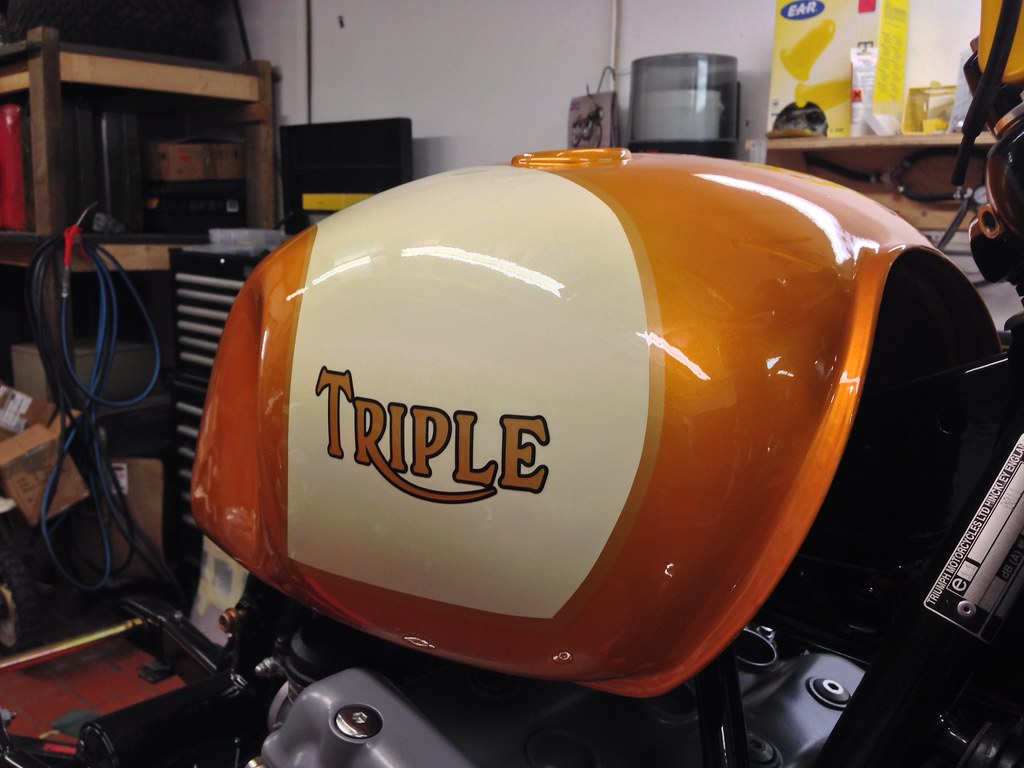
Paul chose the colours for the tank, I'd already painted the handlebars and rear spring in that colour but on seeing the paint 'fitted' Paul decided that it was too yellow. I had a play with some pigment ink and adjusted the colour down a notch or three!
We'll call this "Tunner Orange" ...
I masked off the side flashes and painted the bulk of the tank (sorry, no photo of the masking / spraying)
What do you lot reckon, time for another colour?
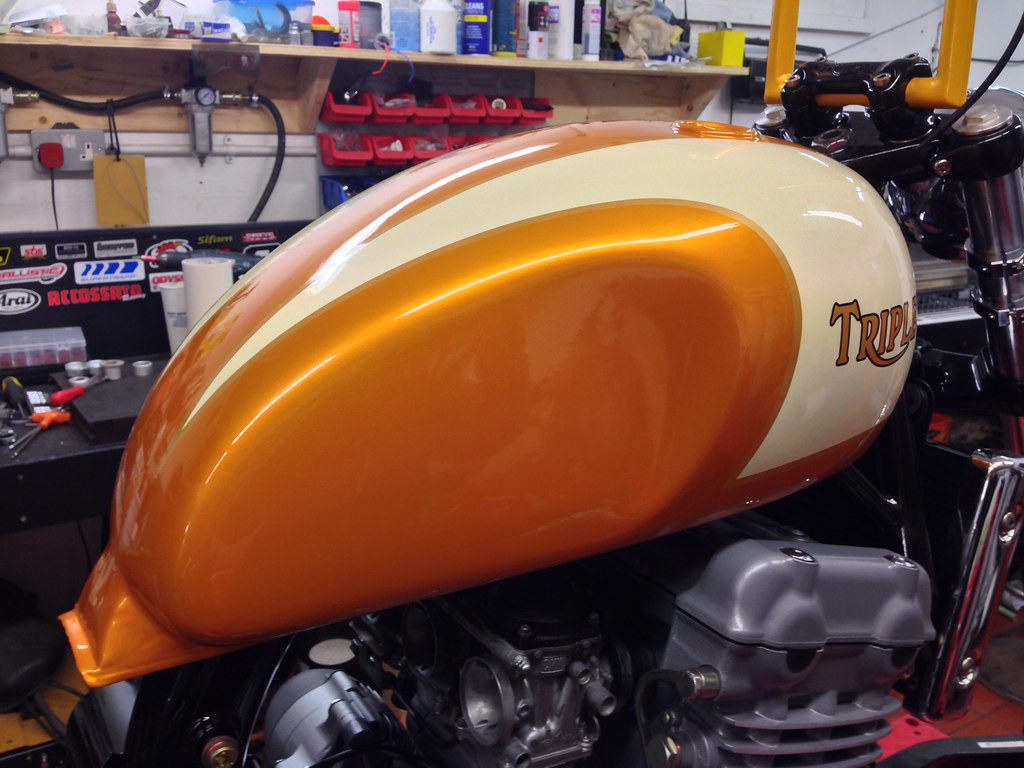
I reversed the masking scheme in order to paint the side flashes
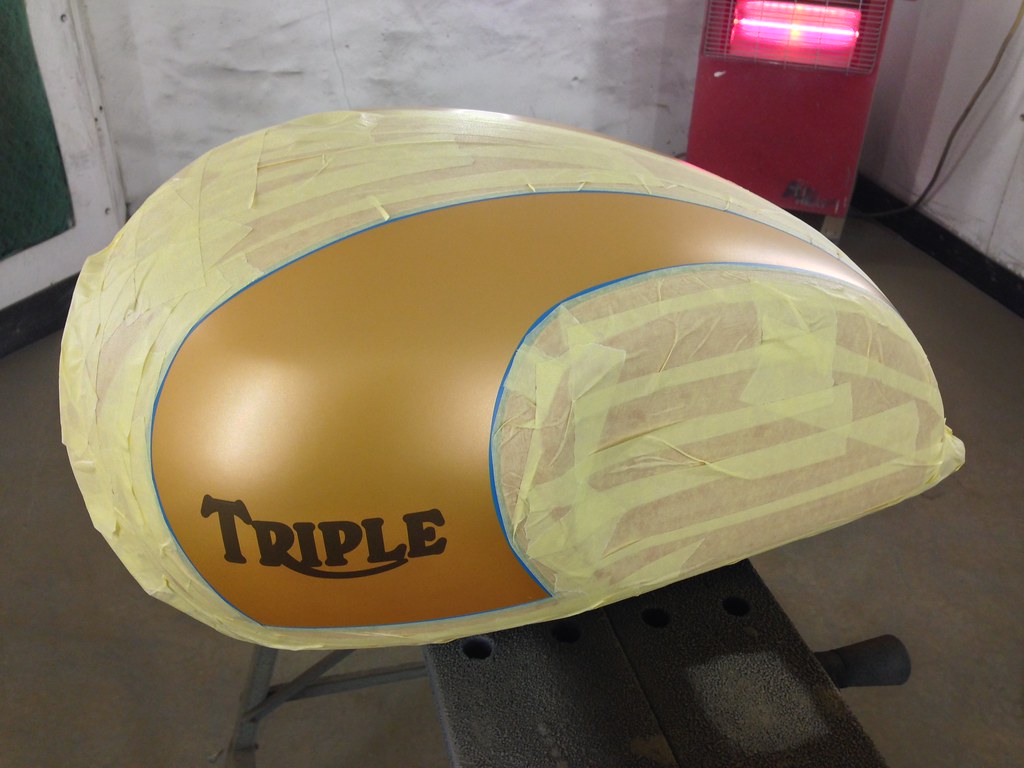
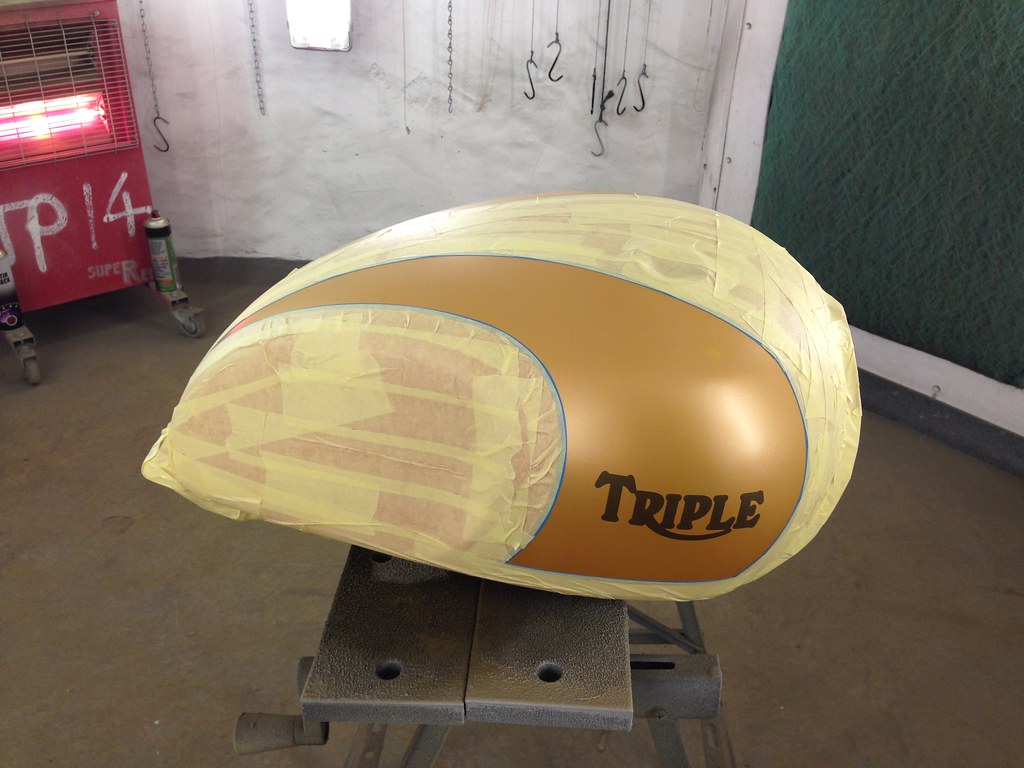
And on with the paint ....

There is only one more colour to go on but my phone died so I have no photographs of this process, if I'm honest, by this point the tank just looked like a mess of masking tape and overspray so you're not missing much!
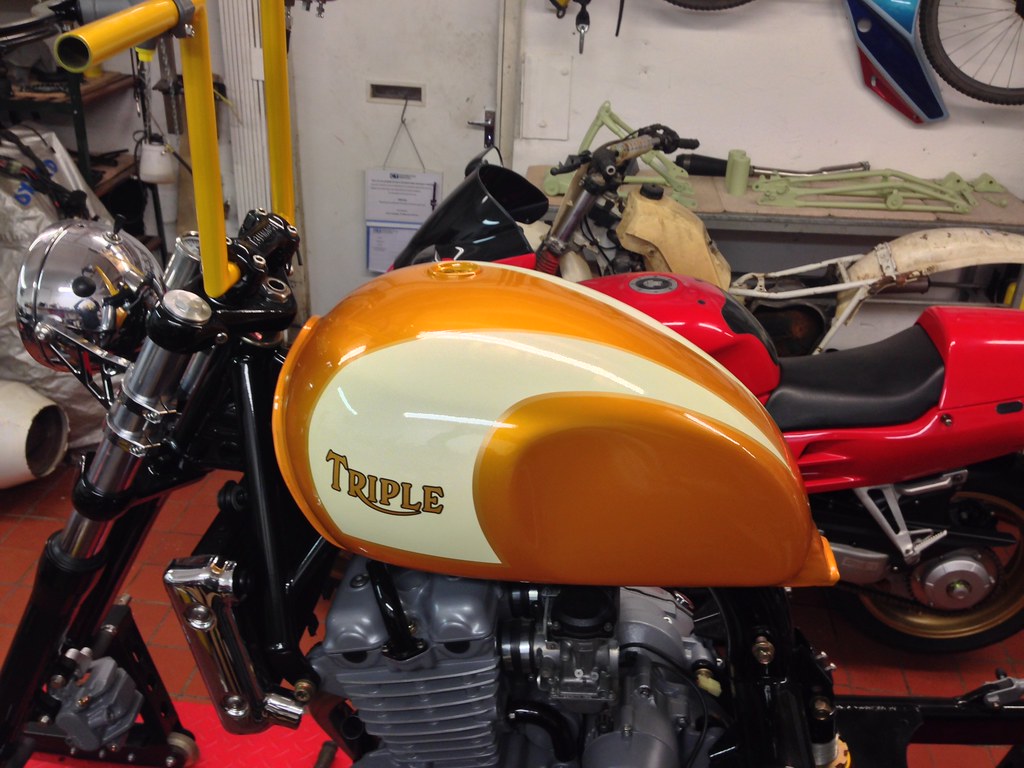
It was the black pinstripe around the tank badge.
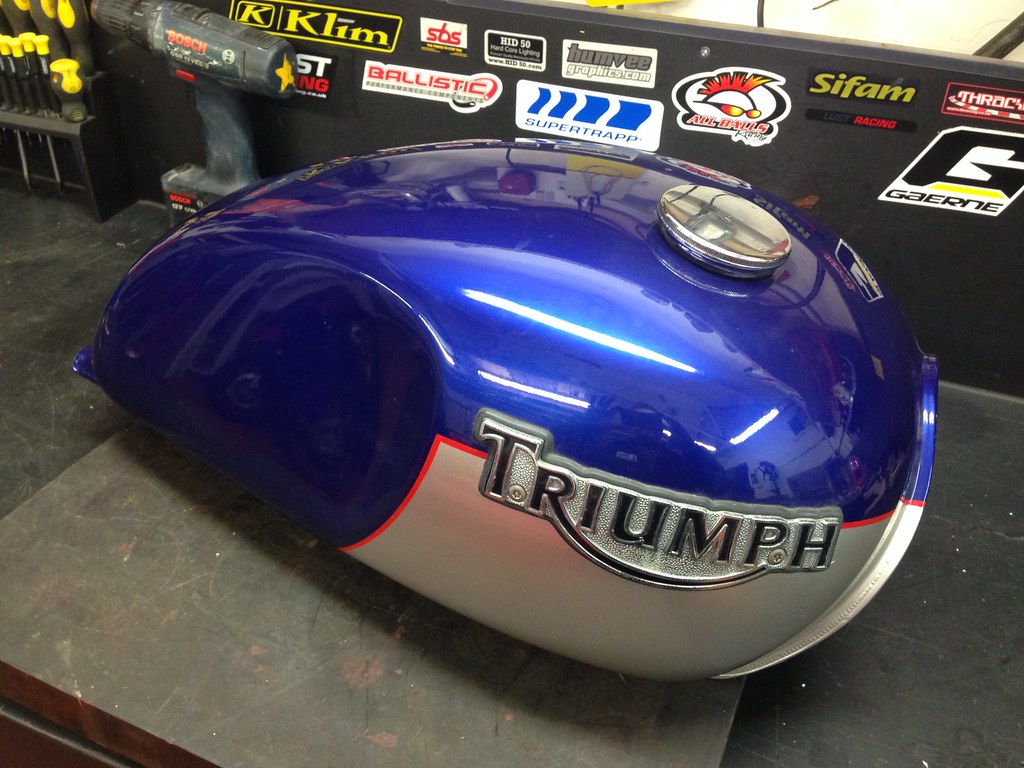
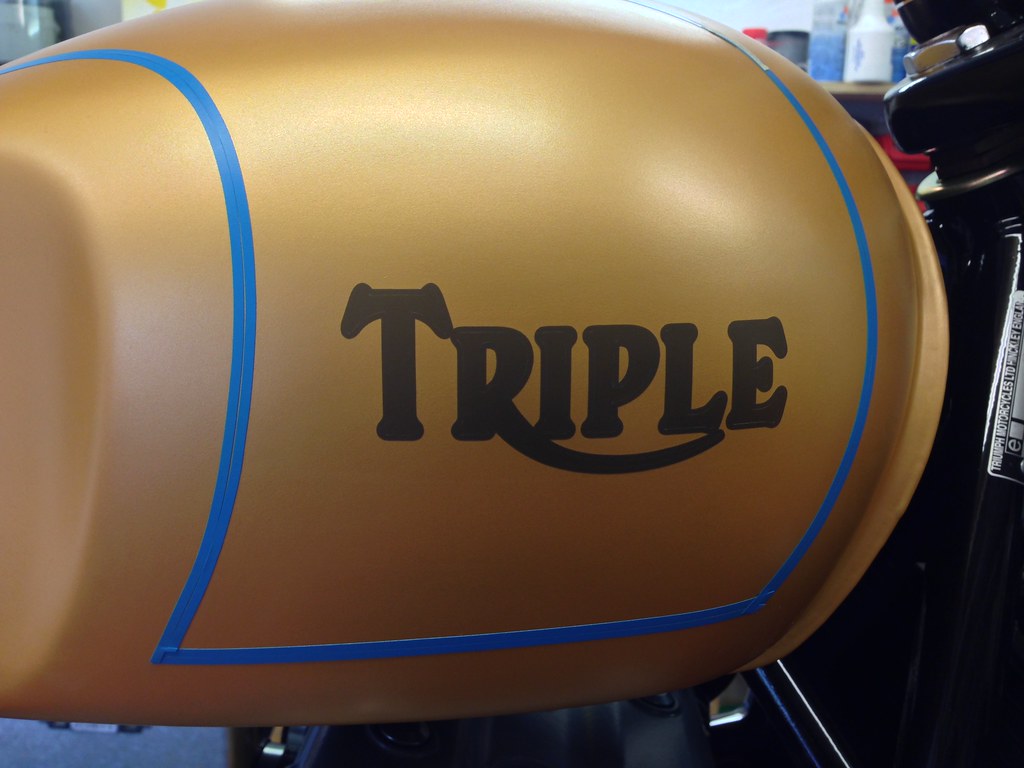
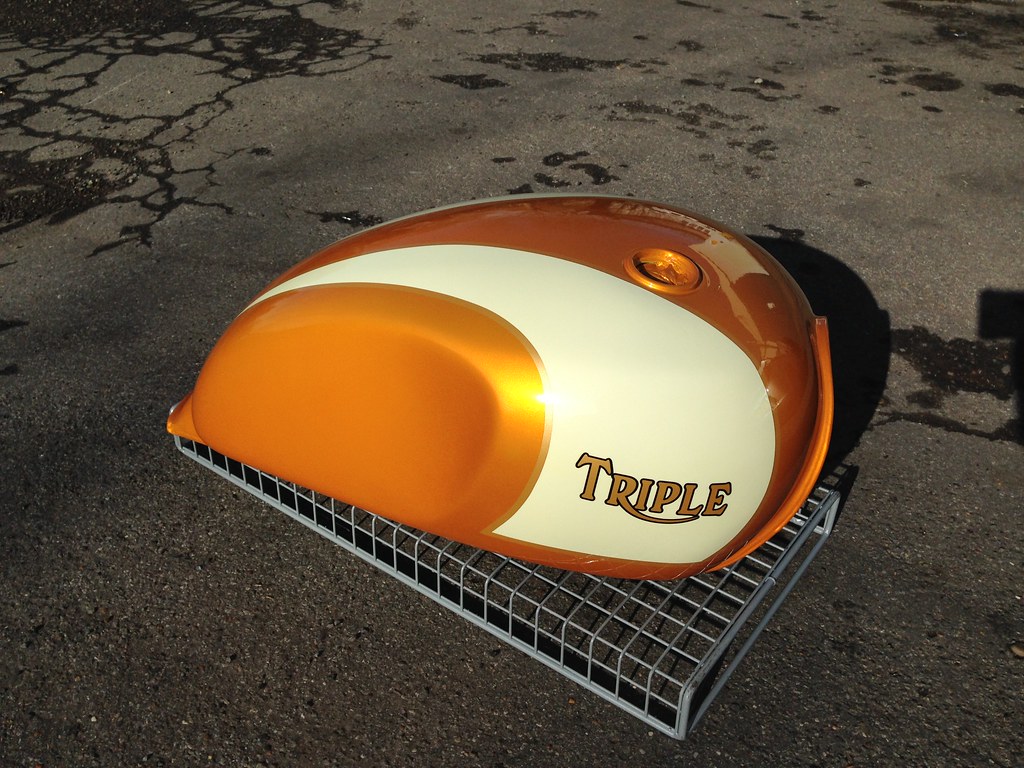
Here's the big reveal!
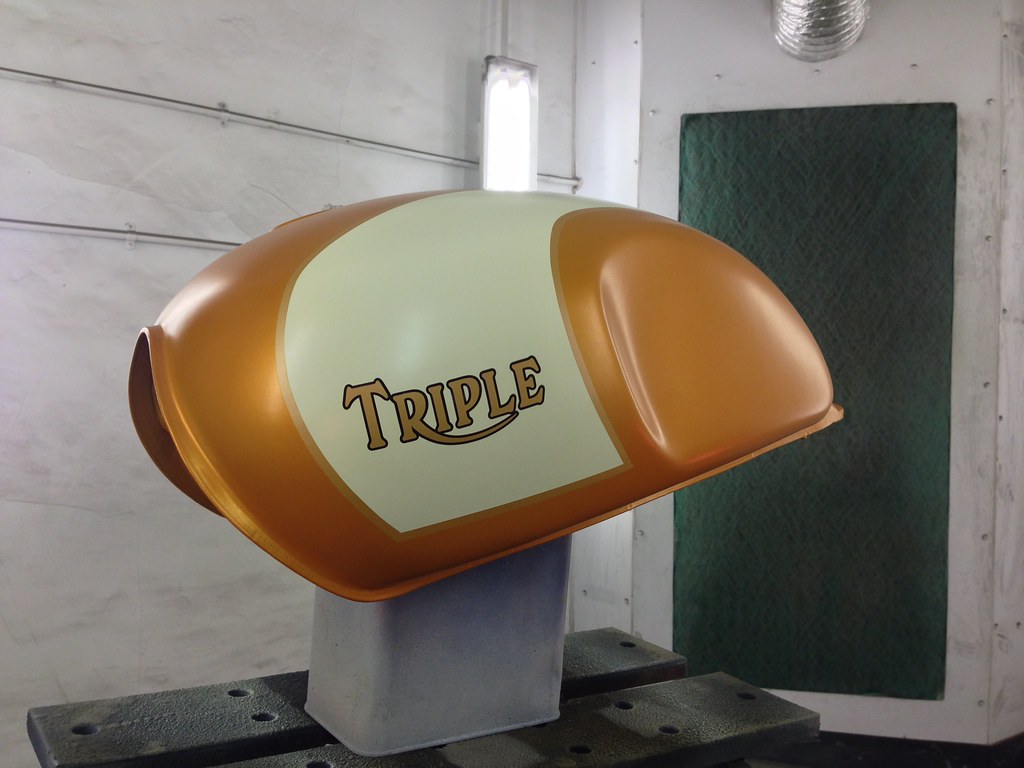
There was the tiniest bit of tidying up to do, a couple of tiny mask bleeds and a smudge of cream overspray where a mask had slightly lifted mid panel, both easily sorted in about 10 minutes!
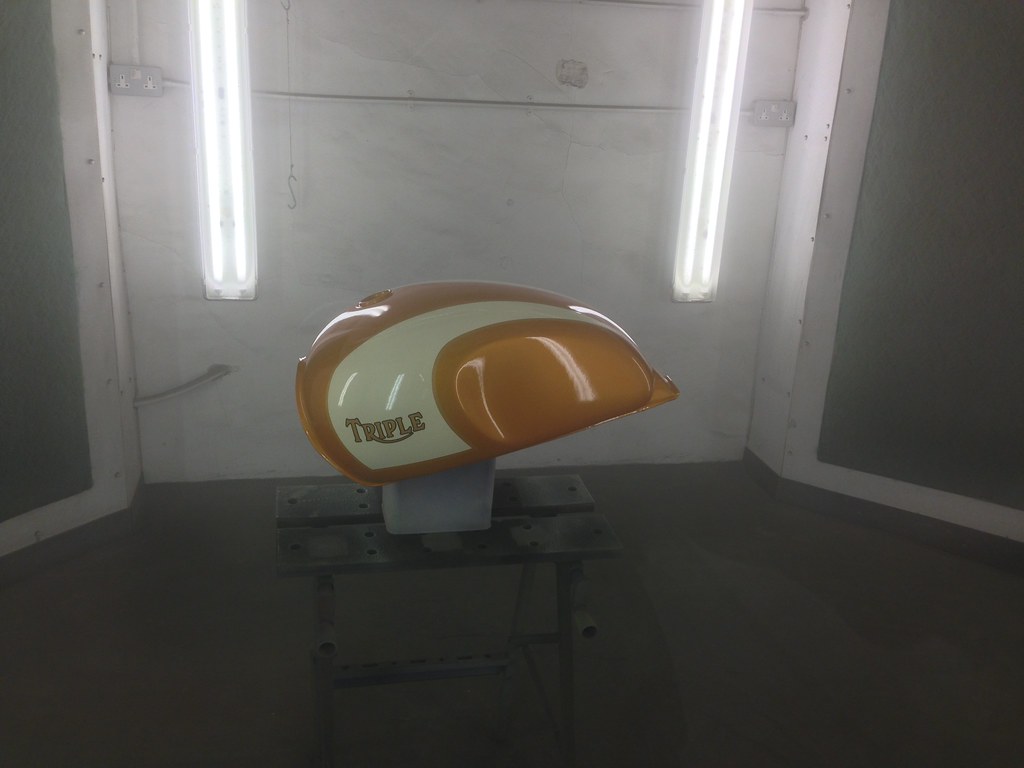
Back in the booth for one single coat of clear. Naturally the tank will get several more but its important to get a clear coat on to lock in the fragile base metallic. The finish isn't glass like but it's a good foundation to flat down in preparation for the bulkier remaining coats.
Time for the tank .......
I will use this post as a kind of step by step 'How to' on painting a tank ....
The tank on the bike was already in very nice condition
The chrome badges are secured by two M4 countersunk bolts but as they'll not be refitted the fixing holes needed filling.
I flatted the tank down with 400 abrasive and applied 1x thin coat of 2k primer. I do this in order to seal any old paint in thus eliminating any paint reaction further on, especially on a surface of two colours and a painted pinstripe.
After this, I applied a liberal coat of high build primer
Looks smooth huh? Oh no, as smooth and creamy as it looks the surface is actually as rough as a dogs arse!
A lot of people at this point will dust the surface with a bit of matt black paint otherwise known as a 'guide coat', I use a specific 3M product which does the same as the paint
It's essentially a black powder which is applied lightly over the surface to be prepared. Essentially it makes the surface 'dirty'
The purpose of the guide coat is to give you an indication of where you've prepped and where you haven't, it also allows you the opportunity to pick out imperfections that you'd struggle to see with the naked eye.
I don't use conventional sand paper or sanding discs. I use an Abranet system, essentially it's an abrasive net which secures by hook and loop (velcro) to the sanding block which is connected to an extraction device. It's more expensive than convention organic abrasives but the benefits are two fold. 1. Well there's no dust, and believe me with the amount of surface to be prepped you'd be swamped in dust! 2. Because the sanded material is instantly evacuated through the net and away the abrasive surface never clogs up. The beauty of this is the sanding pads last 2-3 times longer than conventional abrasives.
So, on to the sanding ....
As you can see, the guide coat shows up the imperfections in the primed surface, these of course need to be removed (note the couple of low spots that need additional sanding ...
This is what the abrasive looks like after doing most of the tank!
And here's the tank nearly ready to for it's first colour coats.
I always panel wipe the surface twice. The first is to remove the bulk of the dust. There is little point using an airline blowing the dust off only for it to then be floating around in the atmosphere. Wipe it off and throw it in the bin!
After the first clean it's into the booth for a second wipe with panel wipe, then one last wipe over with a tack rag to pick up any last grains of dust
With metallic paints, the process of building colour is as important as the paint in the tin. Each ground and base coat affects the tone and hue of the coat applied above it.
First up for this tank ..... Ochre Yellow ...
Once this was applied (I forgot to take a photo) it was time for the first of the paint coats which will actually be visible on the finished product ..... Metalic gold ...
And here it is ...
The gold acts not only as the base coat for the main colour but it's the finished colour of the pin striping and the side badges.
Time to get masking.
Now for those of you reading this thinking that this process is the easy bit, think again! The tank is two separate halves welded together through the centre, however, triumph didn't seem too concerned with symmetry and the consequence of this a tank with swage lines which differ by about TEN millimetres. Getting the striping to look right from both sides AND above took nearly 4 hours and me to the brink of my sanity, but you know, god loves a tryer so on I pressed! Finally I found a compromise between the dimensions which works. Sheesh!
As this is a custom bike it seemed fitting to steer slightly away from the norm when it came to the badge design. The badge will be in paint rather than a vinyl transfer.
The design was a labour of love in itself. This final design was the fourth attempt at getting it right. I have a friend with a sign business who's a brilliant designer (and fortunately very patient) who worked through this process with me. Do a little google of Triumph motorcycle logos, there must be 10 different styles!
Cheers Steve, you're a diamond
(H+L Graphics. Argent Rd, Queenborough ME11. 01795 664608)Once finalised, Steve cut me some masks using low tack masking vinyl.
So, now time for the next colour coat ...
Paul chose the colours for the tank, I'd already painted the handlebars and rear spring in that colour but on seeing the paint 'fitted' Paul decided that it was too yellow. I had a play with some pigment ink and adjusted the colour down a notch or three!
We'll call this "Tunner Orange" ...
I masked off the side flashes and painted the bulk of the tank (sorry, no photo of the masking / spraying)
What do you lot reckon, time for another colour?
I reversed the masking scheme in order to paint the side flashes
And on with the paint ....
There is only one more colour to go on but my phone died so I have no photographs of this process, if I'm honest, by this point the tank just looked like a mess of masking tape and overspray so you're not missing much!
It was the black pinstripe around the tank badge.
Here's the big reveal!
There was the tiniest bit of tidying up to do, a couple of tiny mask bleeds and a smudge of cream overspray where a mask had slightly lifted mid panel, both easily sorted in about 10 minutes!
Back in the booth for one single coat of clear. Naturally the tank will get several more but its important to get a clear coat on to lock in the fragile base metallic. The finish isn't glass like but it's a good foundation to flat down in preparation for the bulkier remaining coats.
Beautiful 
Still don't like the handlebars though...
Still don't like the handlebars though...
Aren't there two P's in Tripple?
Aren't there two P's in Tripple?
No fella, that'll be 'Cripple'
Top job ,cant wait to see the bike completed.
Exquisite.
I envy both your skillls and your patience Sir.
I envy both your skillls and your patience Sir.
Great work Chris, I always enjoy reading through your threads.


Similar threads
- Replies
- 8
- Views
- 217