I've been so busy working on the bike over the last few weeks, that I haven't had time to update this.
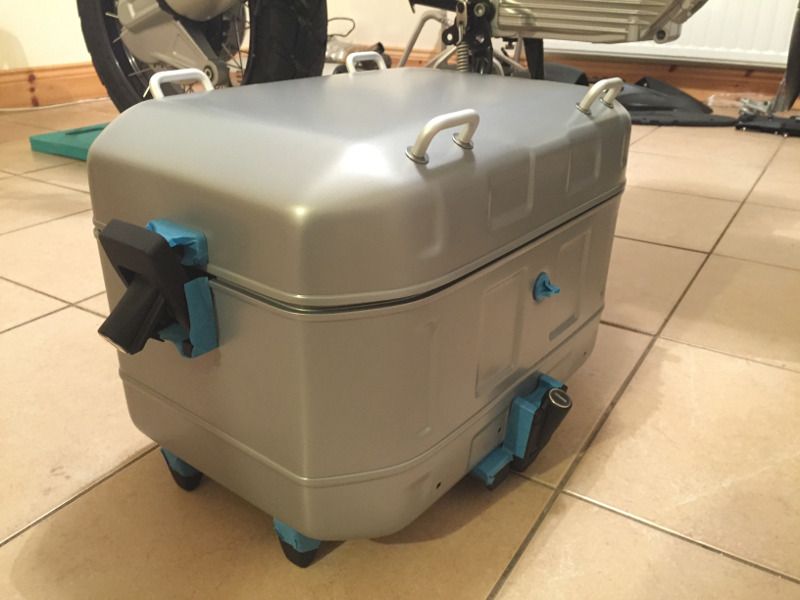
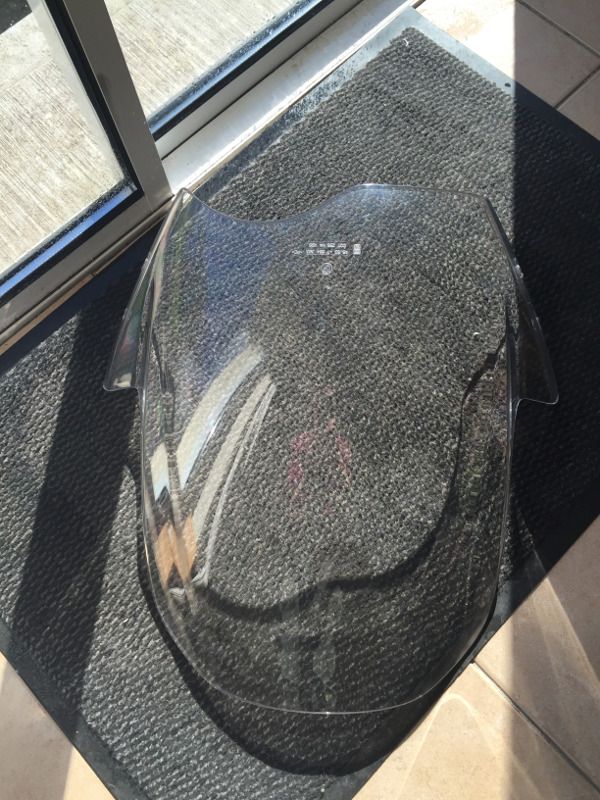
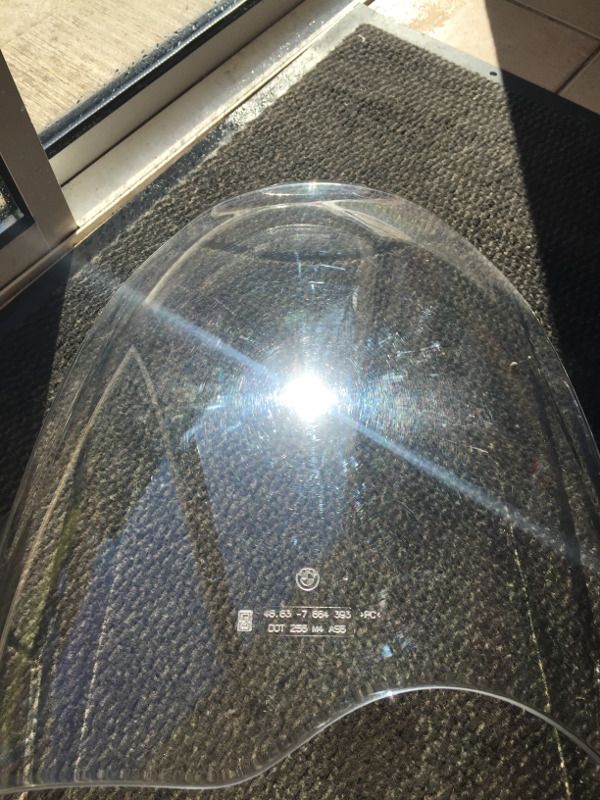
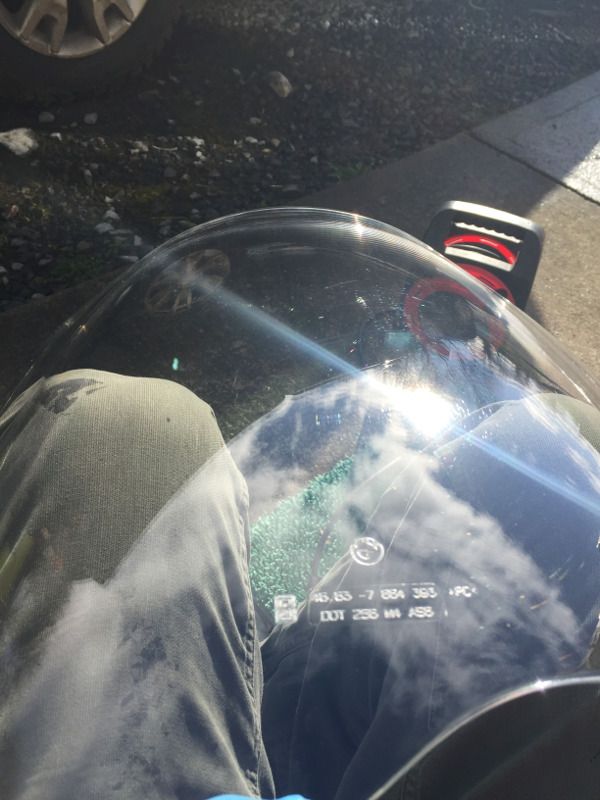
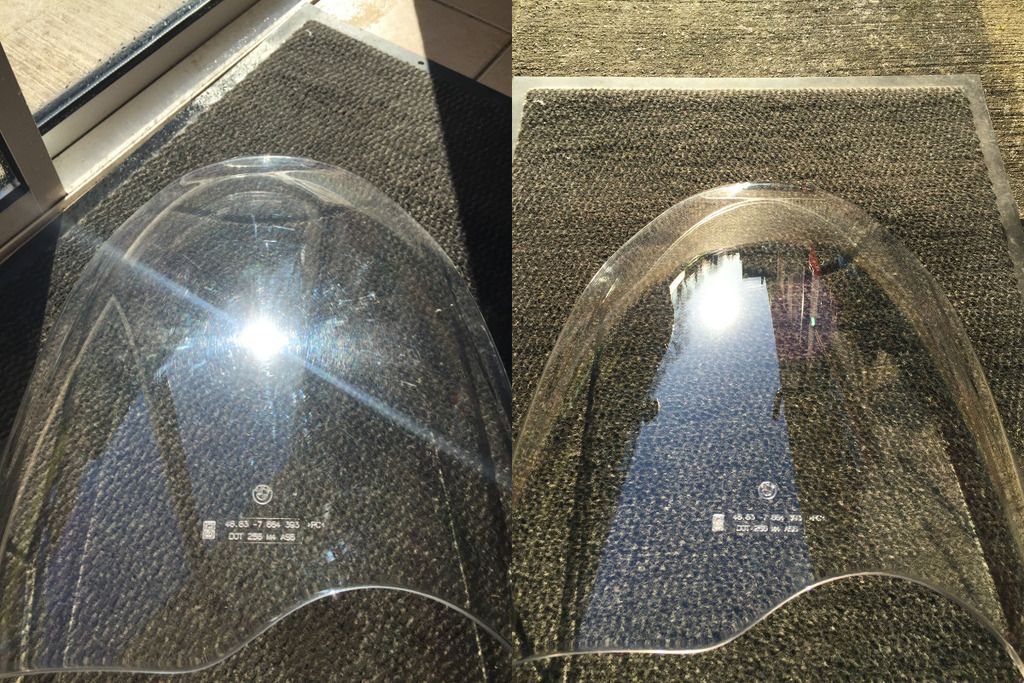
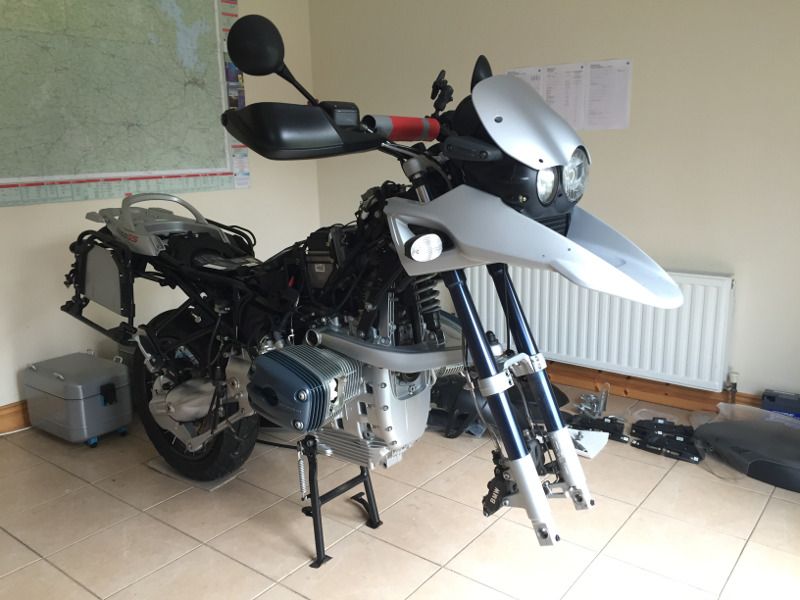
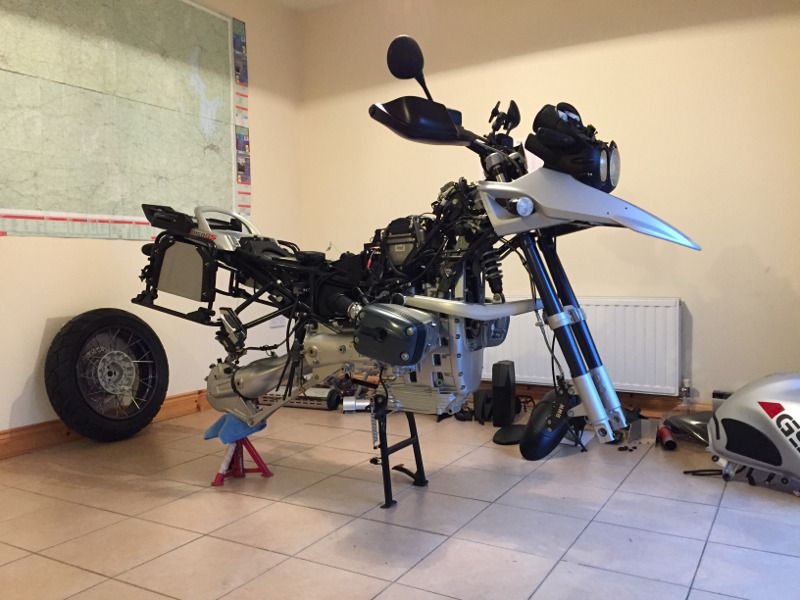
After polishing the screen to bring it up like new, I moved on to the other plastics on the bike. They were generally clean and only needed a wipe-down in preparation for sealing. I also bolted all the plastic bits back onto the panniers and top box. I removed the front wheel and the front mudguard to make working on the mudguard easier. I also removed the silver panel just above the headlights to give me better access to the plastic housing around the lights:
After giving everything the usual wipe-down with Gyeon Q2M PREP, I applied Qyeon Q2 TRIM to the screen, dash, beak protector, alternator belt cover, and all the other plastic bits on the bike. I applied a tiny bit of TRIM on top of the MOHS in an inconspicuous spot on the tank, to make sure that it wouldn't affect the finish of the MOHS. After giving it an hour to cure, I checked it under a bright light and couldn't see any traces, so I knew it was safe to apply TRIM to the decals without masking the surrounding paint.
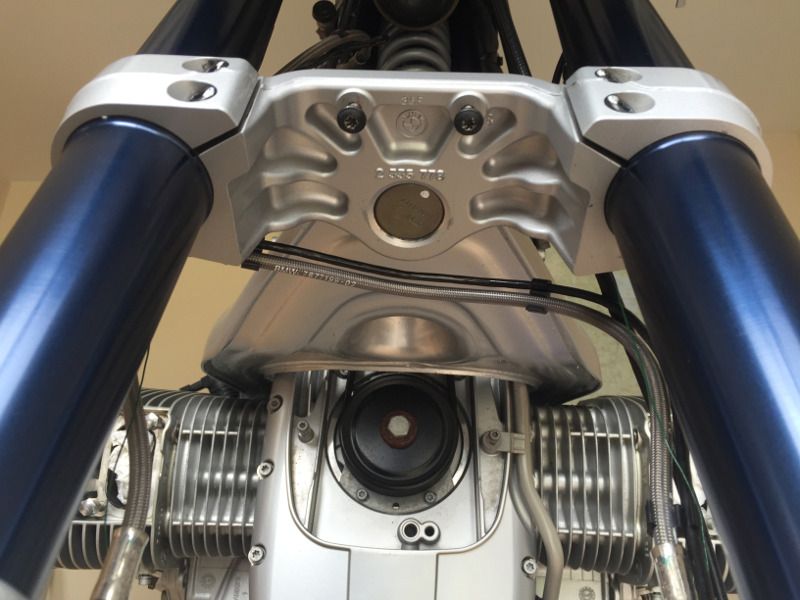
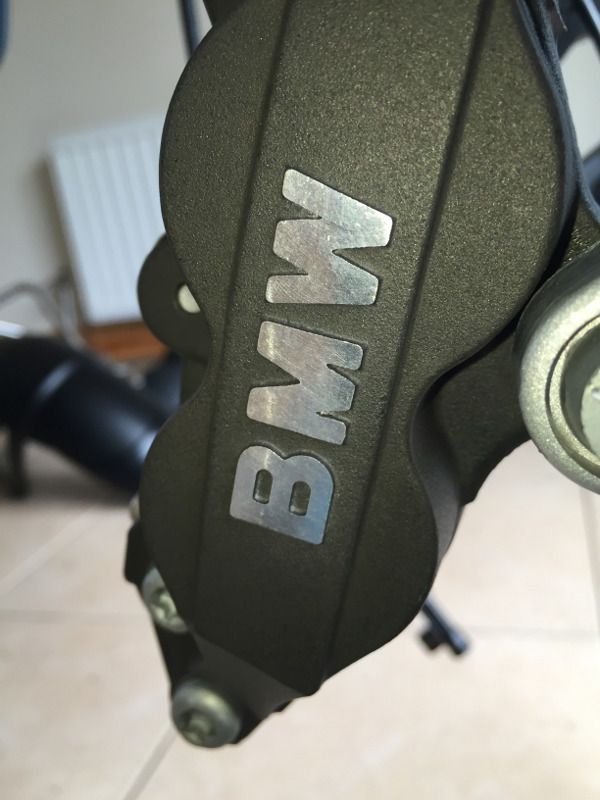
Next up was to protect the wheels and callipers. Brake dust is very hot when it comes off the pads, so normal paint sealant will quickly get damaged and burnt off. Gyeon Q2 RIM is specifically developed to withstand these temperatures (up to 350ºC), so this is what I used to protect the wheels, callipers and surrounding areas. I don't really understand the chemistry, but for some reason RIM is also better than MOHS for protecting bare metal, such as stainless steel, anodised aluminium and chrome. I cleaned all the nooks and crannies on the front forks and front callipers:
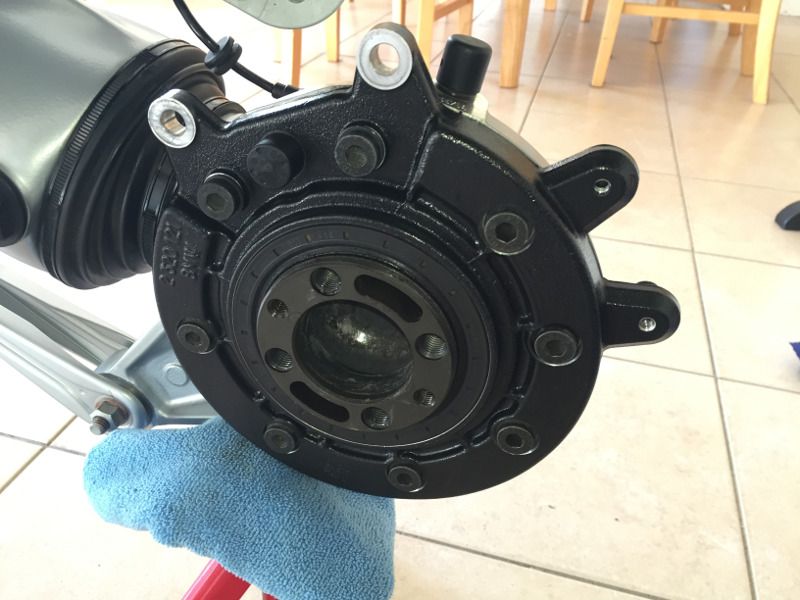
Then I removed the rear wheel and cleaned the rear callipers and parts of the final drive I couldn't access when the wheel was on:
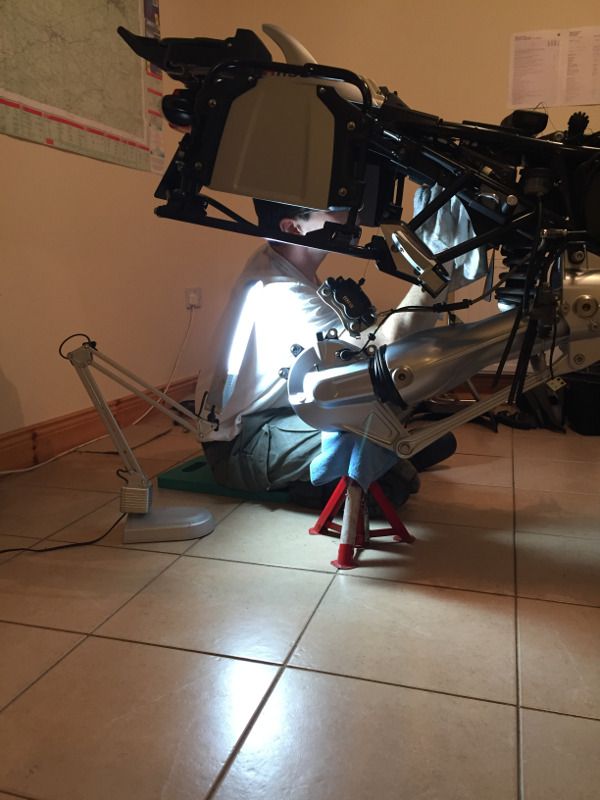
I wasn't planning to clean and treat the inside of the mudguards, but when I was working on the final drive, I looked up and saw the dirt and, being the perfectionist that I am, decided that for the sake of another few hours work I might as well complete the job.
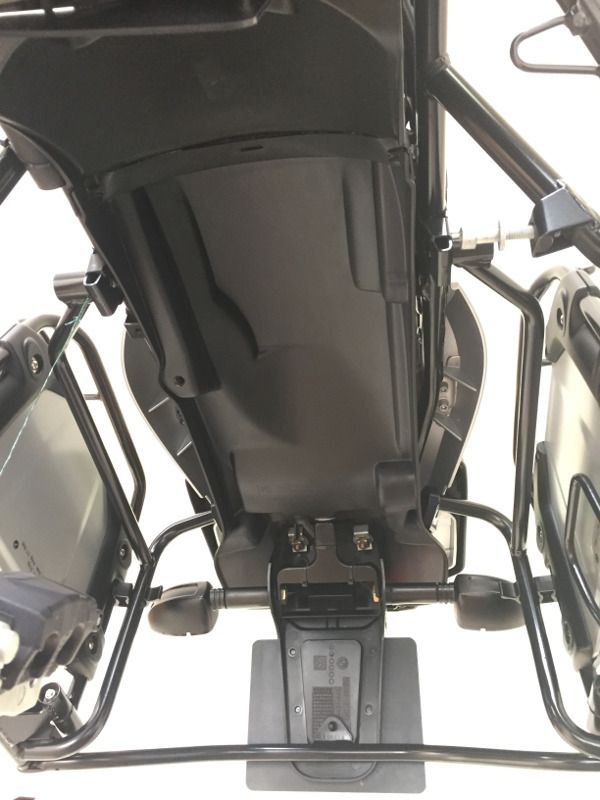
Cleaning inside the rear wheel arch:
After cleaning auto-claying the insides of the mudguards, I applied TRIM to them, and then applied RIM to the final drive, front forks and brake callipers.
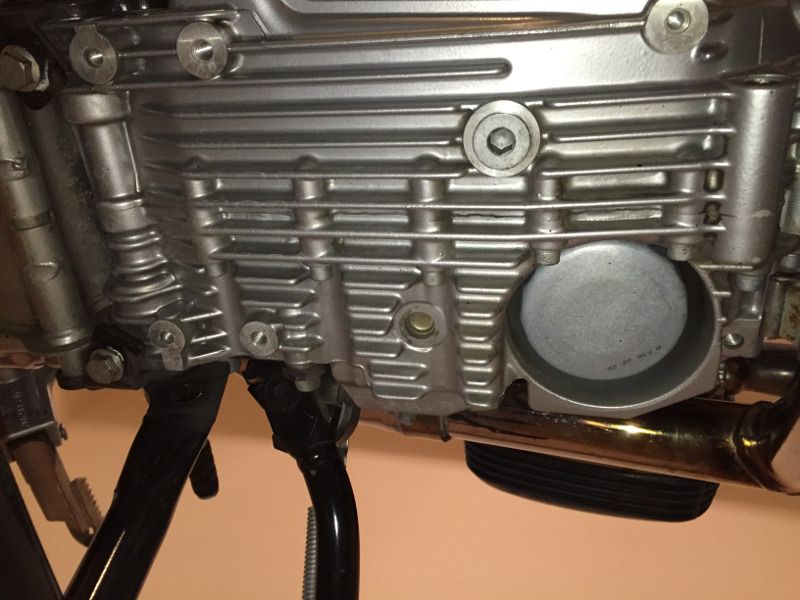
Anyone who has ever washed a motorbike is probably familiar with the sand-blasting effect on the front of the engine, caused by the debris thrown up by the front wheel. Even the protection of MOHS won't stand up to that for very long. I fitted an Extenda Fenda to the GS as soon as I got it which makes a huge difference, but I still noticed some debris stuck to the front of the engine after the last ride.
When reading
Polished Bliss's Car Care Blog, I came across
this entry about them installing XPEL Ultimate Paint Protection Film to the front of a Porsche 911 (997) GT2 RS. I immediately realised that I had found the perfect way to protect the front of my engine. Not only does XPEL Ultimate PPF protect the paint, the PPF is actually self healing! Here's a video from XPEL, showing the Ultimate PPF self-healing after being scratched with a wire brush:
<iframe width="560" height="315" src="https://www.youtube.com/embed/T6oEgfdwUU0" frameborder="0" allowfullscreen></iframe>
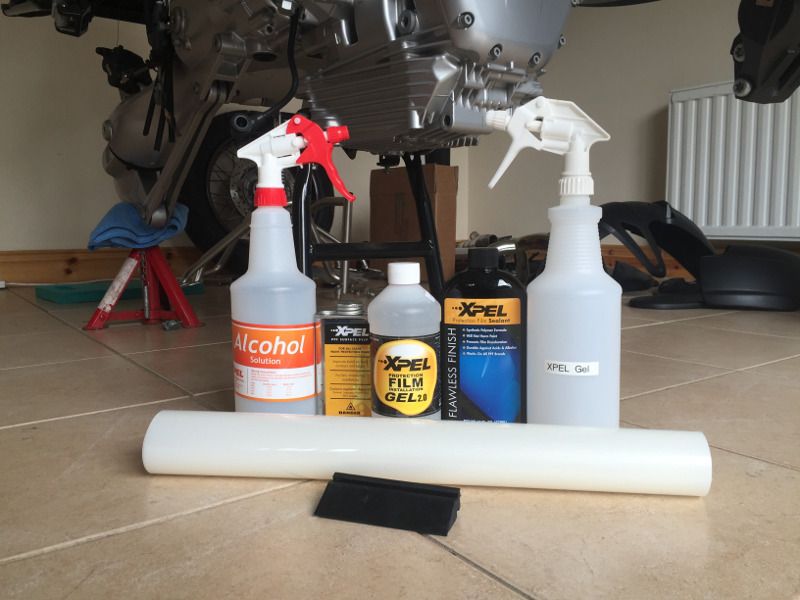
I had to buy the XPEL Ultimate PPF by the foot because they don't make a pre-cut kit for the R1150GS. Here are the XPEL products I ordered:
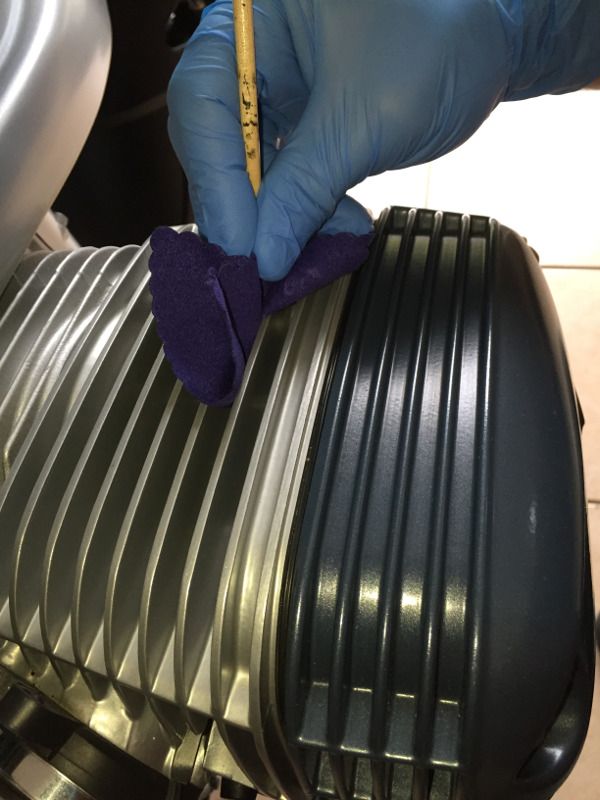
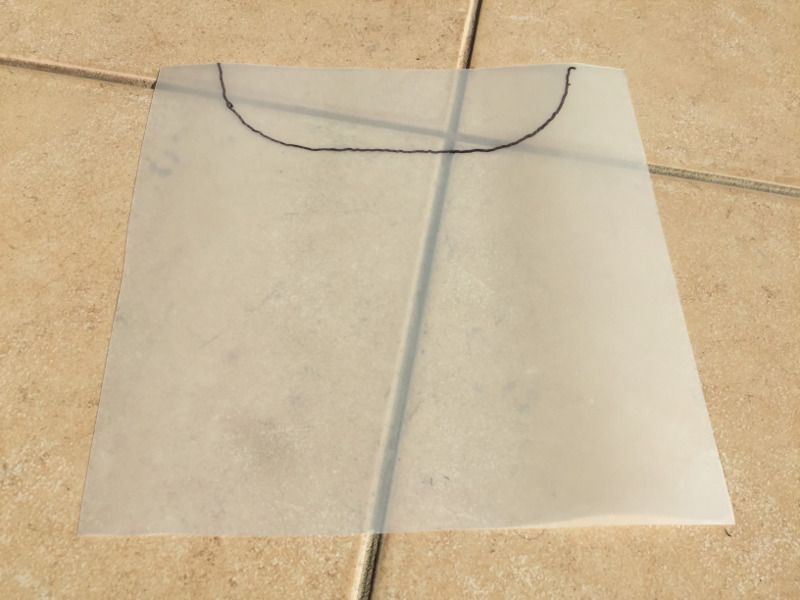
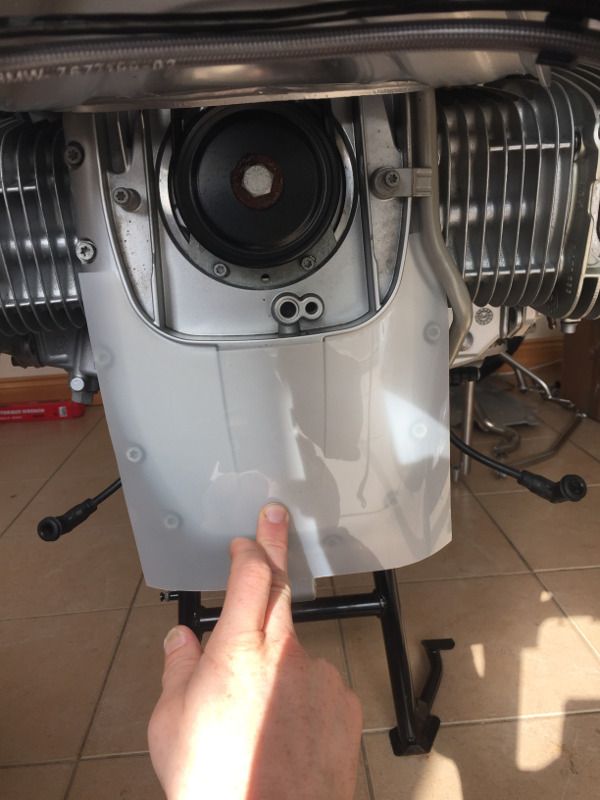
It turns out I didn't need the alcohol solution because the new XPEL Installation Gel 2.0 replaces both the soap and water solution and the alcohol solution previously used to install the PPF. I started with a square of PPF and had to cut and trim it bit-by-bit until it fit the front of the engine properly:
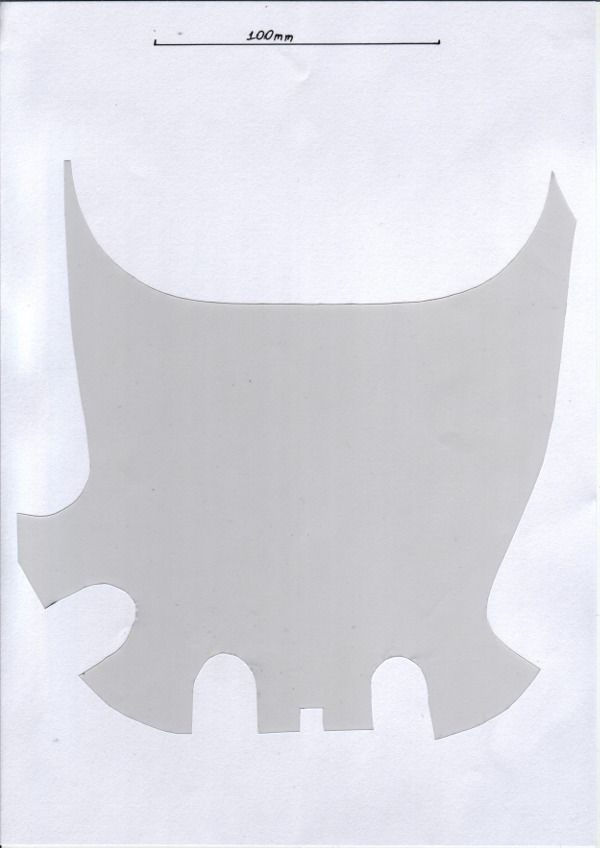
When I was finished I scanned it, in case I messed it up when installing it and had to make another one:
As it was my first time installing paint protection film, it took me about an hour to install it because there was a lot of fumbling and adjusting. With a bit of practice, I'm sure it could be installed much quicker. I made a video of installing it and cut it down to about six minutes. That's still a bit long to watch, but I wanted to show all the steps of installation for anyone that might want to learn how to install PPF. You can't see it in the video, but you'll hear me squirting the installation gel onto my hands regularly. This stops the adhesive on the PPF from sticking to my hands while I'm working with it. Towards the end, I used a hair dryer to heat and soften the PPF to make it easier to stretch and fit into the corners and awkward spots.
<iframe width="560" height="315" src="https://www.youtube.com/embed/Dt57xFG0og8" frameborder="0" allowfullscreen></iframe>
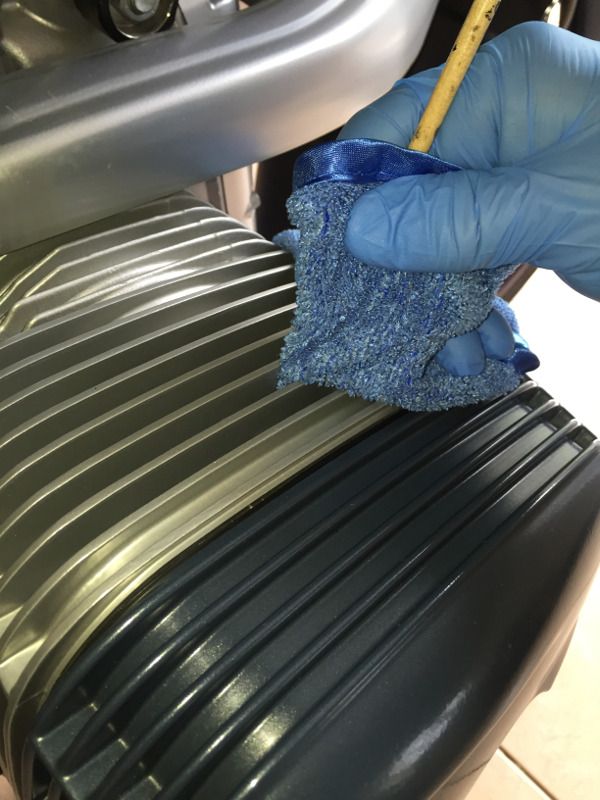
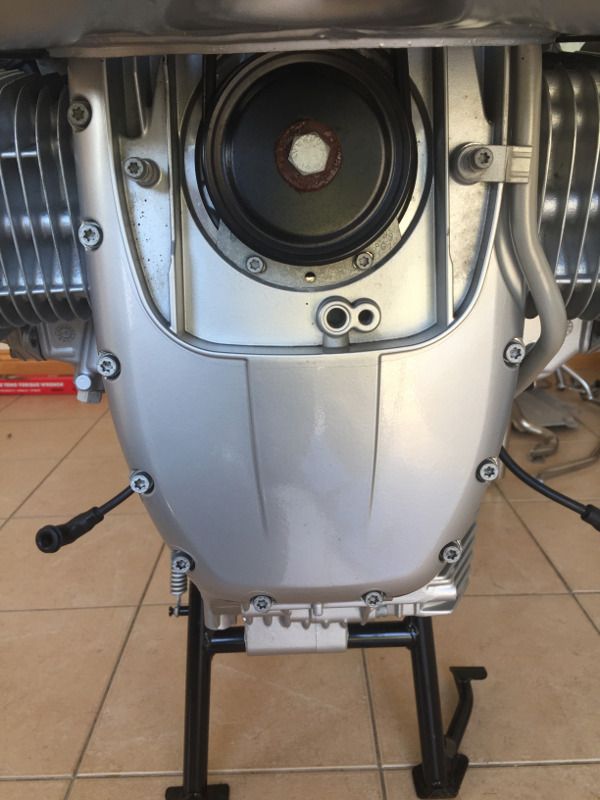
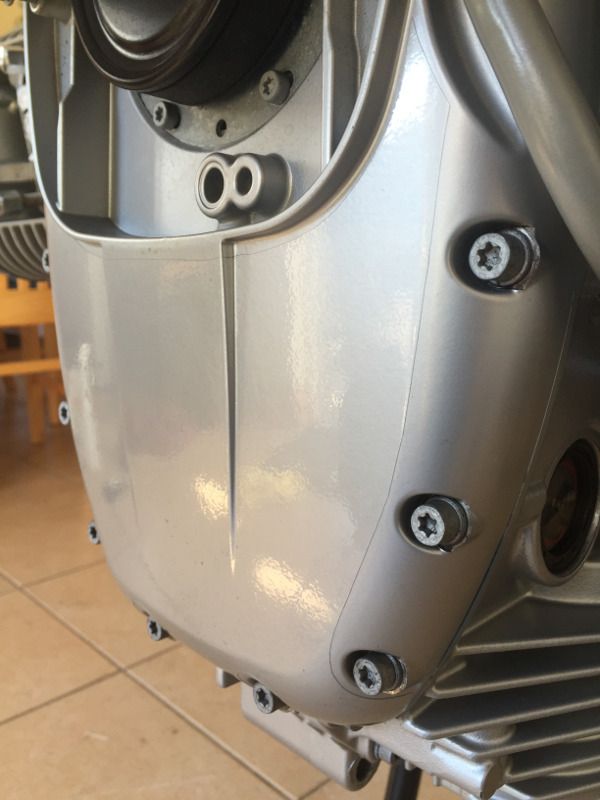
In these photos, it's quite shiny and gives the front of the engine a gloss finish, but after a day or two when the residue of the installation gel had evaporated from underneath, it took on the texture of the paint underneath and is now almost invisible:
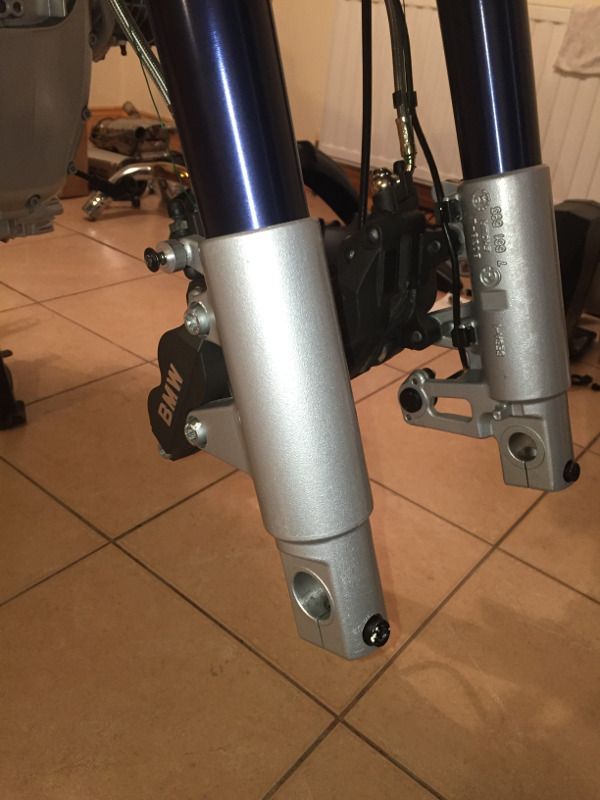
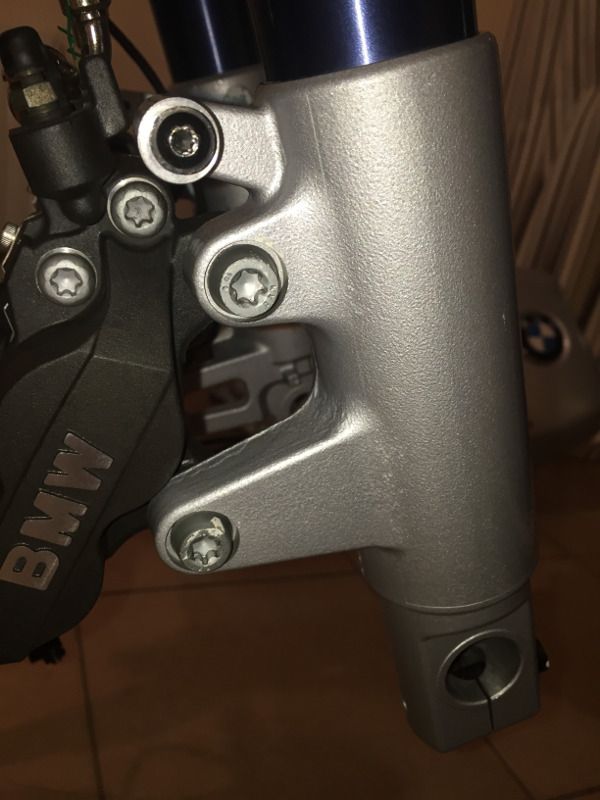
I also installed some on the lower end of the forks, as they tend to get stone-chipped:
The day after I installed the PPF, I applied XPEL PPF Sealant to it. This helps prevent dirt sticking to the PPF and stops it from turning yellow with age.
Total hours: 165.5