
I bought a K100RS off a forum member. It was advertised as needing a replacement gearbox fitted (included) due to the clutch mounting arm mount shearing off. At a round the same time my mate with his K100RS managed to snap the gear lever shaft.....
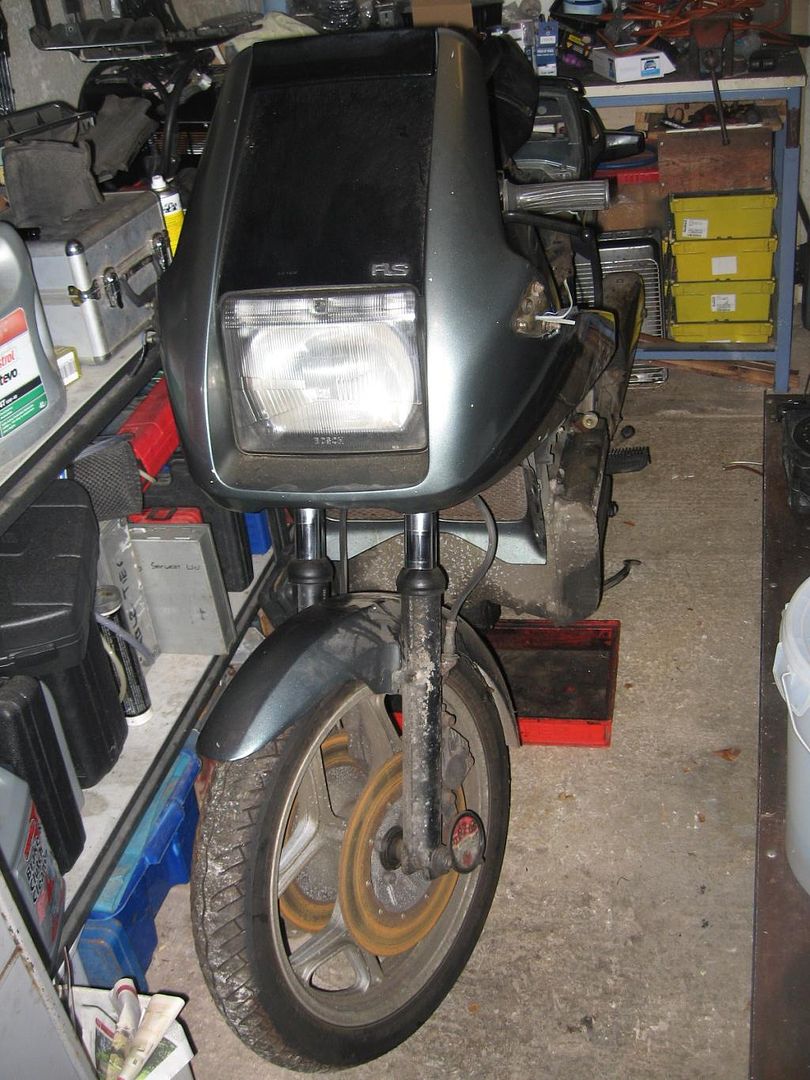
Here she is after I picked her up. Original colour, 1986. There was nearly a full service history with the bike and included were the original handbook and also a Haynes manual. There were a couple of boxes of spares which when I had a look at I found a Stainless steel fastener kit, filters, replacement filters and some other items.
Ive decided I want to do a full rebild on this bike. I'm going to strip her down into parts, clean/repaint and refurbish. I'd like to have a go at a concours spec bike, but I do tend to upgrade things when I work on them so it may not be a strictly concours bike that I end up with......
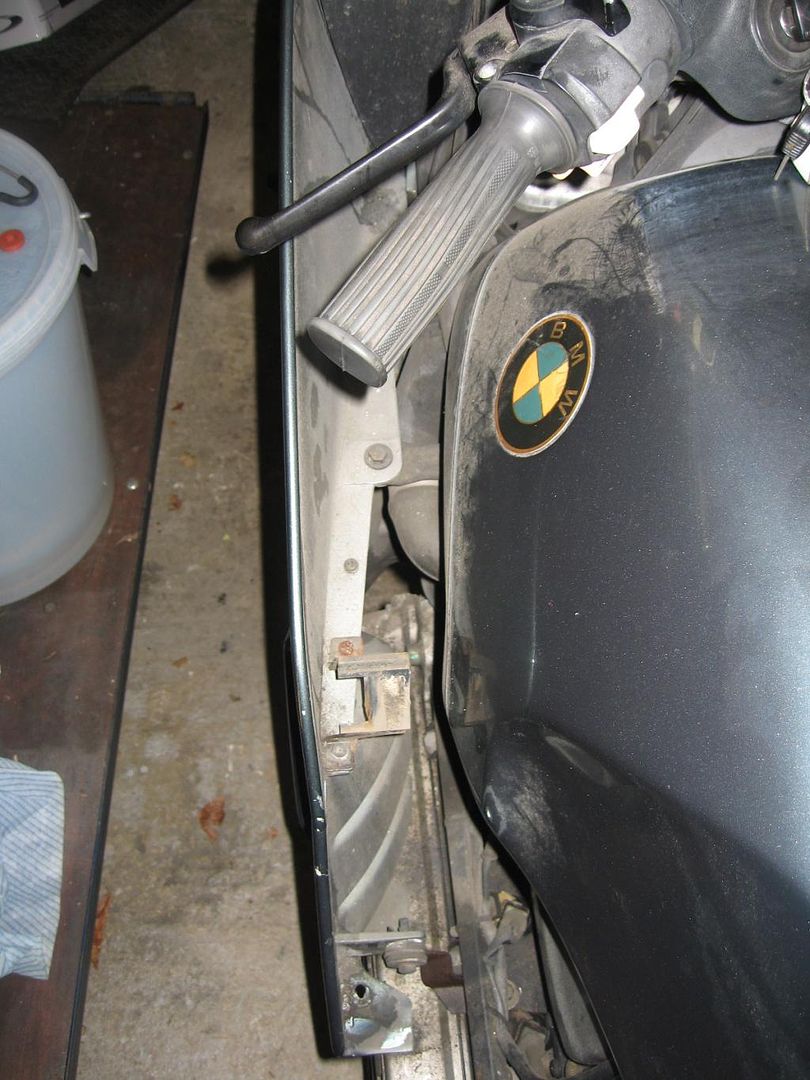
The first thing to do was to start removing the fairing panels.
The fuel gauge and temperature gauge were removed.
The screen.
And under the front the surrounds around the front forks were removed.
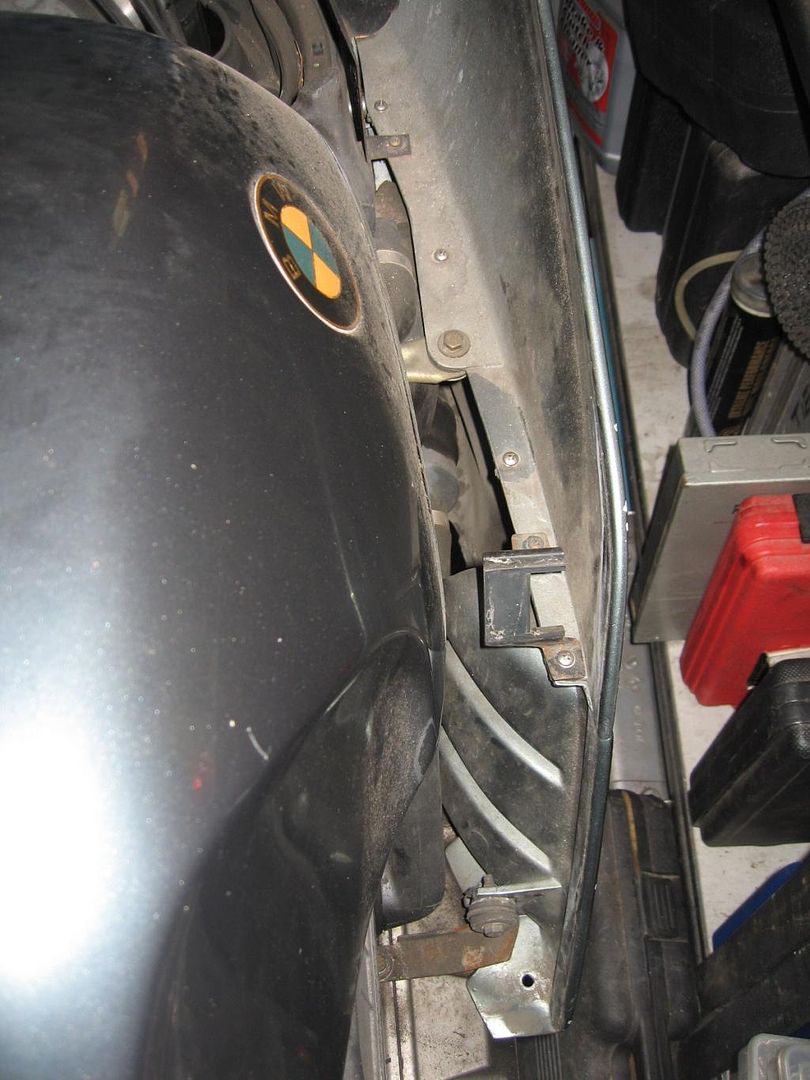
The front grill panel was removed.
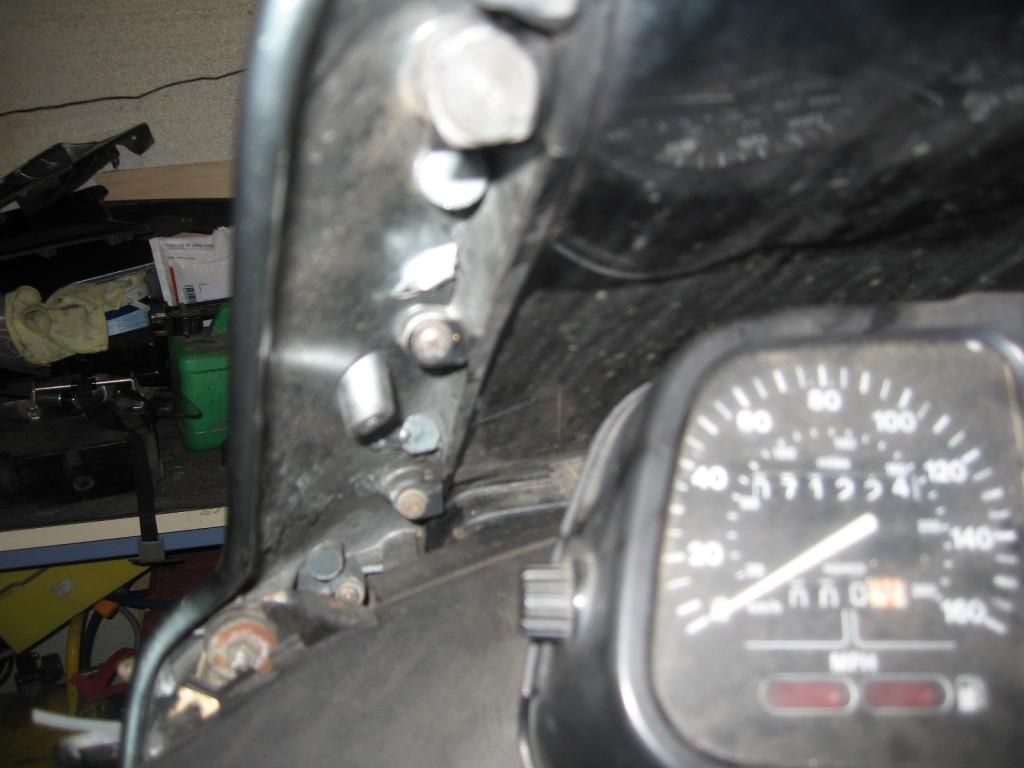
More nuts and bolts were removed.
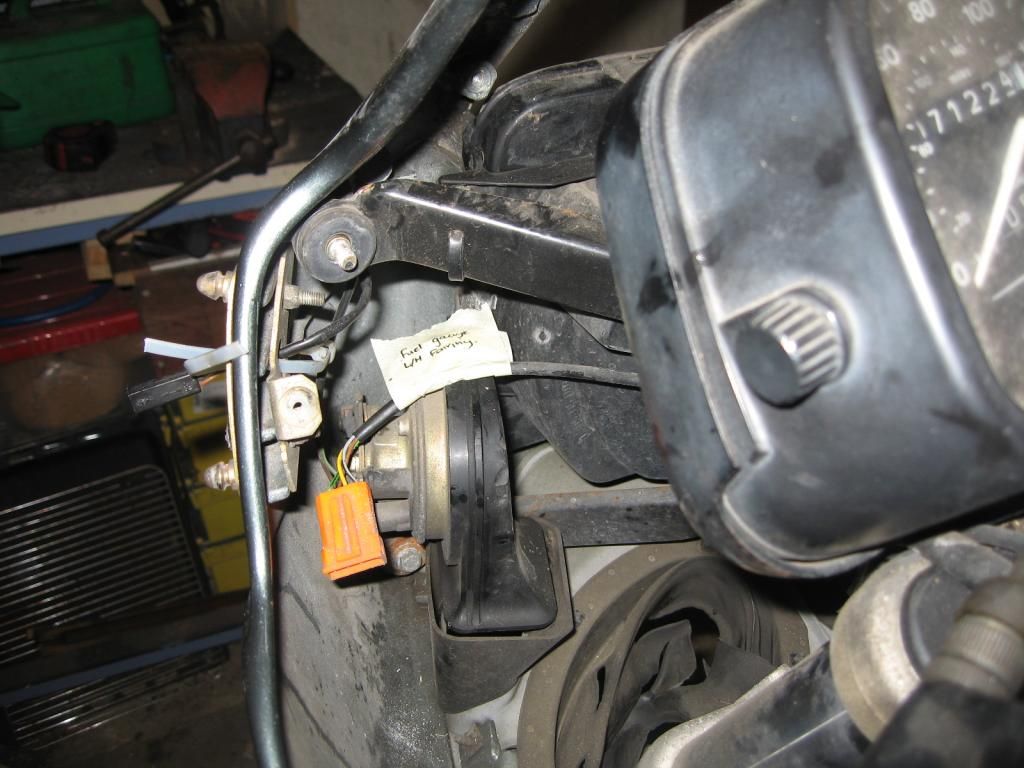
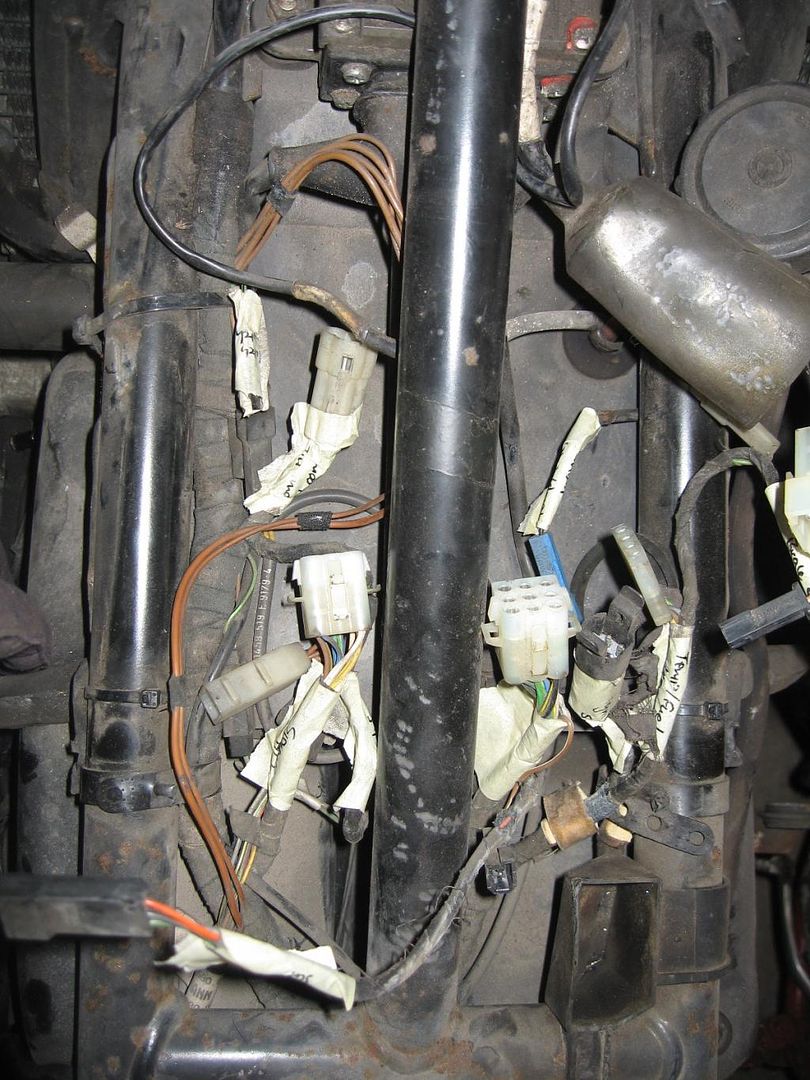
Wires labelled up as they were disconnected so that I can remember where they go.....
And finally the whole of the front fairing including the headlamp was removed.
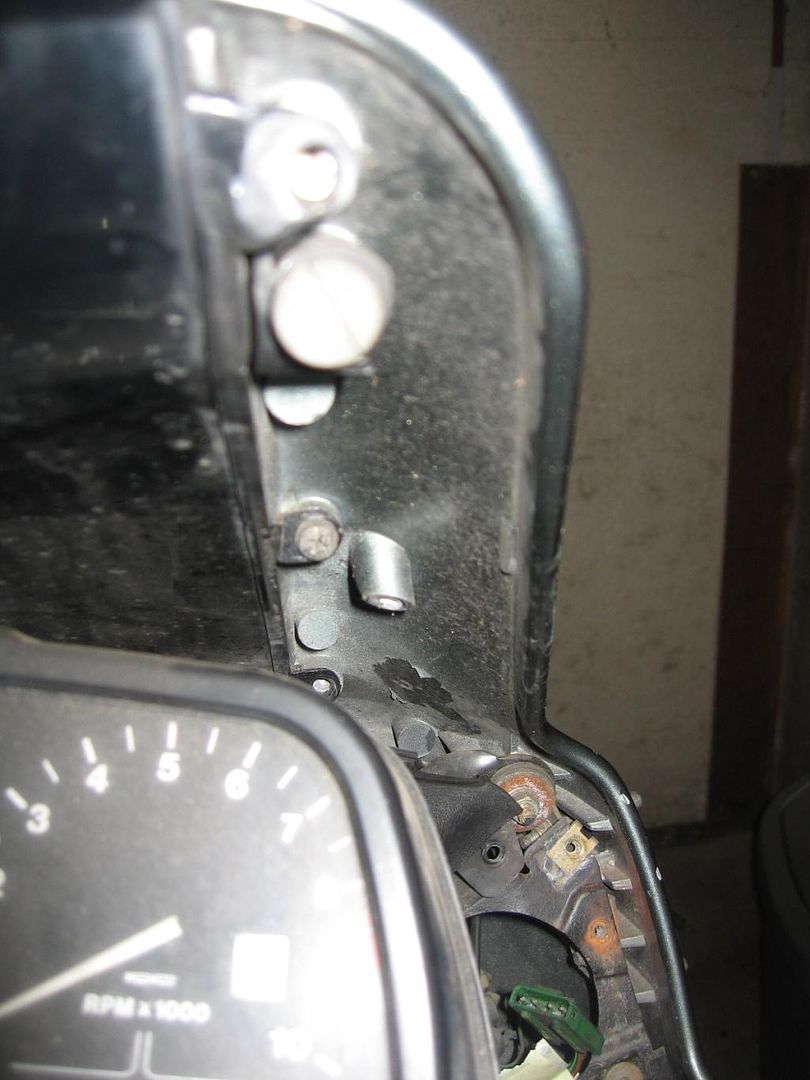
The next thing to remove was the speedo/display.
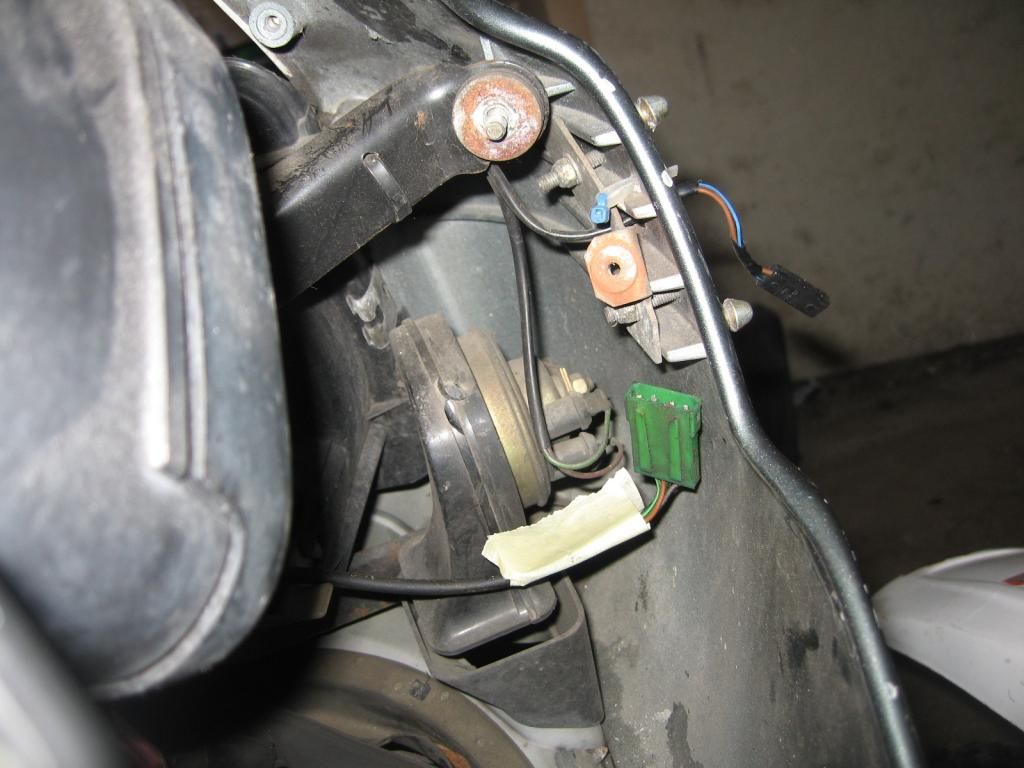
Disconnecting cables and wires and labelling them up.
The bracket that holds the headlamp and front fairing on was next to go.
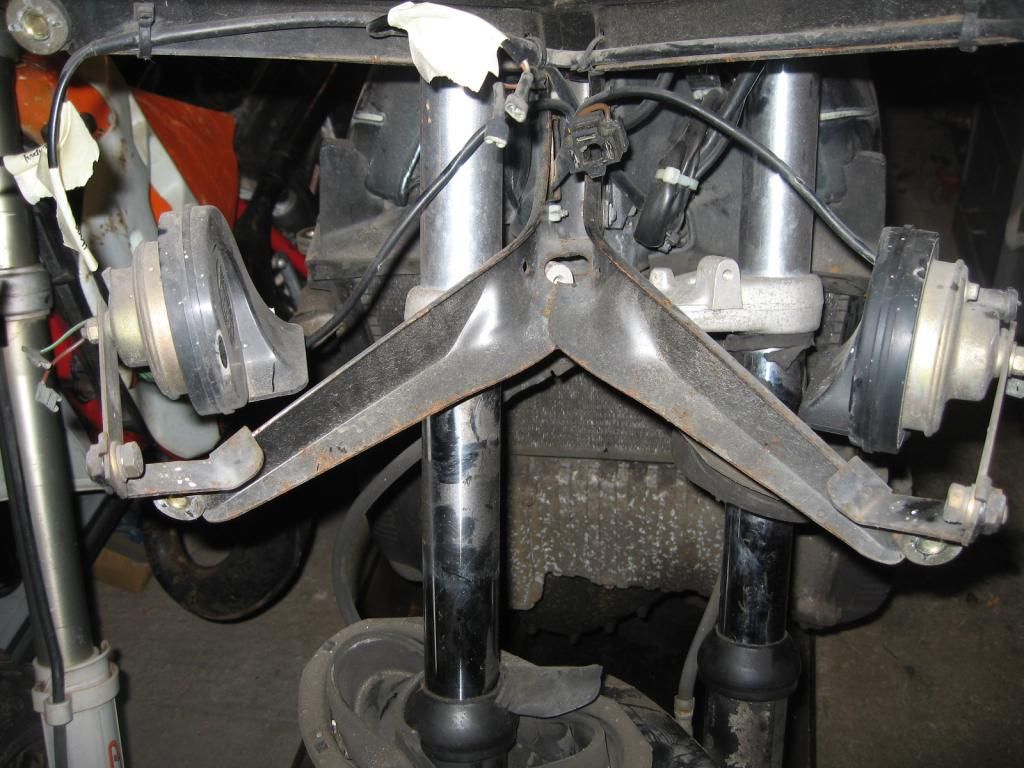
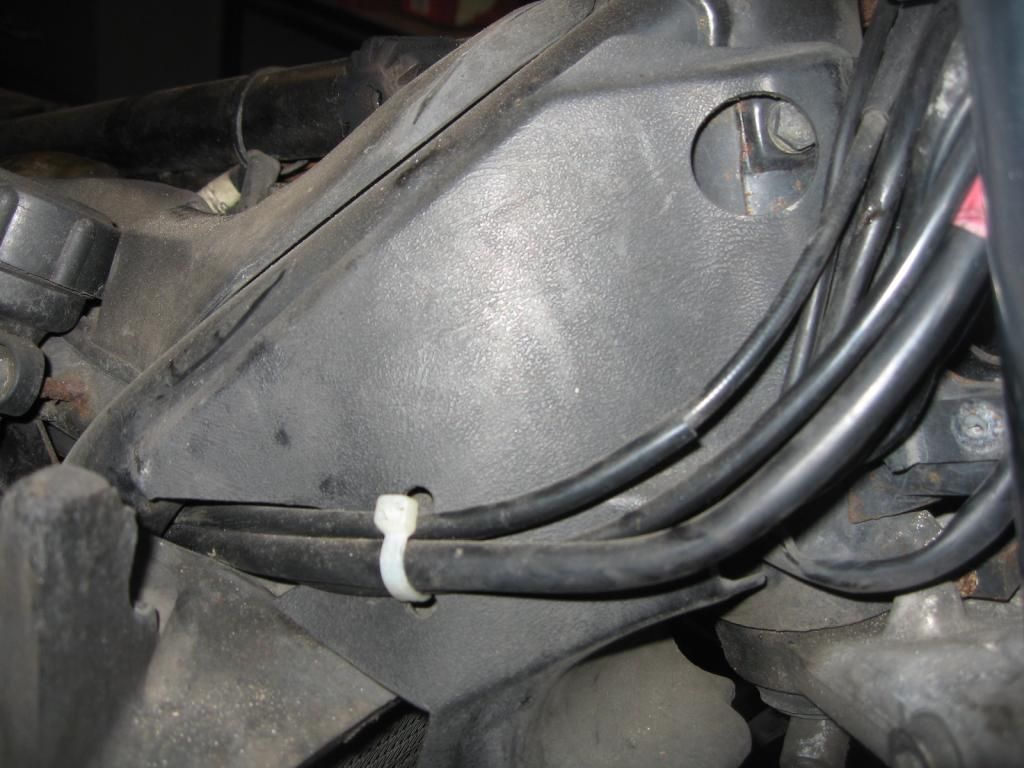
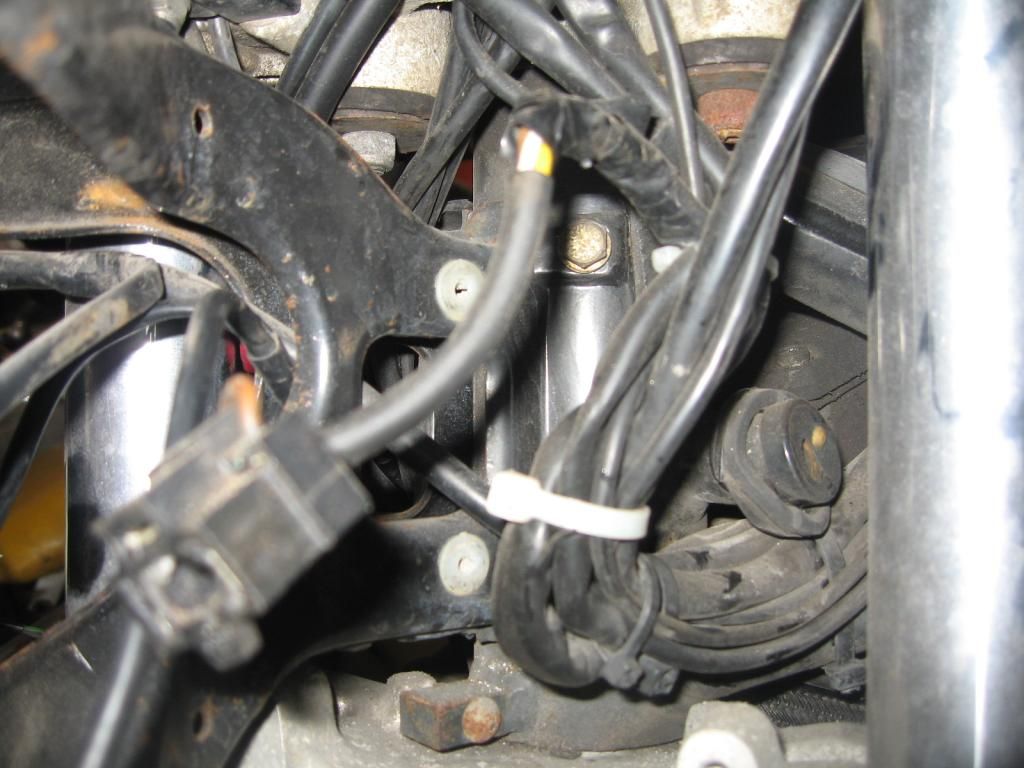
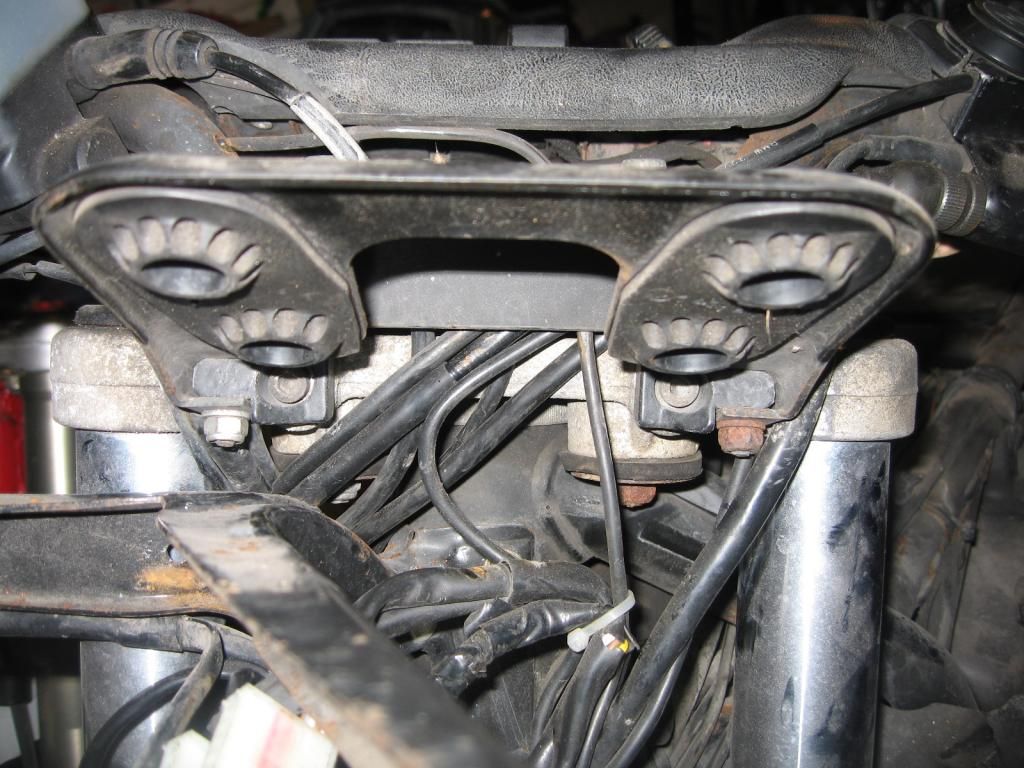
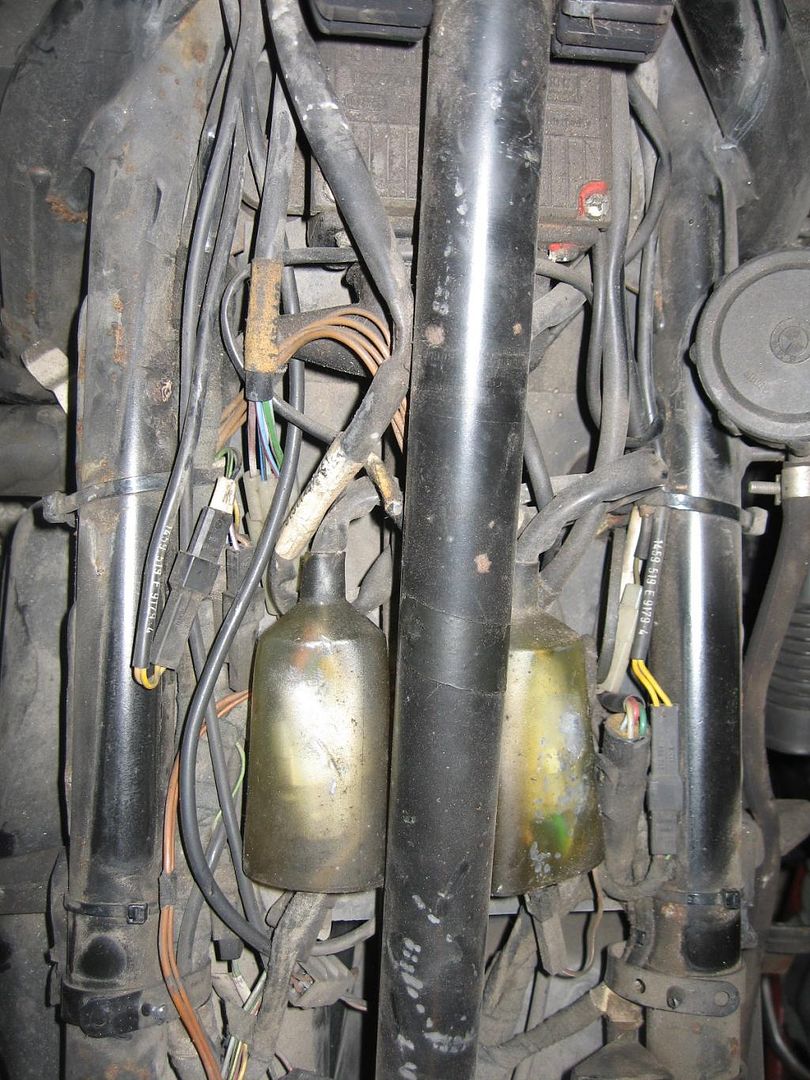
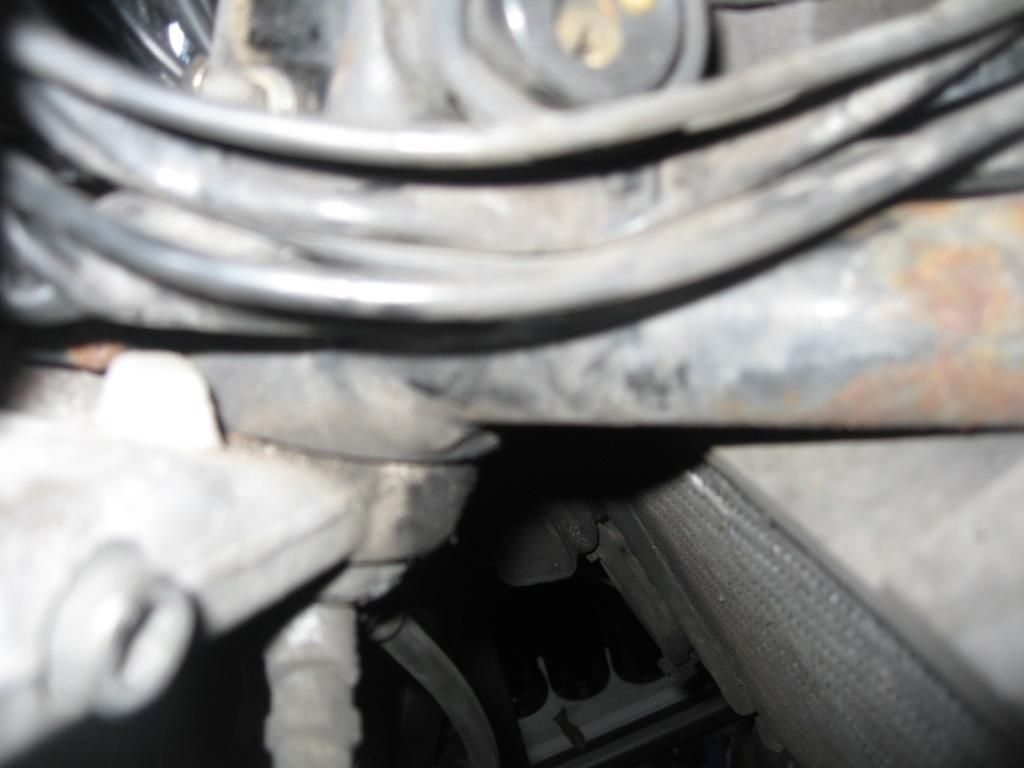
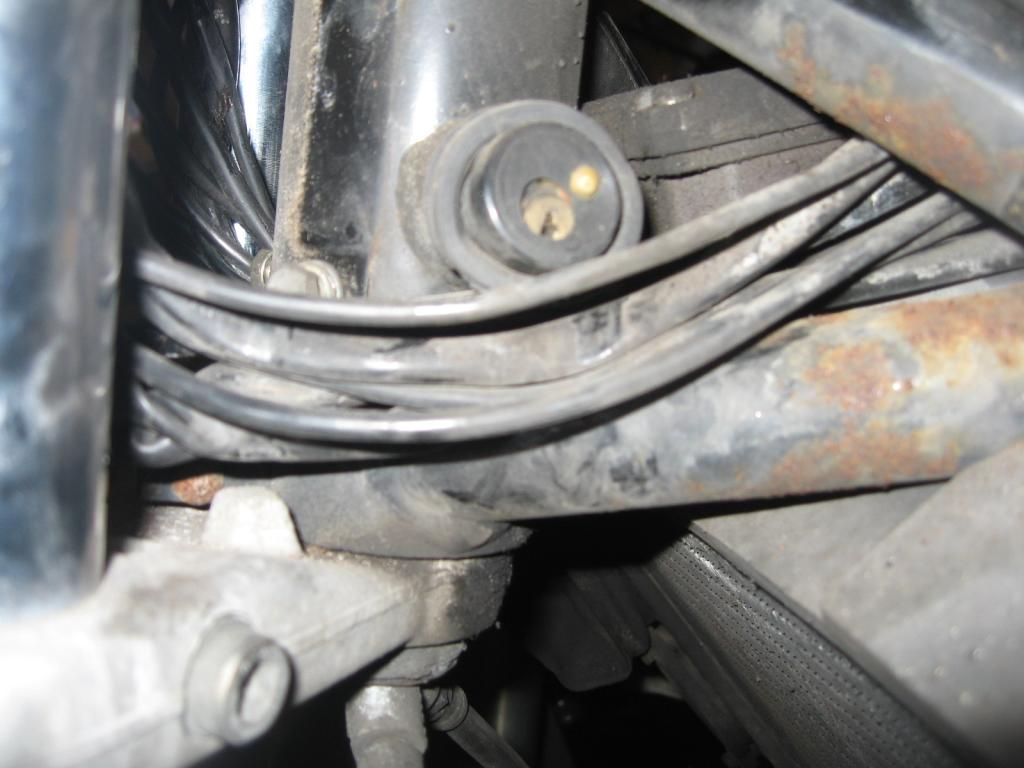
I started to trace some of the looms back and start to remove them taking pictures of the routing so that I can put them back correctly.
The steering lock was removed by carefully filing away at the brass rivet, inserting the key and turning. Surprisinly it was all freely moving.
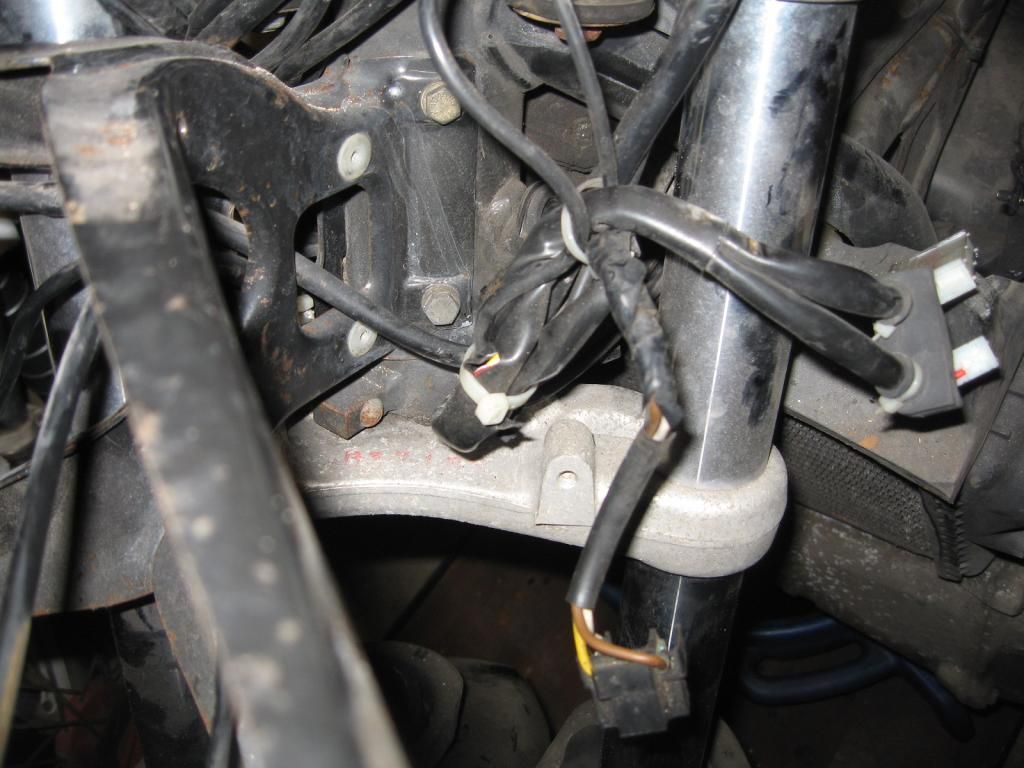
More cables disconnected with careful labelling.
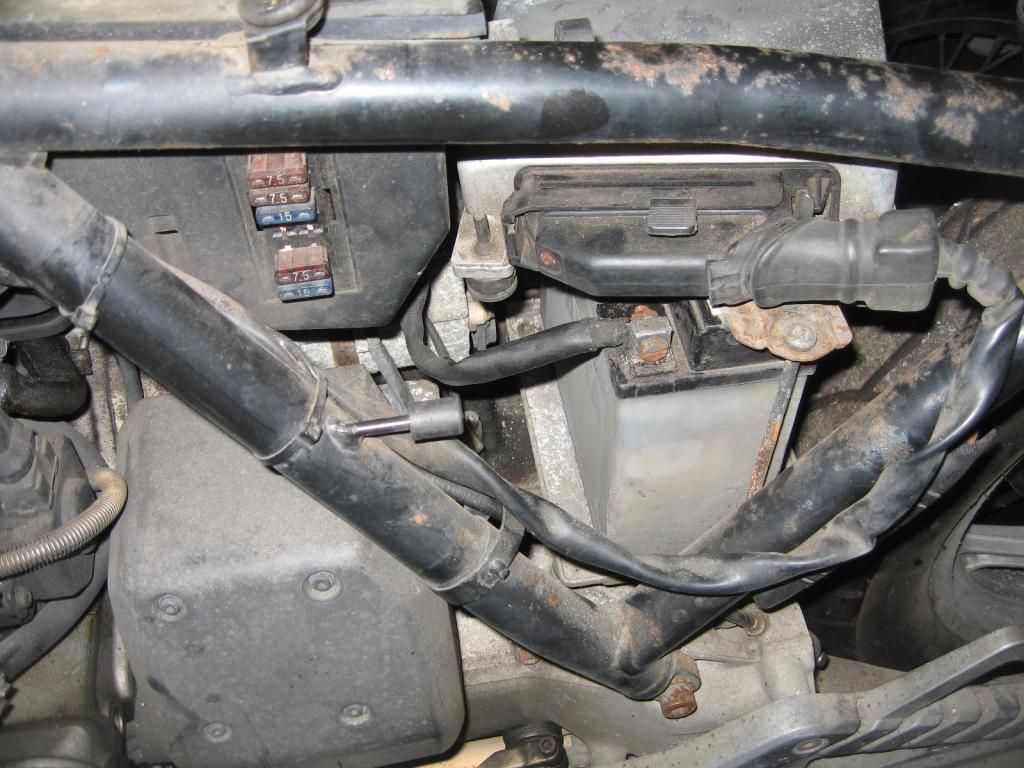
The battery was completely fat and did not respond to a charger at all. The bike was last taxed in 2008 - I sytarted the bike before stripping it by connecting the battery from my folding camper and jump starting it. She fired and ran - not smoothly but then the fuel was the fuel in the tank. It was good enough for me to know it she works. In due course the complete fuel system will be cleaned and filters replaced.
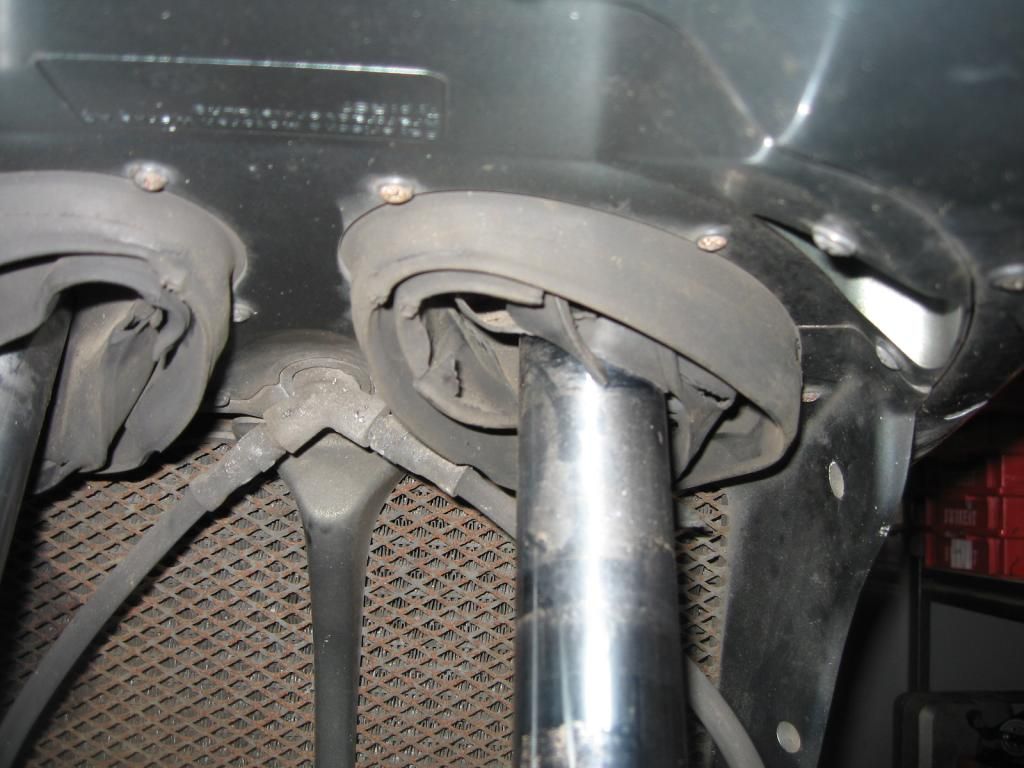
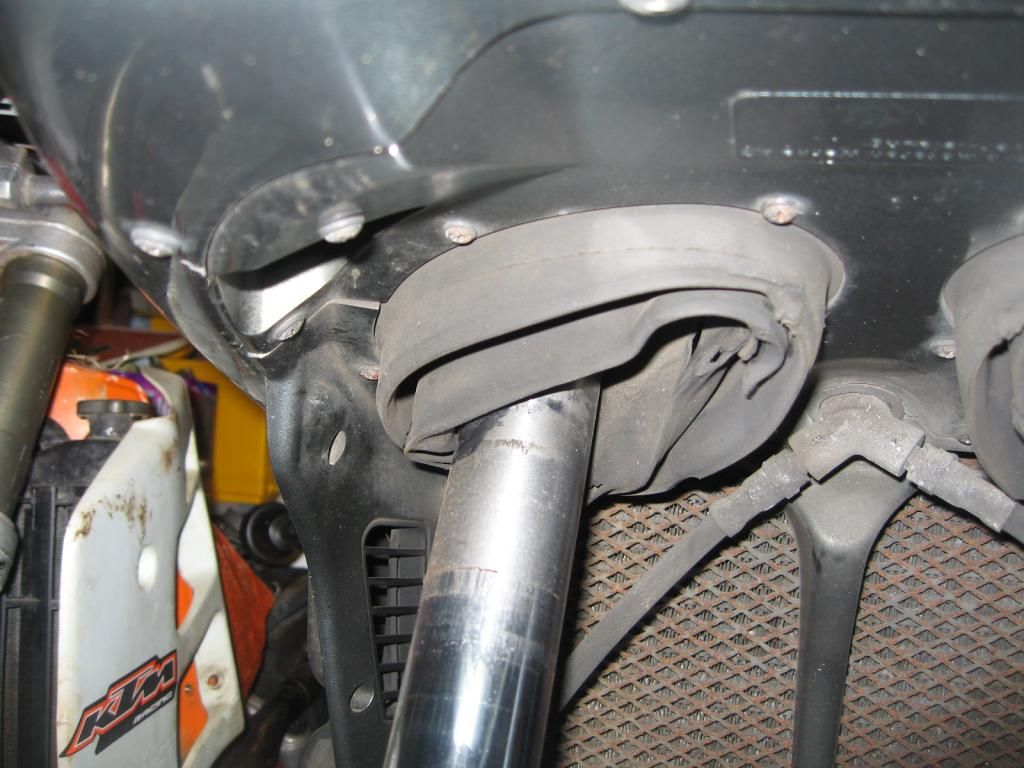
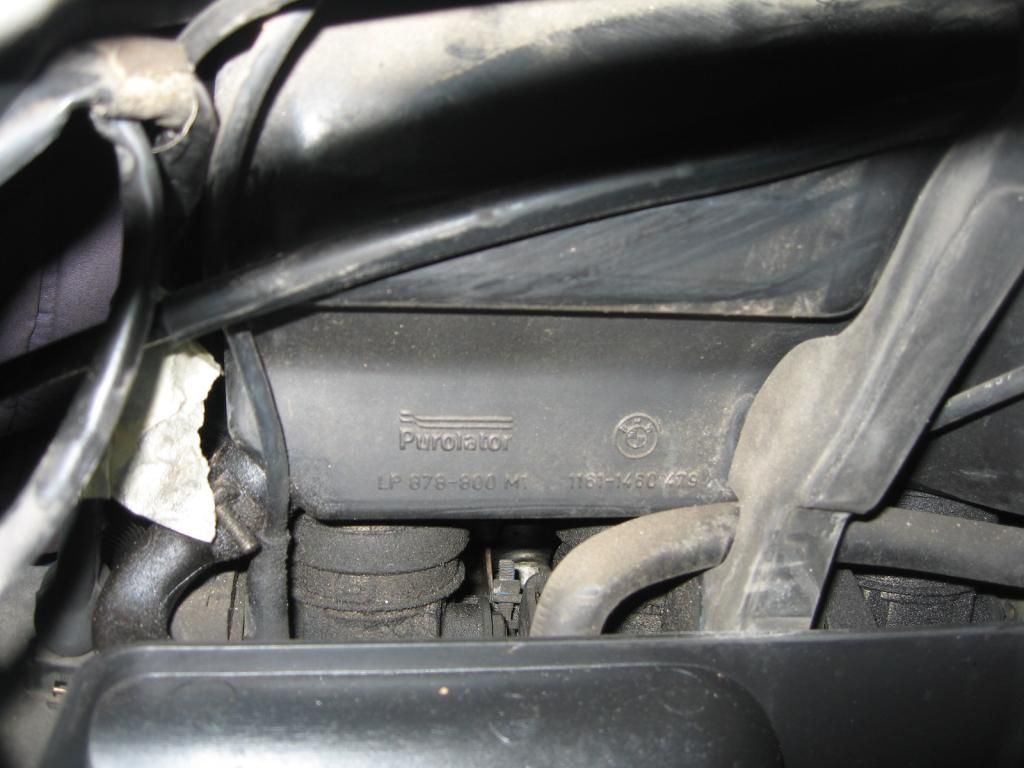
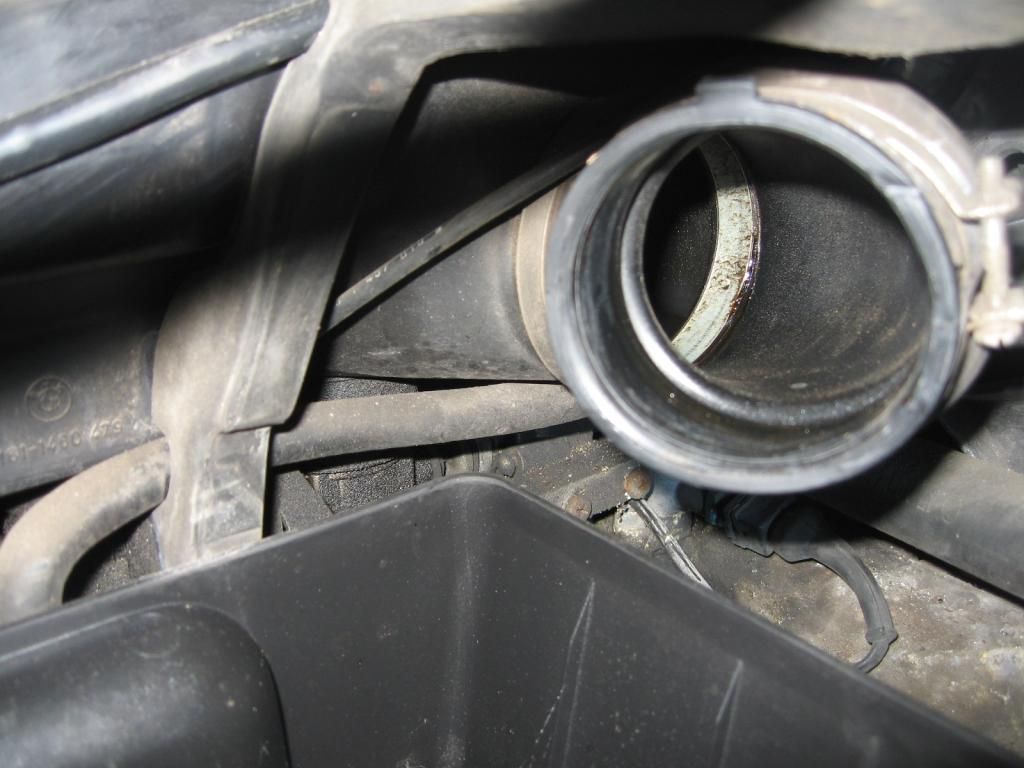
I disconnected the airbox - had to remove the air flow meter in order to do this. All the plastic items are being put in a pile ofr cleaning. Whilst the frame is being blasted I shall clean these parts and then store them ready for reassembly.
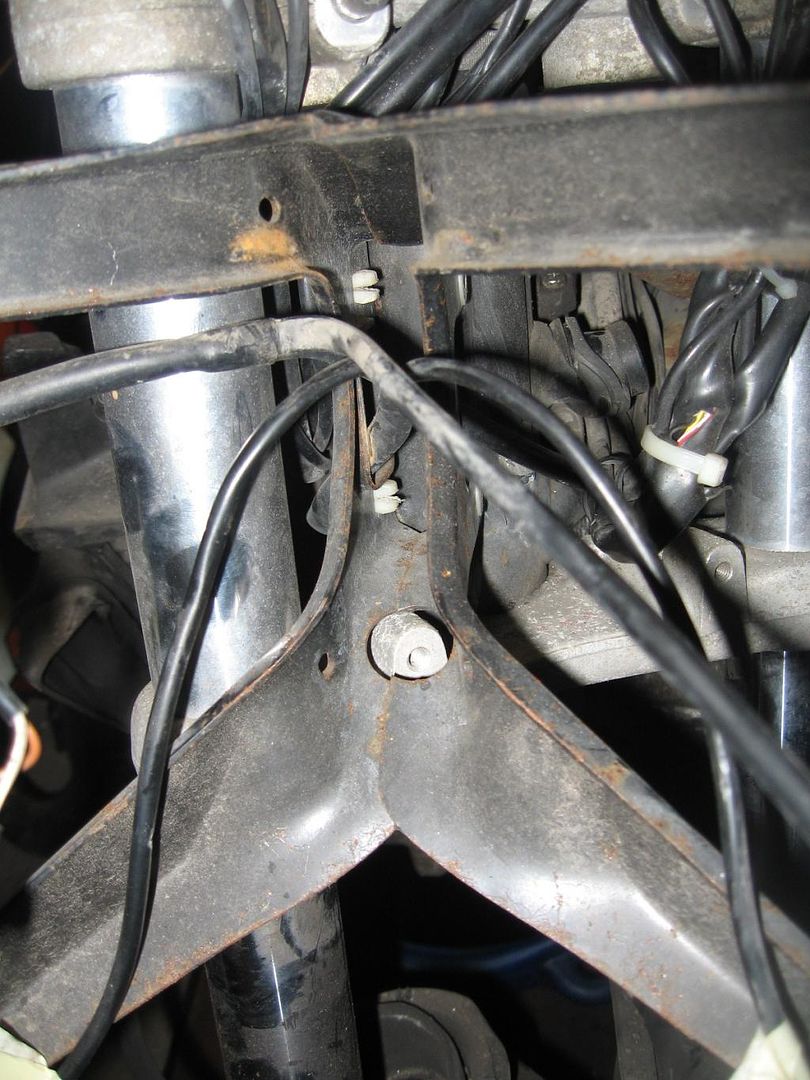
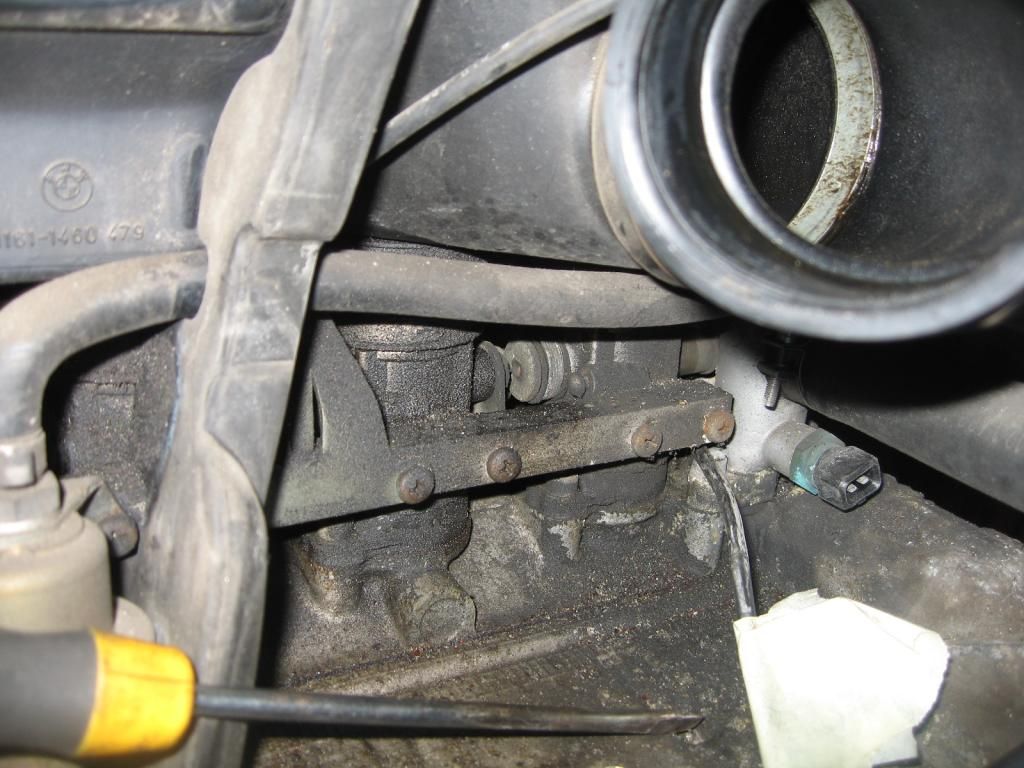
Some of the routing of wires was awkward. The temperature sensor was disconnected but the loom could not be removed until the frame was lifted (Who designed that?!)
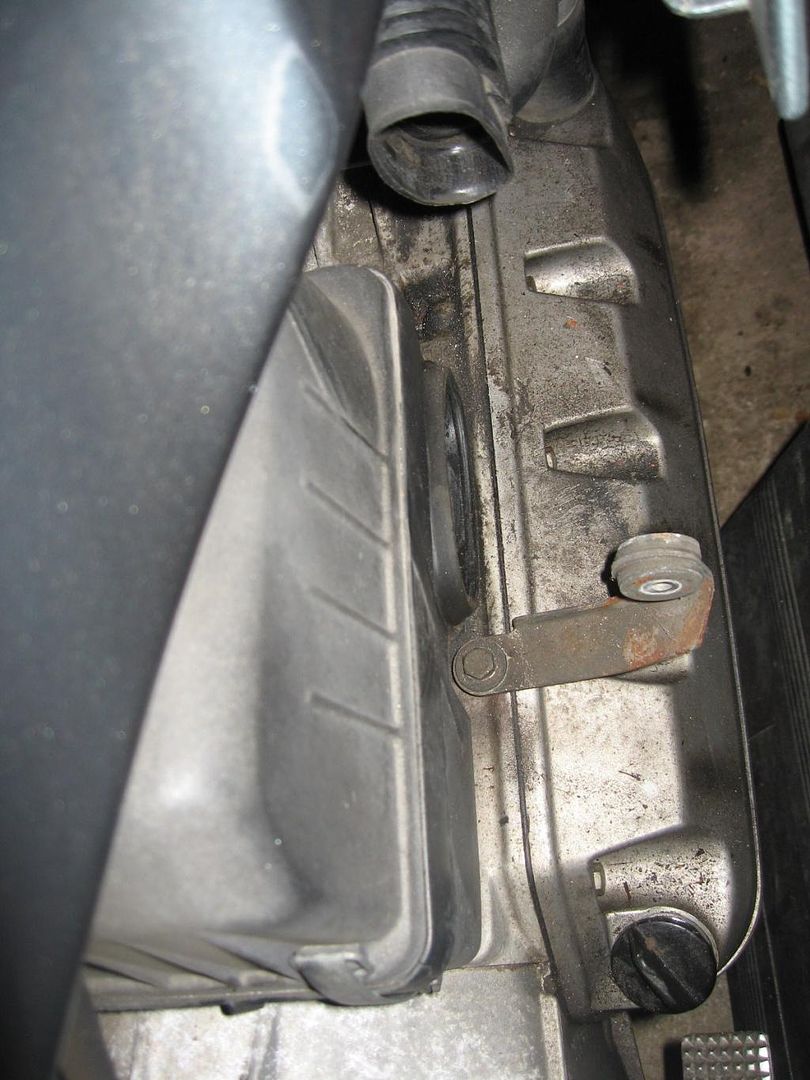
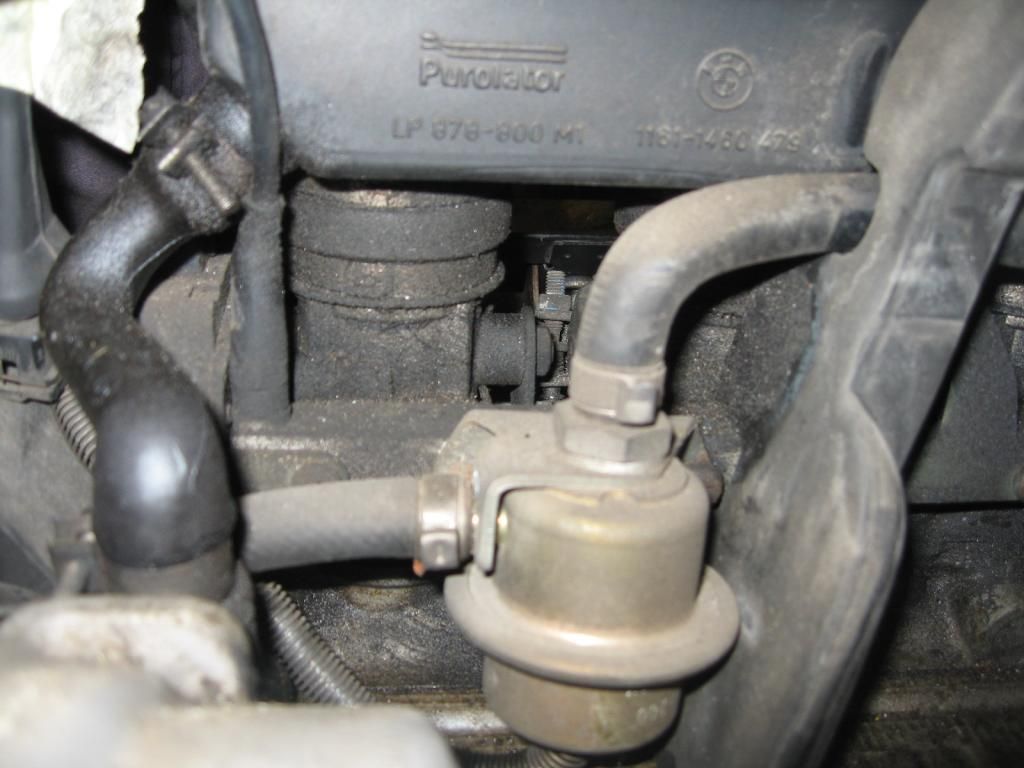
The engine doesnt appear to have many leaks. The sump is covered in oil but it appears the sump has been leaking from the oil filter cover. The quality of the gasket is in question......

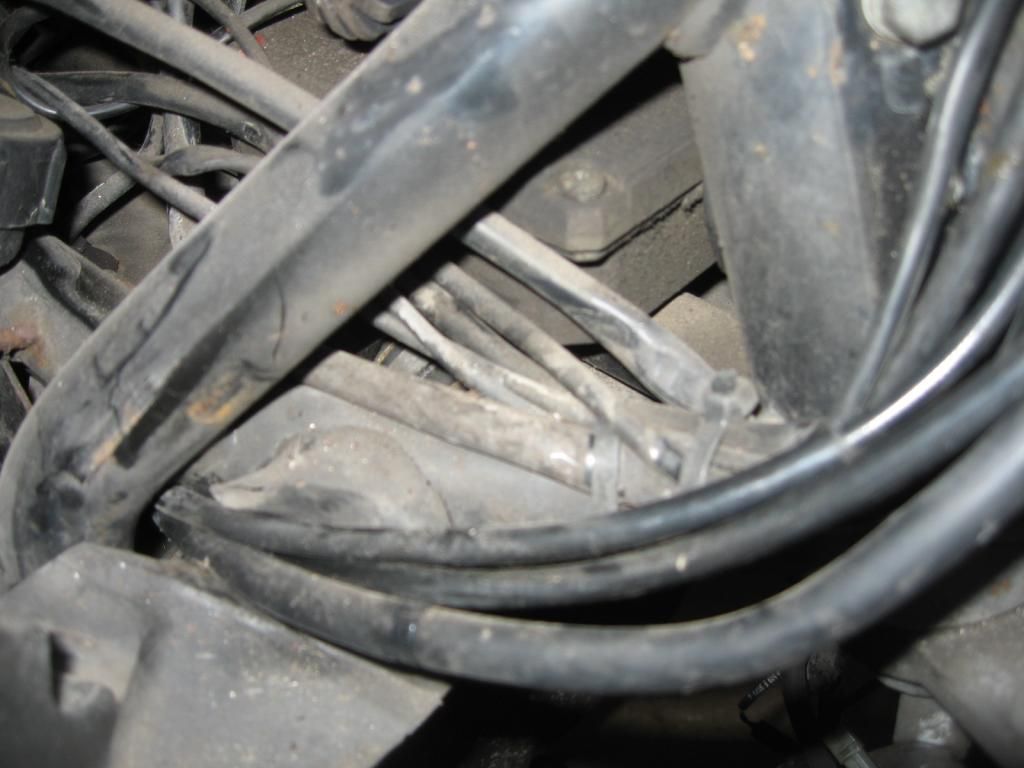
The hoses are not in too bad condition - there are one or two which are perished....
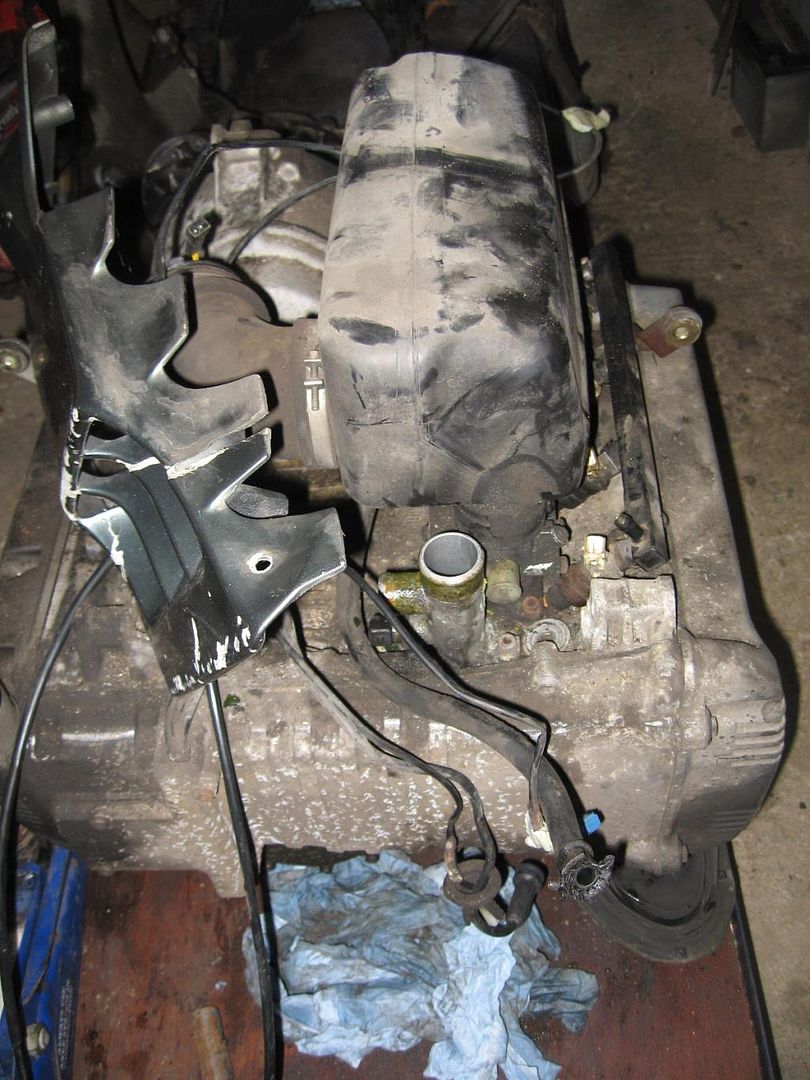
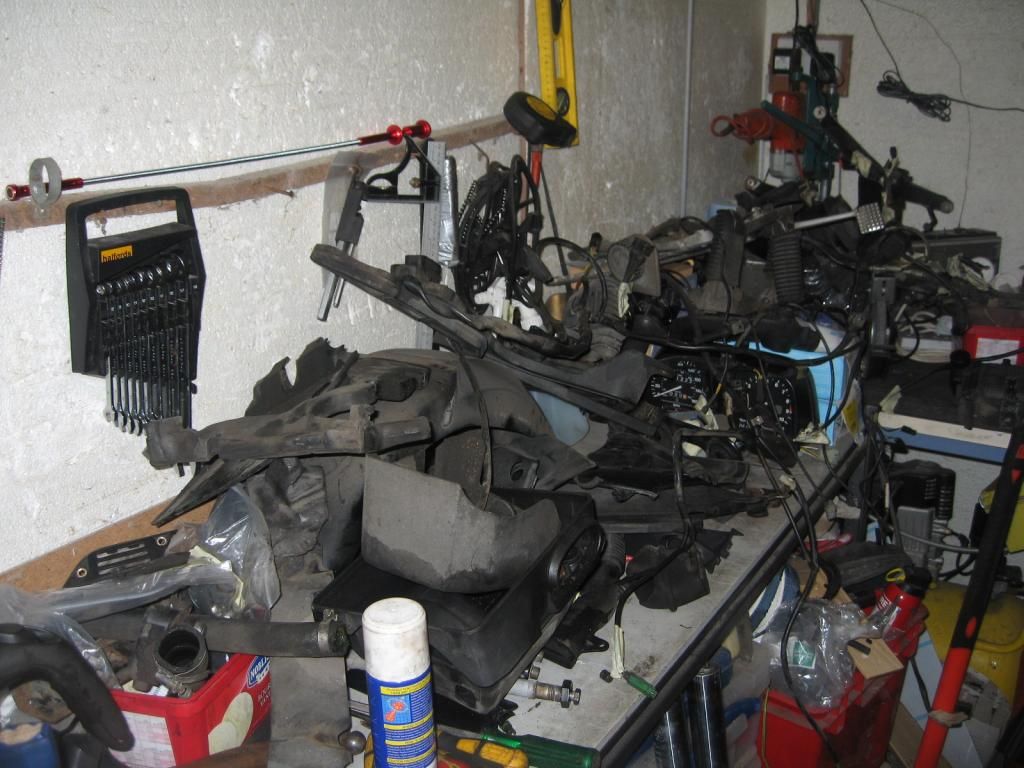
I forgot to take the camera into the garage for the next bits. Suddenly I was left with a load of bike parts.....
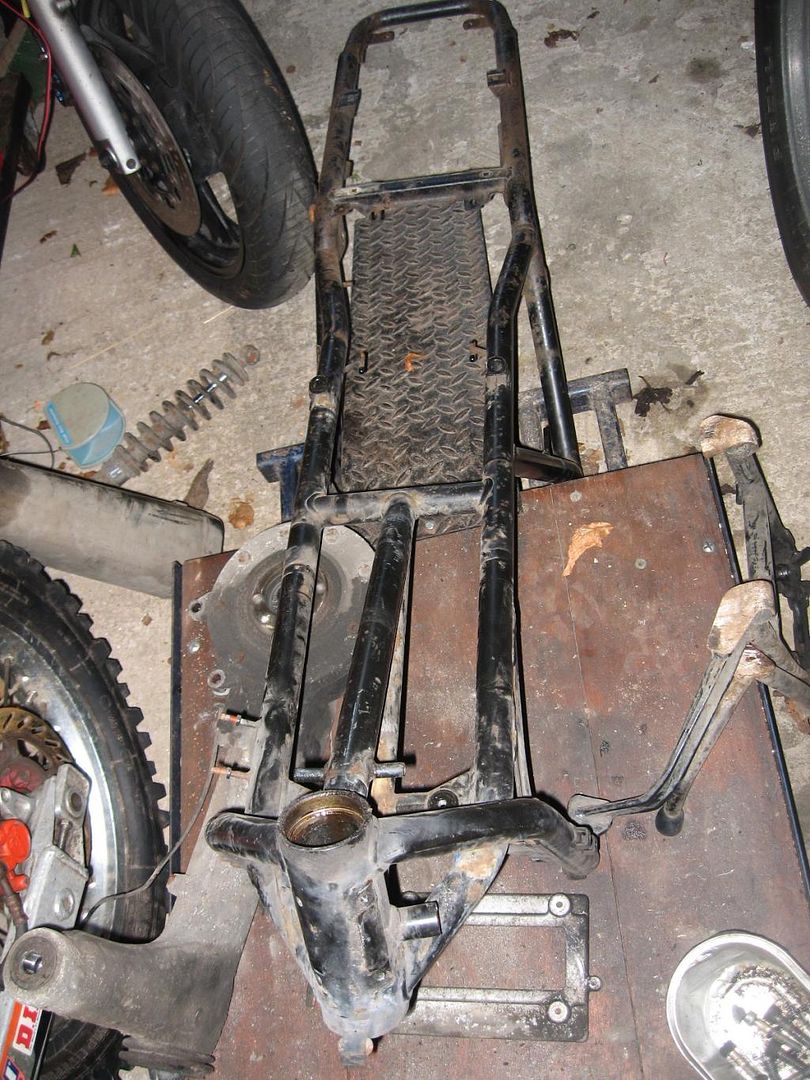
A frame in need of blasting and painting....
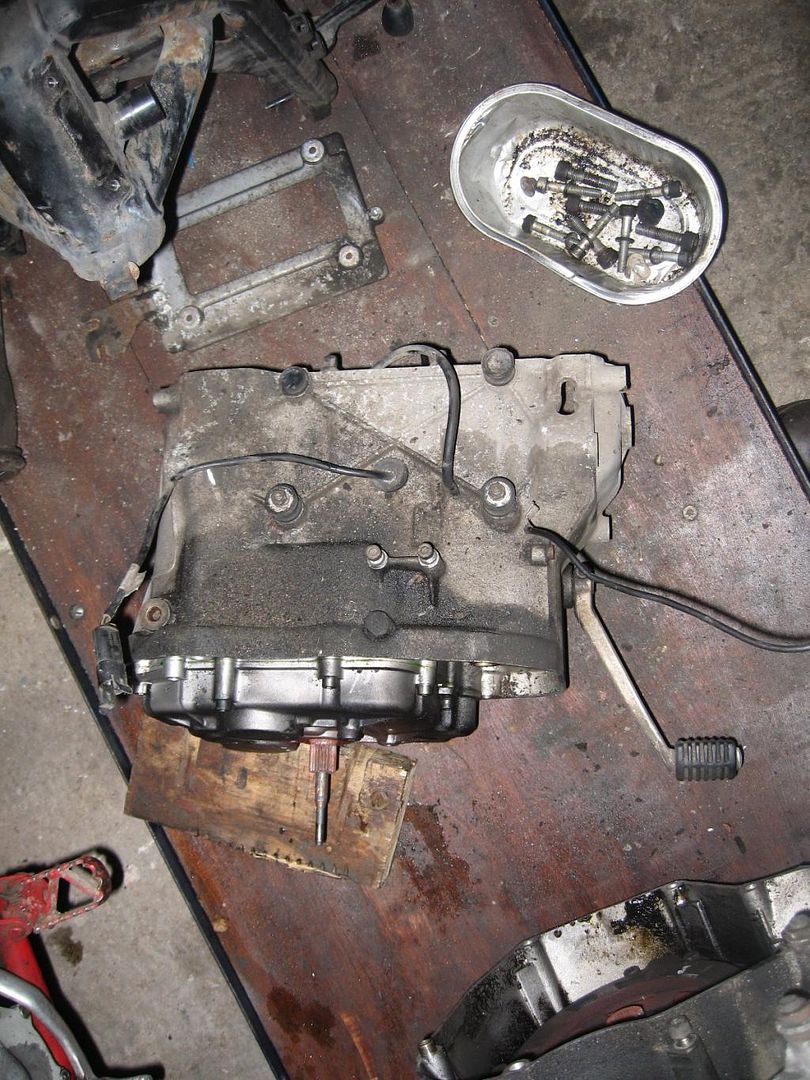
A gearbox with a broken clutch arm bracket. My mates bike that i mentioned at the beginning has the spare gearbox in, his need was greater than mine. I also fancied learning about gearboxes so I have his old gearbox with the snapped gear change shaft. I plan on rebuilding the gearbox with the snapped clutch arm mount into the housing from the gearbox with the snapped gear change lever.
I'm going to get my son involved in this too. (He is nine and wants to help) We have bought him a set of overalls and the first job we can do together is clean all of the plastic parts......
I'm not sure how long this is going to take. Mrs TC has told me it needs to take longer than a month. Last time I bought a motorbike in bits she had expectations of a 6 month rebuild - but I wanted to ride it so had it back together in a month!
I plan to look at a set of K1000 wheels to replace the skinny ones and look at putting some more rubber on. A respray is in order, the paintwork is in ok condition but there are lots of chips in the finish. I saw a Kawasaki in Fowlers this weekend with a lovely pearlescent/metallic green. Other colours thought of is the original dark K100 Blue and the K100 red from the same period.
I'll replace all of the cables as i go rebuild the bike and any other items that look worn.
Hope you enjoy this.
Tom

Here she is after I picked her up. Original colour, 1986. There was nearly a full service history with the bike and included were the original handbook and also a Haynes manual. There were a couple of boxes of spares which when I had a look at I found a Stainless steel fastener kit, filters, replacement filters and some other items.
Ive decided I want to do a full rebild on this bike. I'm going to strip her down into parts, clean/repaint and refurbish. I'd like to have a go at a concours spec bike, but I do tend to upgrade things when I work on them so it may not be a strictly concours bike that I end up with......
The first thing to do was to start removing the fairing panels.


The fuel gauge and temperature gauge were removed.
The screen.


And under the front the surrounds around the front forks were removed.

The front grill panel was removed.

More nuts and bolts were removed.

Wires labelled up as they were disconnected so that I can remember where they go.....

And finally the whole of the front fairing including the headlamp was removed.

The next thing to remove was the speedo/display.


Disconnecting cables and wires and labelling them up.

The bracket that holds the headlamp and front fairing on was next to go.

I started to trace some of the looms back and start to remove them taking pictures of the routing so that I can put them back correctly.


The steering lock was removed by carefully filing away at the brass rivet, inserting the key and turning. Surprisinly it was all freely moving.


More cables disconnected with careful labelling.

The battery was completely fat and did not respond to a charger at all. The bike was last taxed in 2008 - I sytarted the bike before stripping it by connecting the battery from my folding camper and jump starting it. She fired and ran - not smoothly but then the fuel was the fuel in the tank. It was good enough for me to know it she works. In due course the complete fuel system will be cleaned and filters replaced.

I disconnected the airbox - had to remove the air flow meter in order to do this. All the plastic items are being put in a pile ofr cleaning. Whilst the frame is being blasted I shall clean these parts and then store them ready for reassembly.


Some of the routing of wires was awkward. The temperature sensor was disconnected but the loom could not be removed until the frame was lifted (Who designed that?!)

The engine doesnt appear to have many leaks. The sump is covered in oil but it appears the sump has been leaking from the oil filter cover. The quality of the gasket is in question......

The hoses are not in too bad condition - there are one or two which are perished....

I forgot to take the camera into the garage for the next bits. Suddenly I was left with a load of bike parts.....

A frame in need of blasting and painting....

A gearbox with a broken clutch arm bracket. My mates bike that i mentioned at the beginning has the spare gearbox in, his need was greater than mine. I also fancied learning about gearboxes so I have his old gearbox with the snapped gear change shaft. I plan on rebuilding the gearbox with the snapped clutch arm mount into the housing from the gearbox with the snapped gear change lever.

I'm going to get my son involved in this too. (He is nine and wants to help) We have bought him a set of overalls and the first job we can do together is clean all of the plastic parts......

I'm not sure how long this is going to take. Mrs TC has told me it needs to take longer than a month. Last time I bought a motorbike in bits she had expectations of a 6 month rebuild - but I wanted to ride it so had it back together in a month!
I plan to look at a set of K1000 wheels to replace the skinny ones and look at putting some more rubber on. A respray is in order, the paintwork is in ok condition but there are lots of chips in the finish. I saw a Kawasaki in Fowlers this weekend with a lovely pearlescent/metallic green. Other colours thought of is the original dark K100 Blue and the K100 red from the same period.
I'll replace all of the cables as i go rebuild the bike and any other items that look worn.
Hope you enjoy this.
Tom


