il Bastardo - Ducati Monster big traillie

What's in a name?

Some people have suggested to me that it's an odd (and not particuularly good!) name for a project bike, so why il Bastardo'?

(If you've followed the link to Gavin-the-engineer's blog, you'll be up to speed on this already).

So... I was advised at an early stage that every project worth its salt needs a name, and I think that's right.

From the first moment I understood the meaning of the iconic bike brand Metisse, I really liked it. If you're as much in the dark as I was, the firm that created fantastic racing/off road hybrids by building their own frames and dropping Matchless, Triumph and other engines in, adopted the name Metisse because it's French for 'mongrel'.

So, as my bike is a mongrel too, but an Italian one, I figured that whatever the Italian word for mongrel was, that would be its name.

I was a bit disappointed at first - not quite oozing with Umrbian style, is it? But in fact I've come to like it, so it's there to stay.

Viva il Bastardo!
 
Moment of truth - the grand reveal!

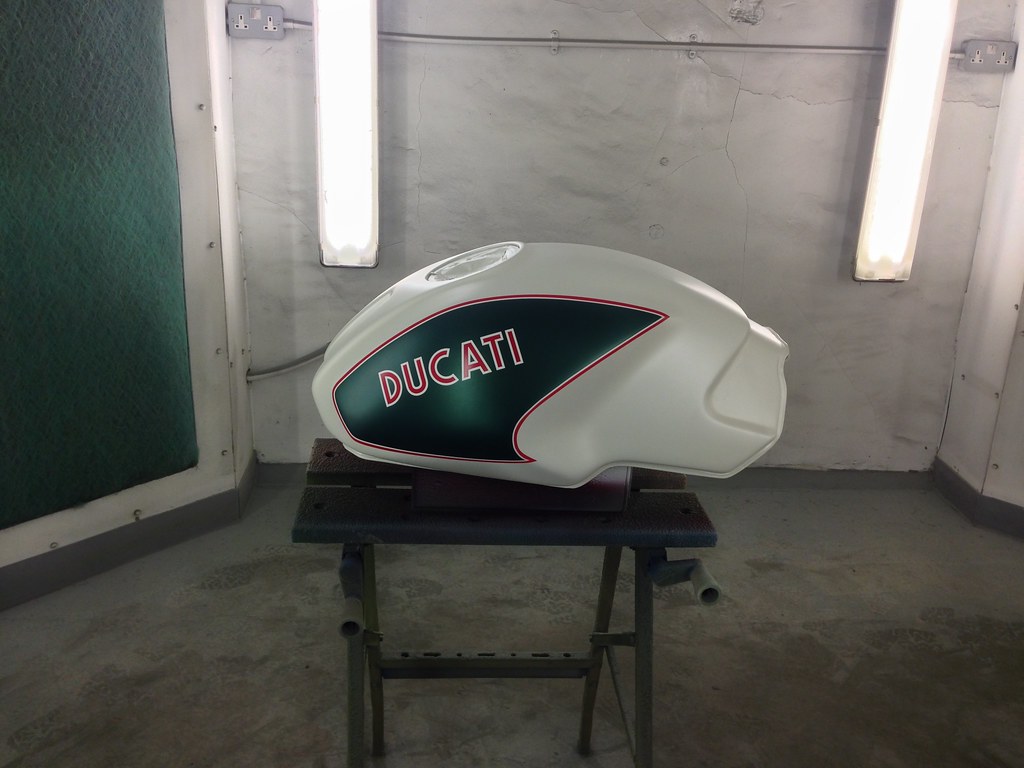
I rode across to Maidstone today to see what Chris had done with il Bastardo's fuel tank.

Remember, I left this absolutely up to Chris to design and paint. I had some input on the colours - there are aspects of this bike that are quite retro so I wanted a scheme that reflected that. To that end, I tried to describe a colour that "looked like it was white when it was new 20 years ago, but has now yellowed a bit with age and is somewhat ivory.." Ha, how could anyone work with that :D

I also wanted it to be unique, something completely original. And I wanted it to gush quality, to set a standard for the rest of the bike.

I think the clang of my jaw hitting the floor when I saw it, could be heard right across Maidstone!

There it was, across the workshop...
 

Attachments

  • IMG_w3074.jpg
    IMG_w3074.jpg
    77.7 KB · Views: 944
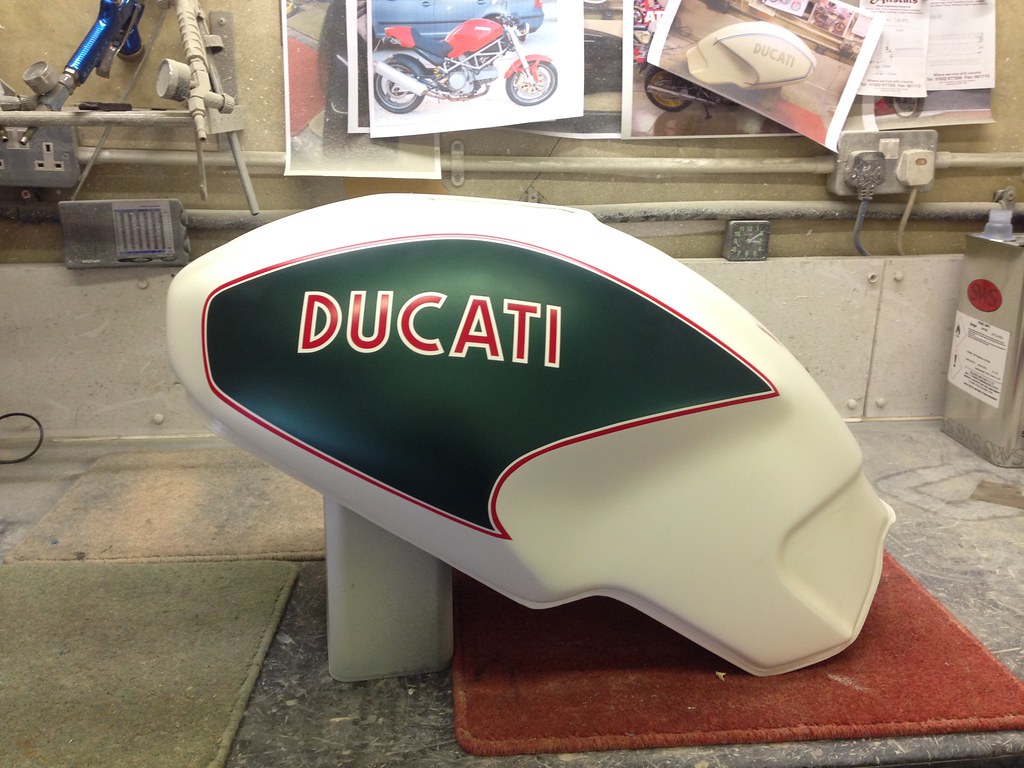
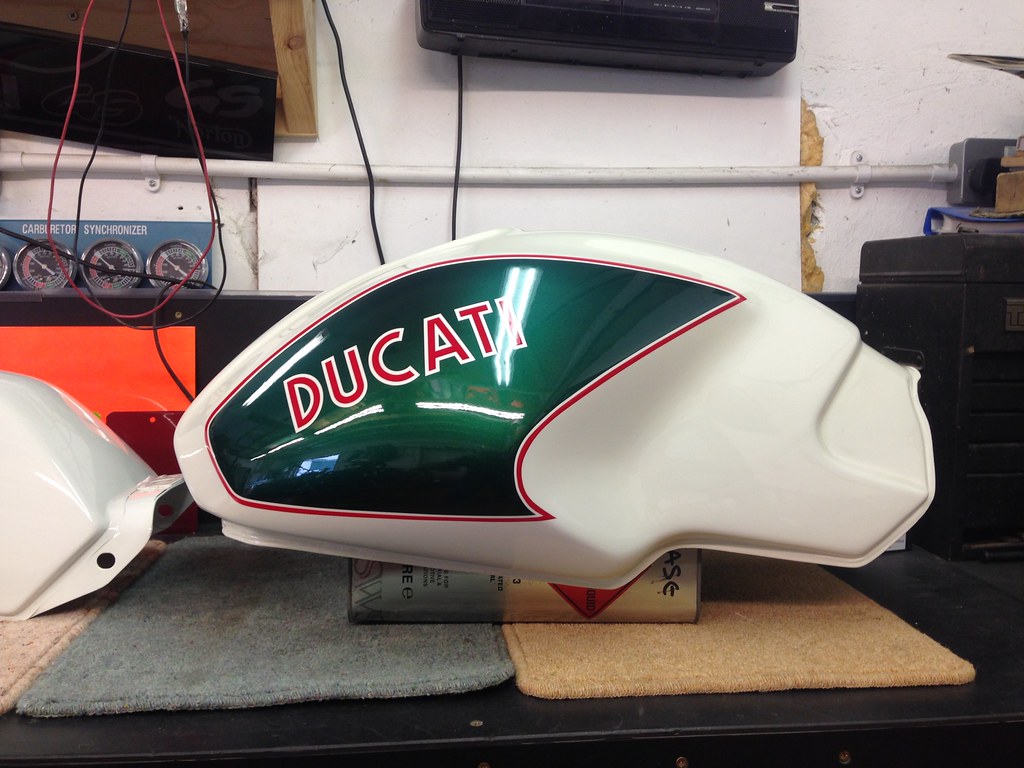
Just look at these finishes.

The truest image of the green is the photo on the workbench - it's a wonderful deep colour, not as light as the outdoor images appear. The green absolutely makes it.

I could not be more pleased, the lines are unbelievably accurate, the colours are superb and in the sunlight, there's an extra ultra-fine sparkle that comes out. It just oozes quality and perfectly captures the new-but-retro feel I wanted.

Needless to say, there are no decals, it's all paint. Quite unbelievable.

It's worth saying too that this tank was not ready to be taken away as it's not finished yet. There are more coats of black magic to be applied - goodness knows how nice it will be when it's finished. :beerjug:
 

Attachments

  • IMG_w3061.jpg
    IMG_w3061.jpg
    51 KB · Views: 932
  • IMG_w3068.jpg
    IMG_w3068.jpg
    42.3 KB · Views: 1,006
Great thread....

I've owned 4 monsters to date and just about to buy a fifth as my communter....totally awesome bike love it love.... it love it........This is going to be an awesome build though how on earth you'll get your knee down on that!!!

Well done !!!
 
Are the Elefant front forks really good enough for a modern trailie? The design and spec has to be over 22 years old. Perhaps I'm reading too much into your post 30.

A great project though, there are a shortage of good middleweight trailies out there that could do long road miles as well with more refinement than a big single.

Don't like green, good one :)
 
Are the Elefant front forks really good enough for a modern trailie? The design and spec has to be over 22 years old. Perhaps I'm reading too much into your post 30.)

The honest answer is, I don't know.

I do know that when I last owned an Elefant (E750 Lucky Explorer) it handled pretty sweetly. The forks I will be using are from a 900 Monster, and the 620 Monster will weight slightly less than an Elefant, so I am optimistic.

However...... if it turns out that they're a weak link, it would not be the end of the world to source some KTM items, or similar, as an upgrade. Whilst the basic geometry of the bike has been properly calculated and thought through - I am very conscious that a number of items may need to be altered or modified after the Phase I build. A 21" front wheel falls straight into that category.

I think the best plan is to get it bolted together, ride it, fiddle with all the easy variables like tyres and suspension settings, then make an appraisal of how well it rides and make adjustments if necessary.
 
And....

Whilst the design and spec of the Ele forks is indeed over 22 years old, the design and spec of the bloke holding the handlebars is over 50 years old. And shows it.

I think we all know where the weak link will be... :D
 
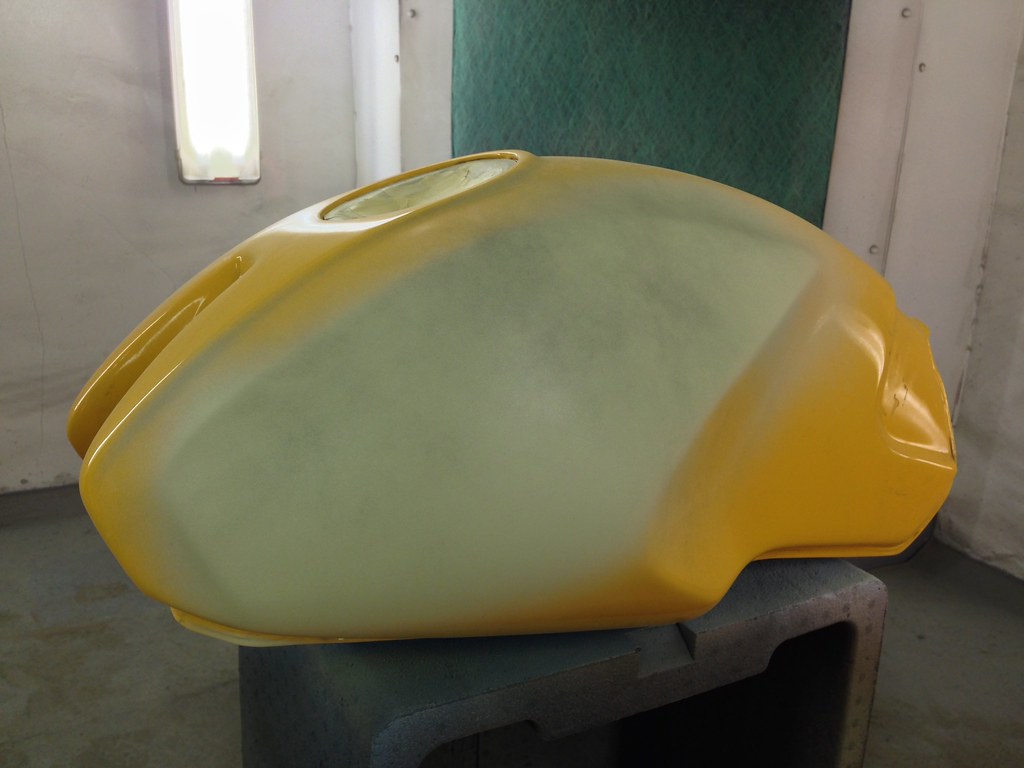
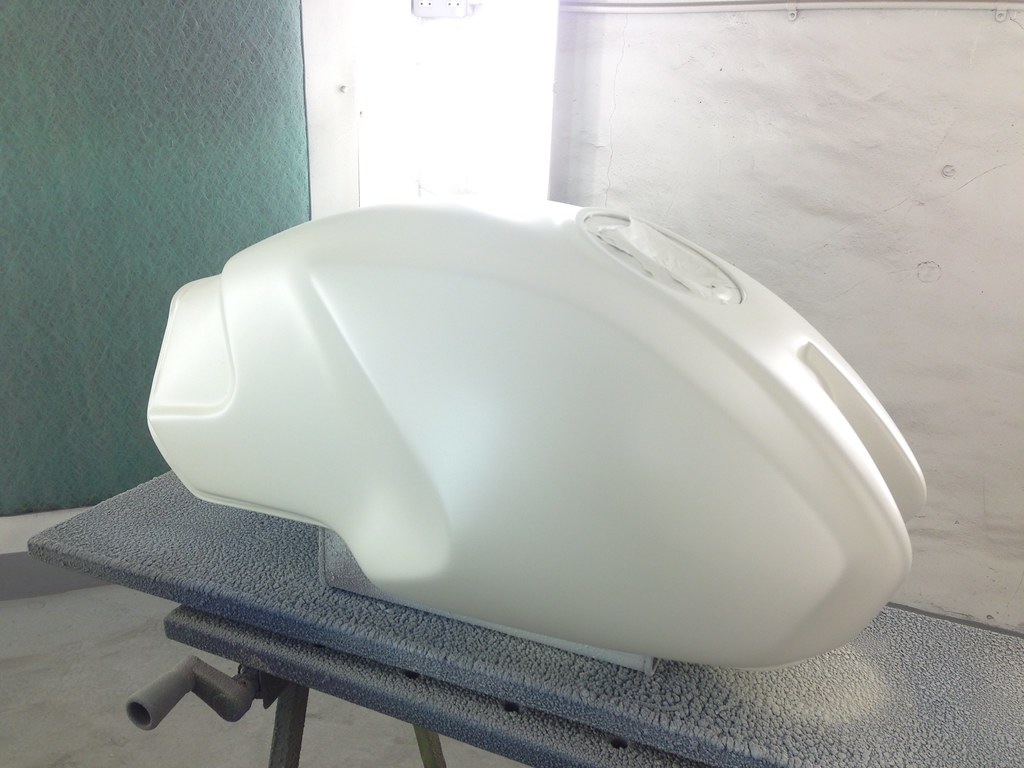
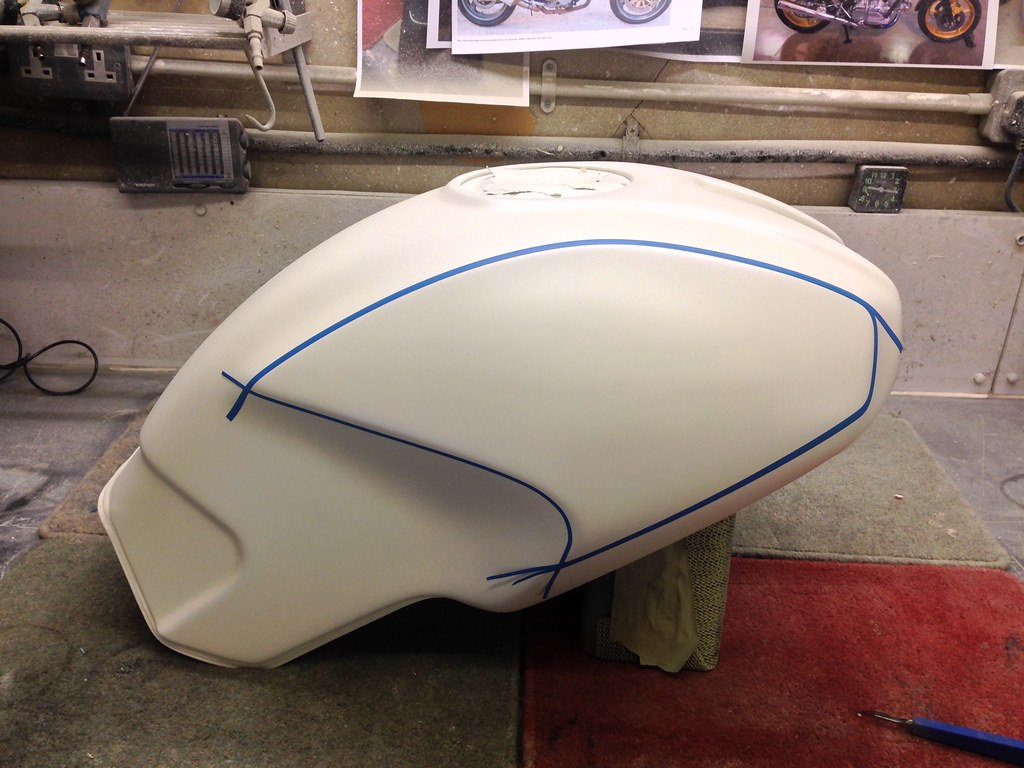
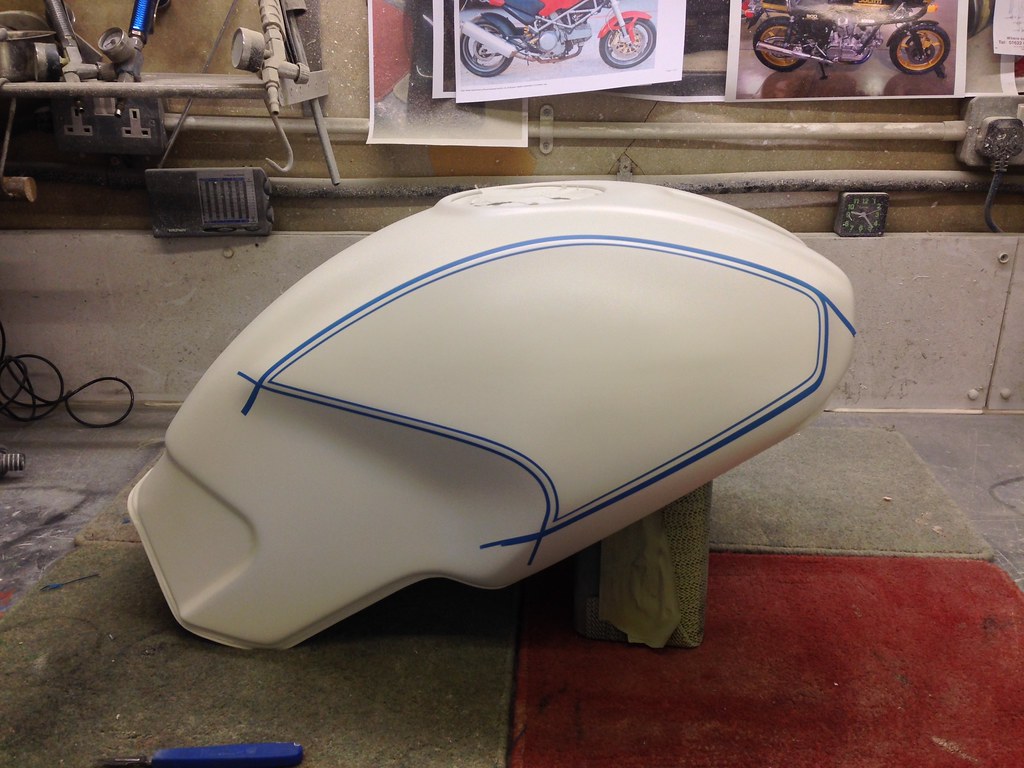
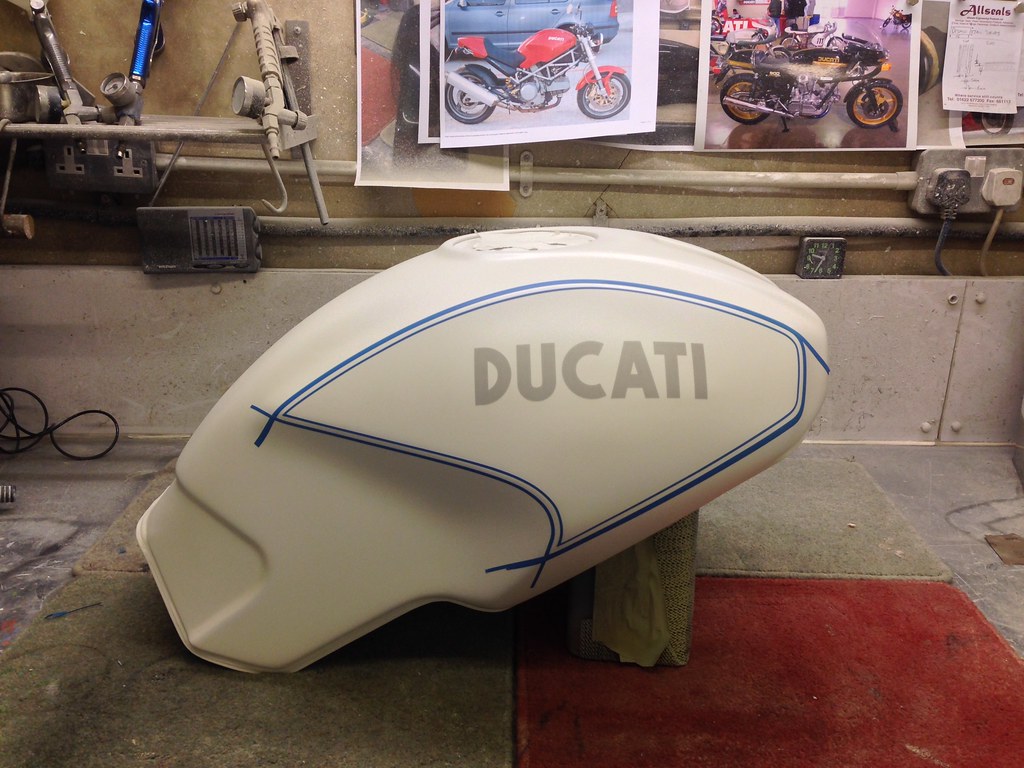
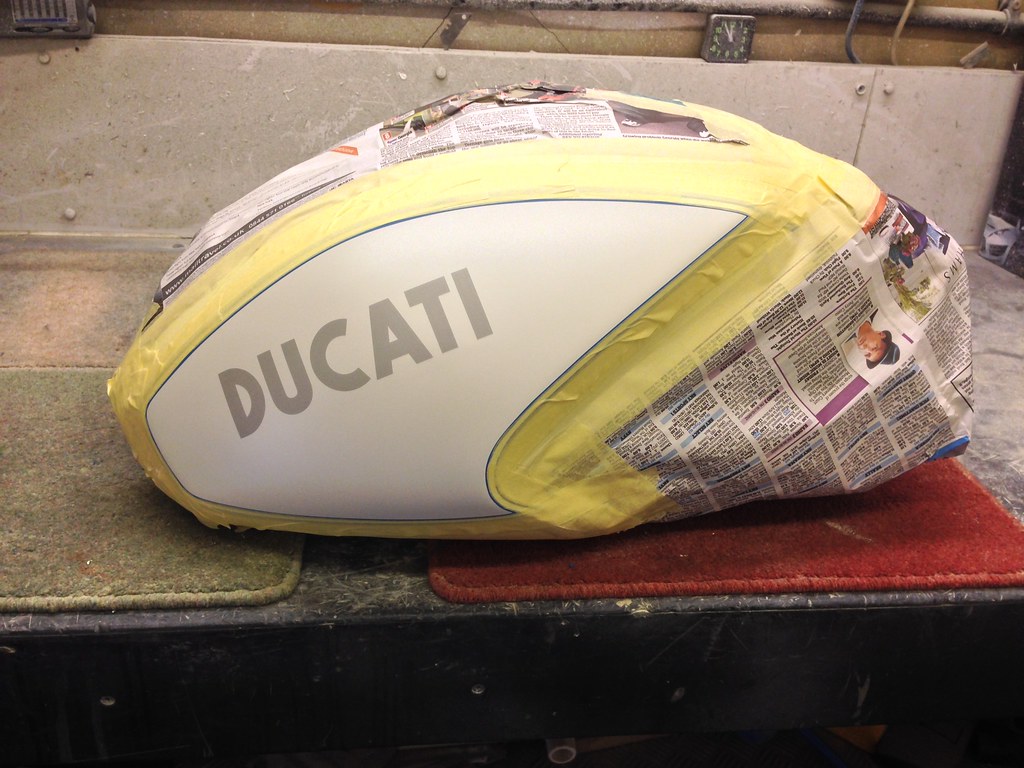
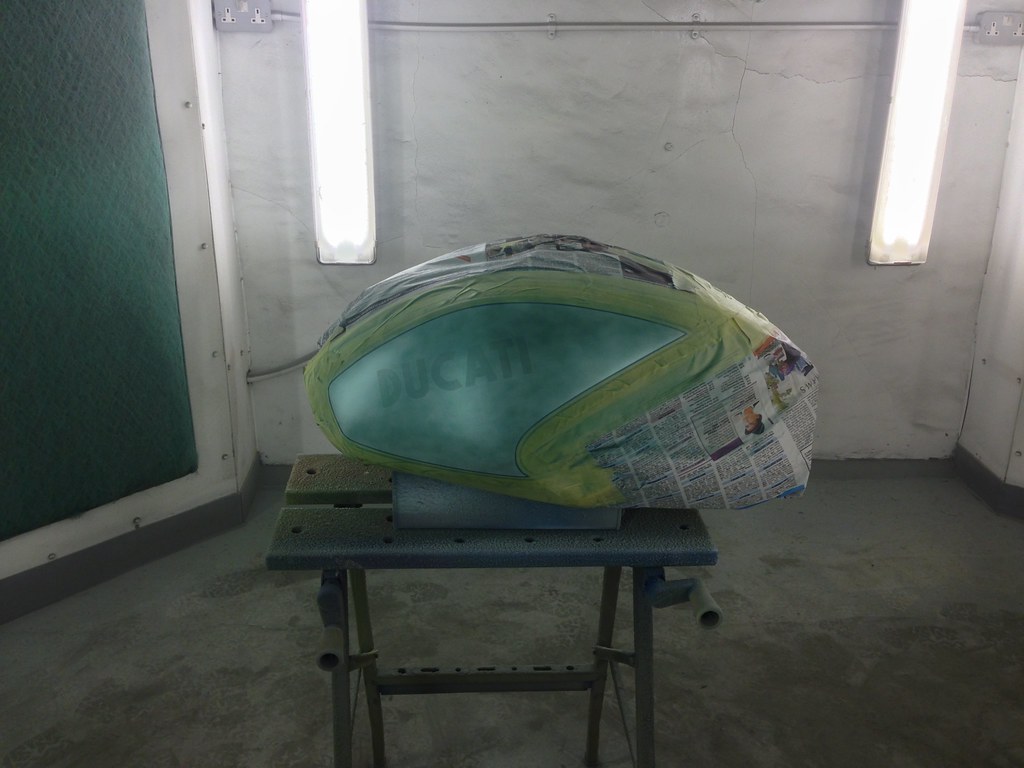
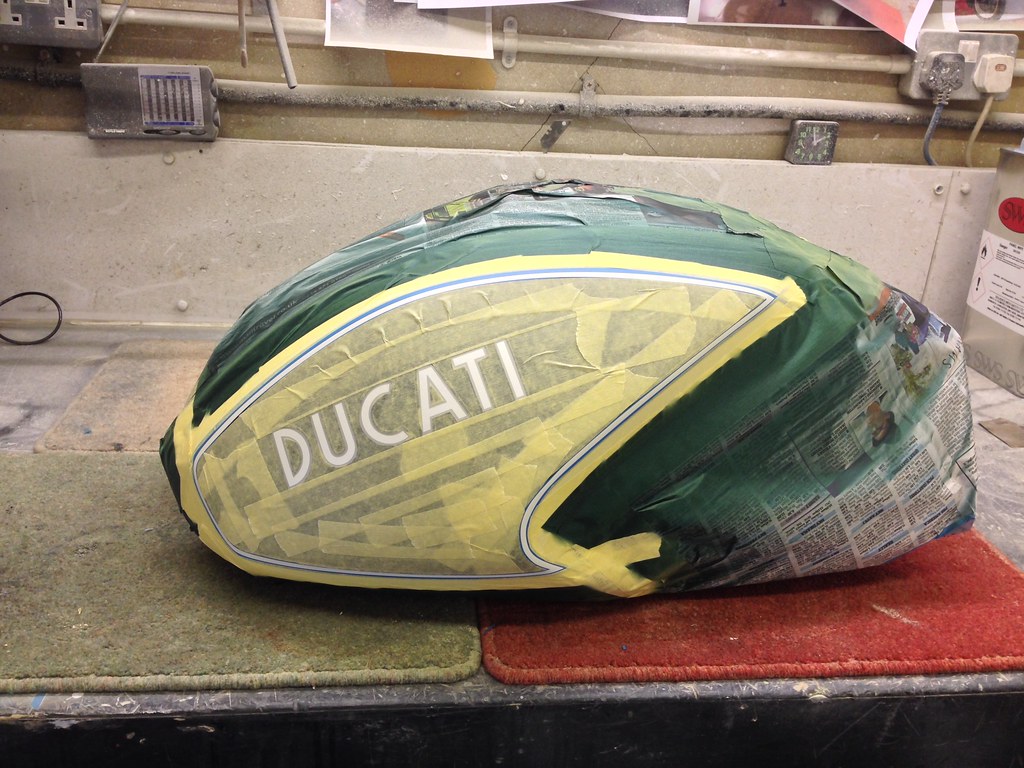
In the interests of maintaining the project nature of the thread, here's a photo time line of the paint job.

IMG_9660 (1) by tunneruk, on Flickr

IMG_9671 by tunneruk, on Flickr

IMG_9674 by tunneruk, on Flickr

IMG_9676 by tunneruk, on Flickr

IMG_9678 by tunneruk, on Flickr

IMG_9680 by tunneruk, on Flickr

IMG_9682 by tunneruk, on Flickr

IMG_9684 by tunneruk, on Flickr


Now, imagine of you will, a photo as above but in the booth and covered in red paint (I forgot to take a photograph :blast)


IMG_9688 by tunneruk, on Flickr

IMG_9685 by tunneruk, on Flickr

IMG_9701 by tunneruk, on Flickr
 
And....

Whilst the design and spec of the Ele forks is indeed over 22 years old, the design and spec of the bloke holding the handlebars is over 50 years old. And shows it.

I think we all know where the weak link will be... :D

50? Hah, just a boy probably only lived just over a half of your life. :D
 
Back to the engineering

So... deep in the Essex countryside, James has been busy sorting out the chassis.

He manufactured this stem specially, and sourced the very beefy bearings that'll keep the whole new steering head solution under control. He then manufactured some neat covers to keep muck out of the bearings.

I must add that yoke to the list of parts that will need some TLC...

You can see where the new steering lock stops will fit.
 

Attachments

  • wDSCF0023a.jpg
    wDSCF0023a.jpg
    89.4 KB · Views: 858
  • wDSCF0024.jpg
    wDSCF0024.jpg
    86 KB · Views: 840
  • wDSCF0026.jpg
    wDSCF0026.jpg
    85.9 KB · Views: 783
The ride height will be fine tuned using a new adjustable linkage.
 

Attachments

  • wDSCF0028.jpg
    wDSCF0028.jpg
    91.3 KB · Views: 826
The exhaust clearly needs to be tucked away, but there is not a great deal of space within the Monster's lattice frame which sits quite snugly around the engine.

Amazingly, and really fortunately, the Elefant headers required very little adjustment and provide a really neat solution.

Yep, we can add those headers to the TLC list, too. :D I've been discussing that with CT and we'll probably go down the route of ceramic plating.
 

Attachments

  • wDSCF0032.jpg
    wDSCF0032.jpg
    77.9 KB · Views: 777
  • wDSCF0033.jpg
    wDSCF0033.jpg
    108.3 KB · Views: 836
  • wDSCF0034.jpg
    wDSCF0034.jpg
    98.4 KB · Views: 827
I will be using the Elefant rear wheel, which has a slimmer spindle than the Monster one.

The original idea was to machine the wheel so it would take a bigger bearing, but there's not enough meat in it to permit that. So, plan B was to retain the narrower Elefant spindle and manufacture bushes that have now been pressed into place to make sure everything tightens up securely.
 

Attachments

  • wDSCF0039.jpg
    wDSCF0039.jpg
    91.7 KB · Views: 818
  • wDSCF0040.jpg
    wDSCF0040.jpg
    86.4 KB · Views: 819
  • wDSCF0041.jpg
    wDSCF0041.jpg
    74.2 KB · Views: 729
And here we have it!

Here she is with the forks fitted, and the rear end well on its way too.

This is the first real opportunity to see the bike's stance, all very exciting stuff!
 

Attachments

  • wDSCF0042.jpg
    wDSCF0042.jpg
    96.2 KB · Views: 787


Back
Top Bottom