This Autumn, I shall mostly be wearing ...

Magwych

Well-known member
UKGSer Subscriber
Joined
Feb 20, 2006
Messages
1,327
Reaction score
25
Location
La Salvetat Peyrales, Aveyron, FRANCE
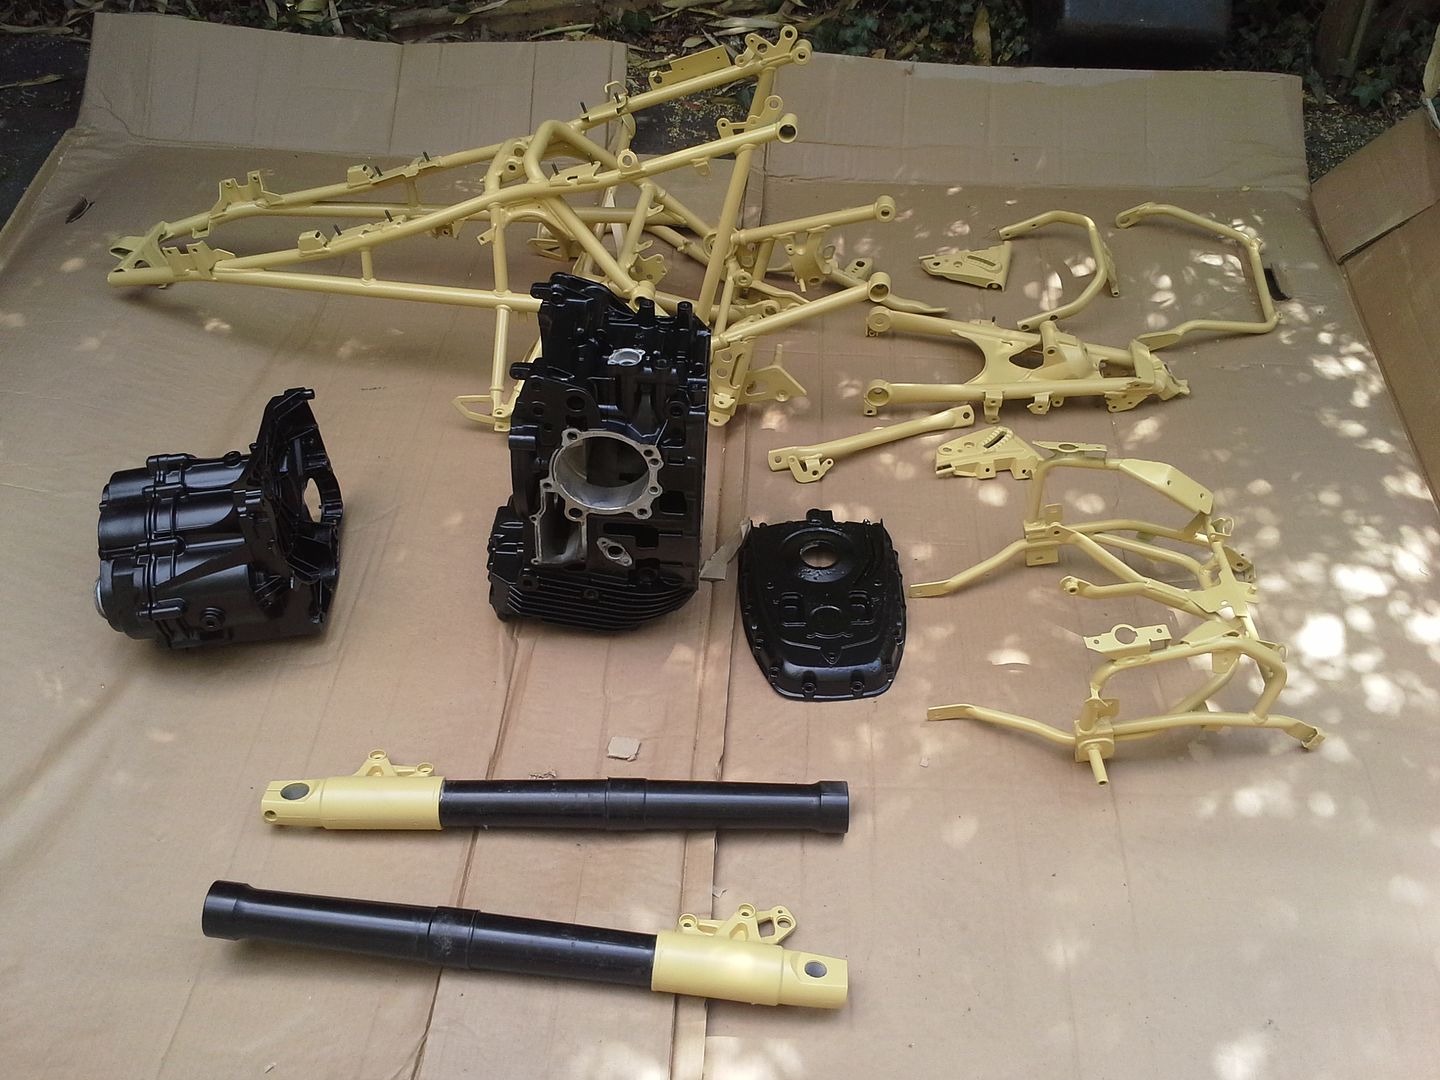
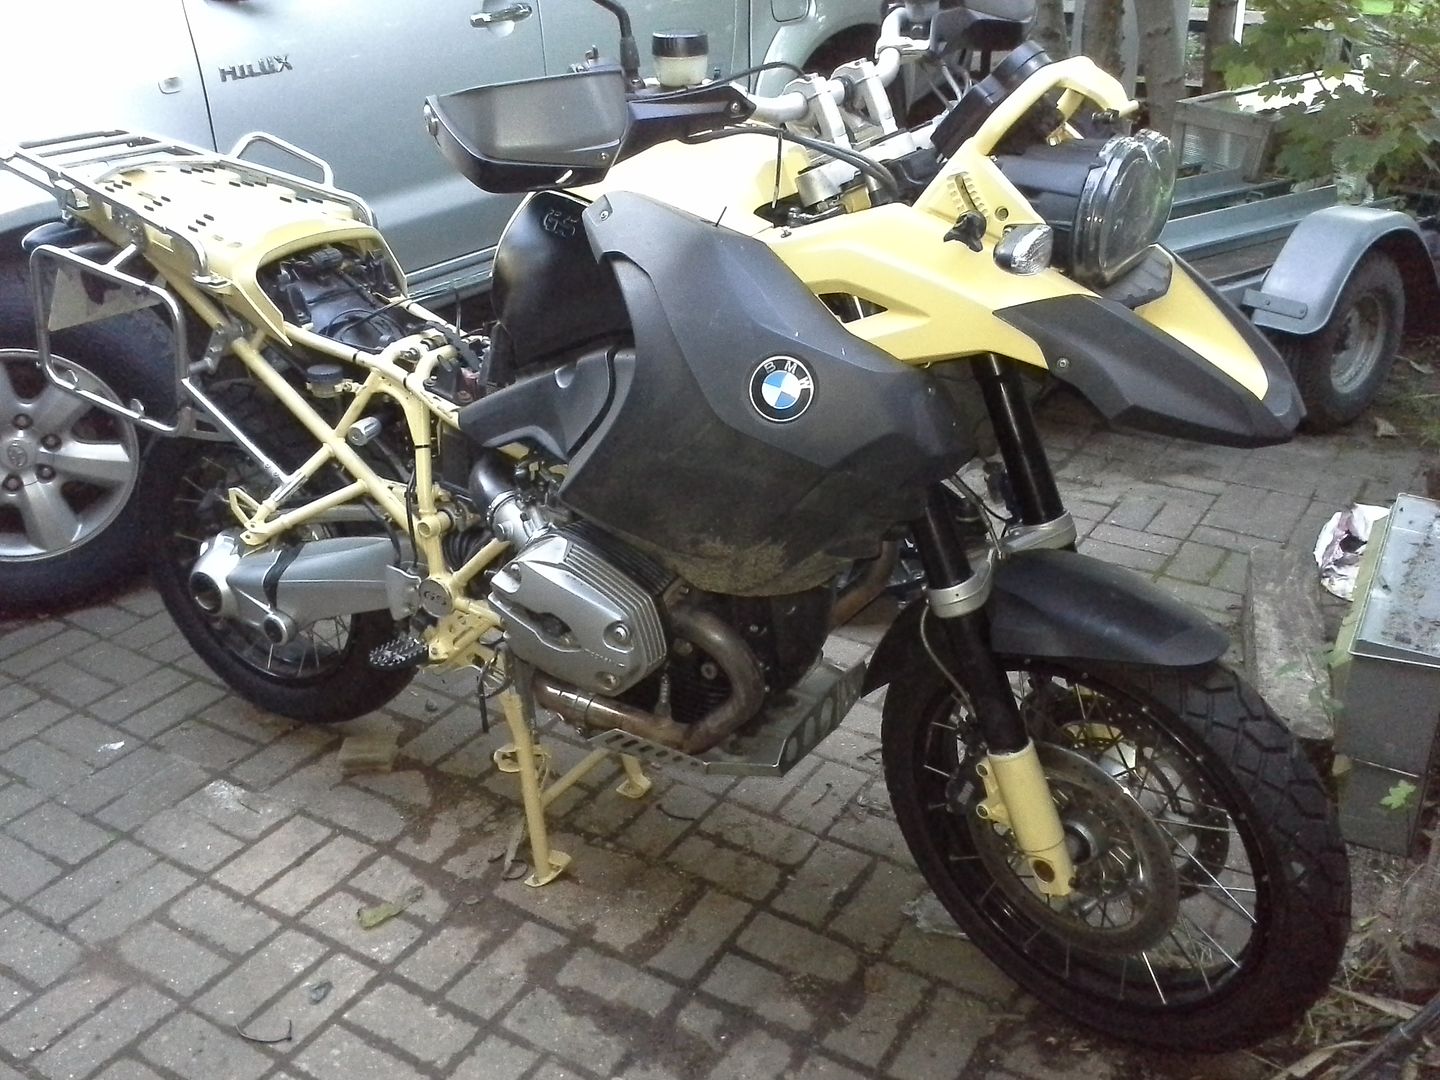
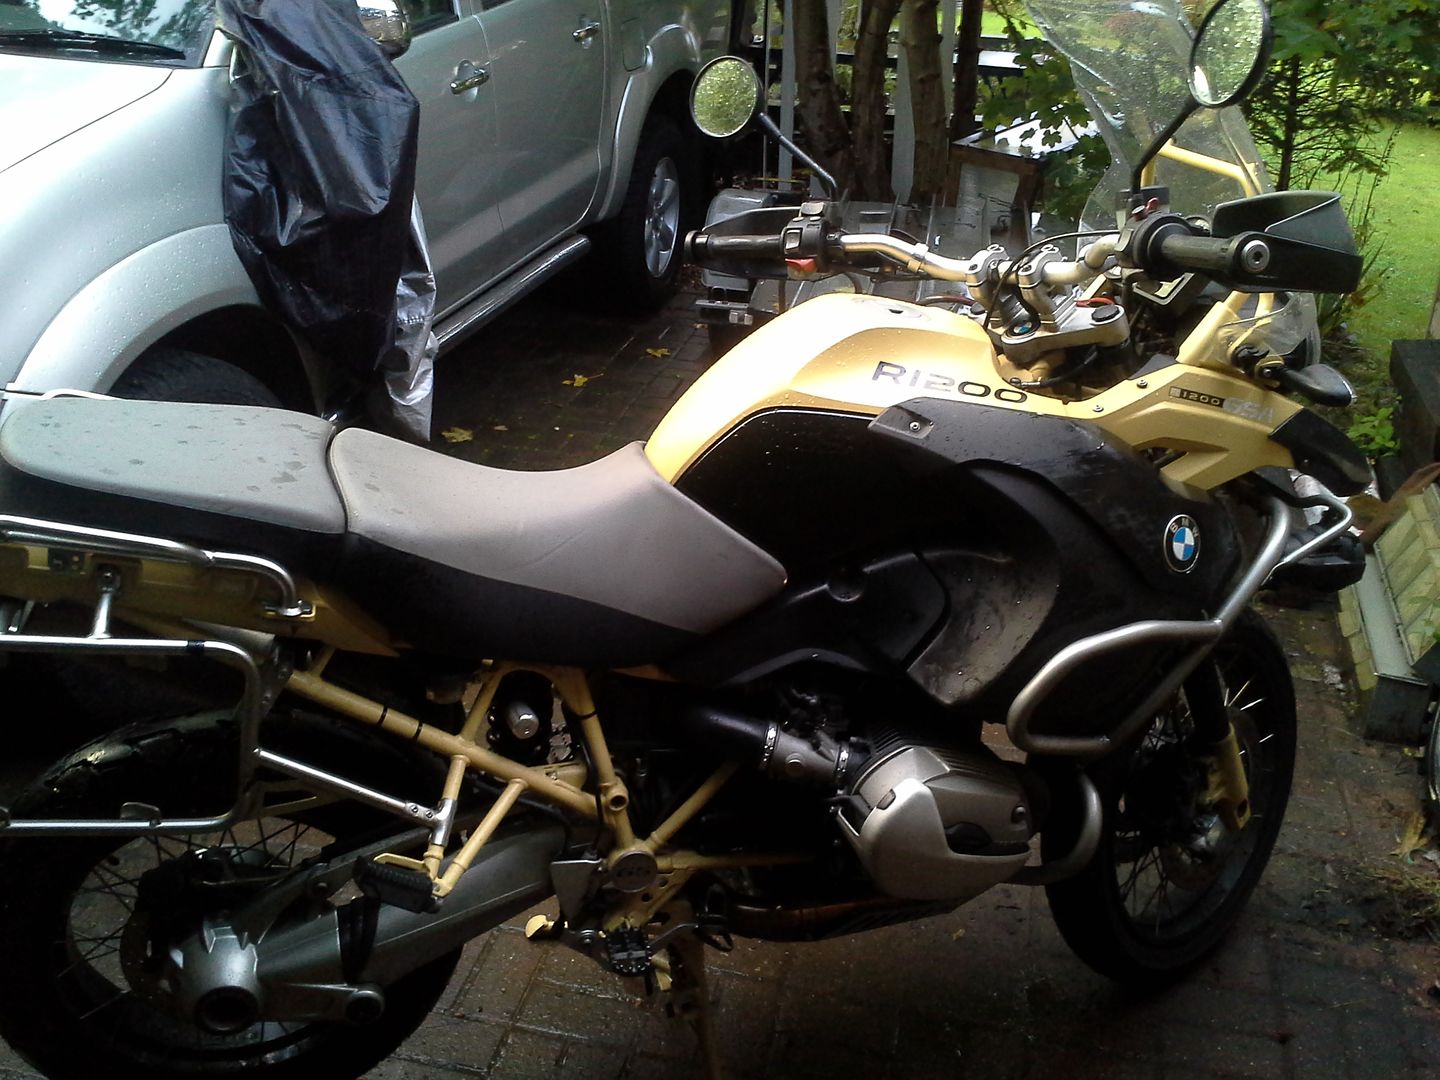
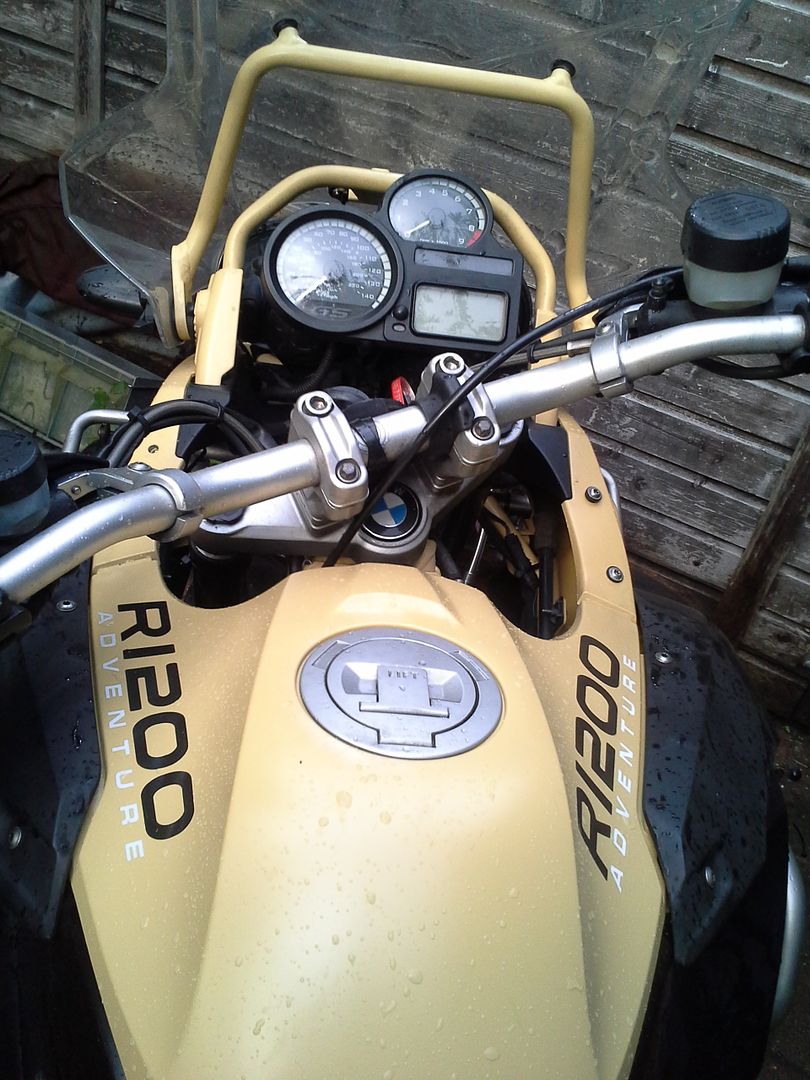
Yellow! Desert Sand to be precise, but yellow is the closest general description.

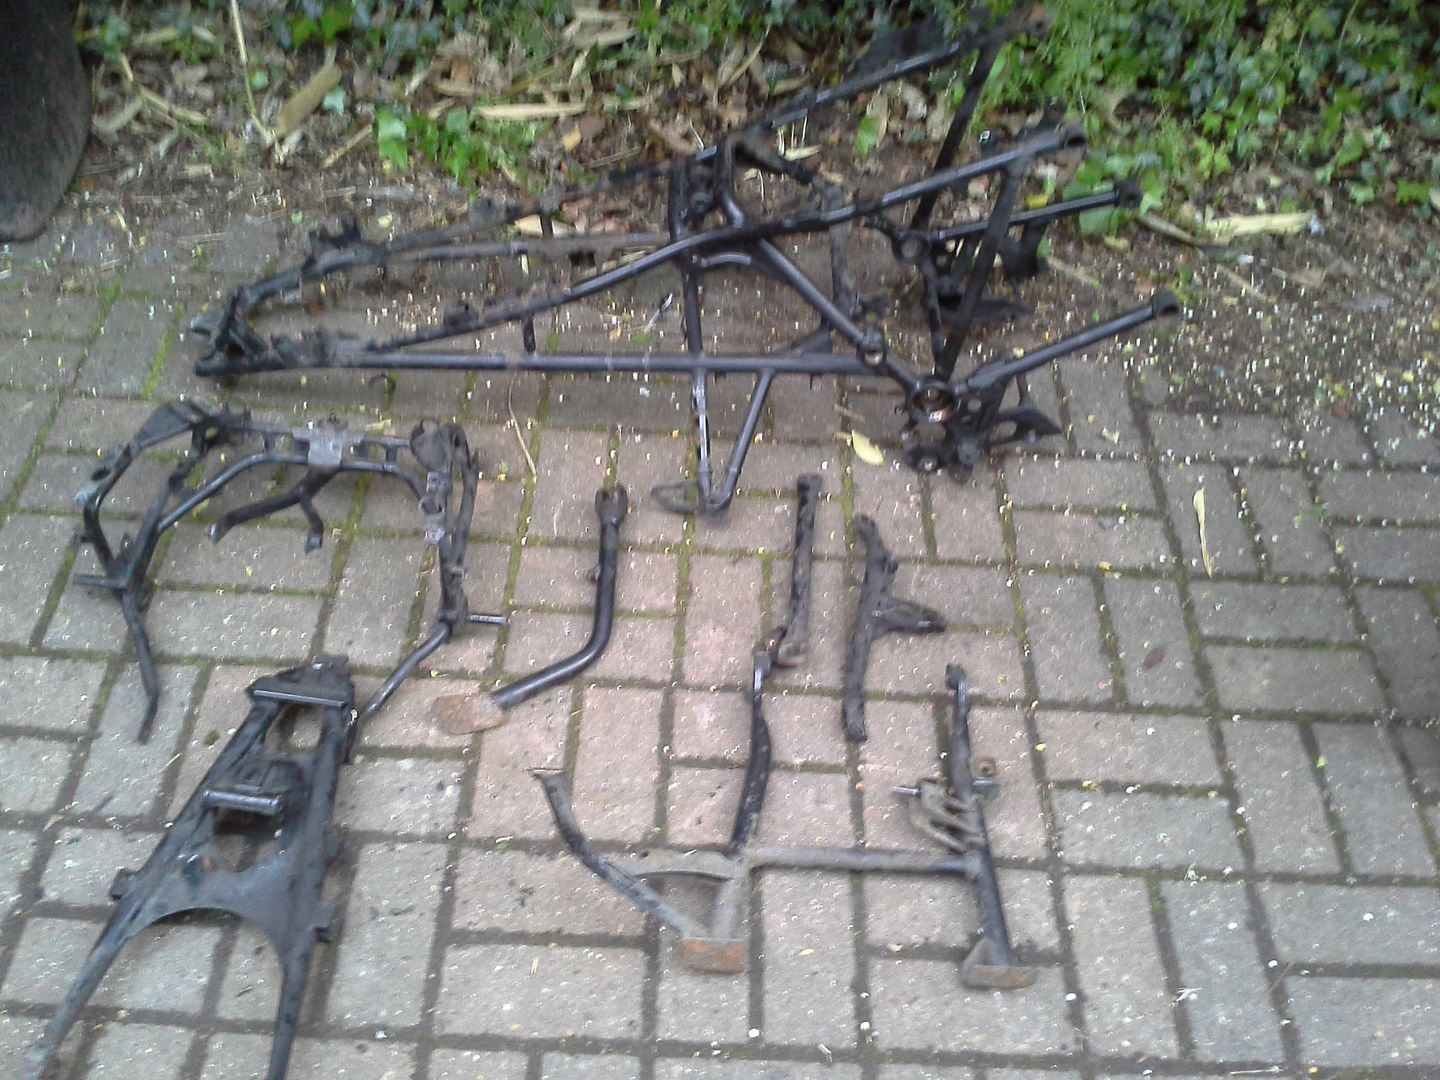
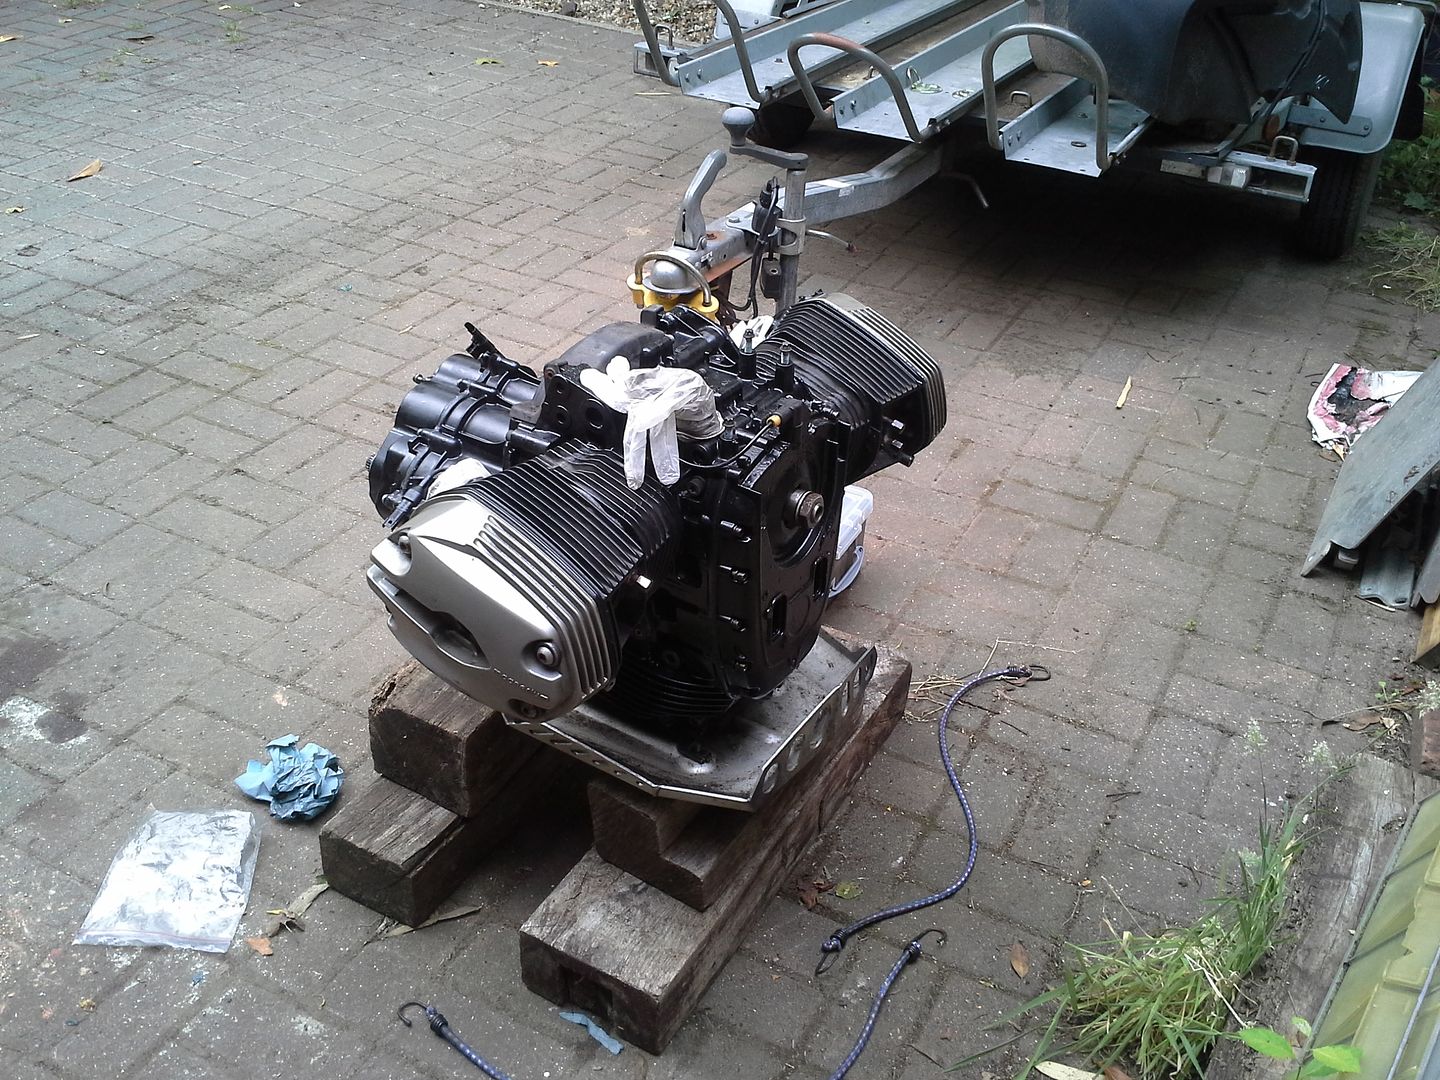
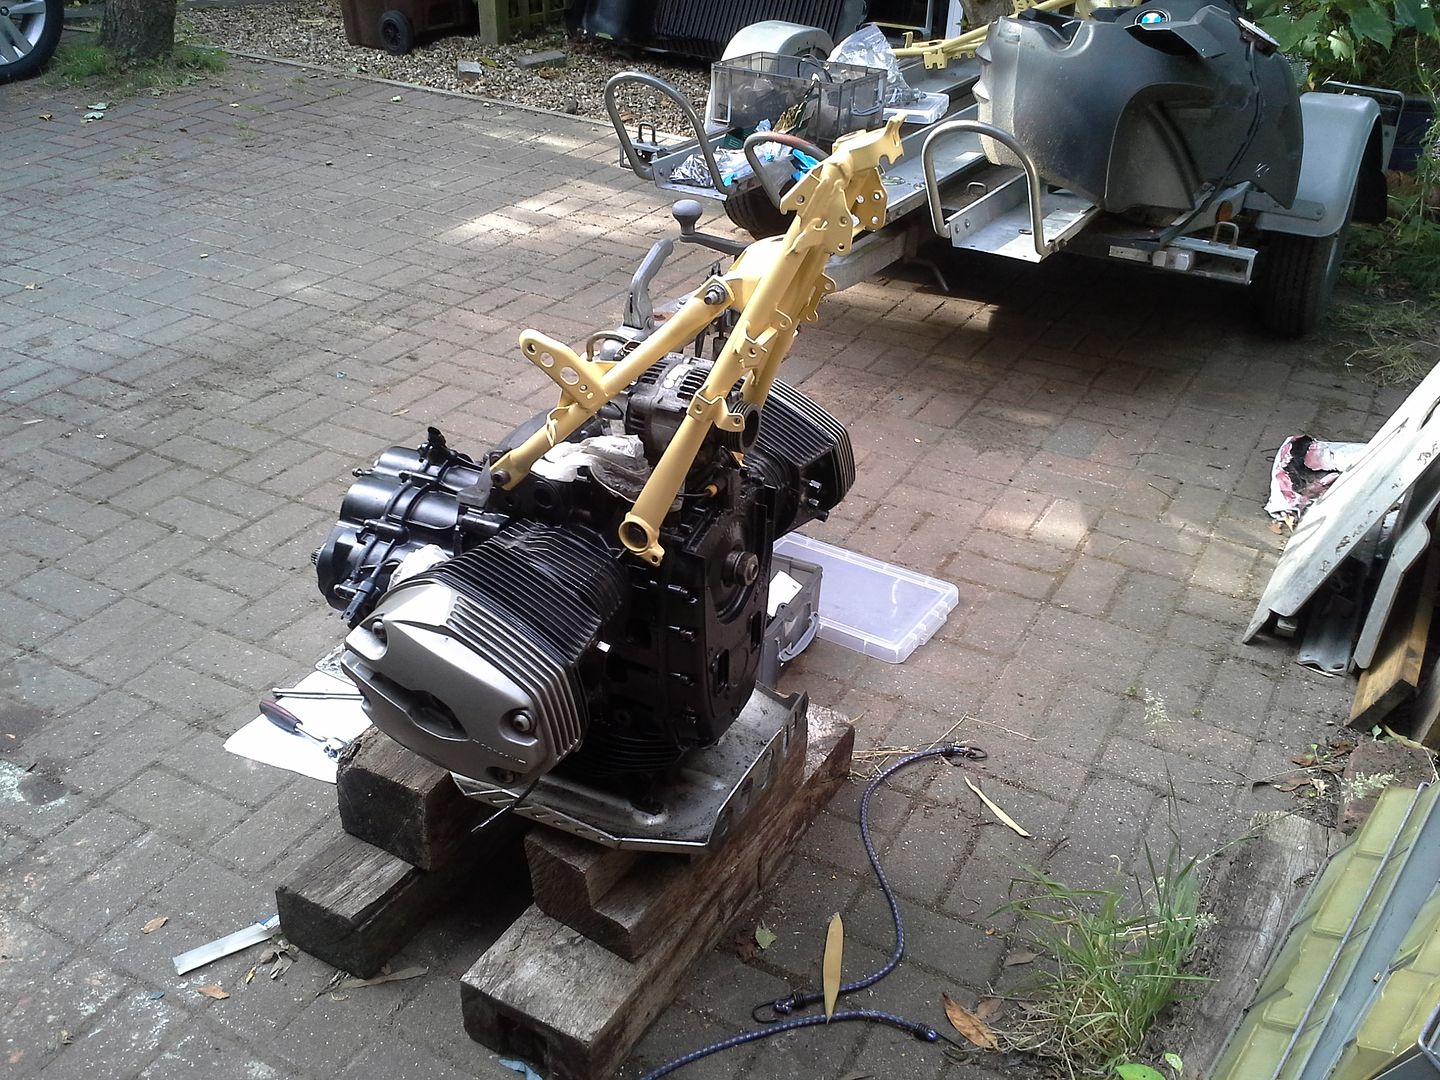
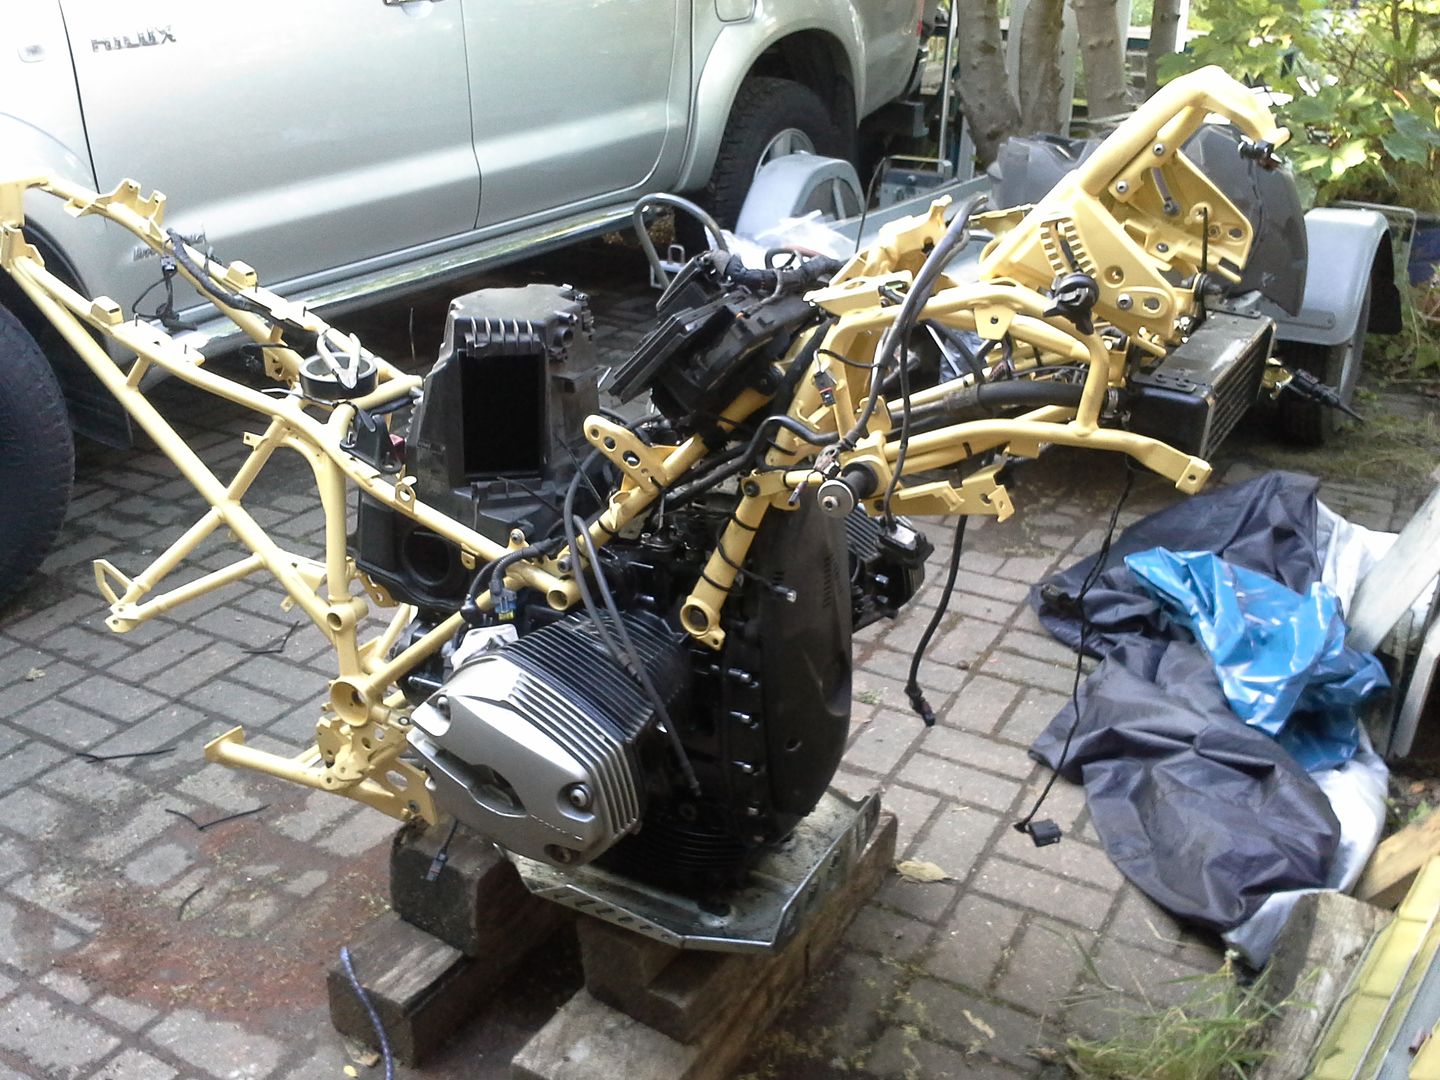
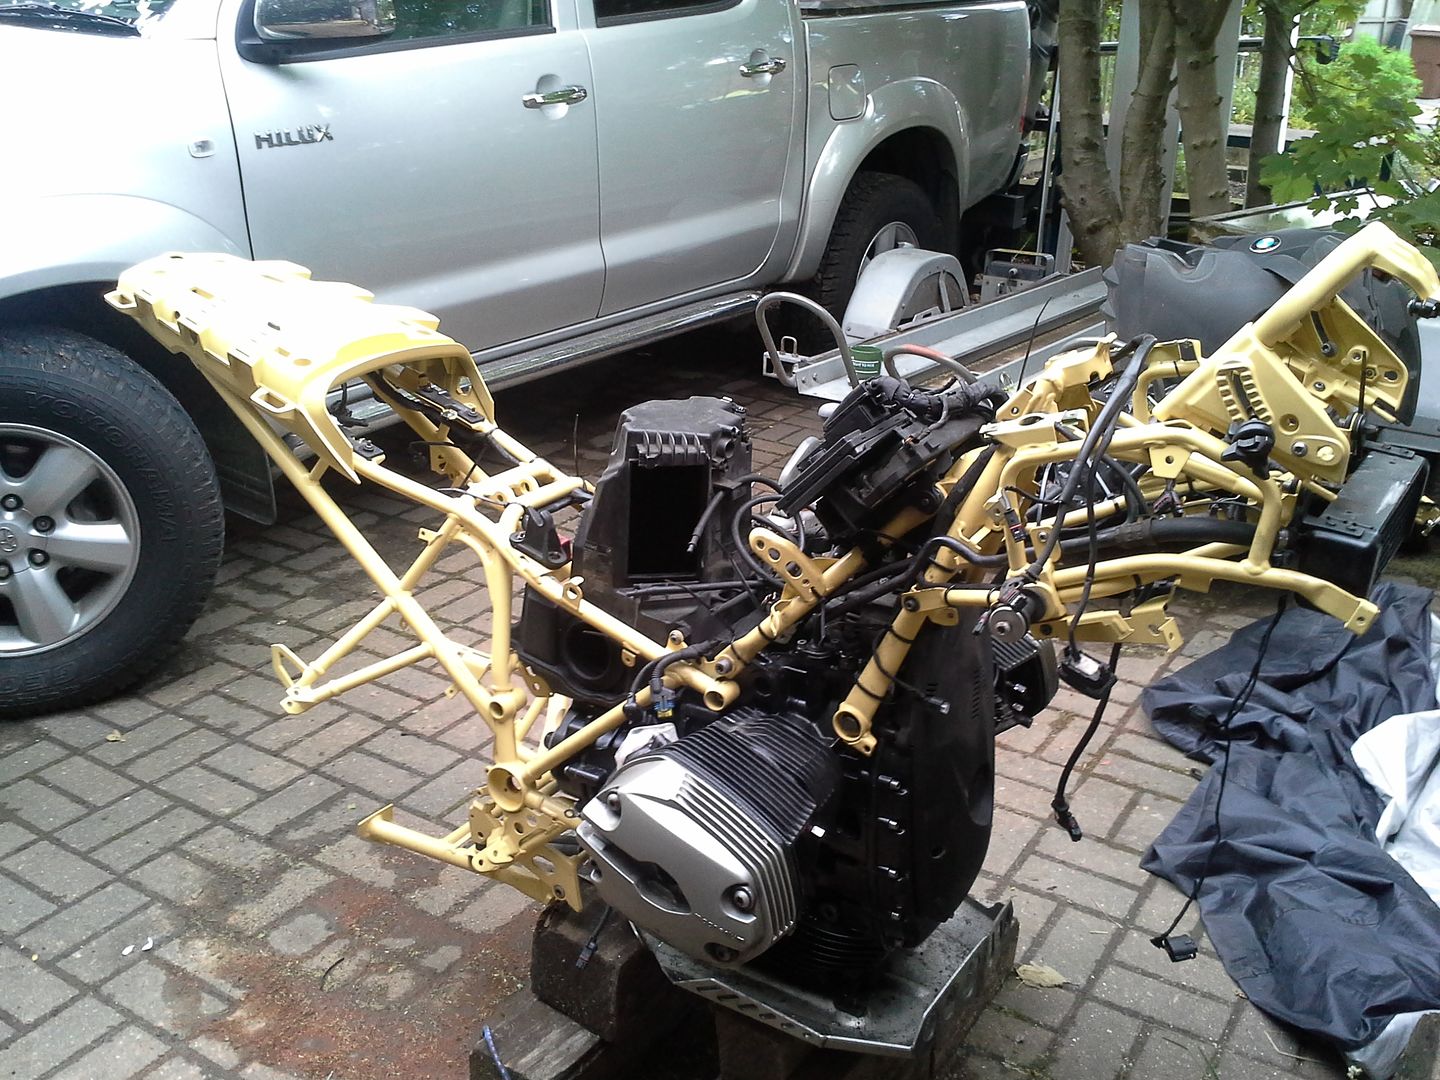
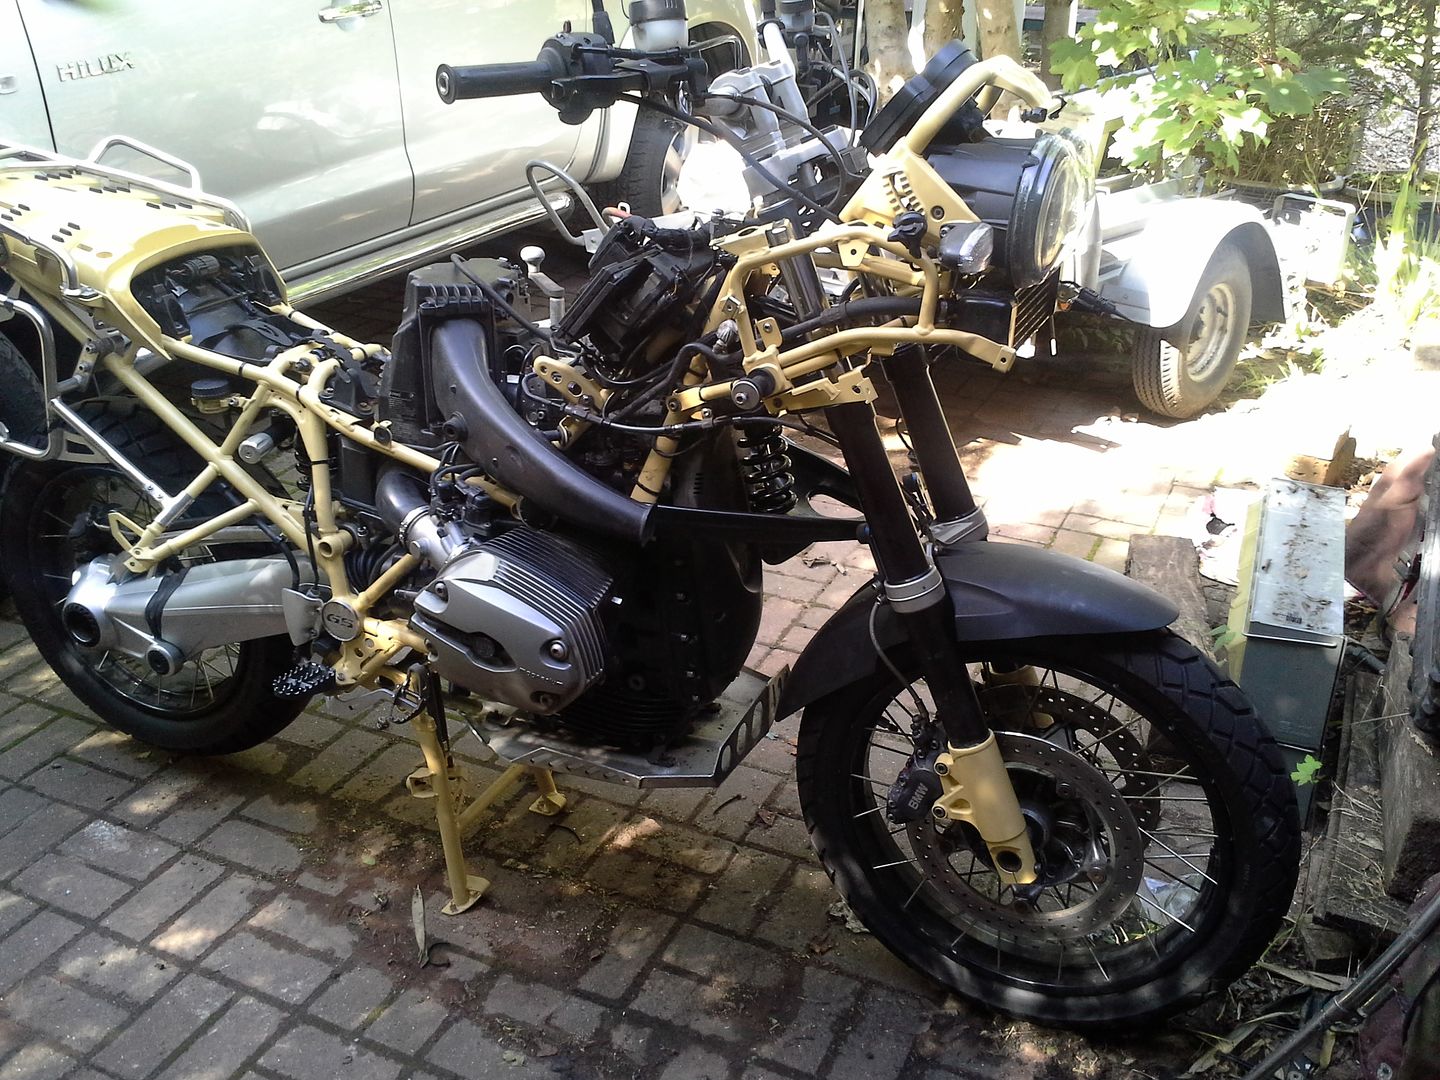
At 144,000 miles over the last seven and a half years the outside life was starting to take its toll...
20150527_200250.jpg


20150525_175930.jpg


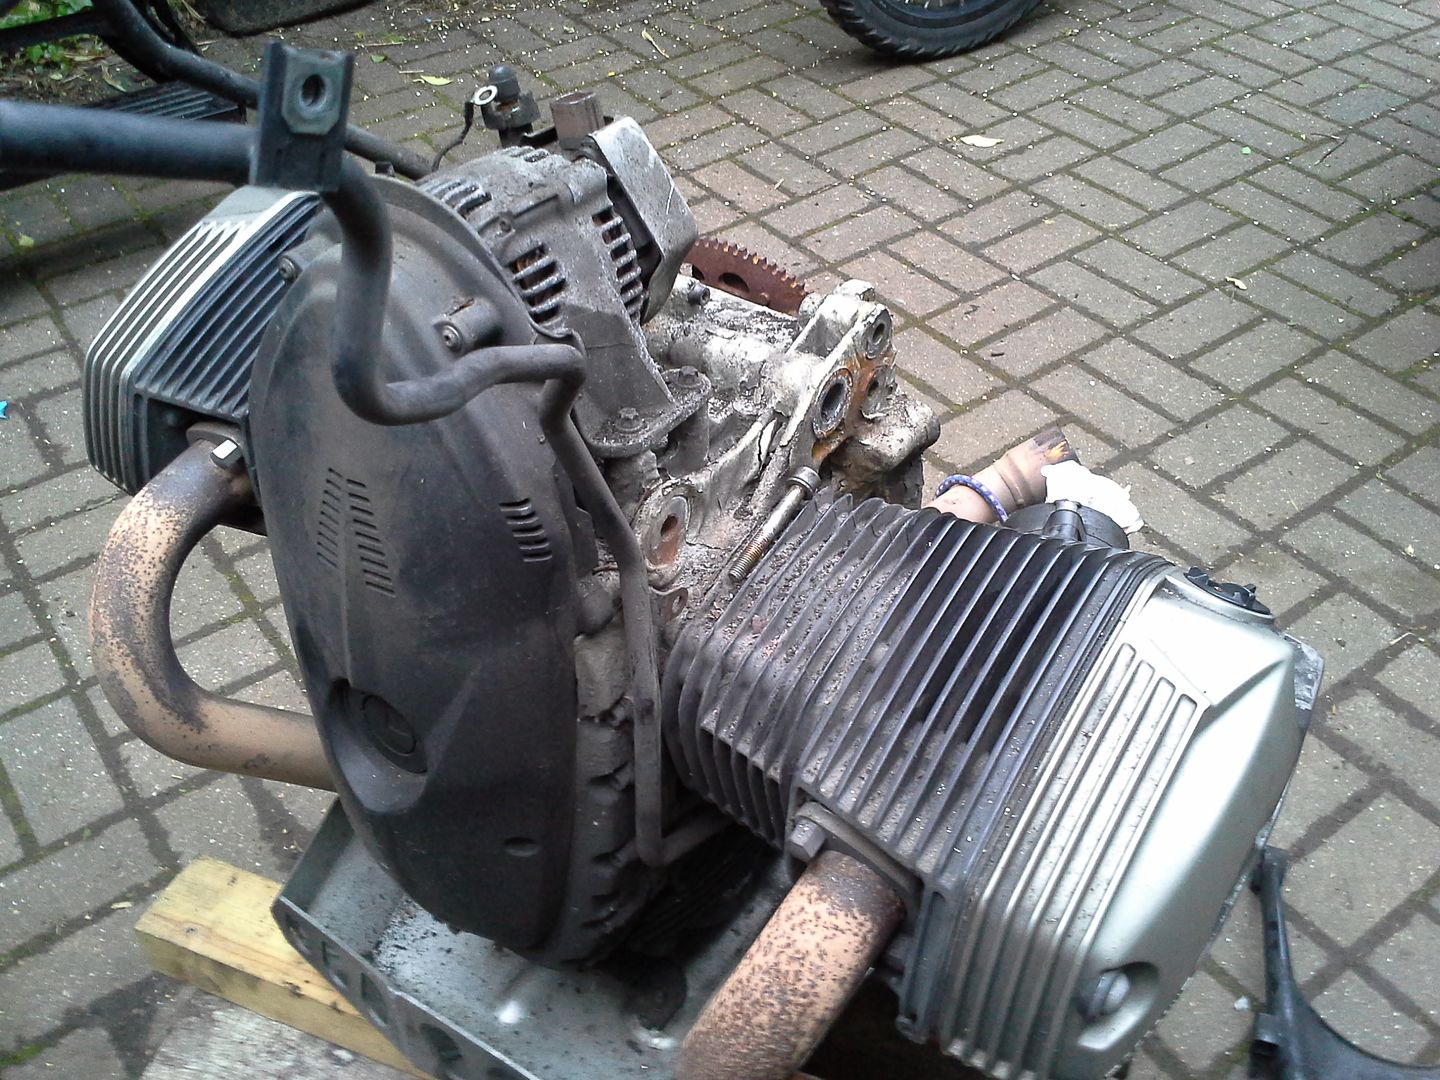
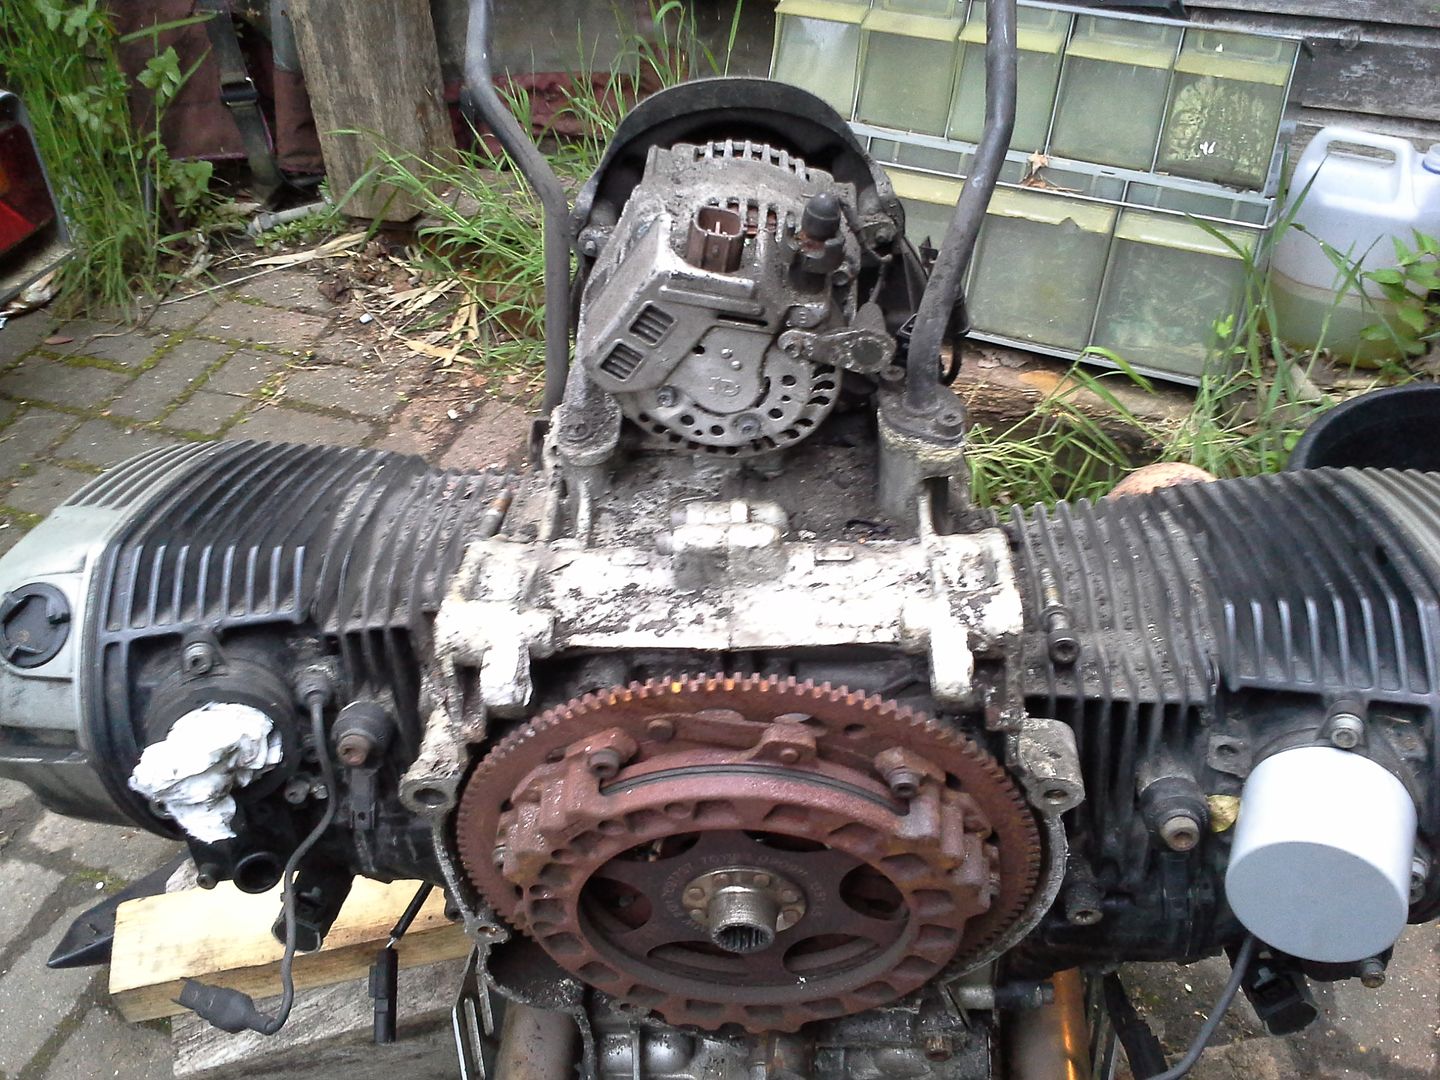
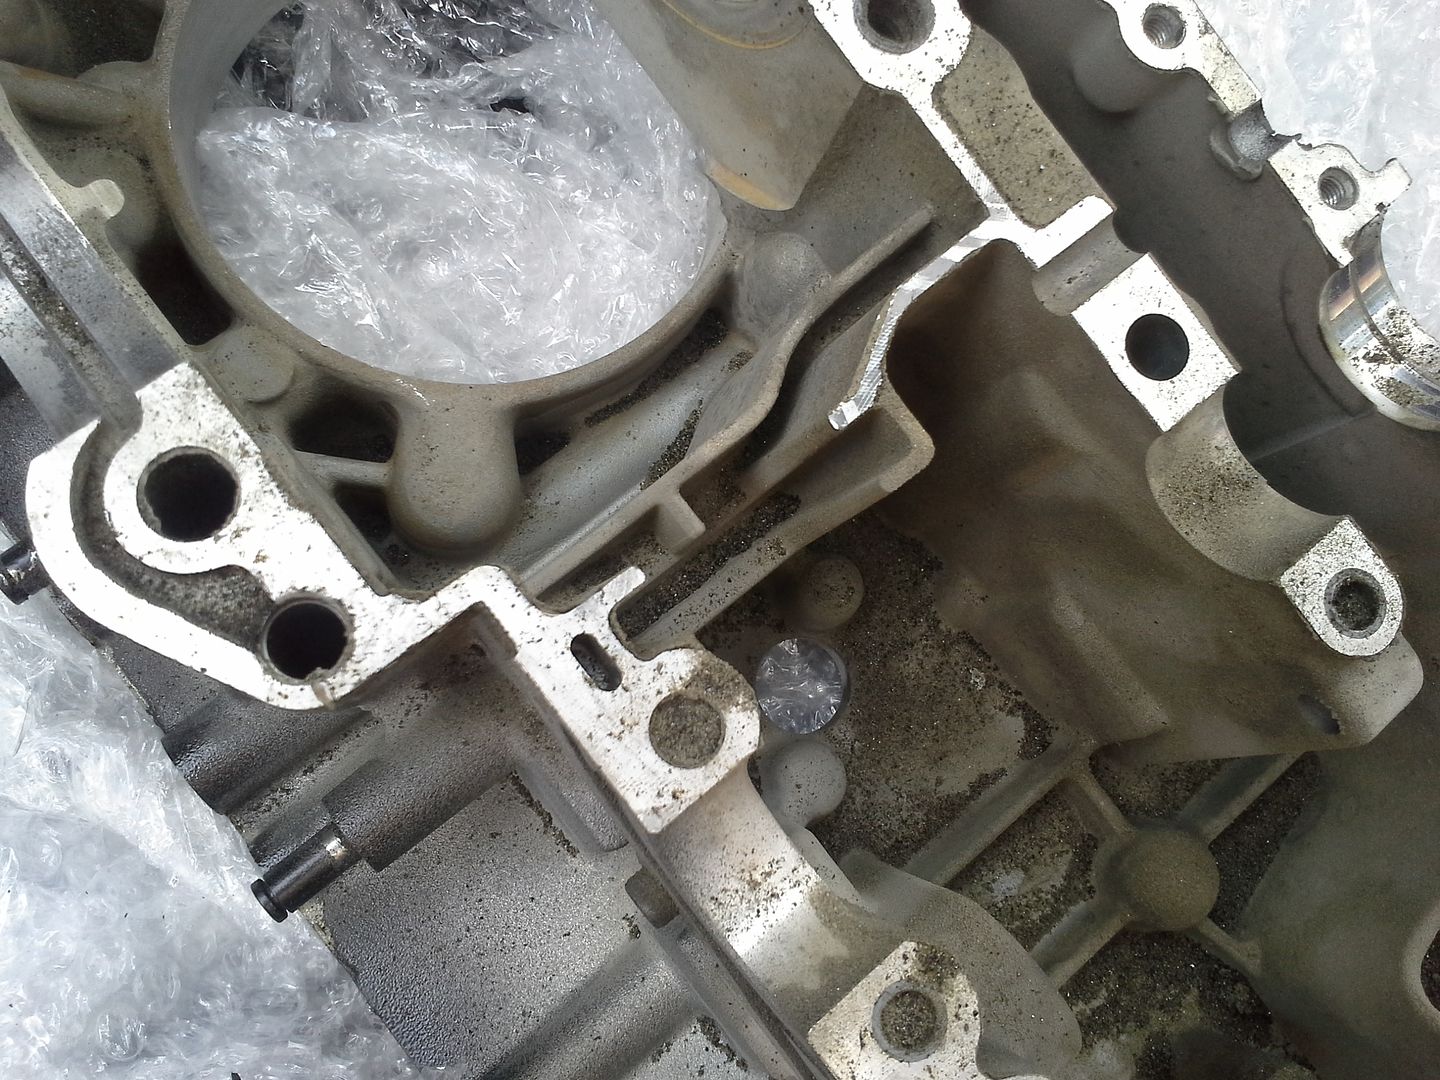
The Ujs in the drive shaft had gone again; filled with water it was no surprise they had rusted a bit. I soon found the cause of that.
20150527_201358.jpg


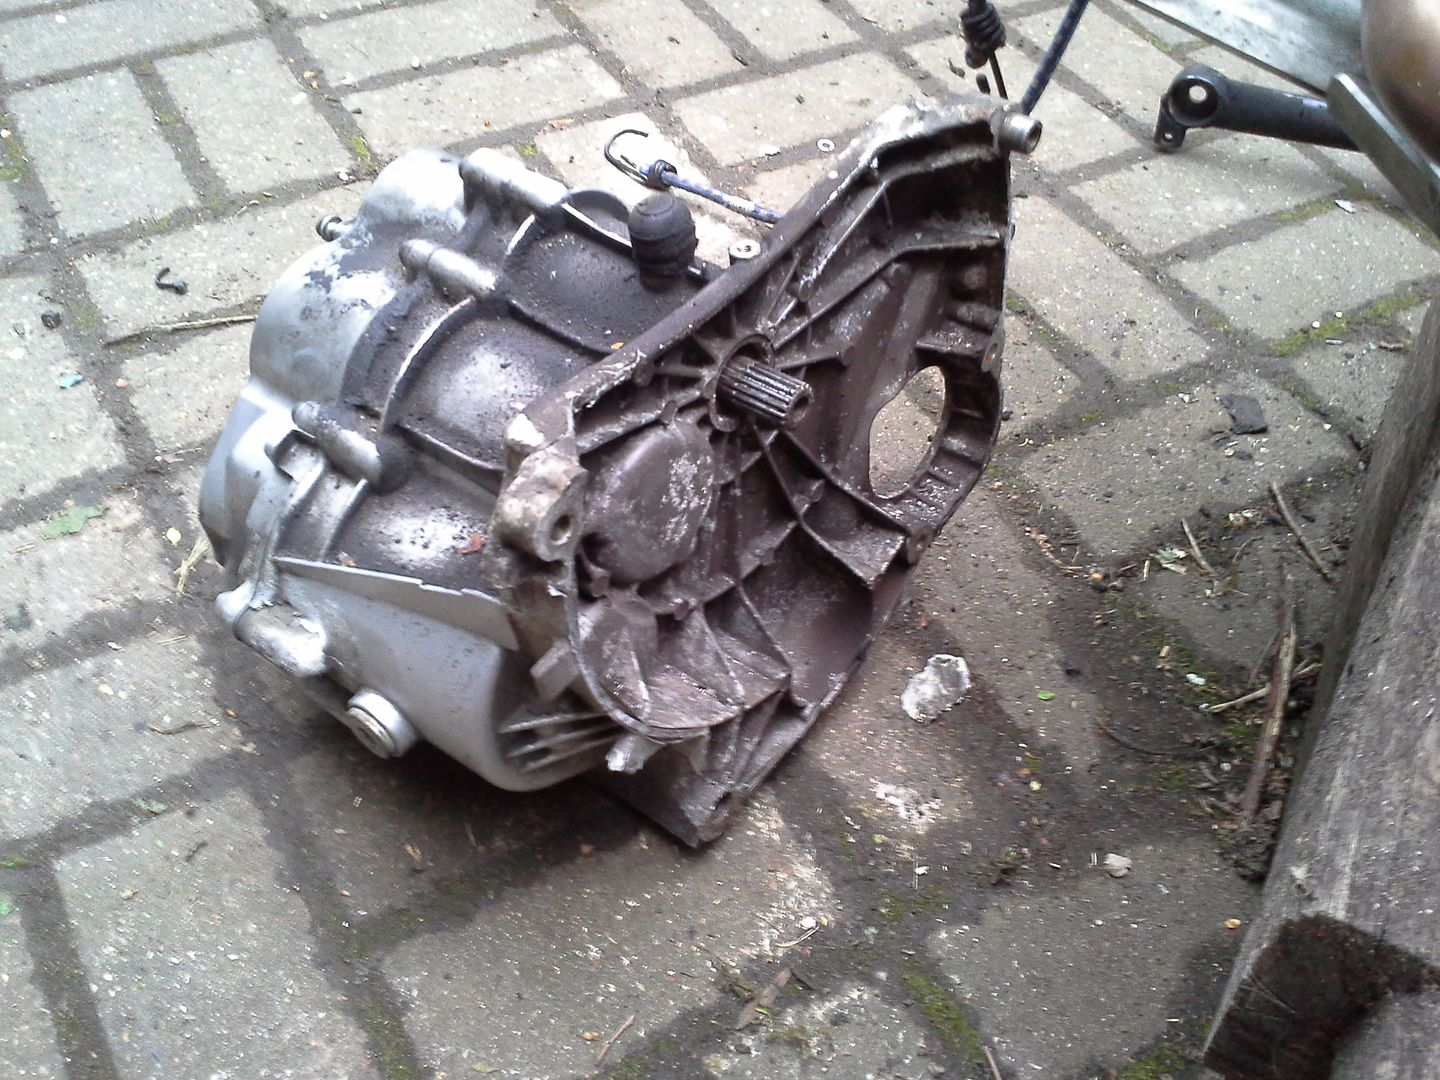
The drive shaft took bit longer than normal to sort out, the splines on the bevel drive end had also gone. So, whilst trying to find a suitable donor shaft to scavenge the plined yoke from, I decided to strip it down and have a bit of a clean up.

20150601_192754.jpg

20150601_192406.jpg

20150601_192349.jpg

20150601_192423.jpg


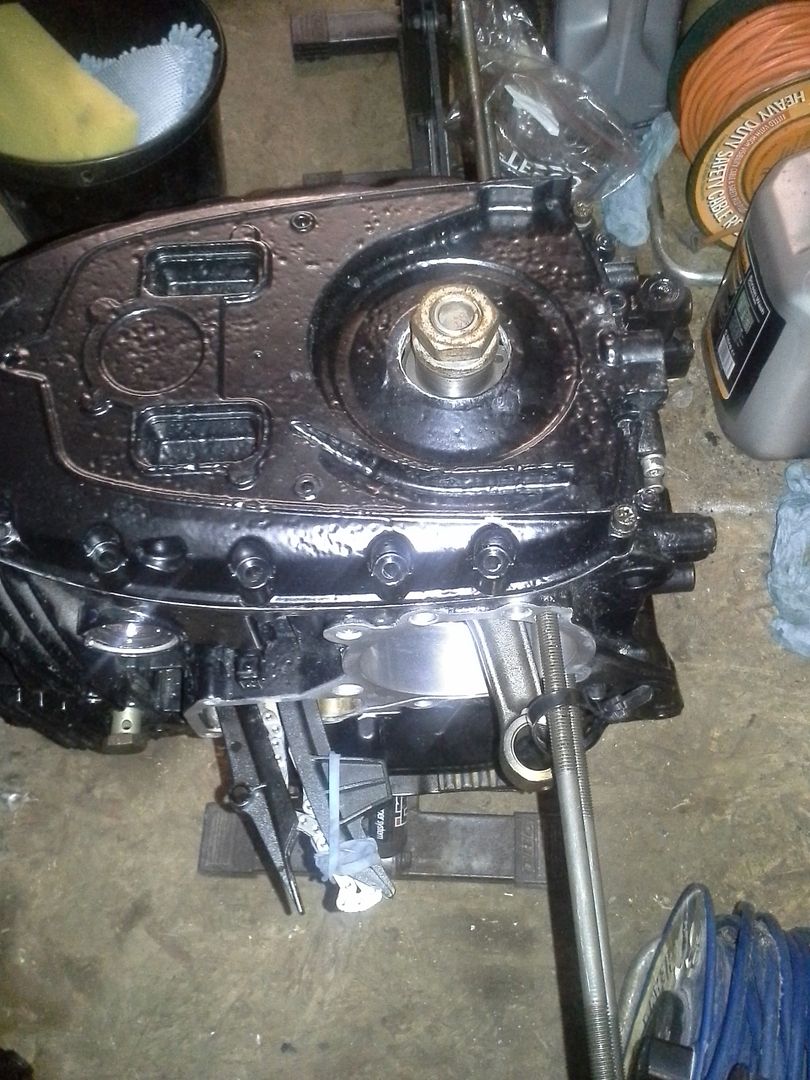
Nothing that a little lick of paint can't cure...
 
Once the running gear had been stripped to nuts and bolts, I decided I might as well do the engine. Stripping it down I had the cases painted, and replaced main bearings, big-end bearings, camchains, timing chain, chain tensioners, chain guides and pistons.

Wossner pistons worked out a lot cheaper than BMW:

20150625_192706.jpg


That Vince event was definitely going to get in the way of the rebuild. As was the state of the cases after painting. I phoned a lot of local powder coaters until I found one that could do soda blasting to strip the cases, to avoid the chances of getting grit into the oilways. They decided not to use soda :blast
20150711_150837.jpg


Several weeks, god knows how much careful stripping, how many washes and air blasting later I decided I had to get going. Riding the KTM 690 Enduro for my 110 mile round-trip commute influenced the decision a tad.
Everything laid out in the new colour scheme, ready to rebuild:
20150711_141543.jpg
 
Reassembly is the Reverse of Removal

And so it began:
20150725_190004.jpg


The engine and gearbox were rebuilt in the shed, with new bearings for the gearbox too. Then we oved to a larger assembly space:
20150803_155346.jpg

20150803_173728.jpg

20150814_175943.jpg

20150814_182718.jpg


This all took a lot longer than I had hoped, Archie was definitely getting fed up waiting..
20150814_183108.jpg
 
The black engine looks fantastic. Can't wait to see the finished bike!!!
 
You Need Wheels

There is something about getting the wheels back on, and the centre stand refitted...
20150906_134808.jpg


Add a bit of bodywork and it started to look close to being finished.

20150906_191844.jpg


I applied the new graphics from TwoWheel Humvee just as it started to rain
20150918_183415.jpg

20150918_183455.jpg


600 miles later it is running nice and sweet, I had forgotten that it sounded so smooth when I first bought it! Rattles, bangs and odd clatter all gone. It seems like ithas barely stopped raining since I finished, and the FD has just gone:blast
 
Lessons Learnt

What did I learn from this experience?

You CAN do things like this yourself. I needed a bit of help getting the timing gear off, but everything came apart relatively easy.

It will take as long as you hoped, plus as long as you feared, and a few more days.

Do not compile parts lists with bottle of wine nearby! I have a spare set of gearbox bearings, plus one extra if anybody needs them. I also had various screws I did not need, and was short of a few that I did. The greatest fun was finding out that I had ordered 2 timing chains and one cam chain by mistake. It was not until it came to fitting the heads that this came to light. Changing the cam chains requires the oil pump to come out, which requires ordering more one-use aluminium stretch bolts for it :blast

Do not trust pikey powder coaters from Dover. I knew I was in trouble when "about a week" turned into 4, plus 2 days. The sheer quantity of grit in the engine and gearbox cases, along with the primer overspray took ages to clean off.

Take as many photos as possble, but you will never have enough to clearly show where everthing goes. The wiring harness appears simple enough to fit, but there are a myriad of different types of cable fixings.

Read assembly instruction in advance, twice. It was not until I was fitting therear sub-frame that I came across the phrase "replace screw" on all of the mounting screws. So I ordered some new ones, on the next page I get to the torque settings. 38Nm on a M10 screw and 55 Nm on a M12 is not really stressing that much!

My shed is lot smaller than it looked. I got most of the bike into 15 handy stacking boxes from B&Q, some parts into the attic and the bodywork I got out of the way by giving it Chris Tunner to paint it. Wheels went into the bicycle store and some small screws and odd washers are permanently hidden in the darker recesses of the shed where they rolled.

I got through 2 and a bit boxes of gloves. You can't have enough of them.

Would I do it again? Hell yes, but not for a while I hope ;)
 
WOW fairplay i wish i knew how id love to do be able to do that!
looks amazing

Don't sweat thehard stuff. There's plenty of folks around like MikeyBoy etc that can help out with tricky assemblies. He veen runs 1200 service days for the mechanically nervous.
My local dealer helped separate the timing gears from intermediate and crank shafts for the consideration of a few cups of tea for the workshop. Expensive tea, but worth it for the knowledge that the job can be done. That was the only BMW tools used.

I found a retired engine specilaist near to me who could accurately, and reliably measure crank main and big-end journals etc to make sure I got the right shells,and check whether a regrind was needed.

"Special" tools were a three-legged puller for the gearbox bearings, and a slide puller for the bearings in the front wishbone. Did I mention that I replaced those, along with the swingarm bearings?

It looked like successive replacements of the rear brake lines under recalls had resulted in few spills of brake fluid around the ABS pump. That then drained off into the left hand front wishbone bearings, they were rusty as hell and a right pain to extract. There was more than a little bit of stiction on the front end.
 
Great job. It's interesting you had brake fluid paint damage. My 08 was similarly affected. Engine top was a mess and front subframe legs were not only rusty but flaking.
I had my final drive covers steering top yoke and swing arm stripped with Biostrip. It's harmless to aluminium, magnesium and steel.
The parts were then blast tape masked and lightly grit blasted to etch the surface for powder coat.
The job took a while but well worth the wait.
The Biostrip tank was not heated so paint removal took a few days That alloy parts paint is super tough stuff. Frame paint was gone in a couple of hours.
To keep the covers looking good I neatly painted along the finally assembled joint lines with a matching paint. I don't want the finish ruined again because bare metal is exposed at joint lines.
Coating took a while but I'd rather wait for a top job than have it bodged. I used Terry and Will Wing of Totnes in Devon.
 
Christ! , I'm chuffed with myself when I do an oil and filter change.
Well done .
Shame about the Subaru though .
 
Nice work !! even if I had the time I don't think I'd be confident enough to do that ! I'd have to move closer to Mikeyboy!


Back
Top Bottom