Black System Panniers

It's best to start with the base. Same routine as the other one : Start with a piece of vinyl 480mm x 270mm.

Start from one end and concentrate on the corner pieces, first one , then the other. Then work across to the rubber feet.

Cut a cross on top of the foot, then extend it slightly down the side of the foot (not going too far - do it in stages). Use your card to smooth the vinyl up to the edge of the foot, then start carefully cutting, smoothing as you go, and work your way round the foot.

Panniers004-4.jpg


Panniers006-3.jpg
 
It's not so hard (by this stage you'll be getting skilled :D) but take your time.

Once they're done, smooth the vinyl over the edge and round the back until you meet the ridge there. This is where you should trim (you will do the fold over trick later on).

Work your way along, and when you reach the corners, trim as so

Panniers010-4.jpg


This should be trimmed so that it is within the weld that's there. The other part will then fold over, cut the excess off so that this makes a neat seal.

You can then trim round all the edges along the Mastic seal (as before).

Detail of the corner piece

Panniers021-1.jpg


Panniers022-2.jpg
 
You will have to wait for this to dry and adhere before you can do the sides of the pannier, so you can make a start with the interior side round the exhaust cut-out. First, cut a strip of vinyl to cover the section where the rivets are with enough width to do a fold-over on the Mastic join where you have already trimmed the other piece of vinyl.

Panniers014-3.jpg


Panniers015-1.jpg


This is easiest done in stages using some of the off-cuts that you have. Best to do a couple of bits, keep within the welds and then let them dry otherwise you will be chasing vinyl all over your pannier leading to dummy spititty, vinyl in the buckety moment :thedummy :thedummy

TBC
 
looks super , pog, but "dummy spititty?"is that scottish?
 
From there, carry on doing it in sections (this is advisable due to the strange shape of the exhaust cut-out). Do the bit inside the weld first, then the lower bit and finally, the top piece using the old fold-over-the-weld technique which leaves a neat finish. Pinch the fold over piece onto the weld, you might have to do this a few times to get it to adhere.


Panniers1008.jpg


Panniers1007.jpg


Panniers1009.jpg


When you've done this, it'll be ready for the last step : the sides of the pannier. Leave it over night before going for this.

;)

Pog, I remember talking to you about this little project in Wales... Looks great mate:thumb 
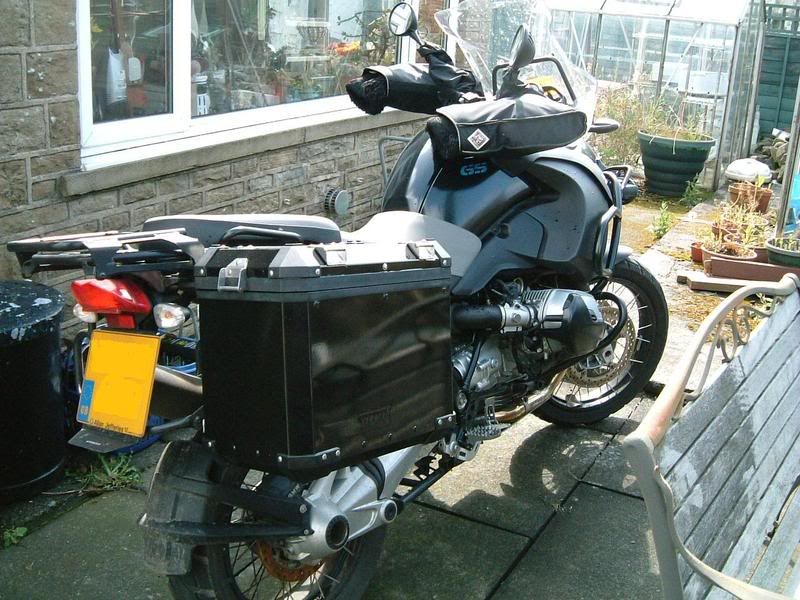
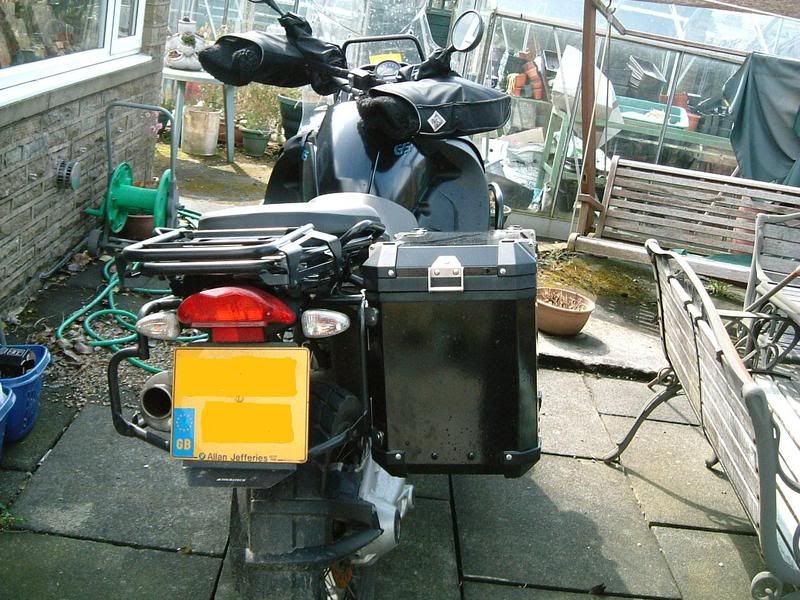
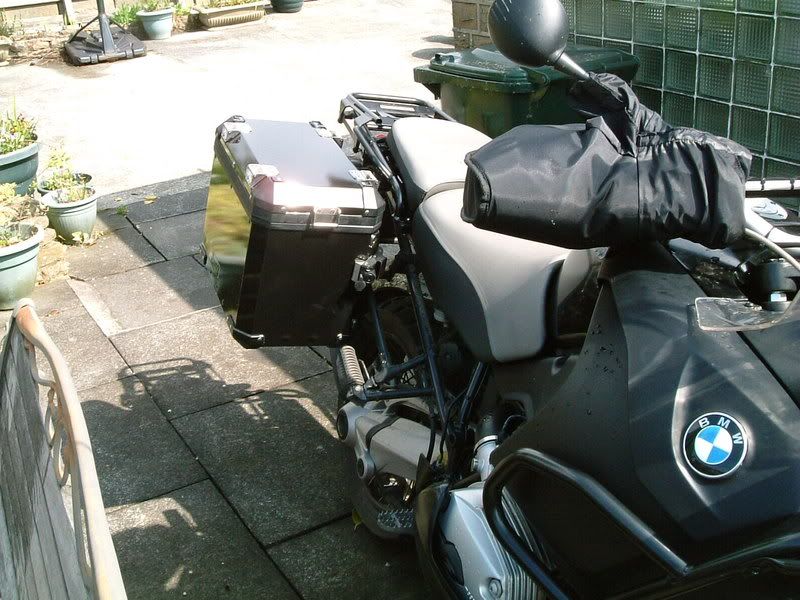
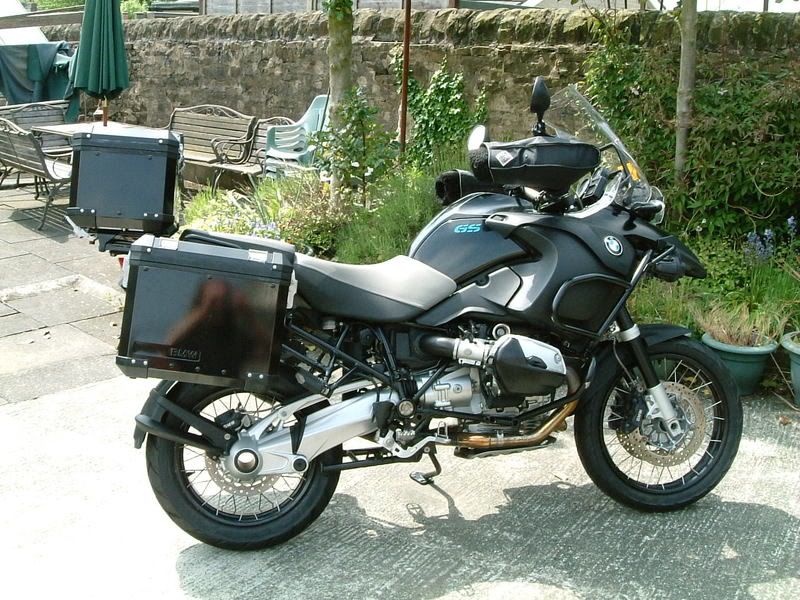
Looking forward to seeing the end result on that loverly Black Beast of yours.........:D
 
A brilliant How-to write up.
I for one have learned that I'm never going to bother ma arse with aw that!
You've done a splendid job.
Myself? Pass mi de Smoothrite! Seen!
 
The Final Stage

Start from the rear of the pannier (the end that only has one lock) and start sticking the vinyl down from the vertical edge of the exhaust cut-out leaving enough to go round the corner (so to speak).

The tricky part in this is cutting round the lid lock. The pannier wont sit still due to it's shape and also you have a large piece of vinyl trying to pull itself off. Persevere and you will get there. I don't have a decent photo of this stage, but if you've got this far, you'll manage.

After that, it's pretty easy for a while. Smooth the vinyl towards the corner and cut round the plastic corner piece as you have learnt by now to do.

Panniers2005.jpg


Then carry on smoothing the vinyl over the large face of the pannier...easy


Panniers2011.jpg
 
Work your way round the pannier doing the corners and the lid locks.

Once done, it should look something like this:

Panniers2003.jpg


Then go back to where you started at the rear of the pannier. Smooth the vinyl to the edge of the weld and cut the excess vinyl off leaving enough (at least 5mm) for the fold over do-dah that you will perform over the weld on the exhaust cut-out. Cut a little snip in the vinyl at the apex of each bend in the weld. Start from the bottom of the pannier and work upwards, folding the vinyl over the weld and over the proceeding fold.

Panniers2001.jpg


Panniers2009.jpg
 
Trim to fit around the fiddly bits at either end. Dont bother about the rivets or the fold-overs that go over the mastic joints just yet because they wont stick. You will need to wait for the glue to adhere and the soloution to dry before you can think about this... put it out in the sun and forget about it for a few hours.

Panniers2002.jpg


Panniers2010.jpg


Panniers2013.jpg


After a few hours, try smoothing the flanges over the mastic joints, they should take by now. Do your best to tease the air bubbles over to the edges but don't worry too much about it.

**Be careful if the pannier has been drying in the sun - the vinyl will be very soft and can crease very easily **

Leave the air bubbles over the rivets alone and tend to them tomorrow :thumb
 
For this project you will need: -

  • 10m 50 micron vinyl (you will have more than 3m left over for repair jobs, re-application, or in case you make a major error.
  • 2 small bottles of Acetone (available from chemists)
  • 1 tube Autosol
  • 2 cloths for Autosol and 1 duster for Acetone
  • Washing-up liquid and sponge
  • Very sharp craft knife and spare blades or sharpener
  • 12" plastic ruler
  • 6" palstic or metal ruler
  • 1 fine needle
  • Plastic "credit" type card
  • 1 pair long bladed scissors
  • Cutting board
  • Pen
  • Fabric tape measure (sewing type)
  • Allen key and 8mm spanner
  • Hairdryer
  • Patience, peace & quiet, time to complete each stage

Most of these can be found around the house or "borrowed" from SWMBO's kit :augie
 
Hints and Tips


  • Don't cut your fingernails before this project - you'll need them
  • Patience - have a break during each stage for a fag or cuppa. It requires quite a bit of concentration; if you're struggling walk away for 5 or 10 mins and then come back to it.
  • Make sure you have enough time available to complete each stage. Take your time, don't rush it and don't panic. It can be quite daunting at times.
  • Make sure the panniers are really clean, smooth and free of oxide dust, grease and bumps on the surafce (these will show through the vinyl).
  • Start on the bases first to practise and learn how to work with the vinyl.
  • You must have a very sharp knife. Change blades as soon as they start "dragging" the vinyl or re-sharpen.
  • Use your card to smooth the vinyl out. Use it by laying it against the pannier surface and butted against the corner pieces, use it as a cutting guide and work your way round the corner pieces. For longer edges, use the card to make a crease, peel the vinyl back, then use scissors to make a neater cut.
  • Plenty of detergent soloution and reapply often. Stronger soloution means that you can work with the vinyl, peel it back etc for longer, the downside is that it will slide around and take longer to dry. Weaker sloution will adhere very quickly and will dry out quickly as well.
  • Don't panic - small mistakes can be almost invisibly patched
  • Around the rivets : make a small hole with your needle, tease the air out and use your nails to seal the vinyl around the rivet.
  • Drying time is approx. 2 days. After several hours or 1 day, pierce the larger bubbles with the needle and tease the air out of the hole. After 2 days, you can trim the scrappy edges and re-activate the vinyl/adhesive by gently warming with a hairdryer, pierce and smooth out.
  • After intial application, give the glue a chance to adhere for a couple of hours before doing anything otherwise the vinyl will start slipping or creasing and you'll curse.
  • Don't try to do too much at any one time. Treat as a hobby rather than a job that needs to be competed. Do a bit as and when you are in the mood to do it. Make sure you have enough time to complete each stage as you tackle it. General guide : the bases will take about an hour each, the first lid you tackle will be about 3 hours, the second maybe an hour and a half, and the pannier sides 1 1/2 to 2 hours.
  • Remember to let the previous application time to dry before applying the next stage that will overlap or fold over.


Good luck :thumb
 
FinalPanniers005.jpg


FinalPanniers006-1.jpg


FinalPanniers007F.jpg


FinalPanniers008F.jpg


Now I'd better get on and cut the grass :hide
 
And...


The Moral Of The Story Is... Stop Complaining About Your System Panniers Corroding... Do Something About It :thumb


The End​


;)
 
Very nice result. :thumb2

When I first saw the TT/BMW panniers, I thought that they'd look better in black and the chamfered corners would make it easier to do this job than the round corners of Zegas.

The bike just needs a dark screen now. :clap
 
Very nice result. :thumb2

When I first saw the TT/BMW panniers, I thought that they'd look better in black and the chamfered corners would make it easier to do this job than the round corners of Zegas.

The bike just needs a dark screen now. :clap

All credit for the idea and inspiration goes to you, Mike :bow:bow :thumb

The plastic corner pieces, the tie-down points and the exhaust cut-out are the hard bits.

Praise the Lord...no more Autosol :D

Had a look at tinted screens...£167 from dealer for the ADV tinted screen :eek:
 
top job :clap:clap:clap aboot time
now get gardening.:augie


Back
Top Bottom