Black System Panniers

POG

Registered user
Joined
Mar 20, 2007
Messages
2,833
Reaction score
0
Location
.
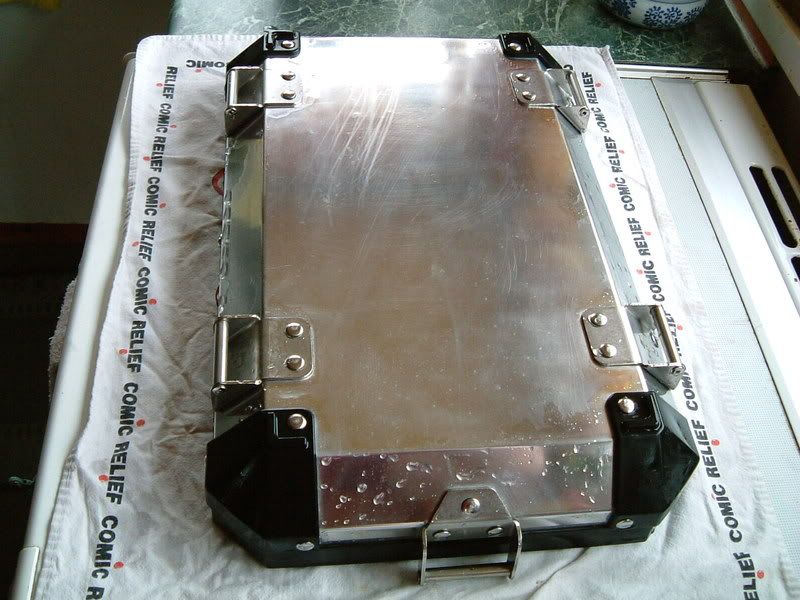
Right, so you bought your 1200 GSA and you've added some bling to it. My guess is that most of you will have the original coloured bike, so the silver coloured system panniers might well suit it. If, like me, you have altered your bikes colour scheme to suit your own tastes, you might not be so happy with the bare Aluminium effect of the System Panniers. Or, like so many, you have come across the fact that the panniers are not anodized and therefore start oxidising (rusting) whenever they encounter more than mild weather.

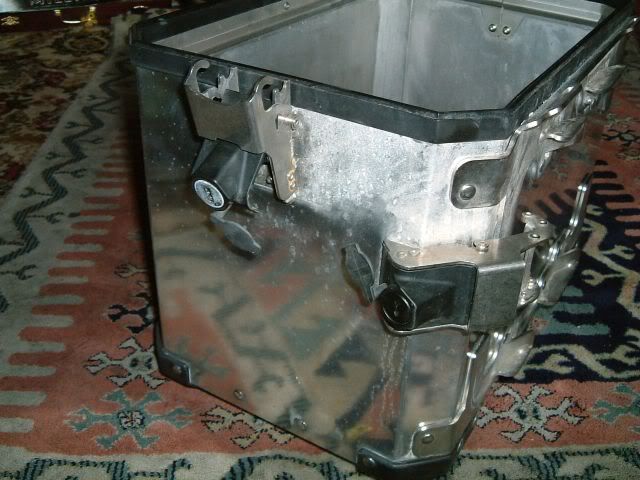
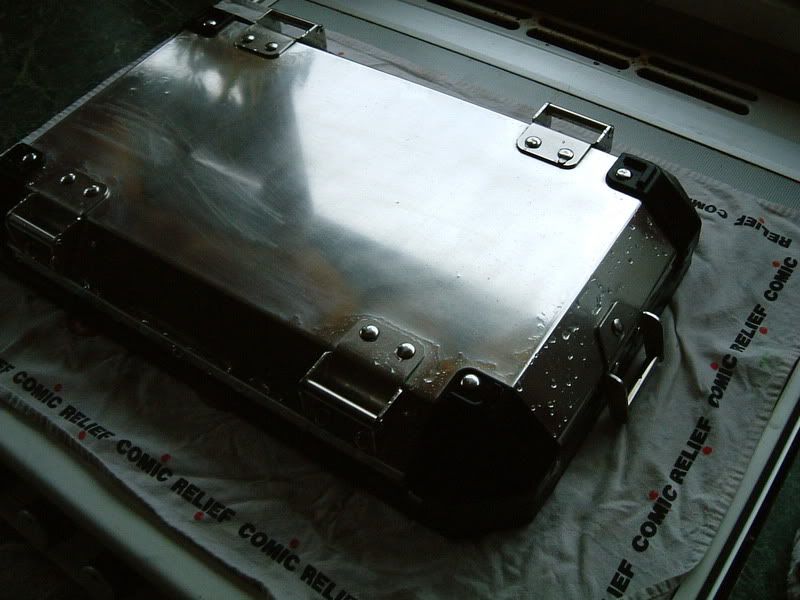
I bought my bike and it came with a system topbox. This has been on the bike every day for the last two years and still shows no sign of corrosion. The system panniers that I bought 7 months ago (and have been used on only 6 trips,the rest of the time they have been stored indoors in the house) have started to corrode massively.

Upon raising this question with the local dealer and the question of having them replaced as they are unfit for the purpose for which they were intended, I was met with a stock answer which was that they should be cleaned after every journey. I countered that with the fact that the topbox has been through all the shit weather, mounted to the bike 365 days for 2 years now and is showing no corrosion, so why do a pair of 7 month old panniers that have been used for 6 trips ( ranging from a fortnight to weekends away) show so much corrosion ??
The answer was to contact Customer Services and plead one's case there - yes, a brush off. I could envisage a long drawn out letter writing farce that would go nowhere.

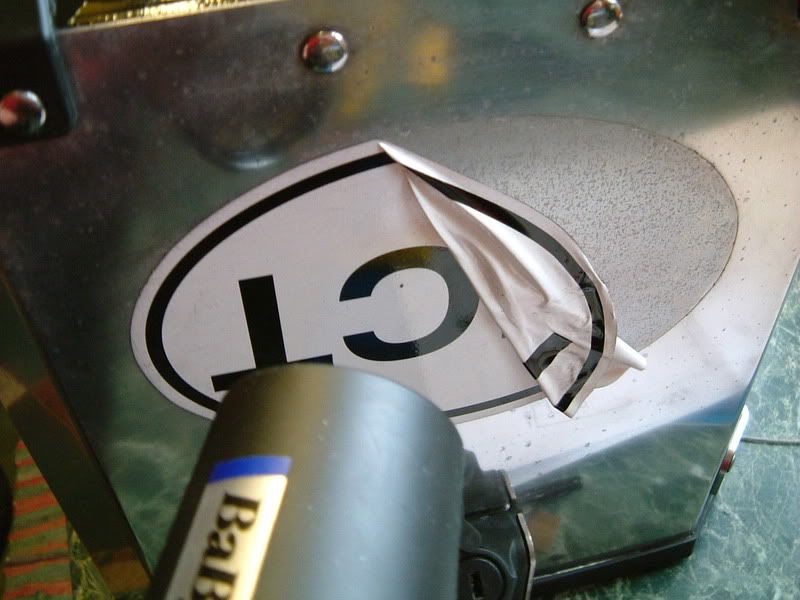
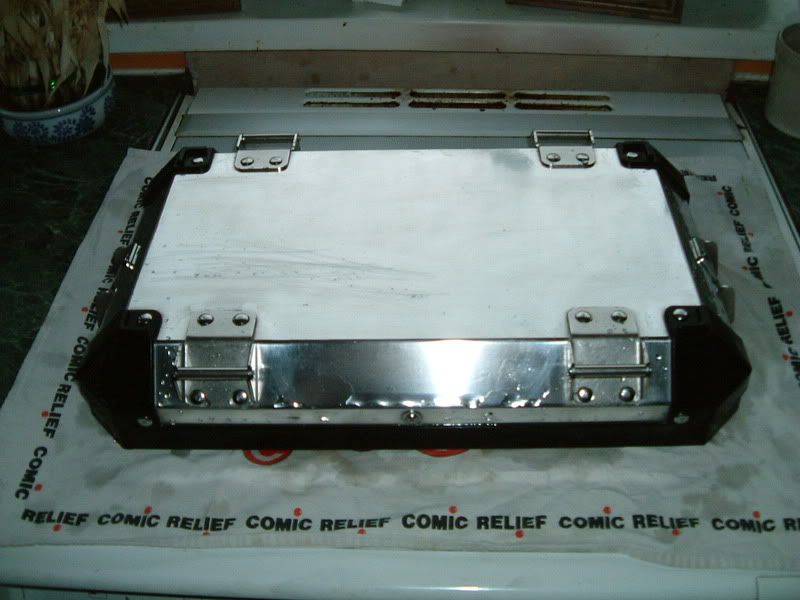
The answer, my friends, is prevention rather than cure. To these ends, and following advice from MikeP and his thread about his TT Zegas : http://www.ukgser.com/forums/showthread.php?t=67485 All credit for inspiration and the idea goes to Mike, the purpose of this thread is hopefully to show that it can be done on System Panniers.

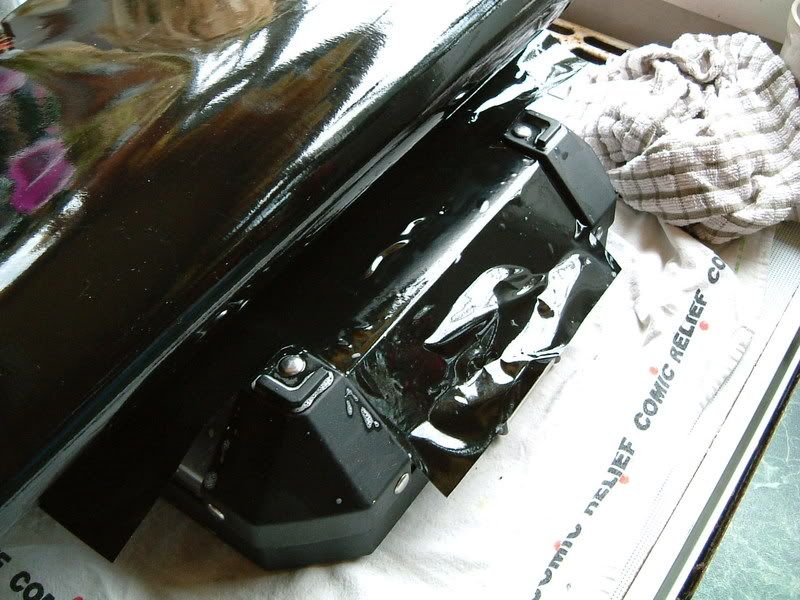
I decided to give it a go for myself to rid myself of those hideous silver panniers and prevent further corrosion of my beer pods.
 
First of all, the panniers need to be clean with smooth surfaces, free of corrosion, glue from previous stickers, grease


You are going to need to go round to your mother’s and go into the kitchen cupboard where she stores her tub of Elbow Grease because you’re going to need it. The grade of film that I used was the C002 Black which is 50 microns thick (so as to cover the rivets and BMW logo) and is guaranteed for 10 years in extreme conditions (which is more than can be said for the panniers they are covering). It was bought from www.grafityp.co.uk and they do a very reliable mail order service for delivery the next morning.

This image shows the difference between the corrosion and the prepared surface. I had to spend a day and a half with Autosol to get the pannier back to this condition. Hard work and elbow grease required

Panniers010.jpg


The cloth I was using ended up like this after only one pannier

Panniers016.jpg


Any old stickers need to be removed. The best way to do this is to heat them with SWMBO’s hairdrier and then gently peel off. This means that most of the glue comes off with the sticker and saves you having to scrub the old hardned glue off. The pannier should be cleaned with Acetone (available from Chemists behind the counter) to remove all grease etc and this will also clear off the last of the glue residue.

Panniers053.jpg


Panniers054.jpg
 
Once the surface is prepared to your satisfaction (remember : the film is really thin and will show up any small blemishes on the surface of the Aluminium), cut a piece of vinyl to fit the surface required. This is a 500mm length for the bottom of the RHS pannier. In total you will need 7.1m of vinyl at the smallest width of 378mm; it is sold in 5m increments, so you need 10m which allows for any mistakes you might make :augie

Panniers031.jpg
 
This is the easy bit but it does take a bit of guts just to dive in there :augie

You need to cover the surface of the pannier in a weakly diluted soloution of washing up liquid and water so that the vinyl doesn't bind immediately and allows you time to work with it. Smooth the vinyl out on the surface of the bottom of the pannier until you reach the corner pieces.

Panniers036.jpg


Don't worry about the air bubbles, but try to smooth them out as much as possible. Then cut an undersize area out of the corner of the vinyl relating to the corner piece of the pannier. This should be approx 5mm less than the size of the corner piece.
 
You can now start to to trim back the excess and start to form it round the plastic corners

Panniers038.jpg


Trim it to within about 1 mm or less as any excess will tuck under the corner piece. Better to go in stages than to trim too much off in a one-er.

Panniers041.jpg
 
You can then finish it off by carefully slicing any excess and peeling it away. It requires a very sharp knife, as even a very slightly blunted knife will "drag" the vinyl and leave a messy finish.

Panniers043.jpg
 
Take your time and don't panic, easy to say, I know. Once you have the corner sections sorted out, it should look something like this

Panniers045.jpg


Panniers046.jpg


You will see that there is still excess to be trimmed. If you've got this far without throwing the whole lot in the bin, then the next bit is easy :D
 
Take a metal ruler (6" is best :D) and line the edge of the ruler up with the edge of the join. If you look at your system panniers, you will see what I mean.

With the edge of the rule lined up with the edge of the lip, draw your blade along it trimming the excess off and leaving a nice, clean finish.

Panniers052.jpg


Panniers051.jpg


The excess vinyl will then just peel away

Panniers050.jpg
 
That was the easiest bit :eek

Panniers055.jpg


Next, the harder bits :eek:

TBC
 
i can see tears flowing before bedtime.;)
 
when they are cleaned up could just spray them with clear laquer or easier option coat them with poorboys wheel sealant or collinite 476 wax.

for polishing use a bonnet in a drill and they will be done in no time at all.
 
when they are cleaned up could just spray them with clear laquer or easier option coat them with poorboys wheel sealant or collinite 476 wax.

for polishing use a bonnet in a drill and they will be done in no time at all.

Yeah I could :blast 
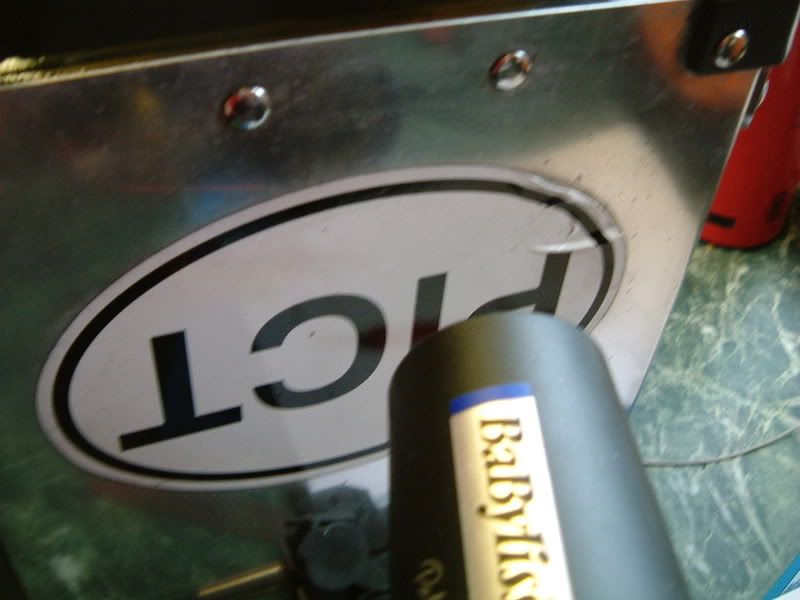
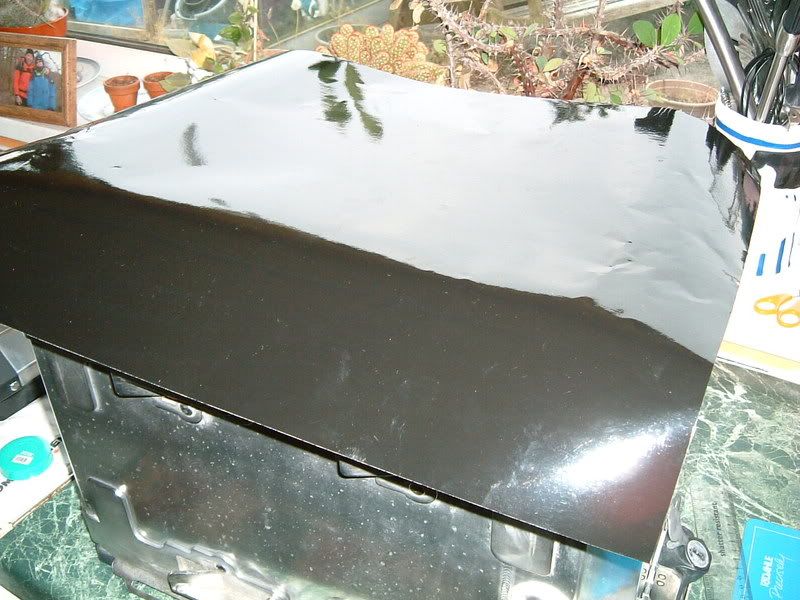
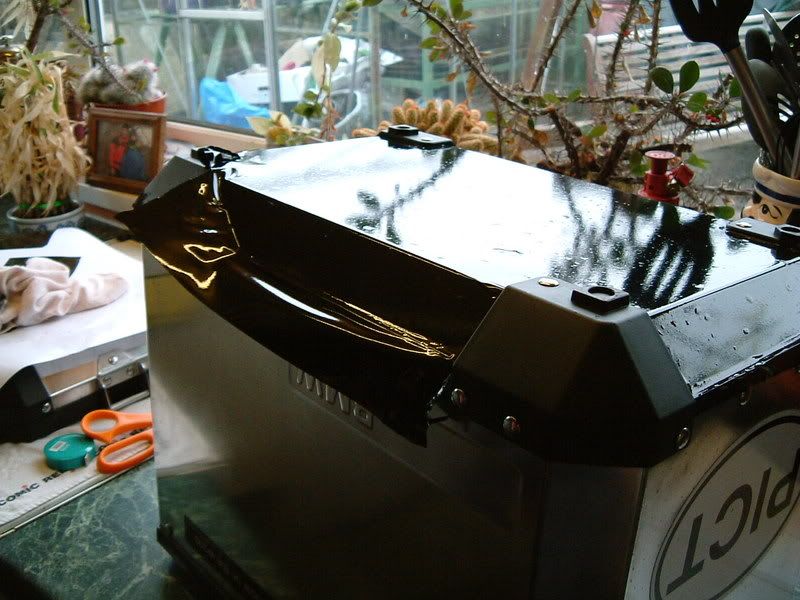
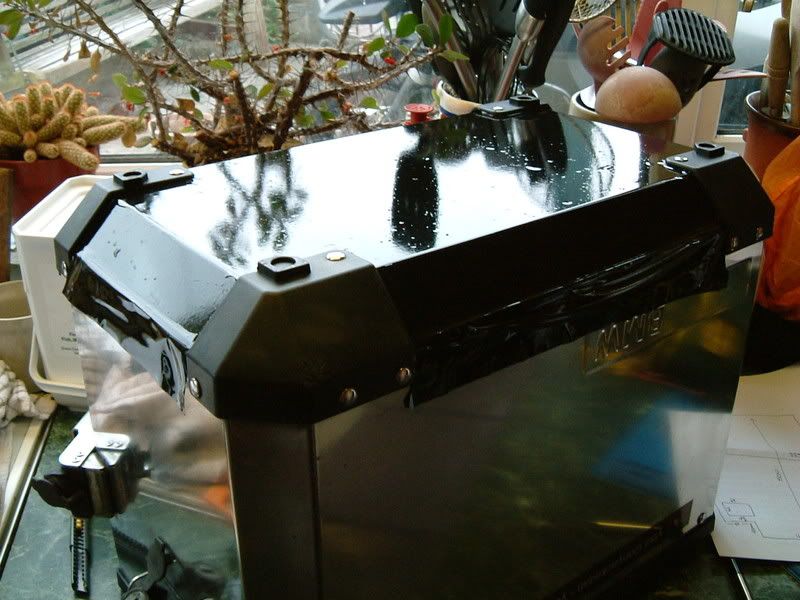
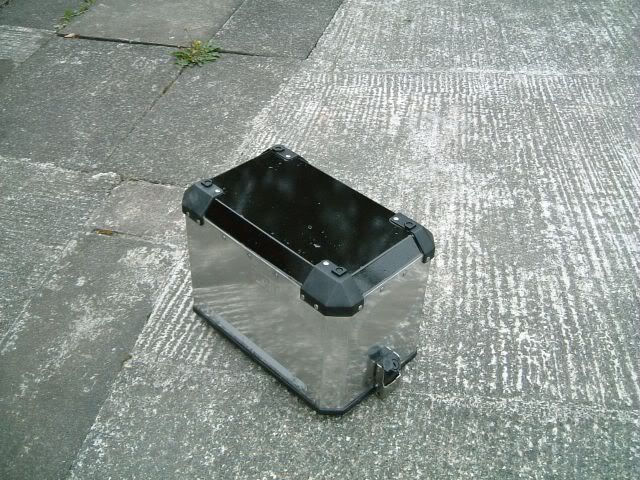
But the whole point of this is that I don't want silver panniers. I could just go out and buy a tub of gloss paint but that wouldn't look as good would it :rolleyes:
 
Next Installment

Now for the hardest bit :blast

The pannier lids :eek:

I must stress that the metal surface must be clean and free of corrosion as the adhesive on the vinyl will bind to the dust and not the metal. Therefore, before proceeding any further, get out the Elbow Grease and Autosol and make them like new again ;)

First, give the lid a good clean using Muk Off and then washing up liquid to remove any residues.

Panniers025.jpg


This is best done when SWMBO is not about as they seem to take a pretty dim view of motorcycle bits being in the kitchen (for some strange reason :augie)
 
Then, when they're clean, give them a wee dry

Panniers028.jpg


Then it's out with the Acetone :D:D

Panniers027.jpg


Panniers030.jpg


Try not to inhale too much :spl1f: 
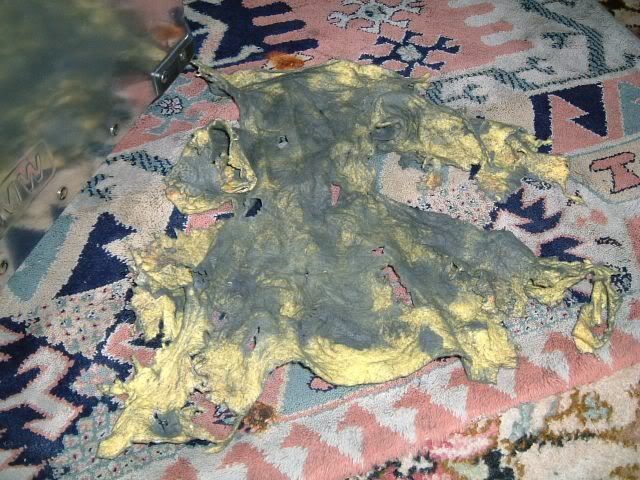
it does kind of mellow you out for the next stressful bit tho' ( Seriously : the fumes are really bad for your health so make sure you have a window open)

And you now have the prepared surface ready for the big one :eek:eek
 
I gave myself a wee head start ;)

The hard size between the two black plastic corner pieces is 162mm and the drop 85mm.

I cut out 90mm drops and left a middle piece of 163mm to play around with. The width is obviously far more than you need, but I left it there and would trim it later. Cover the pannier metal in a washing up liquid and water soloution - good squirt of liquid and a small amount of water in a bowl and then sponge it on. This stops the vinyl adhering straight away and allows you to slide it, peel it back and play around with it.

panniers002.jpg
 
You have to now peel some of the backing off and just get stuck in :thumb

The corners of the plastic corner pieces are rounded yet the shape I cut was square. So position the vinyl so that there is a wee lip to trim off and smooth it backwards from the corners of the edging pieces down towards to lock catch

panniers003.jpg
 
Then use a plastic card (my library card : yes I can read :augie) to smooth the vinyl down to the top edge of the lock catch. Then use the card as a guide to slice the vinyl along the top of the catch. This should be 1mm too big, you can trim the rest later.

panniers009-1.jpg
 
Do the same down the diagonal sides of the catch and cut the vinyl slightly oversize vertically for the rest of the catch as it will tuck in underneath.

panniers006.jpg
 
Then smooth it all out to the corners using your card - do not apply too much pressure as you'll scrape the vinyl, it only needs gentle strokes ;)

panniers005.jpg


Then you can start trimming round the corner pieces. Leave everything slighlty over size at the moment - it can be finally trimmed to size later.
 
Use your card to push the vinyl into the corner and then as a guide for cutting. You can follow this principle throughout this excercise

panniers011.jpg


Back
Top Bottom