

So I bought a new clutch kit (new pressure plate and cover plate that need alignment).
Reading manual flywheel, pressure plate and cover plate must be in certain position to be as a balanced system.
But can't figure out how to align my new clutch set with old flywheel. Flywheel has only one white line marking.
Old clutch set has different marks and the same markings won't work with my new clutch set (the new clutch has them on different spots if I compare the same numbers pressed in the metal 120 degrees apart).
I'll try to make pics later if needed. But I'm relatively sure the pics won't make any better sense.
Pressure plate and coverplate both have 1 green dot and 1 white line. White lines on both plates I can put in 1:1 sync (matched), but they don't sync with flywheel white line then. White lines don't go 120 or 180 degrees eighter with each other.
I can align green dot on the pressure plate to 180 degrees with with a white line on the flywheel.
So the best theory currently I have is to mach the cover and pressure plate with white lines (exact match) and then mount the clutch basket on with green dot 180 degrees to the white line on the flywheel.
Or I can ignore the markings and put it on as my old clutch kit (I had it marked myself so I exacly know how it goes on). But with this I'll risk scenareo when my clutch has a different balancing then the old one coming out of the factory.
Your thoughts on correct alignment?
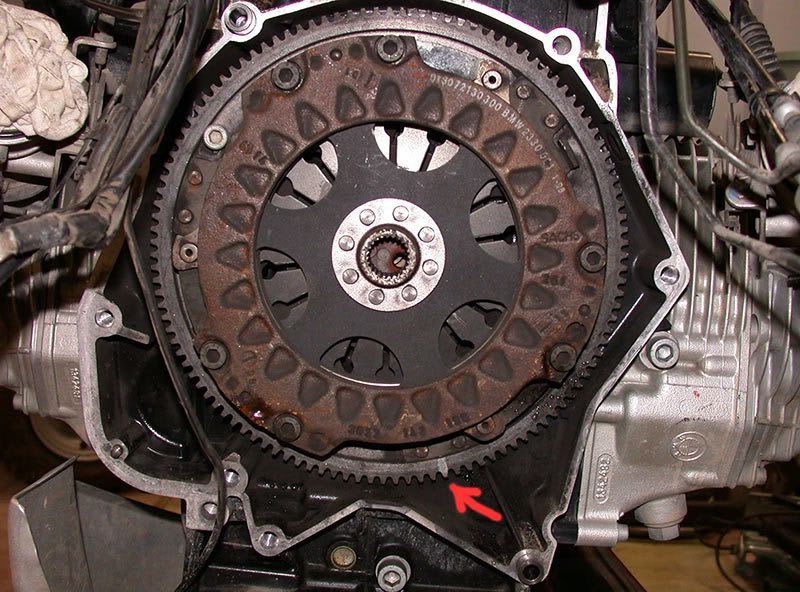


 I can't make all the white lines go 120 degrees with each other (flywheel line will be slightly off), I can't match the whilte lines (I can match only two as on the pic). I only got two blue markings (= can't match 3 of 'em) that don't make sense exept the blue dot can go 180 degrees with the white line on the flywheel (can a blue colour go 180 with white and whites must be matched???).
 ) and it nearly shook the bike apart.It was bad enough to take it all apart again and do it the other way,which was miles better.


