
SJRoome
Registered user
Hi
I have just replaced my original BMW rear shock with a custom shock from HyperPro. I bought the shock via Motorworks as I have used them for years. Here is the box from HyperPro.
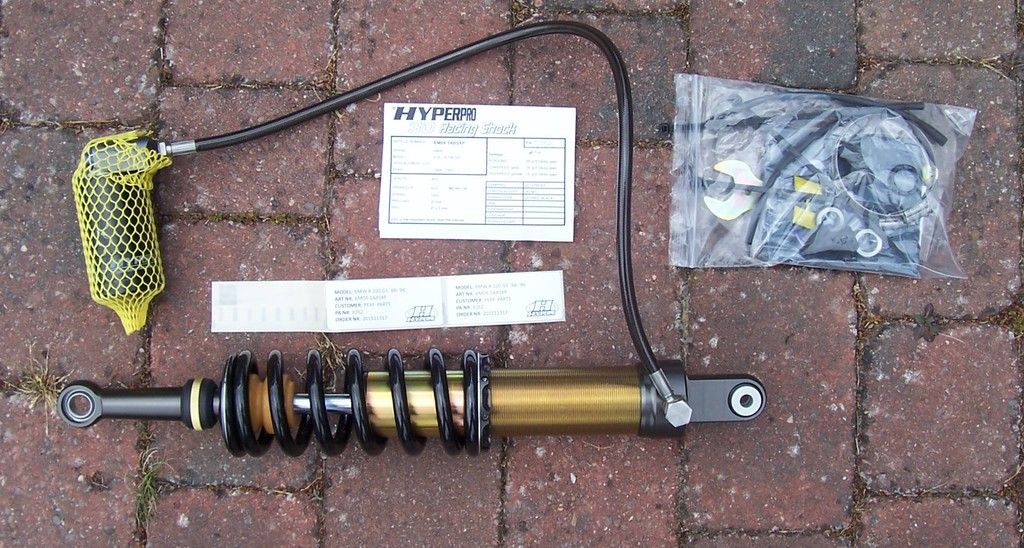
Opening the box you get the following, plus the shock manual.
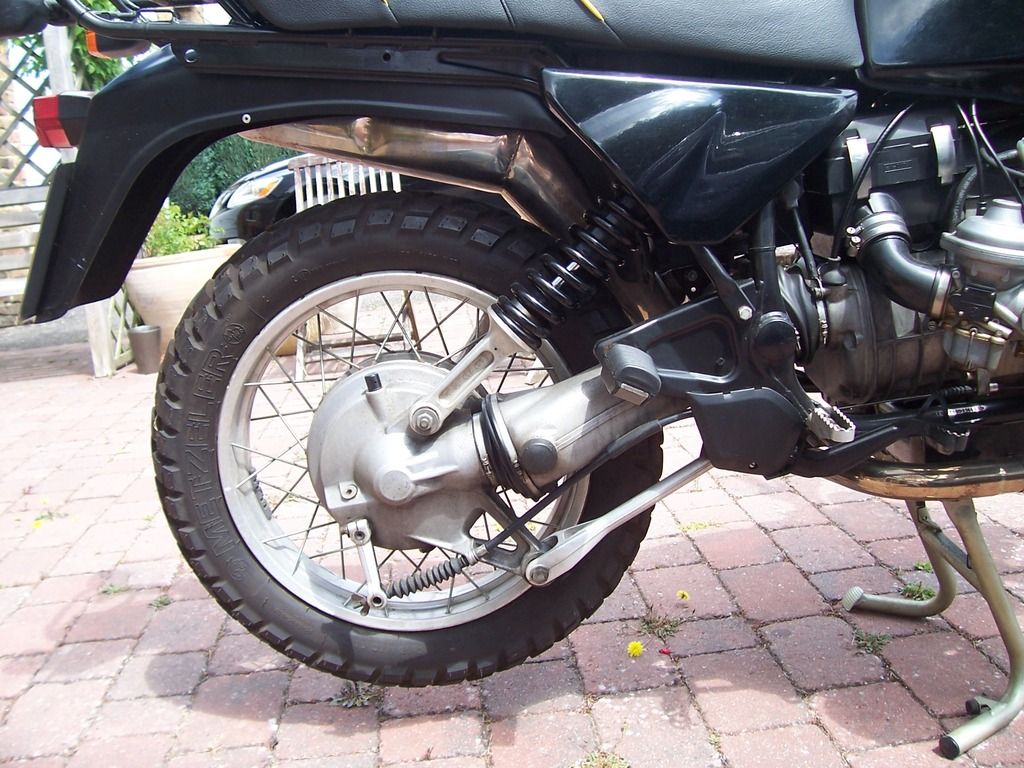
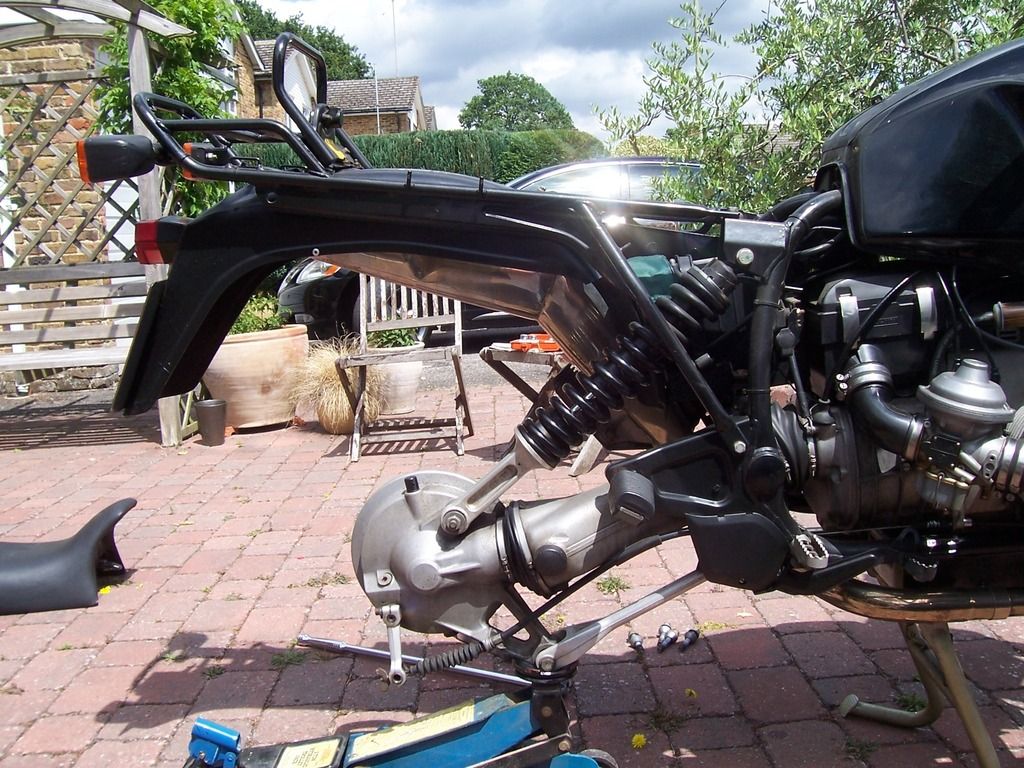
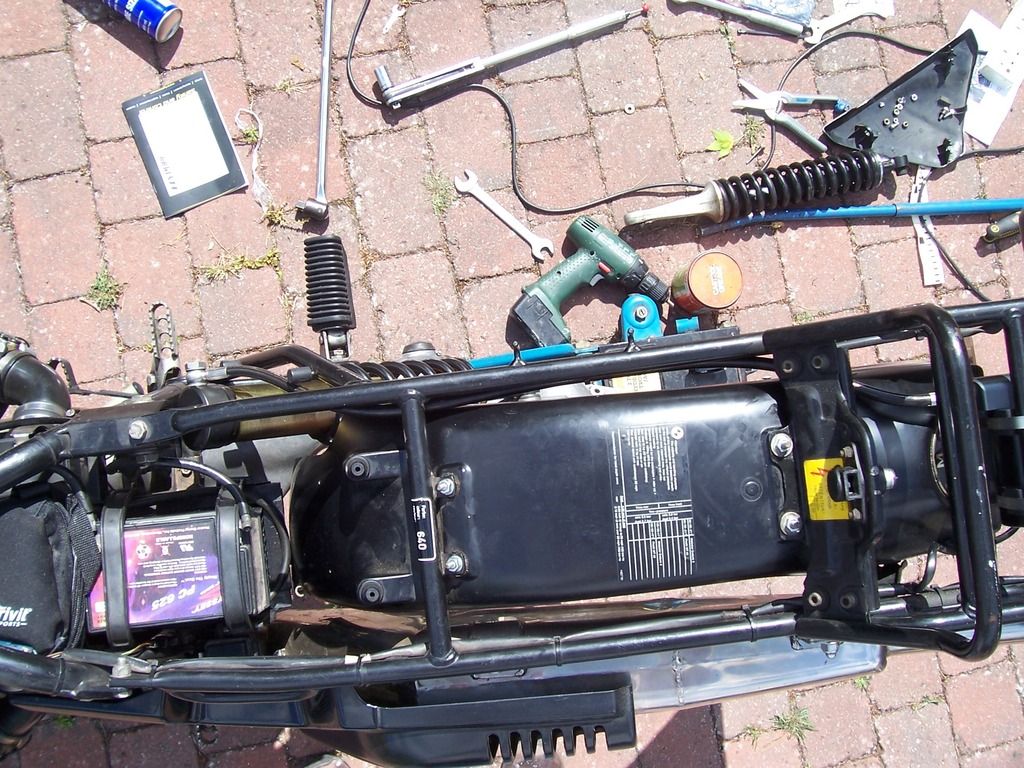
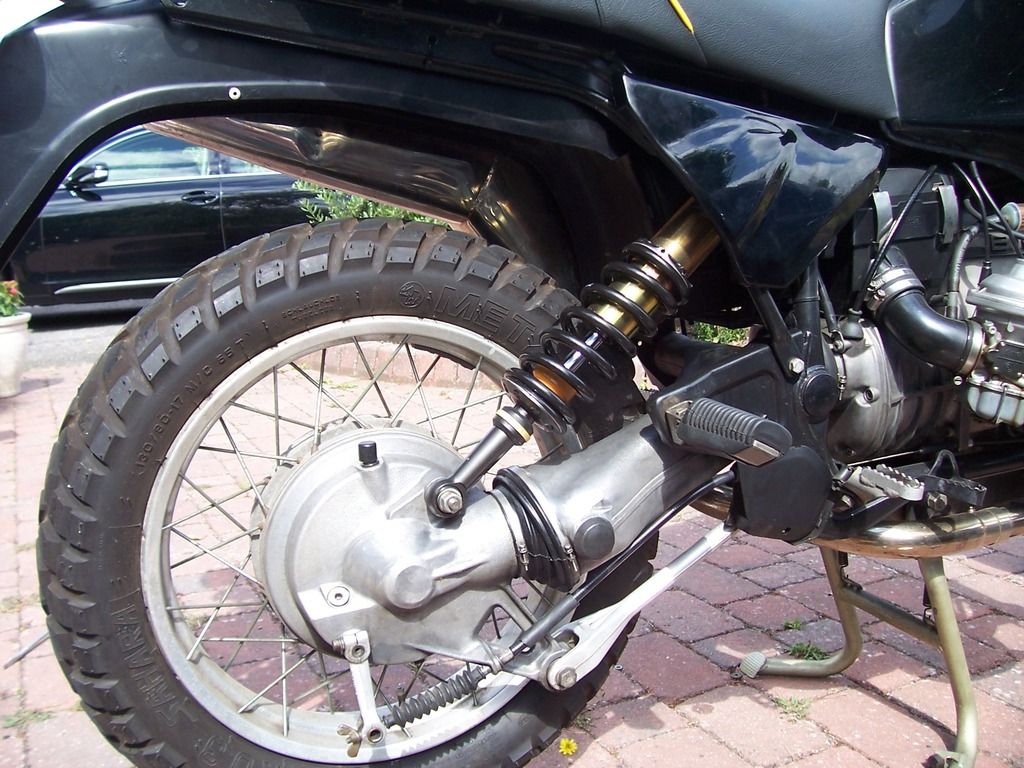
Here is my 1989 R100GS showing the original shock.
First step is to remove the rear wheel. I put it in first gear and undid the 4 bolts holding the wheel on. I used a breaker bar as the bolts are tight. Loosening the rear brake adjustment nut a few turns meant the wheel slid off easily.
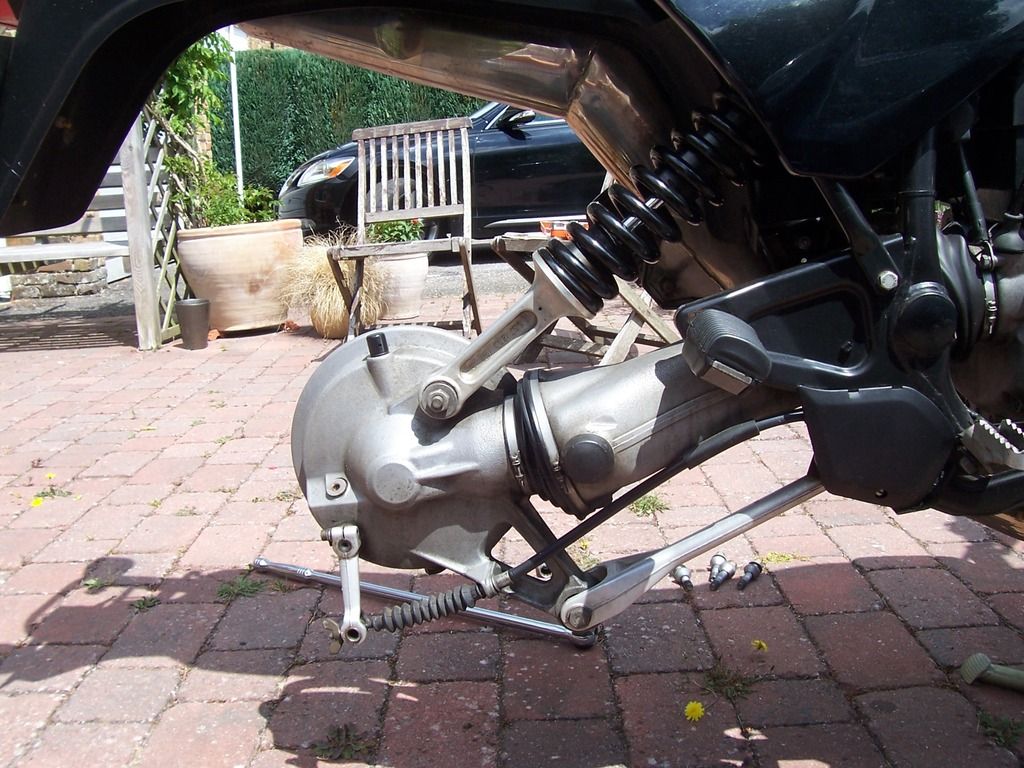
I then removed the seat and the right-hand airbox cover. I supported the rear suspension using a hydraulic jack.
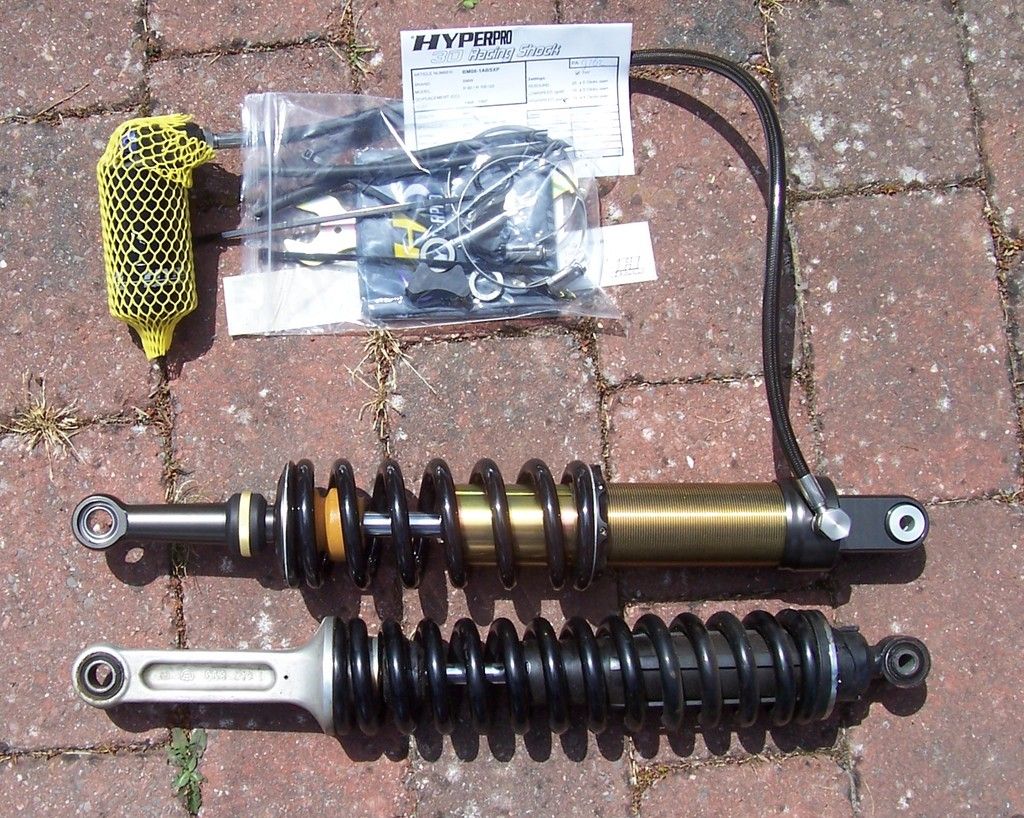
I removed the bolts at each end of the shock. I used a hammer and a piece of wood to drive out the top bolt. It came out very easily as supporting the rear suspension meant there was no load on it. To remove the shock required lowering the jack an inch or so. Here are the old and new shocks together for comparison.
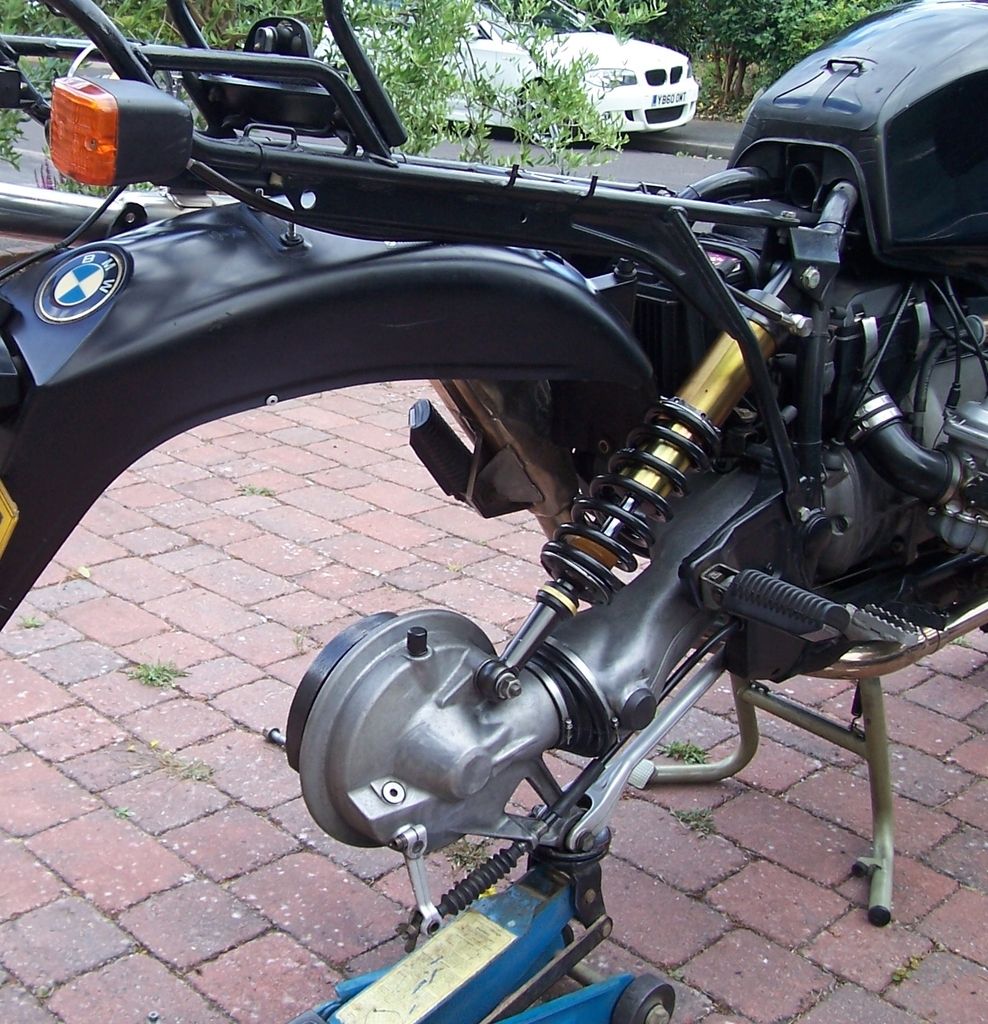
To fit the new shock I greased and fitted the lower bolt loosely first. This requires putting a spacer either side of the lower shock mounting (these were not mentioned in the HyperPro manual but their orientation seemed pretty obvious). I then lifted the shock using the hydraulic jack until the upper bolt lined up and greased and fitted that loosely as well. Both mountings were then torqued to the 30 Nm specified in the BMW manual using a torque wrench. I then undid 4 nuts and a bolt holding the rear mudguard so I could drop it to ease routing the pipe between the shock and its remote reservoir.
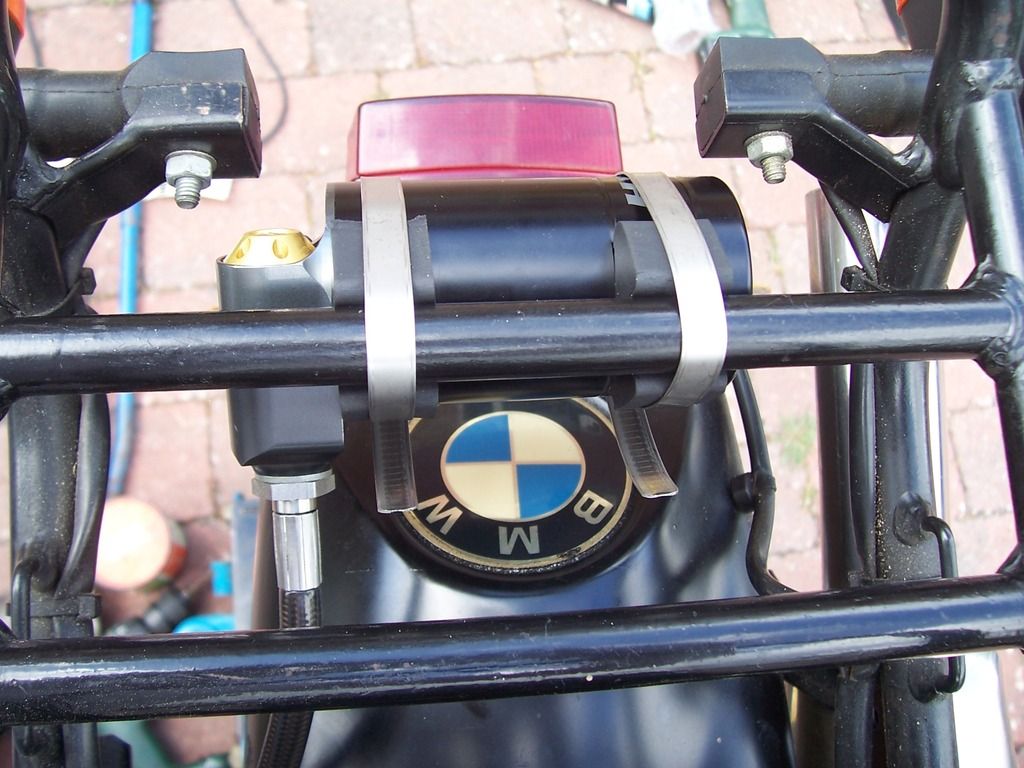
HyperPro recommend fitting the reservoir between the rear indicator stalks holding it in place with large circlips and this is the only mounting kit provided. Here are views of the fitted reservoir from the rear and from above.
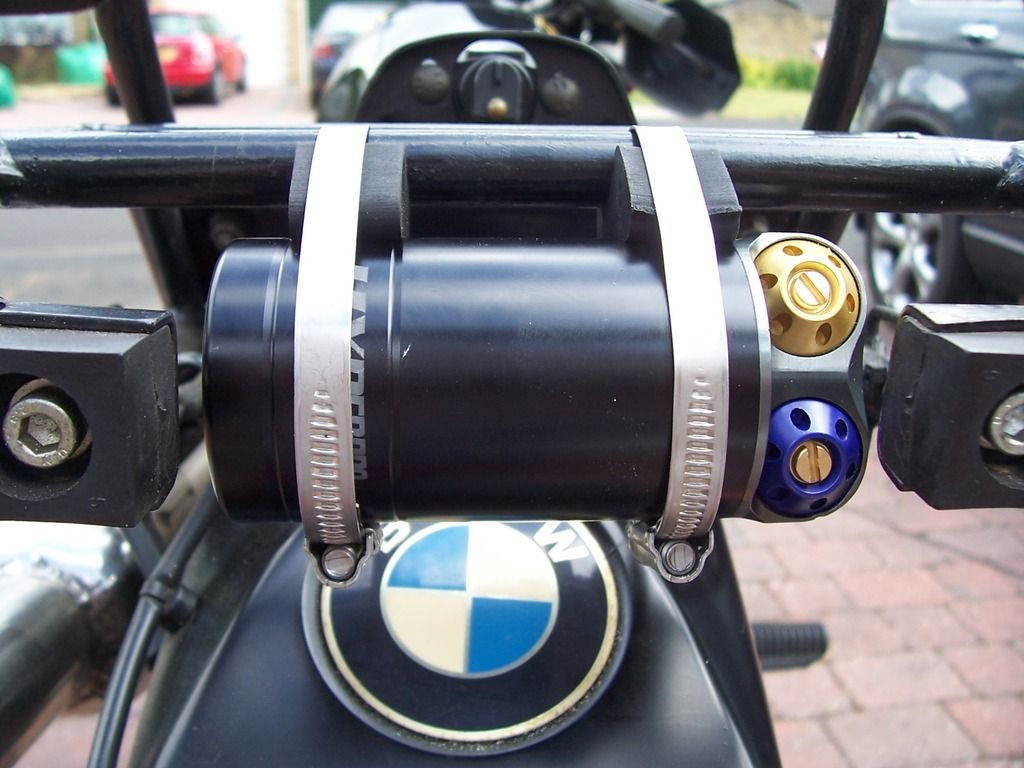
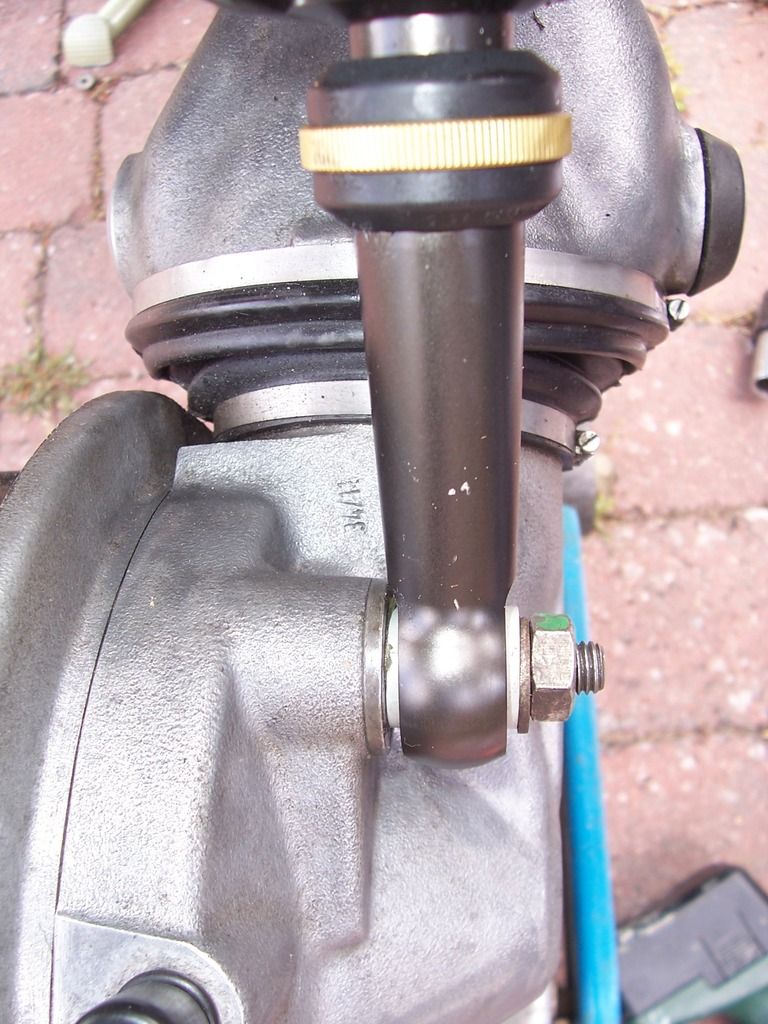
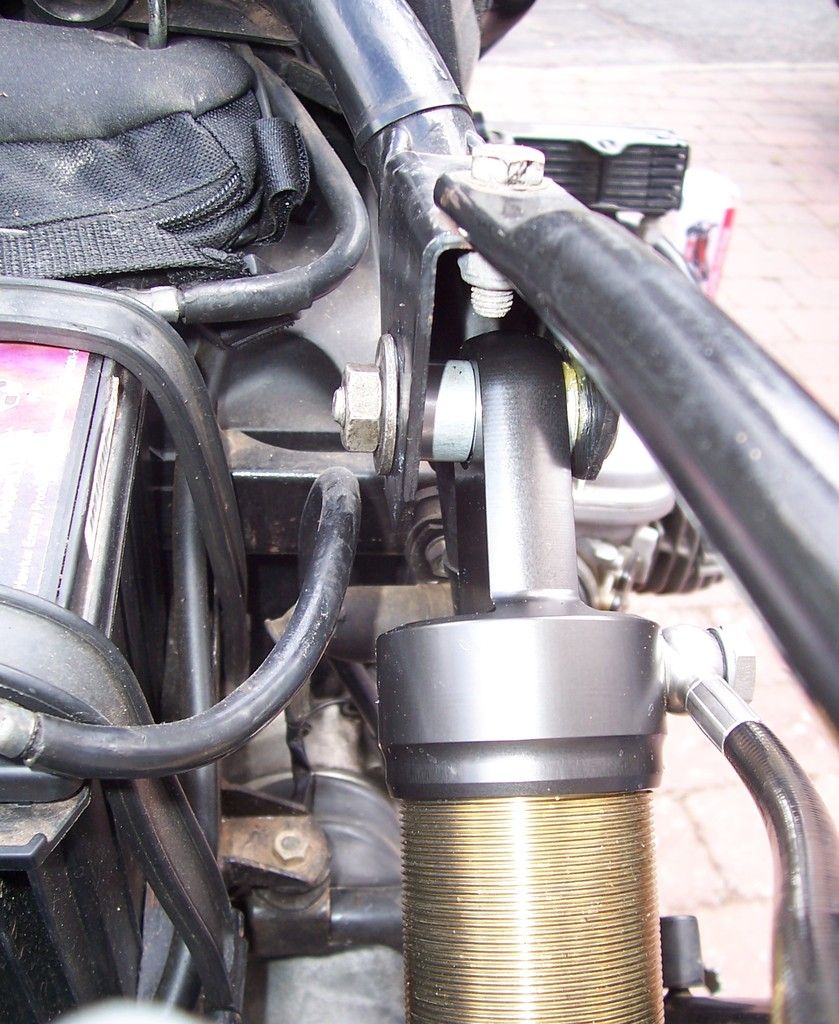
Not sure if I will stick with this mounting position. If I do i will trim the excess from the circlips. Here are close ups of the shock mountings just for reference.
I used only one of the supplied cable ties to attach the pipe to the frame. I then lifted and reattached the rear mudguard.
Replace the rear wheel, seat and airbox cover and re-adjust the rear brake and the job is done. The recommended torque for the wheel bolts is 105 Nm which is higher than my torque wrench goes. I set it to its maximum (60 Nm) tightened each bolt until it clicked and then quite a bit more.
Hope someone finds this useful.
Steve
I have just replaced my original BMW rear shock with a custom shock from HyperPro. I bought the shock via Motorworks as I have used them for years. Here is the box from HyperPro.
Opening the box you get the following, plus the shock manual.
Here is my 1989 R100GS showing the original shock.
First step is to remove the rear wheel. I put it in first gear and undid the 4 bolts holding the wheel on. I used a breaker bar as the bolts are tight. Loosening the rear brake adjustment nut a few turns meant the wheel slid off easily.
I then removed the seat and the right-hand airbox cover. I supported the rear suspension using a hydraulic jack.
I removed the bolts at each end of the shock. I used a hammer and a piece of wood to drive out the top bolt. It came out very easily as supporting the rear suspension meant there was no load on it. To remove the shock required lowering the jack an inch or so. Here are the old and new shocks together for comparison.
To fit the new shock I greased and fitted the lower bolt loosely first. This requires putting a spacer either side of the lower shock mounting (these were not mentioned in the HyperPro manual but their orientation seemed pretty obvious). I then lifted the shock using the hydraulic jack until the upper bolt lined up and greased and fitted that loosely as well. Both mountings were then torqued to the 30 Nm specified in the BMW manual using a torque wrench. I then undid 4 nuts and a bolt holding the rear mudguard so I could drop it to ease routing the pipe between the shock and its remote reservoir.
HyperPro recommend fitting the reservoir between the rear indicator stalks holding it in place with large circlips and this is the only mounting kit provided. Here are views of the fitted reservoir from the rear and from above.
Not sure if I will stick with this mounting position. If I do i will trim the excess from the circlips. Here are close ups of the shock mountings just for reference.
I used only one of the supplied cable ties to attach the pipe to the frame. I then lifted and reattached the rear mudguard.
Replace the rear wheel, seat and airbox cover and re-adjust the rear brake and the job is done. The recommended torque for the wheel bolts is 105 Nm which is higher than my torque wrench goes. I set it to its maximum (60 Nm) tightened each bolt until it clicked and then quite a bit more.
Hope someone finds this useful.
Steve

")


