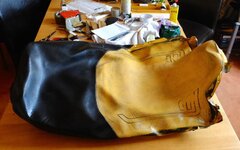
Just about to make a start on this, but thought I'd check and see if anybody has done it before.
Any hints and tips gratefully received.

Any hints and tips gratefully received.


Who sells these covers ?
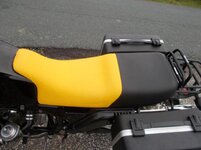
Are you enjoying the bumblebee?


 .
.") ).
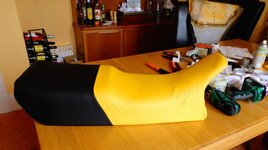
).That's looking good, Robin.
I look forward to seeing it back on the road
p.s. "Landrover Bob" says 'Thanks for the oil'
Bob.