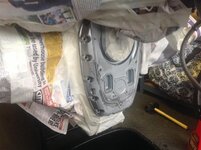
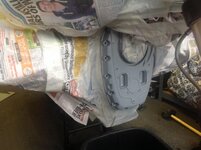
I had mine powder coated but the bottom edge where corrosion was worst has gone bubbly as the corrosion pits cant have been fully cleaned out. Next time I would chemical stop it (Biostrip) just the same, but would have grit blasted and heated to remove all posture etch then etch prime and paint. This is easy to touch up if needed. Powder coat is not repairable.
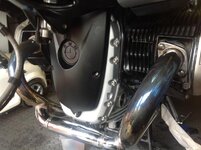
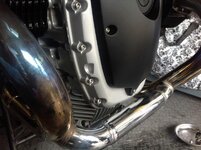
This pic shows how the corrosion has started from the under the plastic belt cover, but the bottom centre is untouched The problem is corrosion from around the steel screw holes and the edge of the belt cover fretting at the paint. I have trimmed the belt cover edge and put washers under the screws. The keeps the edge from touching and damaging my nice powder coating.