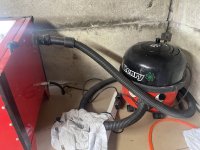
Sandblasting day today. First thing I noticed with my cheap little blaster was no matter what I tried I seemed to be getting fine dust escaping through the door. It has a small filter on the side but no extractor system to reduce the pressure inside. So with a couple of bits from B&Q and a cheap marketplace purchase of a secondhand Henry hoover we now have an extractor and no dust. Jobs a good un.
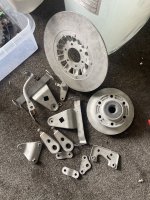
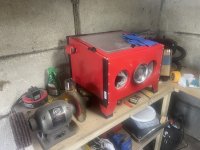
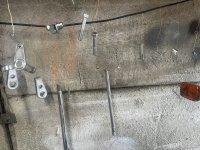
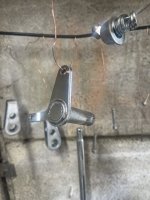
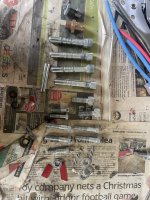
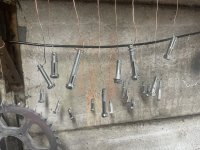
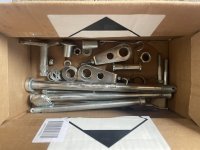
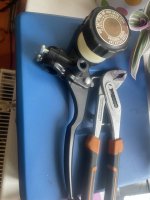
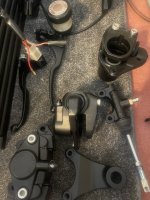
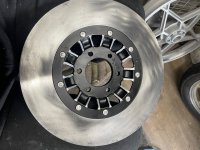
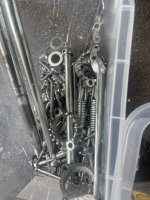
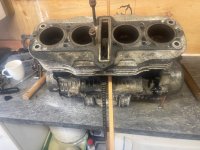
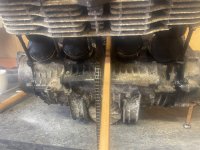
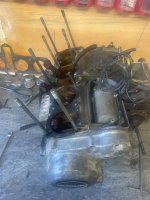
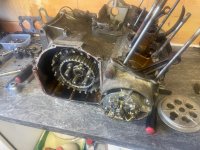
Here’s my heath robinson sand blaster and the parts I managed to clean.
Here’s my heath robinson sand blaster and the parts I managed to clean.