I have been asked via PM if I could make someone else a pair of studs like the one above, see post #12. Fine, no problem. His heads are on the bench already, so there will be no difficulty drilling the hole for the new stud, it has to be square with the top of the cylinder head obviously.
I did mine with the head on the bike, but the ideal way would be to do them on the bench without doubt. As I'd just had my engine in bits I couldn't face taking the head off again so with a modicum of care things worked out fine.
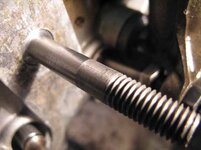
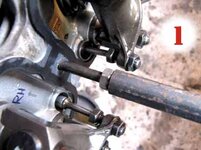
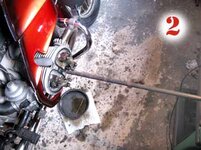
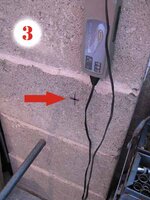
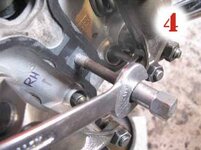
I first of all drilled and tapped a long (600mm??) rod to screw on to the end of the original stud that was beginning to pull out of the head. Photo 1. The drilling and tapping was done in the lathe to make sure that the thread was in-line with the rod. I used this rod to mark on the garage wall where the stud was pointing at (photos 2 & 3) so that the drill could be aligned correctly and the 8.5mm hole drilled squarely in the head before tapping to the next thread size up i.e. M10 X 1.5, to match the new stud. This mark on the wall was then used to line the tap up when cutting the new thread. The old stud had to come out first before drilling so I put on an ordinary 8mm nut on the stud and locked it up against the cap nut and then just unwound it out of the head, photo 4.
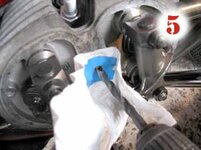
Before drilling I stuck some paper around the hole to stop the swarf from getting into the engine. Photo 5.
There are a couple of photos that I really should have taken, one showing the length of welding rod taped to the body of the drill which helped line it up with the mark on the wall. The other was of the actual tapping of the thread for which I used another rod of 20mm dia. approx (it was a busy day for rods) as an extension for the tap, with the tap wrench on the other end which was then lined up with the mark on the wall to perform the actual tapping operation.
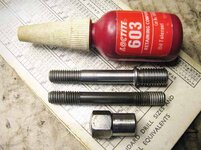
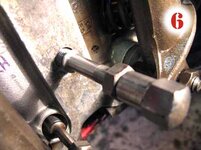
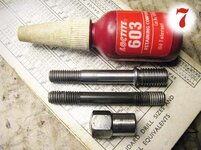
Photo 6 shows the new stud being inserted, again with a spare nut locked against the central cap nut. The last (No. 7) shows the old and the new studs, the old simply has an 8mm thread screwed directly into the alloy of the head which really doesn't leave much leeway for overtightening as can be seen from the other posts on this thread, whereas the new one has a 10mm thread into the head, and also a shoulder to tighten it up against. This shoulder does need a counterbore of a millimetre or so to allow it to seat flush in the head. As for the Loctite, well, that's optional, I happened to have some.
Bugger. It seems that there is a limit of five photos that I can insert in one post, I'll put the last two in another post. Something here I don't understand, Ride-out reports can have dozens??




 wouldnt have thought it would have been too dificult to do myself but the repair cost less than getting the kit to do it myself


 Well, it's what it's all about, innit?