Thanks for posting Andy.
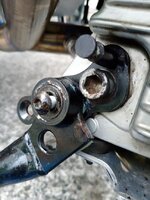
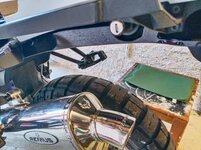
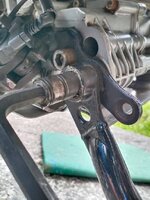
Might be an idea to remove the two coats of paint from the rear wheel mounting holes. The paint will break up and allow a tiny amount of play to develop, which in turn could cause the bolts to loosen.
It needs to be metal on metal ideally.
This phenomenonenom was identified years ago as one factor in HGV wheels coming off the vehicle.


 ) which I'll try and document.


")


")