Wust,
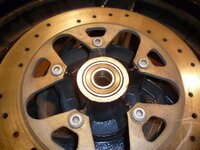
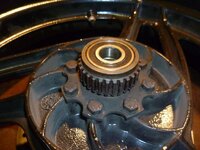
That's almost exactly what I've tried. The bearings have a double row ball race and are quite deep which means the segmented barrel expands and engages with the inner race before the lips on the end do.
Haven't given up yet...
That's almost exactly what I've tried. The bearings have a double row ball race and are quite deep which means the segmented barrel expands and engages with the inner race before the lips on the end do.
Haven't given up yet...

 .
.

")


 ....tut tut what a short memory you have these days old chap.