Yep, checked all that!
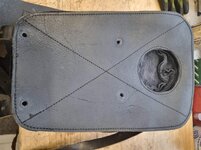
Wedge tail kit arrived today, looks nicely put together.


Wedge tail kit arrived today, looks nicely put together.


Nice one, was the old box of sparks an original item, or is it going back for a refund