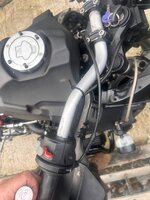
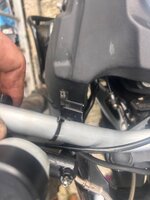
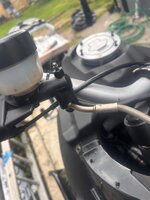
All your short of is a Gimp mask and your good to goI didn’t mention the good torch, the one I was holding between my teeth - I had to wrap the end of it in nitrile gloves and duct tape to get purchase
I really am very very grateful dr f.




All your short of is a Gimp mask and your good to goI didn’t mention the good torch, the one I was holding between my teeth - I had to wrap the end of it in nitrile gloves and duct tape to get purchase
I really am very very grateful dr f.


Good luck fella,gotta say been there,wouldn’t fancy doing it again,Doc Farkoff was a great help and others of course during this nightmareToday is a big day. I’m awake very early. I’ve a sense of optimism, fear, excitement, worry and determination. Perfectly understandable consider what I’ve ahead of me.
The jb weld takes 24 hours to reach full strength so I’ll leave it alone until tomorrow morning. I know I’ll be dying to test the abs motor - bets are off as to me being able to wait until tomorrow. So here is today’s list;
Install new coils.
Replace the plastic trim that goes around that.
Finish installing the crash bars
Finishing installing the spots
Solder and wrap the abs cable under the seat.
Tend to the abs units, starting with the ford motor. This might be involved. I’ve bolts to cut to size and have a bit of fiddly work to do. Not looking forward to drilling those holes. I don’t have a center punch so I think I’ll experiment with a big nail and see how that goes on the ford unit.
I’ve wooden blocks to make to keep the brake pads fully extended - not sure how to approach that for the rear Brske- must search fur that.
Charge the battery.
I also want to Dremmel the loose paint out of the area under the abs units. I’m going to give it a lick of hammerite.
Realistically, it’ll be Tuesday before I can look to finish this.


 Baza
Baza
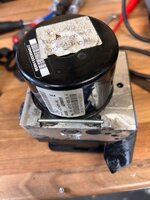
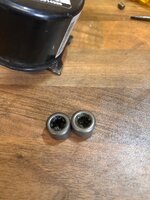
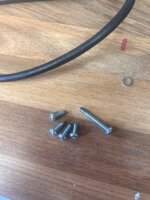
 . I’m currently having a bit of a sit down to collect my thoughts. Those black washers are plastic BTW not rubber. I’m sure rubber would do a good job too.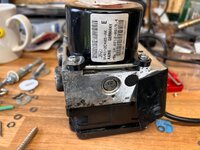
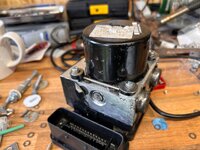
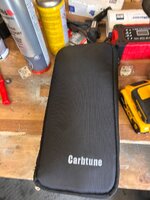
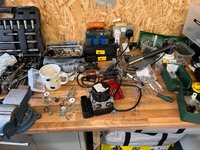
Looks like a cracking job you’ve done there mate,I’m more a “glue and sticky tape”sort of fellaThe abs unit has a new motor
Fashioned two bars
View attachment 536454
Decided I like the look of the bmw bearing better simply on the grounds it came with the bike
View attachment 536455
Cut down four bolts to around 9mm and used my dad’s 50 year old file to tidy up. Tested it in the ford test hole.
View attachment 536456
Rooted around a bit and came up with this. I’m rather pleased with this
View attachment 536457View attachment 536458
I want to find out if the abs fault is gone. I’m putting it in. I’m not going to buckle up the center bolt until tomorrow but for now I need to see this work.

On the mend, thanks for asking.Looks like a cracking job you’ve done there mate,I’m more a “glue and sticky tape”sort of fella
BTW hope you’re Mums feeling better
I bet you’re chuffed mate, there a bloody pig to doI have the ABS unit secured, plumbed and it’s working!
I’m rather chuffed


I will be if I can bleed them. Battery currently charging so I’ll have to wait until later to do the final stuff. Used non standard bolts. They are what I had - proper solid Philips heads that actually stayed on the screwdriver while trying to fit it together. Right I’m gonna frack on - just wasting time waffling here.I bet you’re chuffed mate, there a bloody pig to do

Not so the Reviews Baza. Utter shite but that's the sort of thing Comfy really needs.Might be a bit late in the day,but maybe one of these might help,plus on the
upside you can use it as a "Dog House" when the "Doo Da"hits the fan

Just going on the price bro,it might save him getting theNot so the Reviews Baza. Utter shite but that's the sort of thing Comfy really needs.

 in pray atm


 . His words: tighten until resistance then tighten by 1/8 - 1/4 turn max.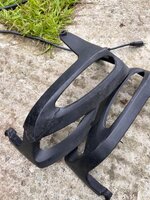
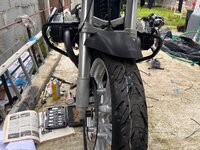
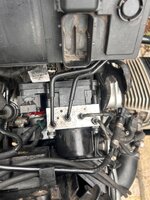
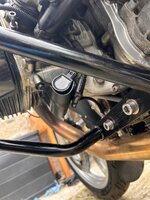
I’ve been lucky with the weather and all in all I’m reasonably happy with my outdoor garage! An upgrade will happen in time.Not so the Reviews Baza. Utter shite but that's the sort of thing Comfy really needs.
Might have something to do with it having no petrol tank at the moment time will tell!I bet you’re chuffed mate, there a bloody pig to do
Did the nasty Yellow Triangle disappear