Would some kind soul have a quick look under their tank, please?
My tank is 350 miles away, with Tunneruk, and I'm about to finalise the position of the electrics. However, it'd be a pain to do so and then find the tank doesn't fit over them!
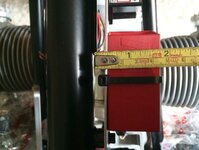
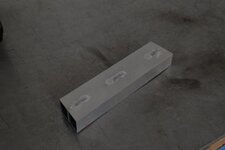
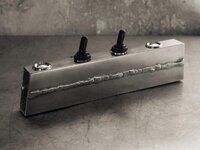
This is how far they stick out. If someone could measure from the the top tube to the furthest point on standard electrics, that would be most helpful.
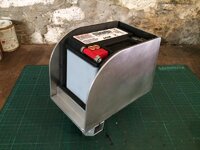
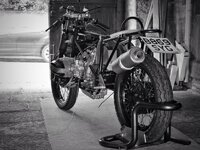
If they don't fit in the original position, I'll put them in the seat hump with the oils breather tank (which I haven't made yet!).
")
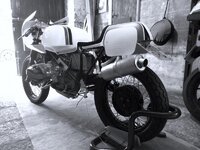
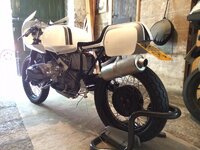
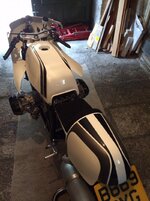
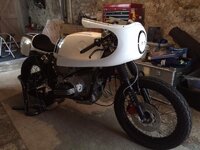
My tank is 350 miles away, with Tunneruk, and I'm about to finalise the position of the electrics. However, it'd be a pain to do so and then find the tank doesn't fit over them!
This is how far they stick out. If someone could measure from the the top tube to the furthest point on standard electrics, that would be most helpful.
If they don't fit in the original position, I'll put them in the seat hump with the oils breather tank (which I haven't made yet!).