Green Laner

I feel no shame in modifying non gs frames. If a use is not found for them they end up as scrap and are lost for ever.

This project seems as gooder reason as any to cut those hideous lumps of steel off.

Seems to me it will be a G/S in all but the frame designation.
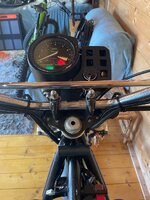
 
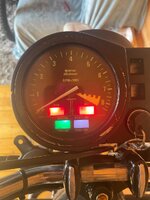
Keeping on with the theme of working with what you have - I fitted an R80ST tachometer and warning light set up, into the G/S speedometer housing.

IMG_4965.jpeg

Thinking I probably don’t need to know my speed when I’m green laning 😉

Considering my options for a mini speedo where the warning lights would normally live.
 
Think I have a km g/s speedo,
And the idiot light lenses,can prob come up with the printed circuit/ bulb holder( may need some work)

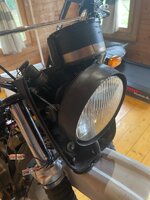
Also got a headlamp but no metal rings( LHD)

Thanks Mikey

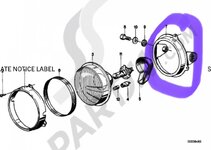
I do already have 80% of the G/S headlight parts including a RHD Bosch lens but missing the all important bracket circled..

IMG_4967.jpeg

I know these are hard to find but i’m no rush.

Will be in touch
 
Pete

As i said before…I have the warning lights panel with working lamps if you want it.
Then you could fit Mikeys kmph speedo……
 
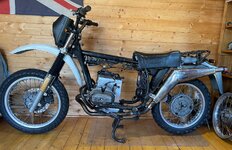
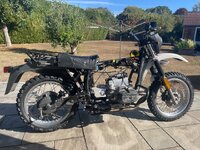
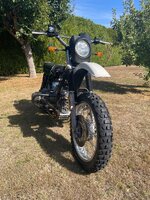
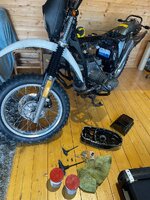
Green laner pushed outside so I can do some work in the morning sunshine..

IMG_5112.jpeg

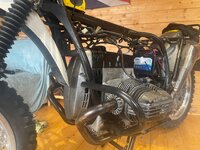
The giveaways that this project is based on an R100 monolever frame is the upper shock absorber mount, the modified G/S drive unit to accept the lower shock absorber mount, the footrests and the (current) shape of the right side exhaust hanger bracket.

I should get the engine covers back from the powder coaters next week so I can finish that off.

Subframe and carburettors still need work.
 
Engine covers are finally back from the powder coaters. Worth waiting for as they’ve done a lovely job.

Cleaned out all the threads on the timing cover, fitted a new crank seal and have begun preparations to fit it.

I did consider pulling the engine out and doing this on the bench, but without a second pair of hands, I’m going to roll round on the floor and do it engine in.

IMG_5140.jpeg
 
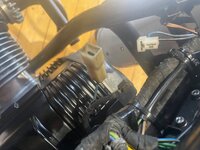
Got the timing cover on today and connected up all the internal wiring..

IMG_5144.jpeg

Started to connect up the external wiring and - doh - two different styles of connector.

IMG_5143.jpeg

The main wiring harness calls for a 2 in plug while the sub harness has 2 separate wires.

Going to have to de-pin the wires in the sub harness and make a good connection
 
Fire in the hole 🙂

IMG_5151.jpeg

Finished all the wiring and we have a full set of working warning lights.

After the failure of project Money Pit to build oil pressure, I was nervous to press the starter.

Two decent starter rotations and the oil pressure warning light went off. Now it goes out quickly and stays off for a few seconds.

Quite excited until I noticed there was no spark.

Time to trouble shoot that problem but progress is being made
 
I’ve now ruled out the beancan.

Plug in tester flashes on and off as engine spins over.

Ignition coil test next.

If that checks out I guess it’s the ignition module ?
 
Had some time for some more trouble shooting this afternoon.

I think the ignition coil may be defective.

I’m getting no resistance on either primary or secondary side of the coil and no continuity either.

No spark when cranking and no spark when flicking the ignition kill switch on and off.

I think its fritzed ⚡

Time to hunt out a replacement.
 
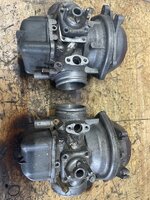
So while the hunt is on for a replacement ignition coil, it was time to address the carbs.

This pair are left over from the Money Pit project and I’ve never had them on a running machine. Completely unknown to me.

Got them both stripped prior to cleaning..

IMG_5160.jpeg

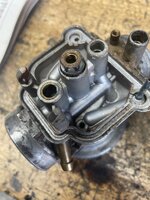
And then hit a problem with the right side carb. The float pin was corroded and snapped as I pulled it out. A short remnant can be seen poking out of the farthest pivot leg.

Other problem is the main jet holder which is stuck fast in the body..

IMG_5161.jpeg

Going to soak the body in Evaporust for a while and see where that gets me.


Back
Top Bottom