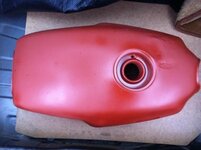
1. Take one stripped tank

Try to remove as many dents as you can, if they're small and not too deep then you'll be able to apply the filler straight over them. Be sure to apply filler to bare metal. Use as thin a layer as possible but cover a far greater area than needed. If you just put filler in the immediate area of the dent then it'll be obvious.
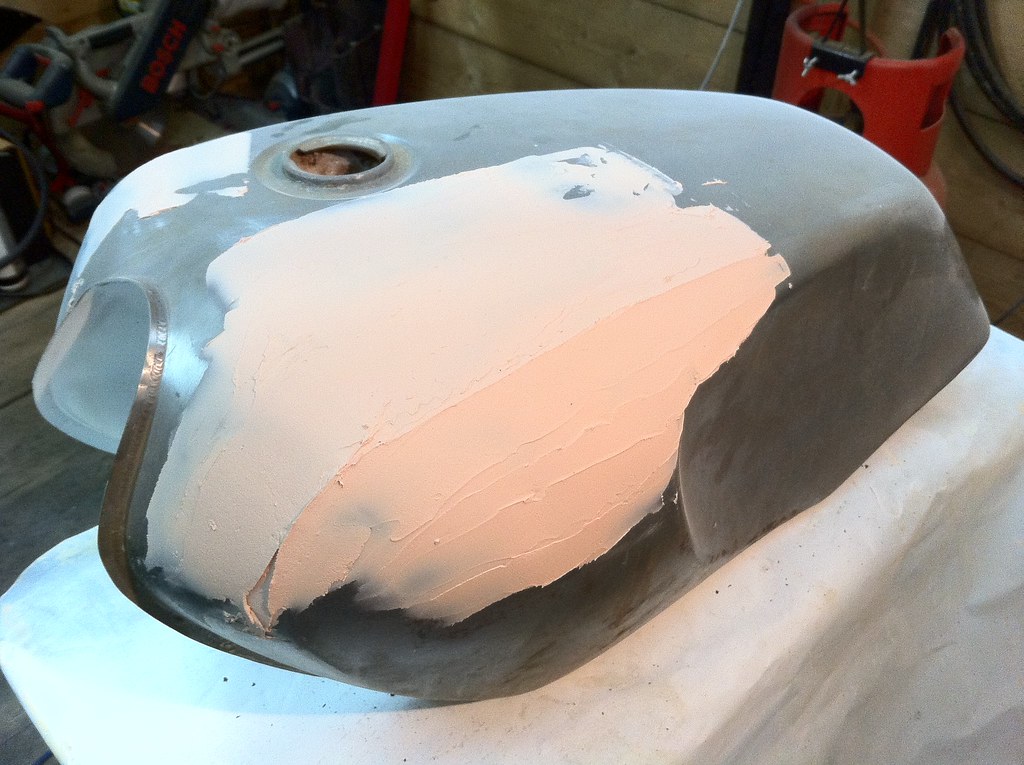
Once the filler has gone off (usually no more than a couple of hours) you can start shaping. Use 80g paper / disk wrapped around an 8"x 2" flat block and work in long even strokes. Follow the shape of the tank progressively across the whole area. Don't use short sharp strokes. Before you get to the final shape, switch to 180g paper / disc to take out the course finish in the filler.
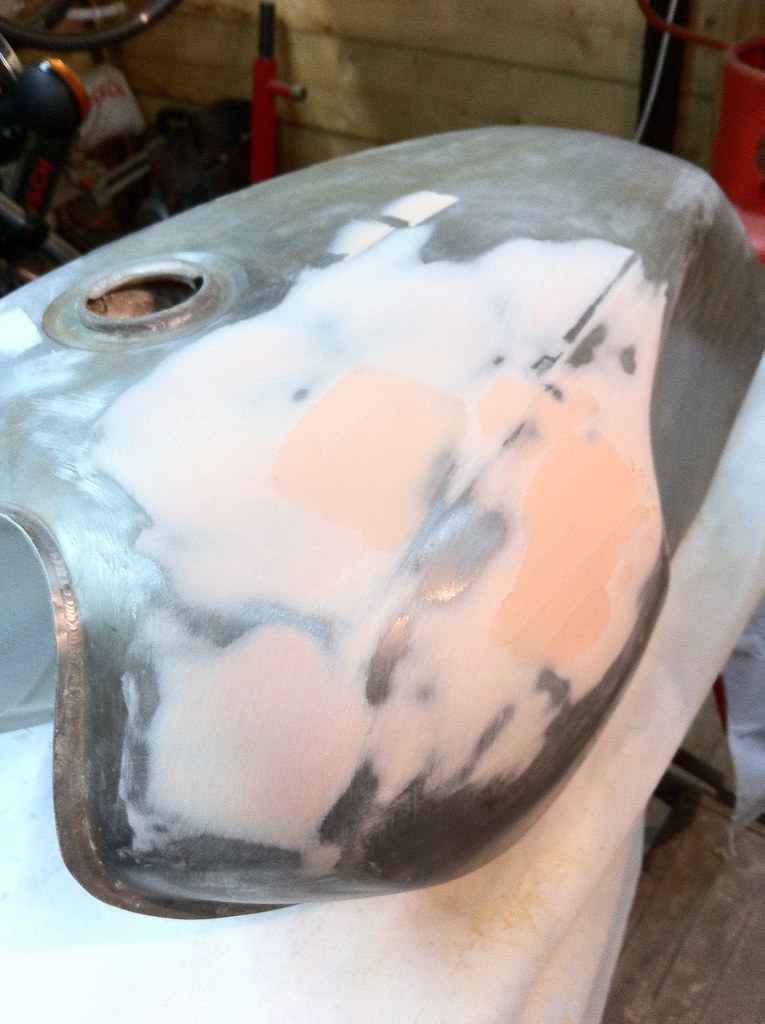
Once you've got the basic shape it's entirely possible that you'll need an additional skim to get the shape perfect. start working on this extra skim with 180g and blend in until the shape is perfect.
Once you're happy with it, use a clean lint free rag and some panel wipe and clean the life out of it, no grease, no dirt, no dust. Make sure the tank is at least room temperature, slightly warmer if possible and apply a coat of etch primer. Ensure the paint is equally as warm and make sure you've shaken the can to within an inch of it's life. use long even passes and don't overload the surface with paint. remember that painting is all about patience, you can always come back and give it another light coat.
Check there is no debris in the etch primer, if there is, rub it back with a 240g pad and reapply paint to these areas.
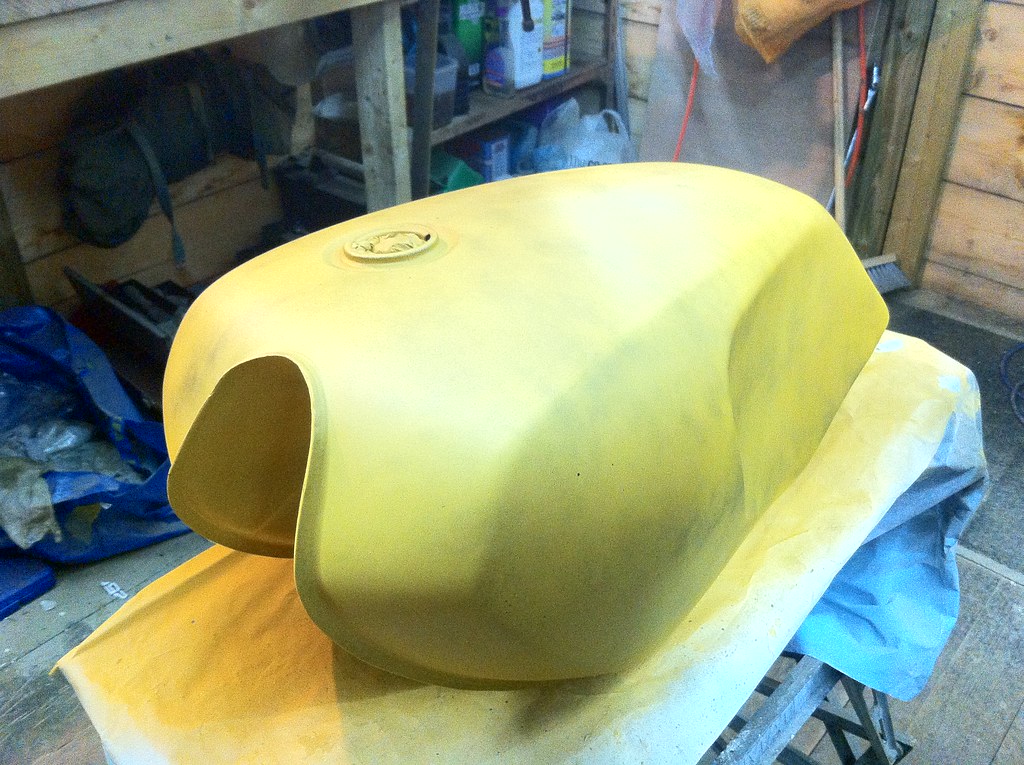
Once your satisfied that you've covered all the bare metal in debris free etch primer it's time to apply filler primer.
Filler primer is much thicker so the warming and shaking process is far more important but you're able to go a bit heavier with each coat. I would suggest 1x coat, leave for a couple of hours then another coat straight over, making sure the tank stays at at least room temp, sightly warmer if possible. Don't worry too much about runs at this point but try to avoid them if possible.
Give these two coats of filler primer at least 24 hours to harden up.

Once hardened, take a can of satin black and literally dust it across the tank, all you need to see is speckles of black
This will flash off in about 30 seconds so you can set about the rubbing down.
The purpose of the dust of black paint is that you're going to rub through it. It'll expose any scratches or low points in your filler / primer work that you'd never see or feel otherwise.
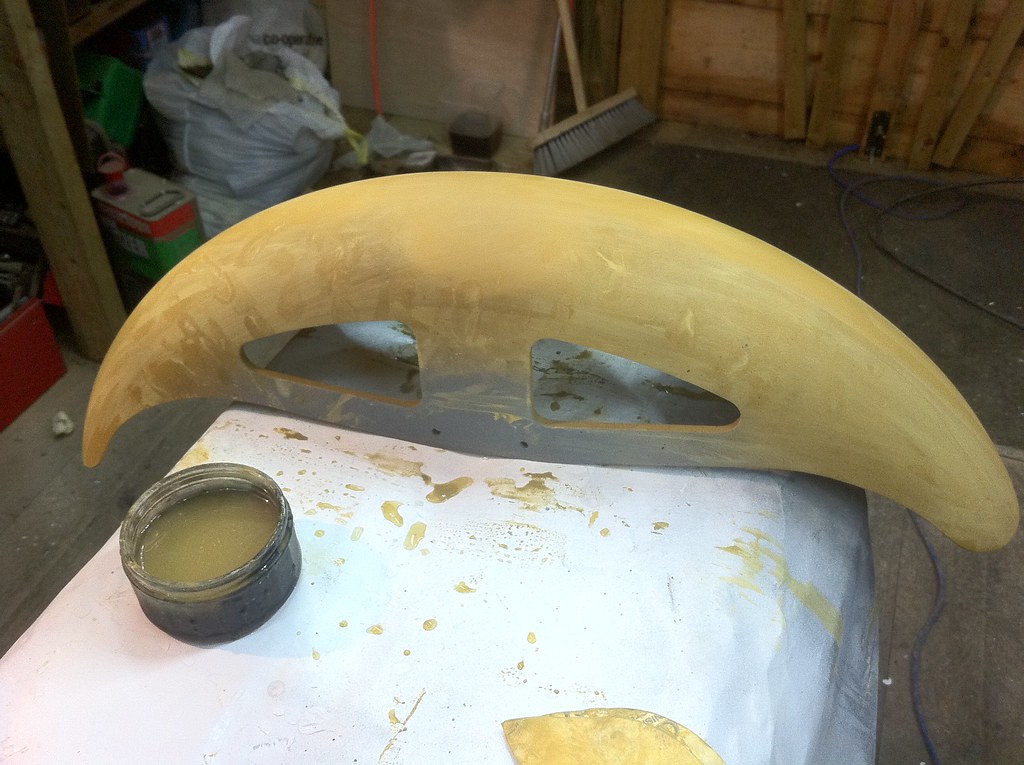
Use 320g paper / disc with a bowl of water and gently start to work away at the black specks, you can be nice and gentle and you'll start to see results. I didn't photograph my tank during this process so see the pure yellow patch at the TDC of this mudguard.
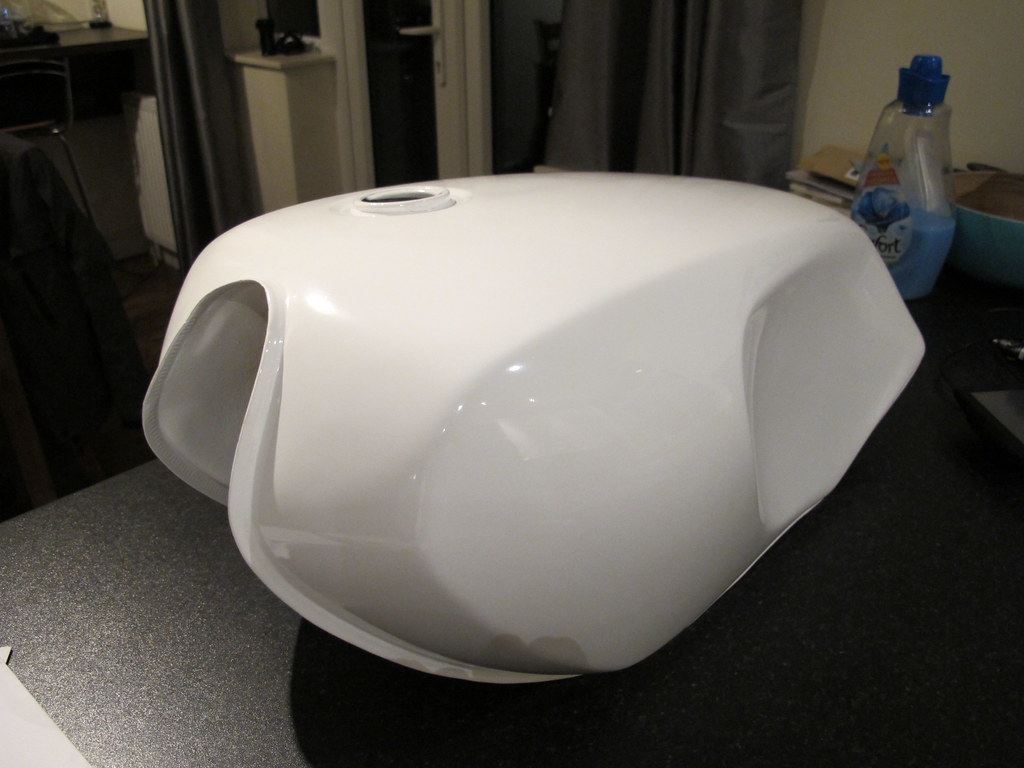
You'll quickly realise where you've worked and where you haven't. Complete this process over the whole tank until it's smooth and clean. If you go through the filler primer then repeat the process in those areas. The end result you want is a smooth clean tank with no imperfections.