Benjamin M
Registered user
I like the sellotape holding the BMW badge 


And made a fancy cardboard headlight and screen holder
Do you think it'll hold?


How did those crankcases come up Pete? If they were anywhere near as bad as the gearbox somebody earn't their money.


howsit guys, I've just read the thread from the beginning and was wondering if the twitchiness you feel was not from the frame that hadn't been strengthened yet? i guess you'll only find out once you test ride it after the reassemble! how much, if i may, did the guy charge you to strengthen the frame and where did you get the locations and sizes for the gussets etc?
bike looks good so far, i think the smaller (standard) tank looks better, but really its on so many guys wish list what you have already accomplished. well done!


 , lookin good.
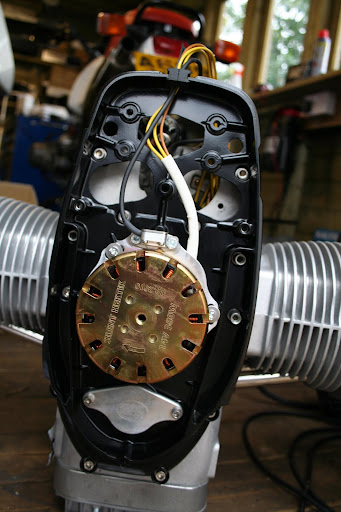
Those original screws are trade named 'Taptite'
Essentially a conventional metric thread, but the overall shank of the screw is oval, with a groove for starting the screw.
The hole that the screw is to be fitted into is drilled to the tapping size and the screw wound in. Self tapping of a sort.
You could use a conventional threaded Mx screw, just thread gauge the original and run a tap of the correct size into the hole first.

