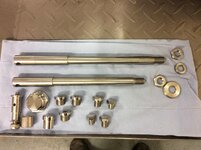
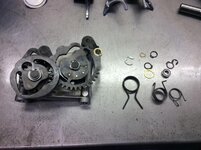
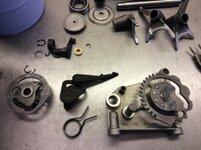
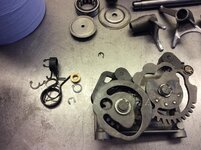
Something for the weekend sir?

Righto,where were we:blast
Postman has been:D
Shiny,I like shiny:P
Strange to think this little lot cost more than twice the amount I paid for my first motorbike :comfort
 

Attachments

  • image.jpg
    image.jpg
    61.9 KB · Views: 513
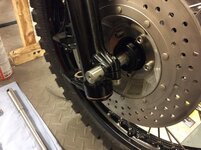
It's all in the detail,the closer you look ,the more you see
Stuff like rusty wheel spindles will just ruin the finished bike
 

Attachments

  • image.jpg
    image.jpg
    67.7 KB · Views: 511
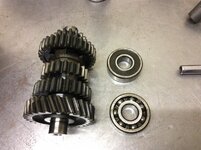
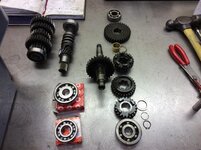
Once the shaft is stripped ,everything is hand washed in a solvent tank,then dried with compressed air,
Once clean ,everything can be inspected for wear or damage
 

Attachments

  • image.jpg
    image.jpg
    60.8 KB · Views: 501
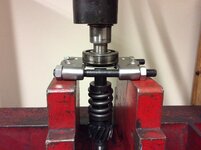
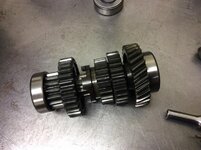
Next up, layshaft or intermediate shaft,
Bearings off,wash and brush up,a real good look at the gear dogs for wear .
 

Attachments

  • image.jpg
    image.jpg
    66.8 KB · Views: 583
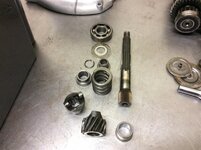
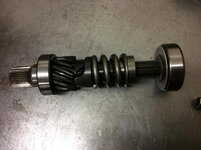
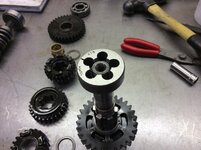
Main shaft or output shaft next,
Strip clean and inspect.
Now is a good time to clean up the threads :thumb2
 

Attachments

  • image.jpg
    image.jpg
    74.9 KB · Views: 539
  • image.jpg
    image.jpg
    61.5 KB · Views: 536
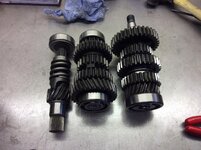
Still a black art to me.

No matter how many videos and having put one together under the tutelage of Mr Farmer I still don't get it.

How you can put 3 things like that, close together in a metal bucket and spin them without bits flying off is beyond me.
 
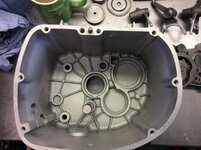
Casings have been aquablasted,but just because it looks clean,doesn't mean it is.
it will still have blast media embedded in the casting metal and jammed in drillings and threads.
So I steam clean at v.high pressure then blow out all the drillings etc with compressed air
 

Attachments

  • image.jpg
    image.jpg
    63.2 KB · Views: 518
So casing up to 120degrees
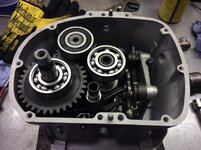
Oven mitts on,input shaft bearing in, then in with the shafts
Once it's cooled enough so it doesn't fetch skin off the selector forks and mechanism can go in
 

Attachments

  • image.jpg
    image.jpg
    71.6 KB · Views: 526


Back
Top Bottom