colint
Registered user
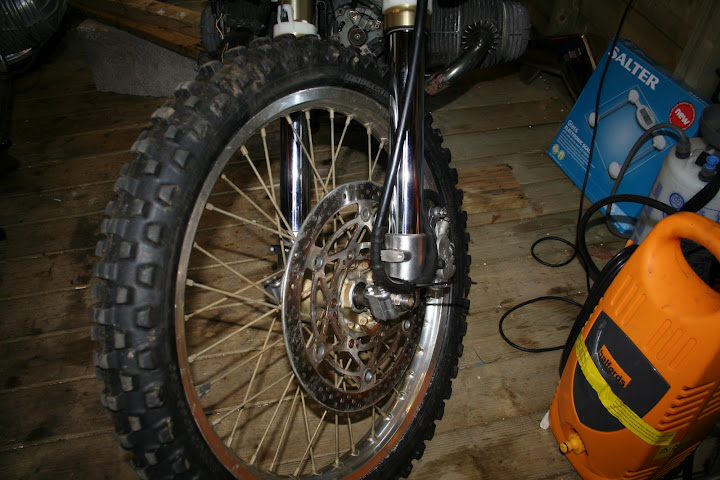
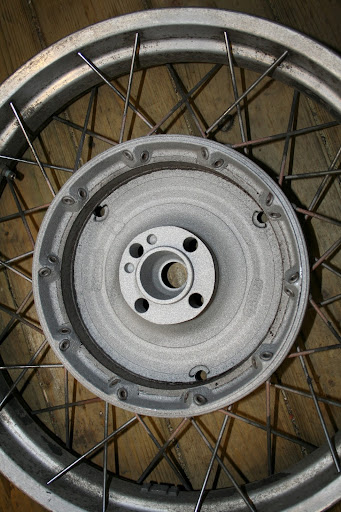
There is a guy in Yorkshire who will rebuild these wheels providing you remove the old spokes I just used an angle grinder to cut the spokes but then it took me a week to remove them from the rims/hubs.Got the rear wheel back from shot blasting the hub. It came up really clean but the finish is quite rough. I thought it would be smoother.
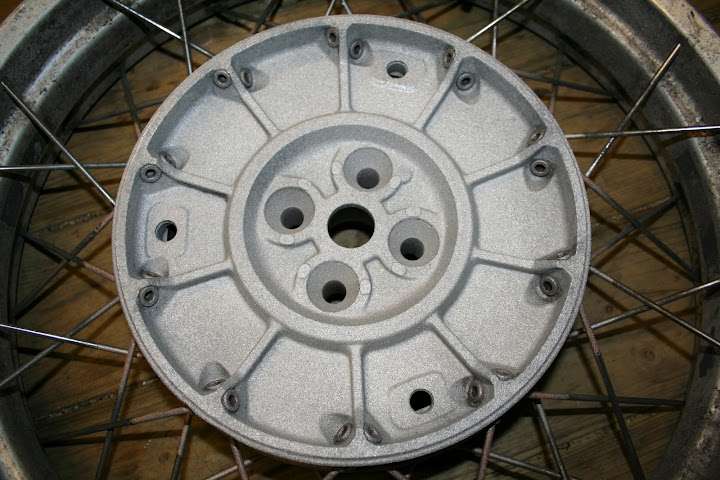
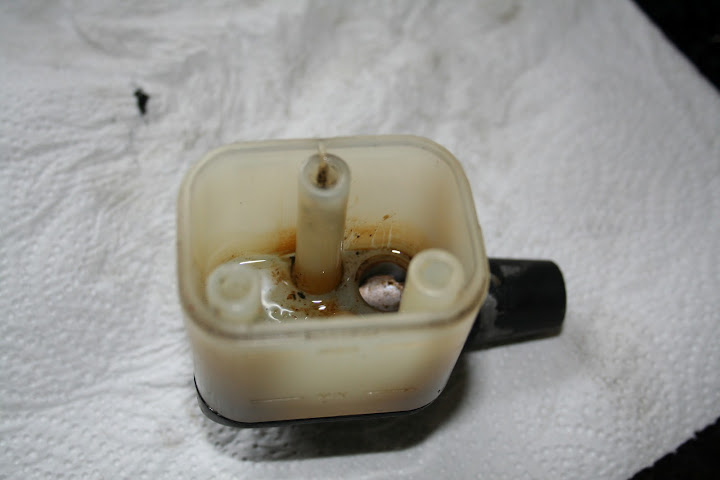
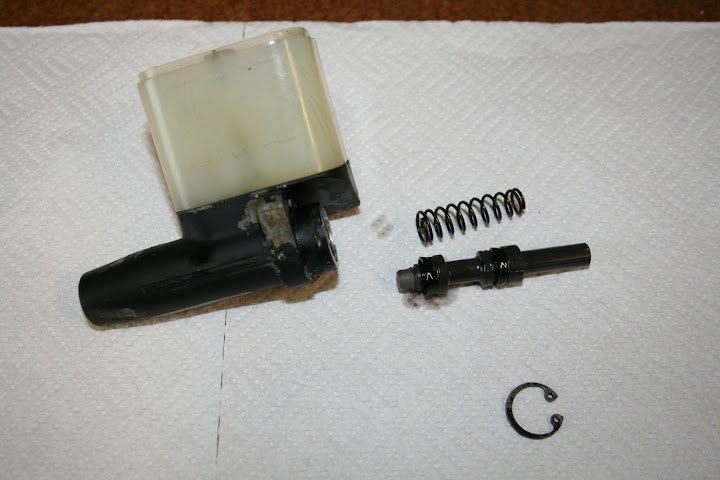
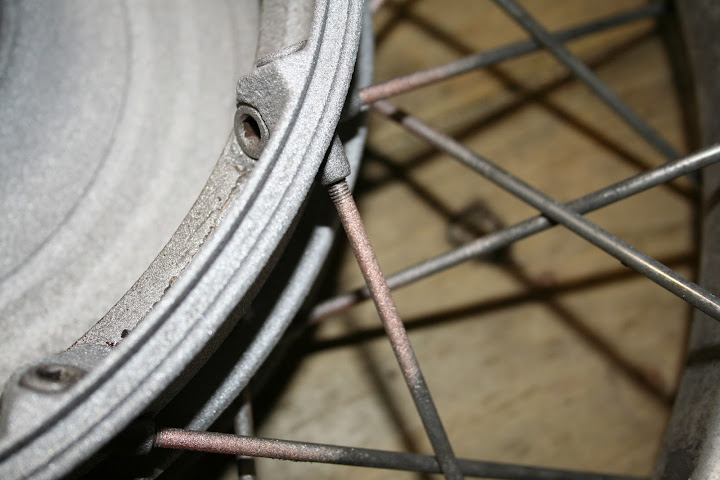
I thought the spoke were stainless, they were to perfect on a tatty bike to be anything else. Shot blasting i thought wouldn't be an issue. They would go a bit dull but then I'd polish them back up when I polished the rim. .. wrong .. they must have been chrome as the chrome has been blasted back to the copper :-(. So now I **have** to get the wheel rebuilt rather than it being just an option :-(
There is still a lip on the steel rim, so will have to get it machined off.
He has done mine in the last couple of weeks and i must say he did a fantastic job.
I bought the spokes from Motorworks and they have his contact details.
")