Great progress Pete, thanks for all the info and pics will be valuable later on for someone else's project as well 


")
Hi Rob,
Thanks - that will be interesting to try. i can see different types of inserts: What type of inserts did you use?
http://cgi.ebay.co.uk/THREADED-INSERTS-THIN-SHEET-NUTSERTS-4MM-x-50-/200505111254?pt=LH_DefaultDomain_3&hash=item2eaf0932d6#ht_2047wt_911
I've found the plastex ok

Cracking thread....now then, would anyone like to post one about making a cafe racer from an 81 R100RS
Pete,
The inserts on your link aren't the right ones for the repair you are making. The ones in your link are for thin metal sheet.
http://insertsdirect.com/ have loads to choose from. They have an ebay shop with their inserts for plastics Ebay link Don't go for the inserts with a slot down the side, the plastex will flow into it and clog the thread, the blind ones are the best Link
The plastex is a strange material to work with but once you get the hang if it it works a treat. It's basically plexiglass and bonds well to other plastics --> MMA
The knack comes in getting the inserts positioned correctly and the plastex fully bonded to the insert and the housing at the same time, however you seem like a man who likes a challenge
With the speedo housing I found I needed to chop most of the broken plastic away and recreate it.

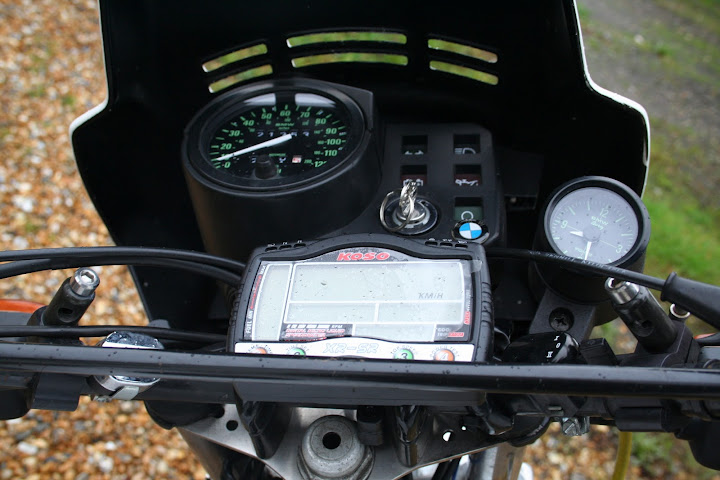
Got this Koso unit about 5years ago for another project that didn't finish. Hadn't even taken the wrapper off it!

Pete,
Are you looking for a spacer 42 od, 30 Id, 12mm thick ?
 has put him off a bit!
I'll see what I can do.
So 46 OD, 30 ID and 12mm thickness. Are you sure 12mm is enough?
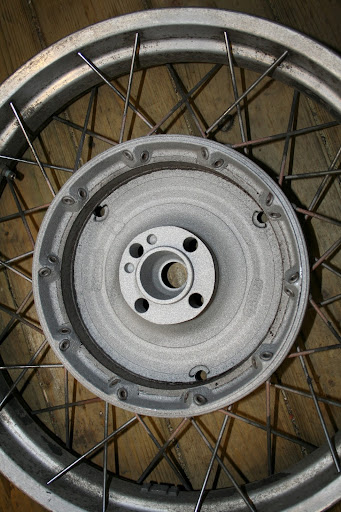
Got the rear wheel back from shot blasting the hub. It came up really clean but the finish is quite rough. I thought it would be smoother.
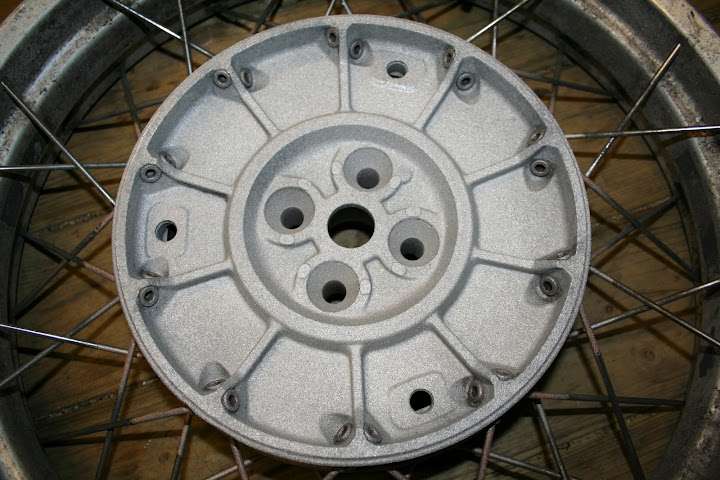
I thought the spoke were stainless, they were to perfect on a tatty bike to be anything else. Shot blasting i thought wouldn't be an issue. They would go a bit dull but then I'd polish them back up when I polished the rim. .. wrong .. they must have been chrome as the chrome has been blasted back to the copper :-(. So now I **have** to get the wheel rebuilt rather than it being just an option :-(
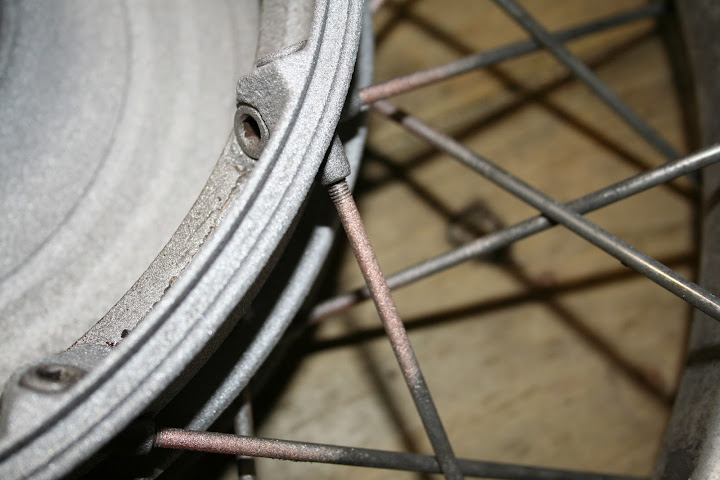
There is still a lip on the steel rim, so will have to get it machined off.
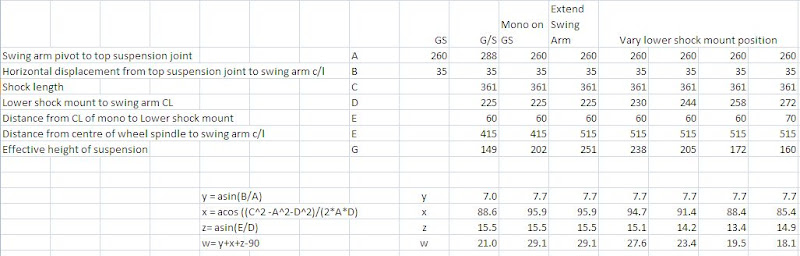
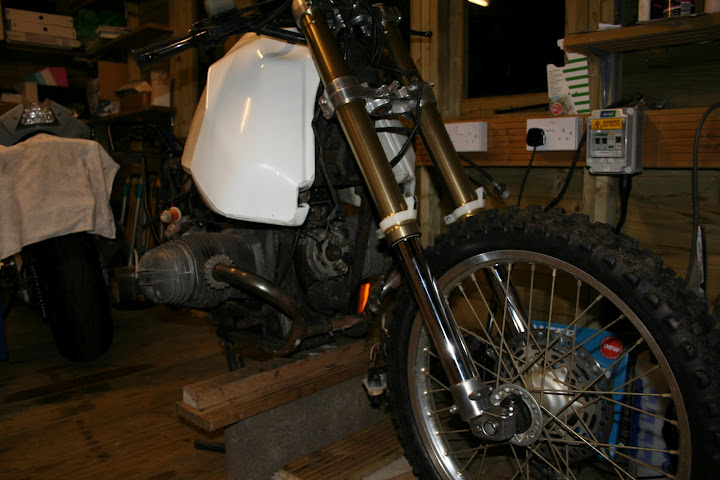
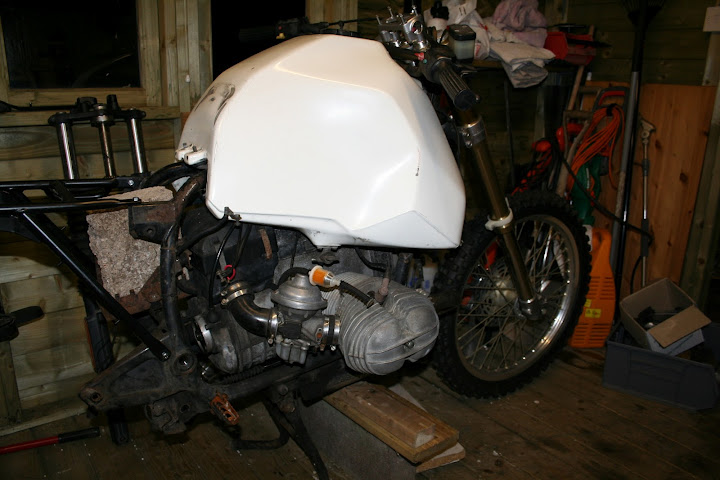
Waiting for the machining to be done and started working on the exact point to mount the lower shock mount given that I will use the existing GS top mount point.
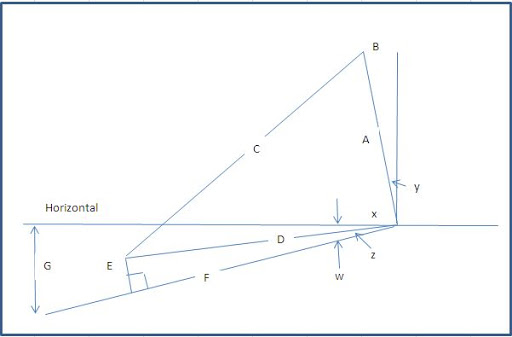
First drew picture taking into account all the important measurements on the G/S and GS
Next worked out all the angles and relationships so that I could work out the effect of putting the monolever on the GS
Once I had done this worked out the effect of extending the monolever. Then varied the length of D (distance from pivot to lower shock mount point) to see the effect on suspension height. The table show incrementing by 14 as i think I can get away with multiple pivot mount holes at 14mm between centres.
Would like an opinion to solve this problem of corrosion and pitting. How about anodising the entire wheel? Is that feasible in view of the difficulties in re-lacing the crossed-spokes?
Cheers
