Wow that looks nice and shiny, how long will it stay like that 


well I suppose it took twenty years to get like it was soooooo!
dont suppose it will worry me then
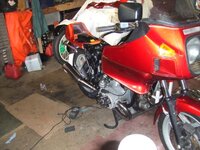
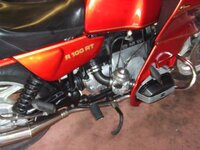
Yes, very good question. I have no idea if there was a coating, I would suspect not. bearing in mind the time these bikes came from I cant think of any that would have coated the alloy. the sand cast finish was seen to aid cooling as it provided a greater area exposed to the air. There may of course be some expert on here who would know. I suppose regular cleaning after a ride will help to extend the "clean look" but hey this is a bike, not an exhibit in a museum.


Anyone got any ideas as to why my pooter wont let me attach photos. Ive done as I usually do but it just comes up with "error on page" at the bottom.
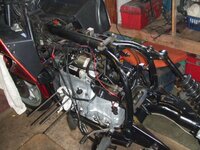
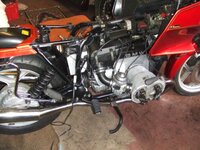
Have you tried to resize them?Bugger!!!!. Got my barrels and heads back yesterday, nice new valve guides and valves fitted. Barrels also honed so nall ready for fitting..... Ha!
Just fit the nice new stainless pushrod tubes, Pots in the oven, tubes in the freezer and in they go up to the marks I put on them after measuring the ones I took out...Int I a smartass.. Piston fitted with new rings and nicely installed in barrel which is pushed onto studs and piston connected to conrod.
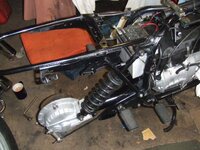
great .. pushed barrel onto crankcase and locate pushrod tube rubbers into the holes. Oh shit big gap, looks like I should have driven the tubes deeper into the barrel. Oh well it looks like I will have a bit of pissing about to do tomorrow, cant put the barrels back in the oven as Rosie might not like the sunday roast smelling of graphogen
still, Ive all the bits now so the rebuild should be back on track
 Tool? I just used a FO big hammer and a piece of wood..