chad
Registered user
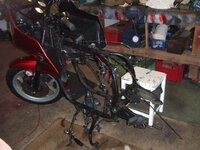
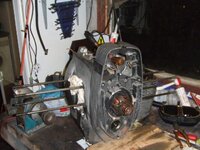
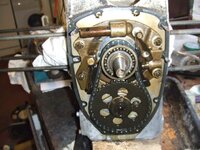
Oh and just to get back to the subject of the thread..... here's where I got to today
thats the way dont pussy foot around with it

hats off to you pastyman keepin yourself busy and all that

love that fording pic with the 7 too


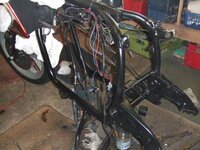
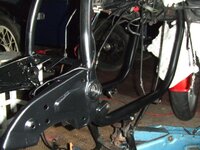
Oh and just to get back to the subject of the thread..... here's where I got to today
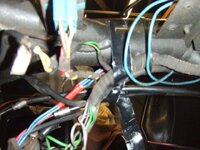
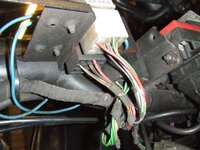
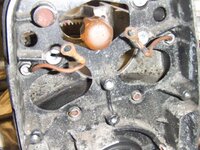
 but why oh why is the wiring so crap. look at the photo's of the original wiring under the frame, binding tape peeling of after only 20 years. very poor dontcha think.
Voyager, yes please, I could do with some help on this too.. I seem to remember when I did it once before, I had a hell of a job getting the split link in from the back.. Thick fingers etc..
.
Devon , me old mate, Only someone living in Devon would think Cornwall was a long way away.
get another barbie on the way grab a few others and we could have a mini "weekend" and tear the bugger to bits.
I thought you were selling the RS? Seen sense I recon
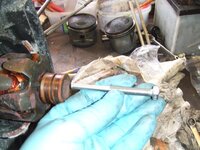
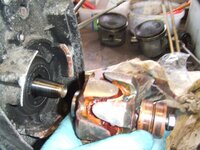
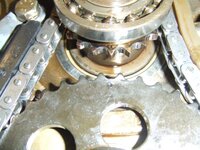
If you get the join for the timing chain on the rhs of the camshaft, the use the old male section of the joining link to put in from the outside to hold the chain together. Then turn the chain a little further clockwise until there's plenty of space behind the joiner. Now insert the new male section of the joiner from the back to push the old male link out, put on the outer link and the spring clip, job done simples.
). apparantly its from poundstretcher, £1 a bottle and works better than Mucoff, Might be worth a try. AsI dont need them till much later they promised to sent the rest but so far they've not arrived. maybe monday.
If you get the join for the timing chain on the rhs of the camshaft, the use the old male section of the joining link to put in from the outside to hold the chain together. Then turn the chain a little further clockwise until there's plenty of space behind the joiner. Now insert the new male section of the joiner from the back to push the old male link out, put on the outer link and the spring clip, job done simples..................and I haven't got little hands either!
HTHY, unless you already knew that!

EXCELLENT. did this today, will post some pics later, it worked a treat.Cheers
. Must remember to tag it and put it in my BMW special bits drawer as I must have at least two of these floating around somewhere..